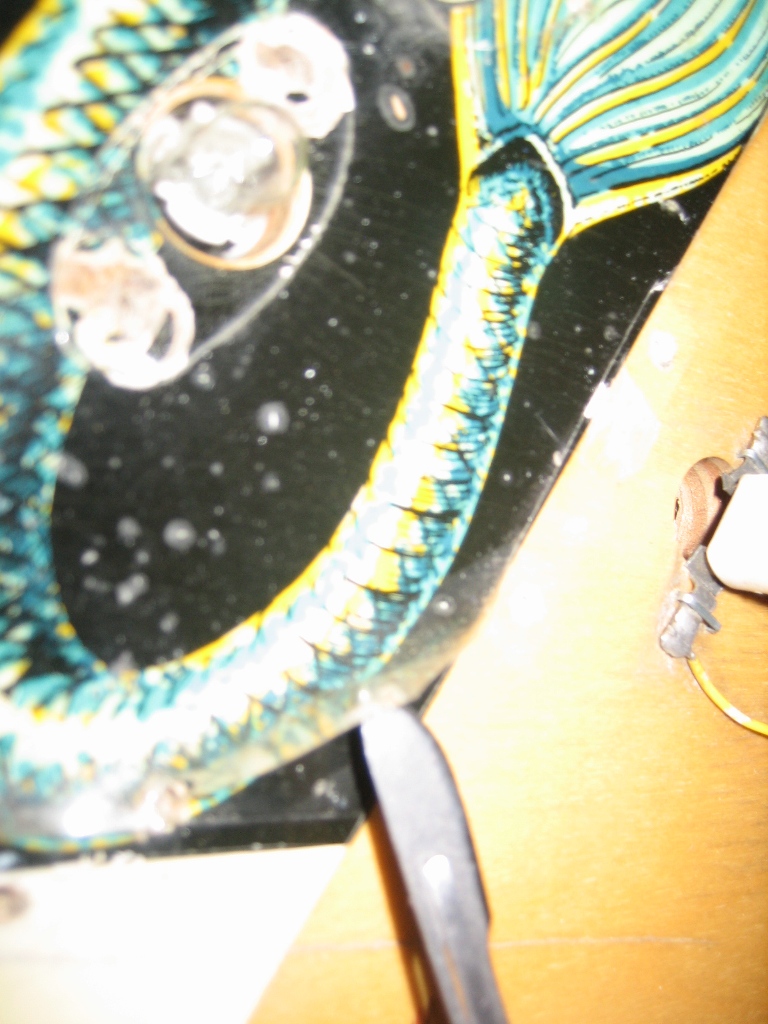
Whilst removing the playfield parts, I noticed that the mylar is too thin to be mylar. It is contact - what was used in the "old days" prior to mylar. It is also VERY thin, and the adhesive is VERY poor, leaving whole section loose. This tempted me ! So I tried a small section under a plastic (not seen), and it peeled off with ease. The contact is an inferior product with almost no adhesion. I think the low adhesion and the fact that it was laid down with the dust and dirt has worked in my favor. Here's the "test" section ;
Lower playfield
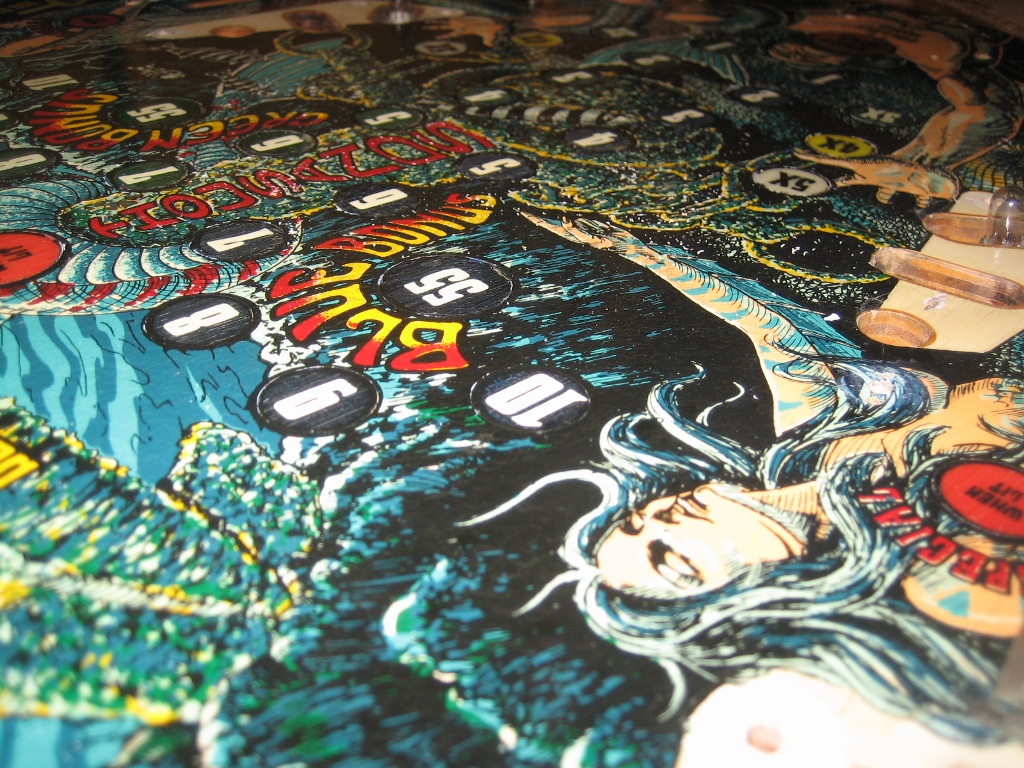
Upper playfield
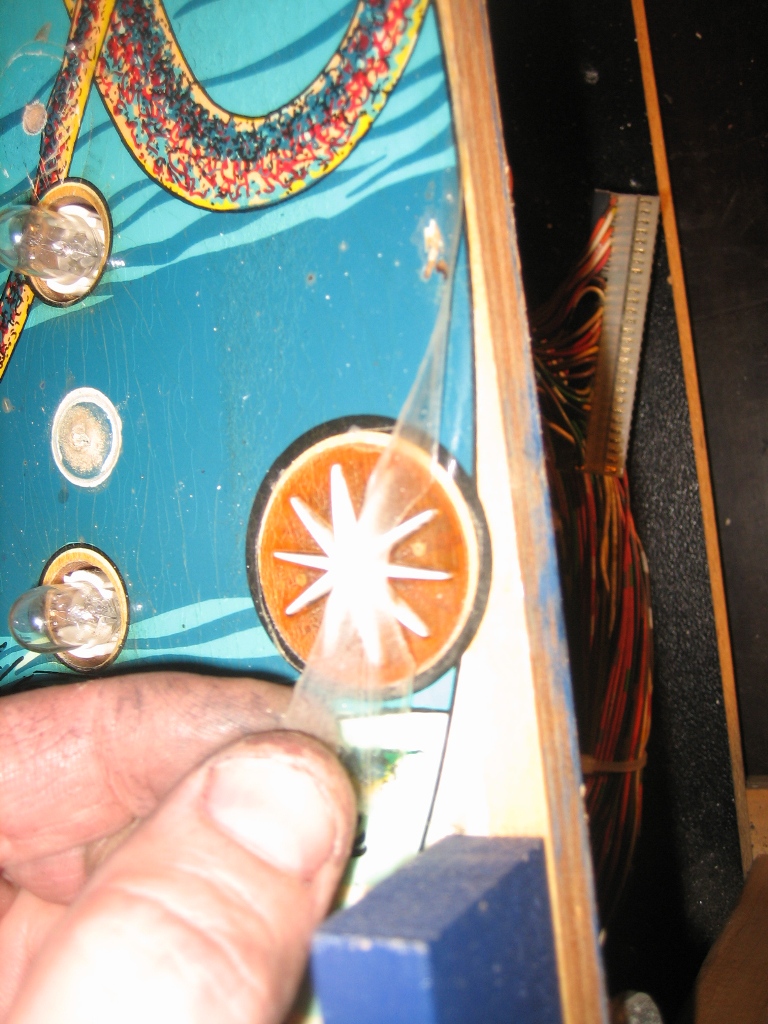
It is basically falling off, an the underside (adhesive side) of the contact is so poor, that if I handed a section to you, you would not know which side of the contact was MEANT to have the adhesion ! It was almost "floating contact". So I removed it - it 10 minutes !
Here's what I'm left with - and I can now IMPROVE this playfield.
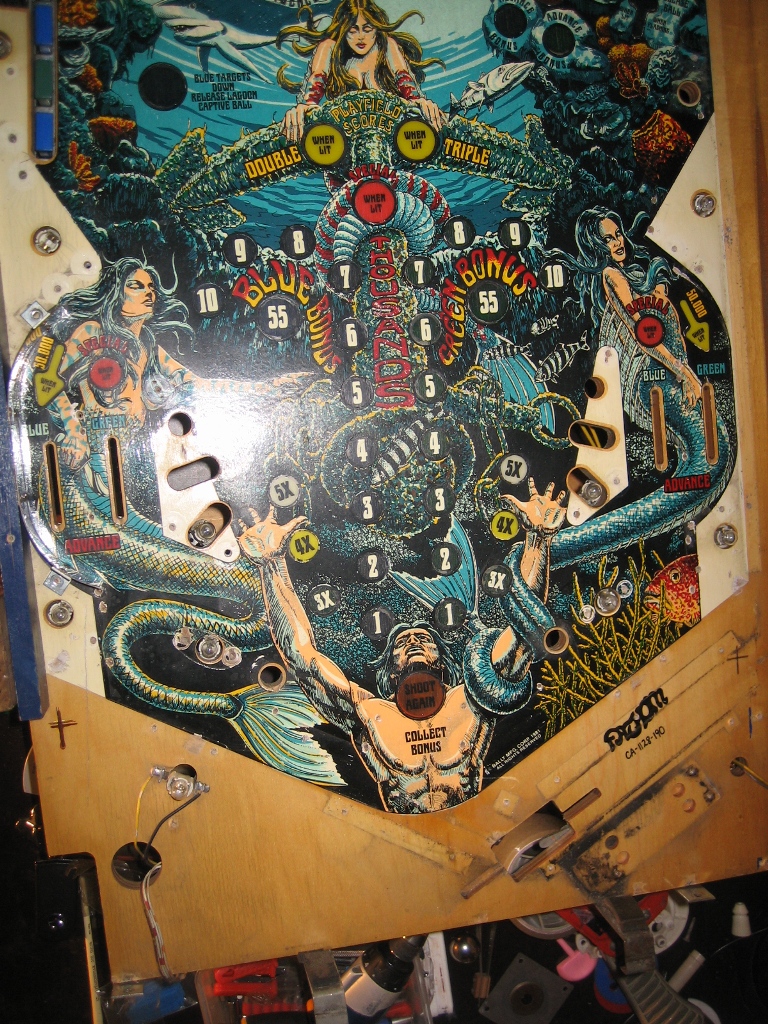
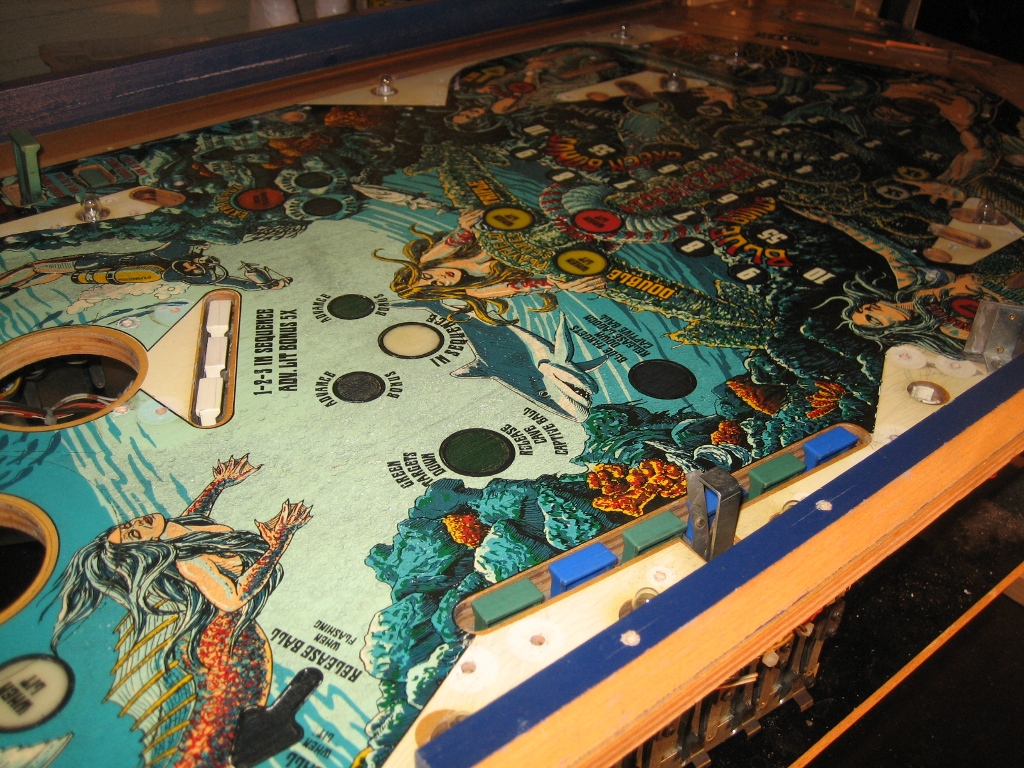
This has enabled me to look into the possibility of addressing the ball swirl and improving the playfield. Inserts are all level, so it should be an easy (yet time consuming) job !


