Back to the rear of the cabinet. The clamps are removed the repairs worked very well. Before attempting to refit the old clamp, I just HAD to repaint the back section. It was really rough. I quickly sanded it down a little and taped up the sides and topper and give it a quick repaint.
Probably looks better int his picture than it really is.. But I didn't like it.

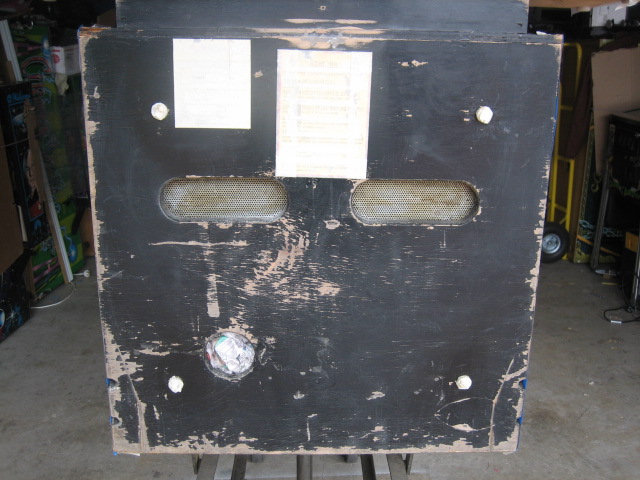
I covered up the stickers, the plastic gliders and gave it a quick coat, then a couple of thicker coats. Don't have to be too artist here - This part of the machine is not really seen ! Still a bit wet..
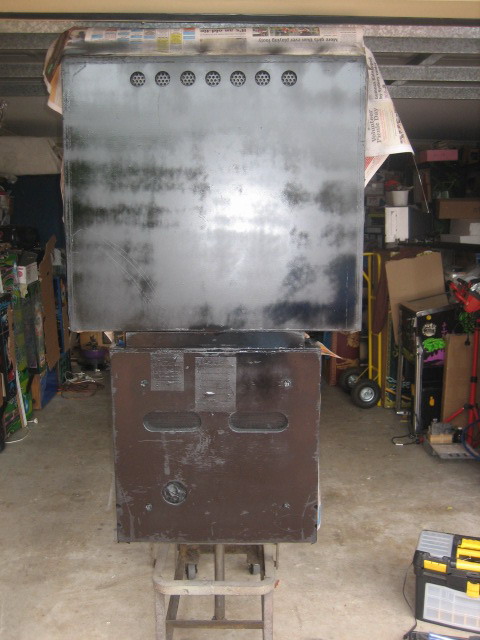
Remove the masking and let it dry. Shame they don't make a "semi gloss black" in cans anymore. Gloss looks stupid, so I went with the Flat Black.
 Playfield Damage touch ups
I know all too well that Decals are the "easy way out". I cannot even color match my shirt with my tie, so I have to rely on decals until either I learn how to do it properly, or I get some glasses ! I contacted our resident "decal man" - Wotto - Just to whip up some decals for me to finish off the playfield. It has wear spots around all the outholes, and there are "divots" in the wood. Here's what I started out with ;
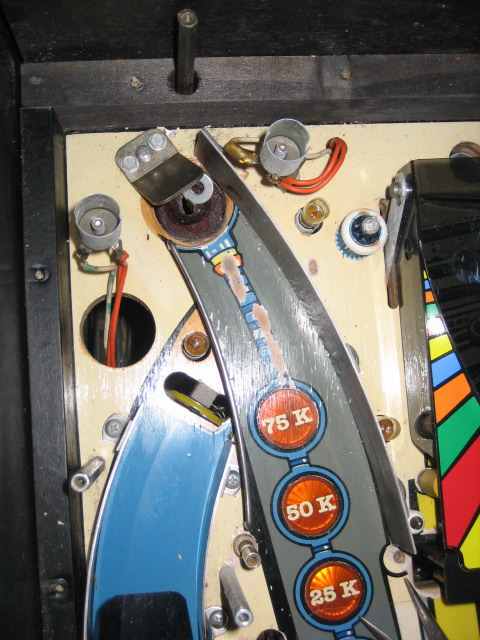
This section was pretty simple. I filled and levelled the divot. Wotto made me a decal from a photo I sent him - just the Blue color needed to be covered, so I printed out the decal on adhesive white paper, cut it into shape, applied the decal to the playfield and covered it with mylar.
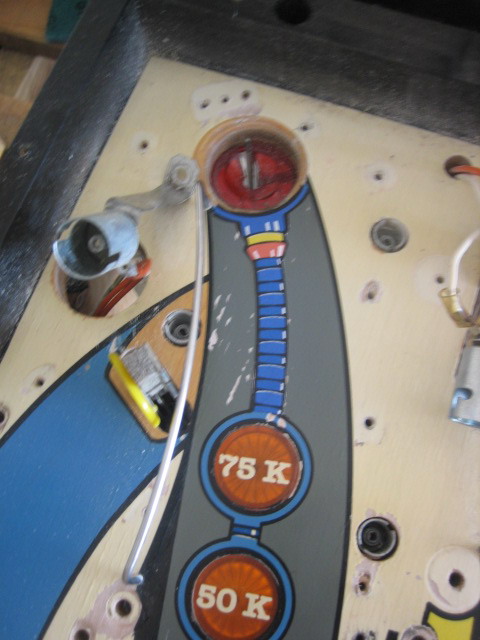
I didn't really bother with the Grey to the left of the repair - it was not as bad.
The "Eyeballs" - Were REALLY bad ;

This time Wotto just supplied me with the writing on a Grey backing - a very close match. I used some tracing paper to cut out the grey areas, and transposed that onto the adhesive grey paper. Then cut that into shape - They look like this ;
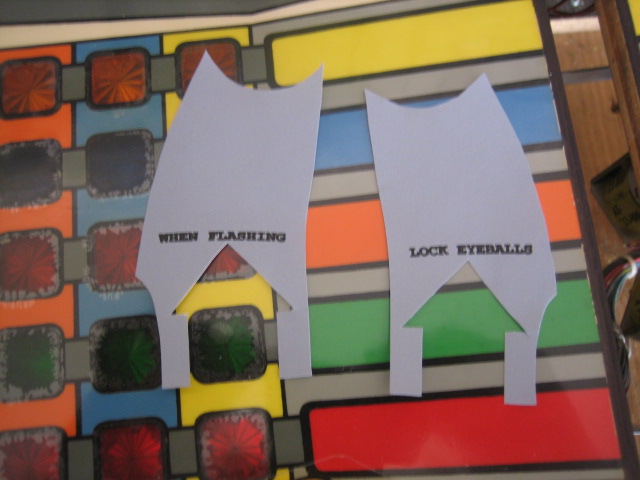
Then I applied to the area affected, and went around the edges with a sharpie - where needed ;

Apply a sheet of mylar, and I'm done !
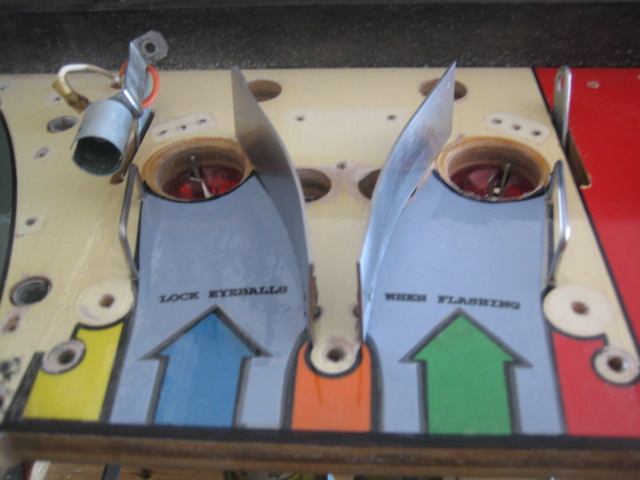
So thanks to Wotto - The playfield looks a whole lot better

Next update will be a picture of the playfield AFTER I used Marty's Treasurecove polishing kit

