More Playfield !
With hardly any effort, I removed the remainder of the inserts with my finger, pushing them up from the bottom of the playfield. Took only a couple of minutes and then I had a playfield with no inserts.

Here are the inserts ;

Each insert is cleaned. The side is roughed up with a scotchbrite and I used Super Glue gel to re install. All were level and left to dry for 24 hours.

On to the cabinet
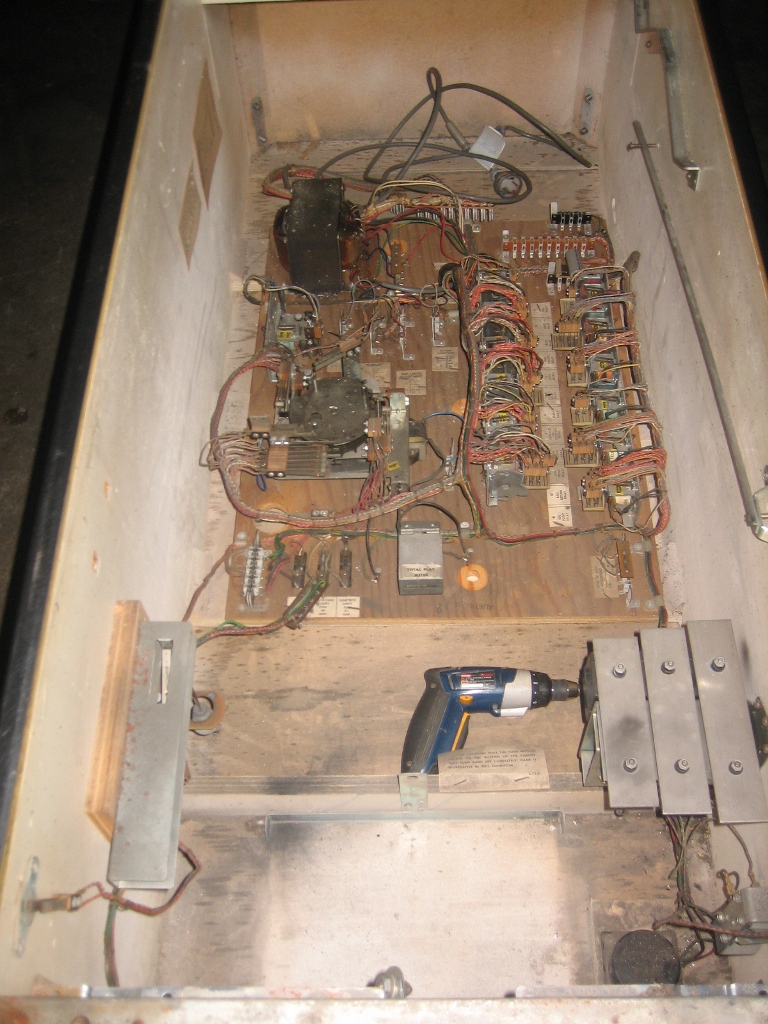
The cabinet is completely stripped bare. I take a few pictures so I know where things go after cleaning / polishing / repairing or replacing ! This particular cabinet is very sound compared to most I've seen.

All that is left is the legs. The siderails and plastic guide are removed to be cleaned properly and the loose staples are replaced. I will regrain the side rails, and install new nails.
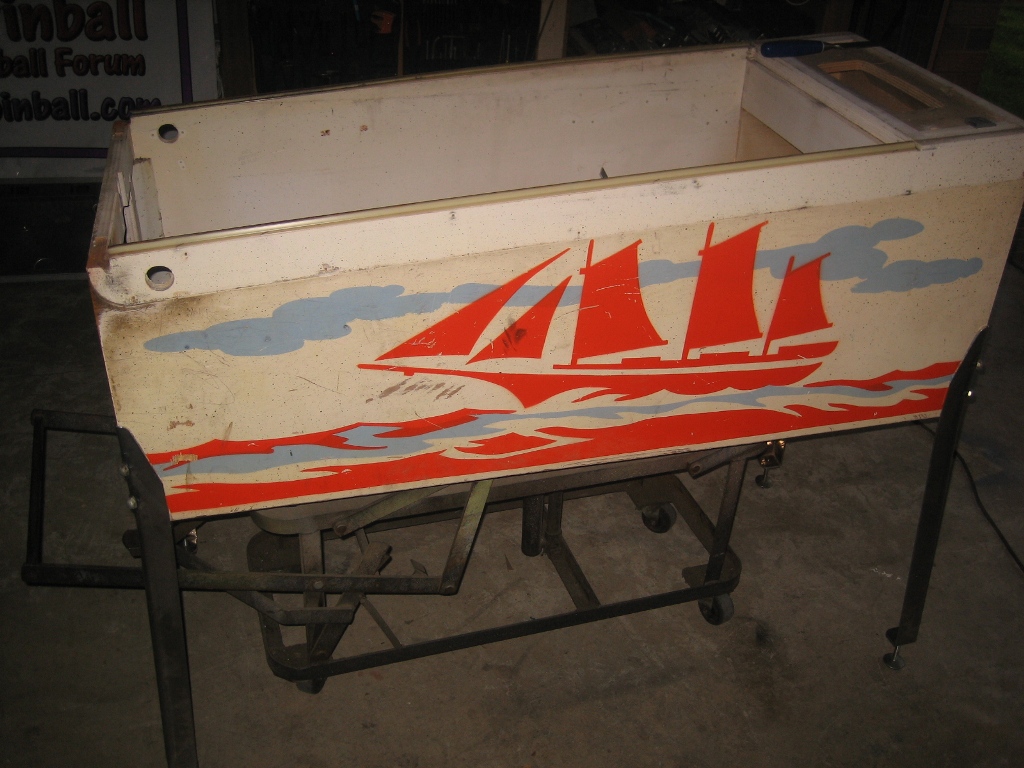
The legs I have chosen are a better set than the originals - still the CORRECT size and type. I've polished them with the legbolts and installed new leg levellers. The siderails have been regrained using a green scotchbrite as they were not as scratched as most I've seen. The cabinet was cwashed and cleaned with Nifti and an old paint brush.

Here's the RHS with the regrained siderail.

I already ordered most of the parts some time ago, so things will pick up.


