Hi everyone,
Tim has documented this restoration beautifully but I will add to this a brief account of the process involved in re-making the Pin*Bot topper for those interested. The basic philosophy we followed with this restoration was to restore as much of the game as possible, rather than replacing parts. We wanted to bring the machine as close as possible back to its original state rather than modifying things or "blinging it out". With that in mind most of the parts were cleaned or repainted but anything that was broken we just "couldn't live with" and had to be replaced rather than patched up. The topper we had was basically there but cracked around the edges:

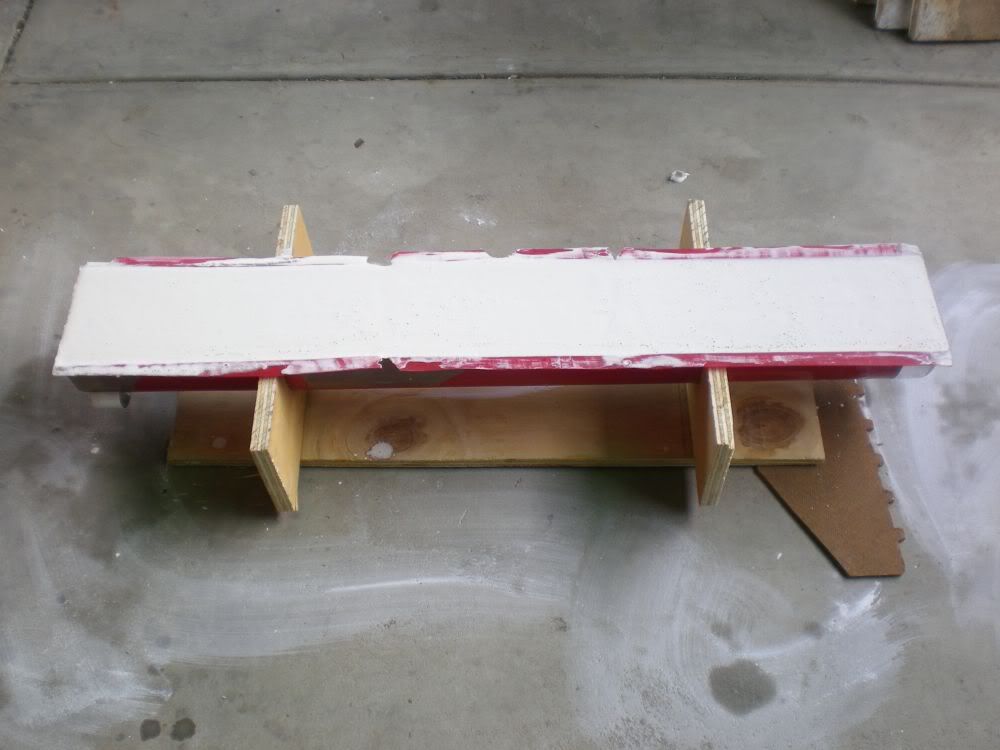
So we set about making a new one. The original was almost certainly vacuum-formed, so to achieve an authentic result we decided to use the same method. There is a lot of information and videos about this technique on the internet so I won't go into it in too much detail but I'll show the various steps involved in making this particular part. Firstly, a positive plaster mould was made of the original topper. I believe the original mould was probably made of wood but plaster was chosen for our mould because it was a lot quicker and easier to produce.
The mould being poured:
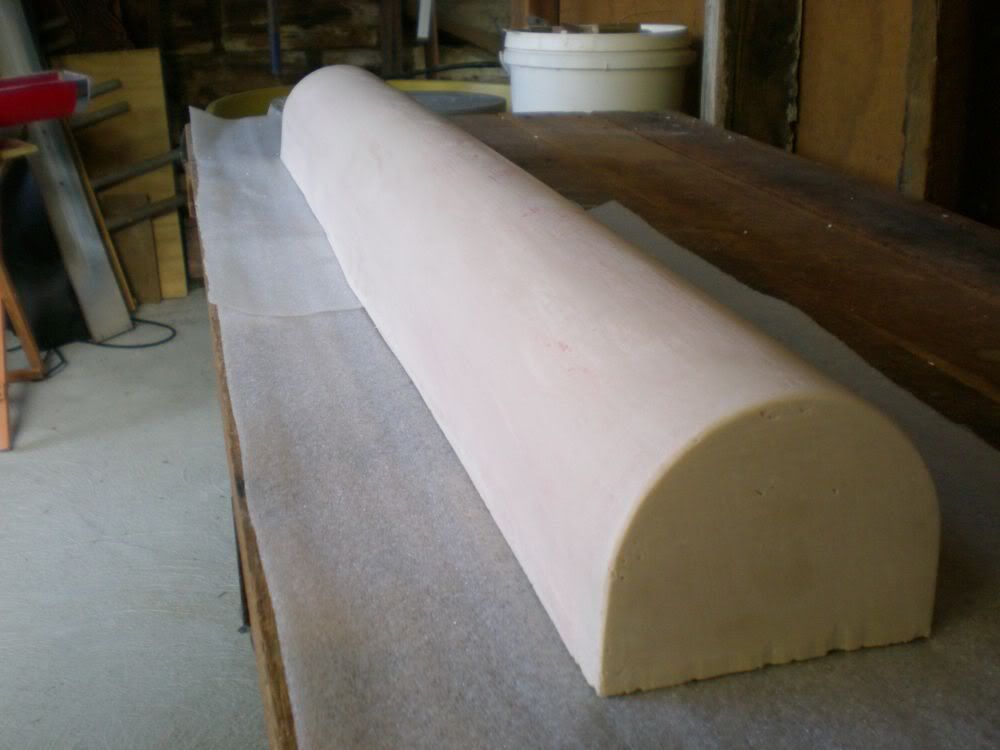
The finished mould:
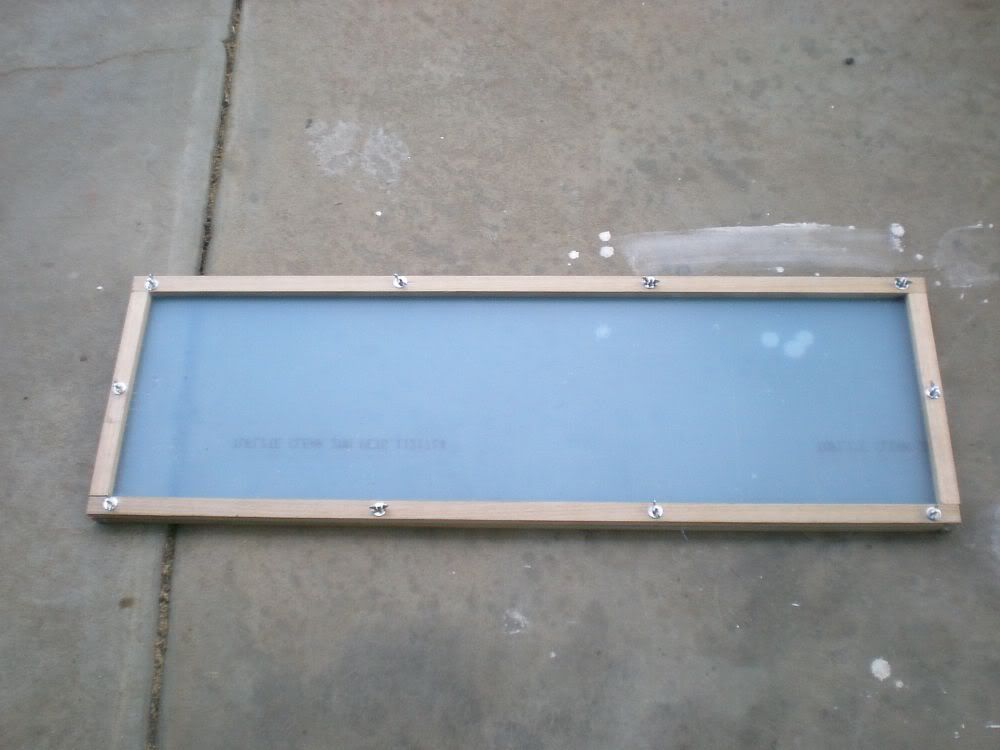
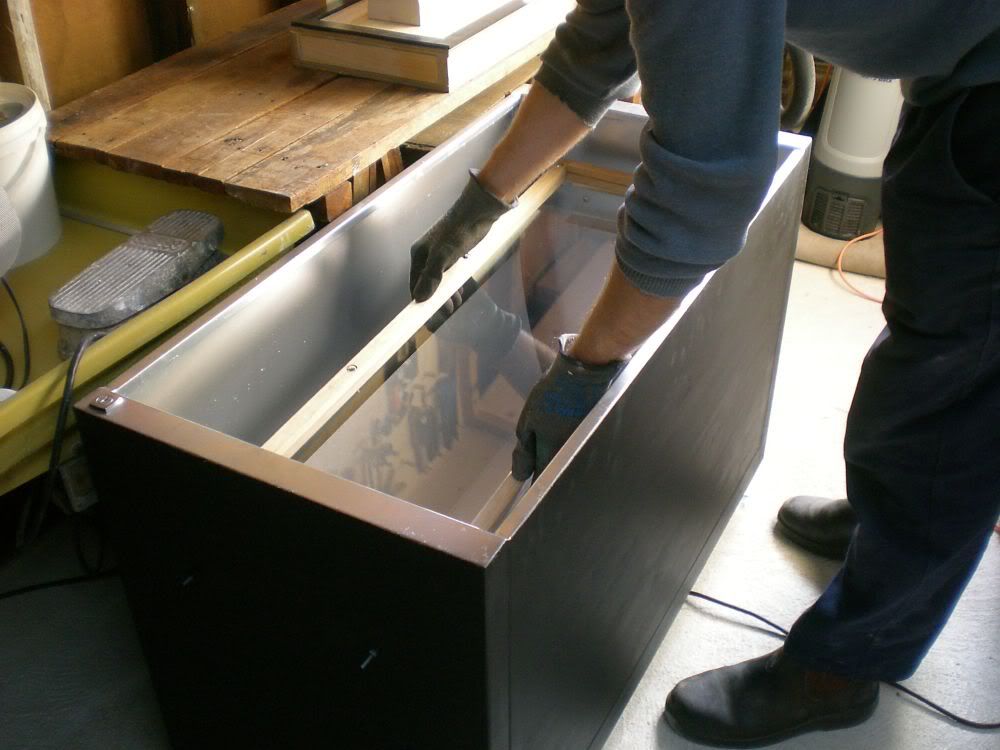
The basic vacuum-forming process is to heat a piece of plastic in a frame and then to place the molten plastic over a mould. The mould sits on a vacuum box and the air trapped between the plastic and the mould is sucked out through the vacuum box, thereby slumping the plastic over the mould as it cools. So we needed a piece of plastic and in a frame. We used PETG, which is the same stuff that they make ramps out of and probably what the original topper was made from (the blue protective contact is still on the plastic here):
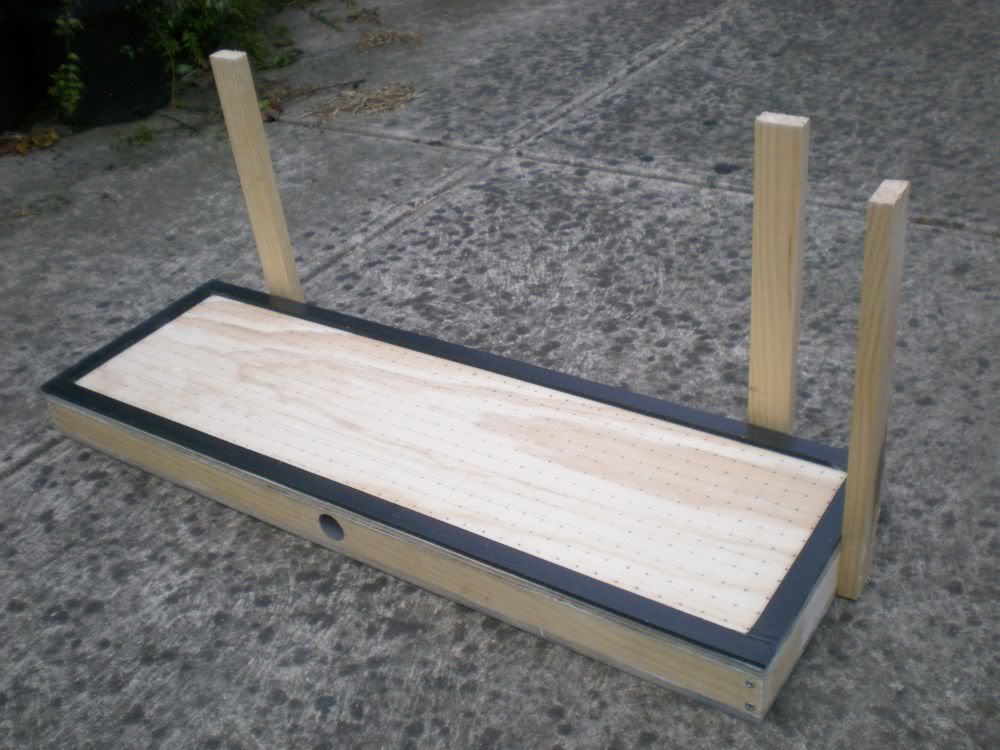
And a vacuum box:
The original plan was to heat the plastic in the oven but we couldn't find one big enough, so we had to make one out of an old filing cabinet and the elements out of a bar radiator:
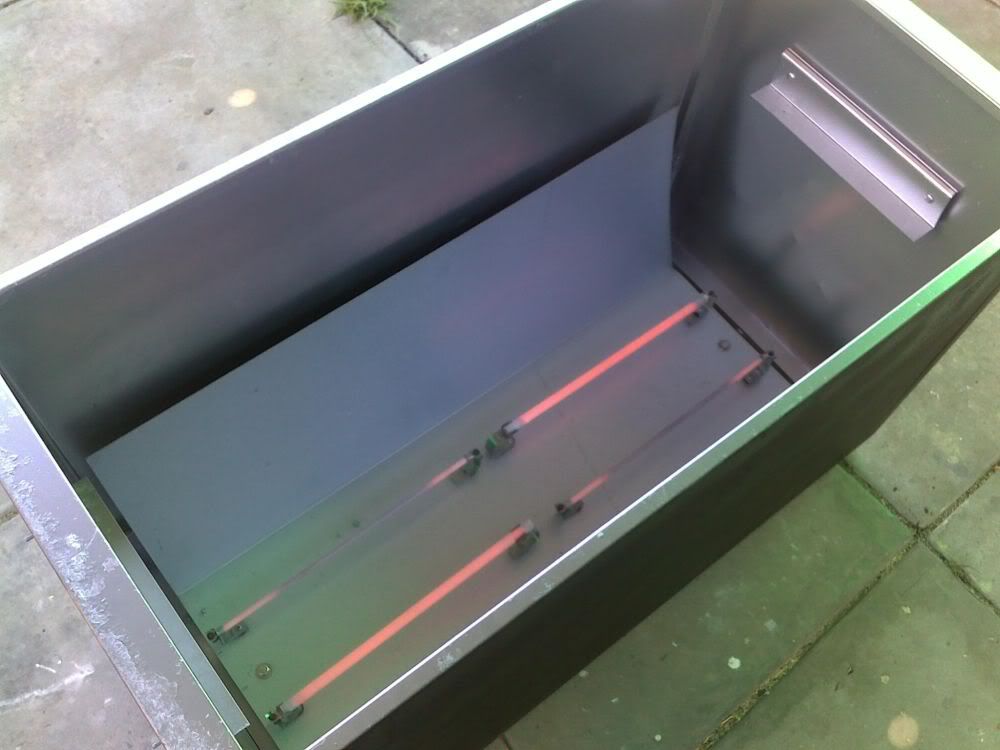
The plastic in the frame was heated by the elements:
And then placed over the mould on the vacuum box (sorry, no pics of that, got caught up in the action.)
Here's the final topper after it had been taken out of the frame and trimmed:
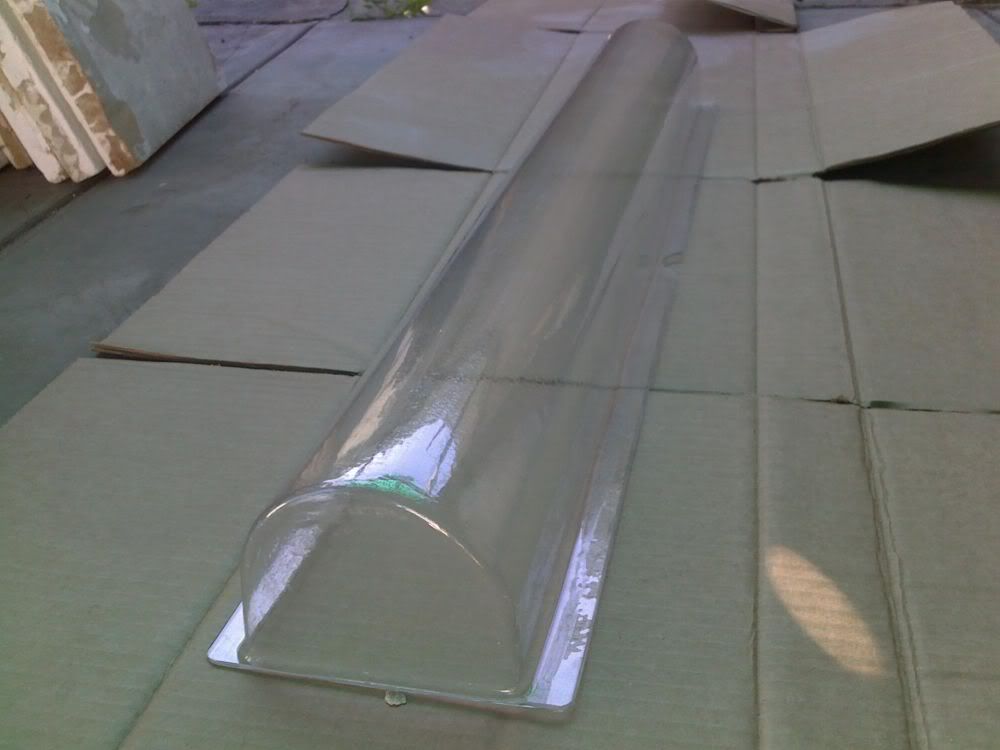
That's about it. We then masked off the ends of the topper and painted it with transparent red paint and added the reflective trim, Tim has already posted photos of the results. It's a pretty good match for the original. The paint we used was a little less opaque but I actually like how you can just see the lamps through the topper even when they are not lit.
Here's a link to more detailed info about the vacuum forming process:
http://www.pinrepair.com/vacuum/I've had a lot of fun doing this restoration with Tim. Making the topper was quite a big project in its own right. Hope everyone enjoyed the write-up and have a good Xmas.
All the best, Anthony.


