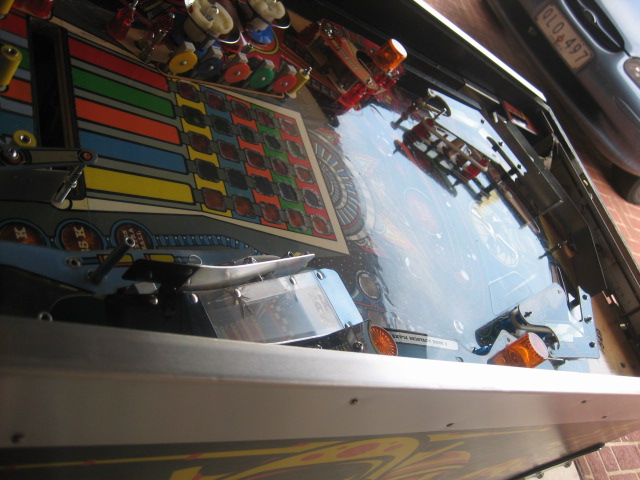
Today I arrived home from work a little earlier than usual, so I wheeled the Pinbot out into the natural light in the hope that I would capture the polished playfield. Now MartyJ kindly offered the Treasurecove polishing kit as a trial or test on this game. It has factory mylar that is well worn, and milky in sections - like a "haze". I followed the instructions on the website and on the containers themselves and I was totally amazed with the results. No amount of Novus2 and waxing will give you these results.
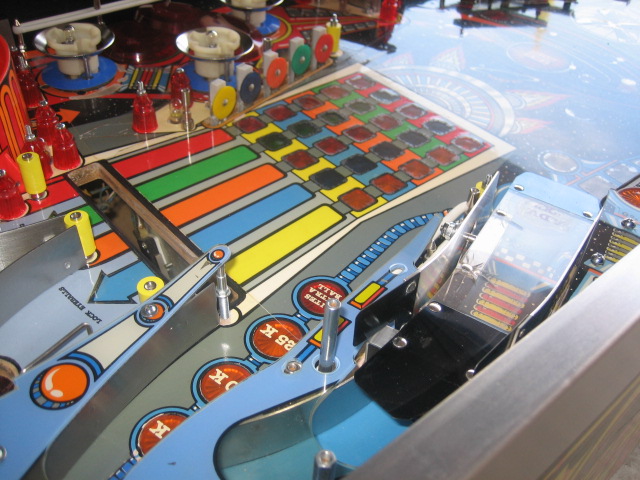
These are "after" shots - well after I've installed most of the hardware again - and remember - this is MYLAR - Not a clearcoat !

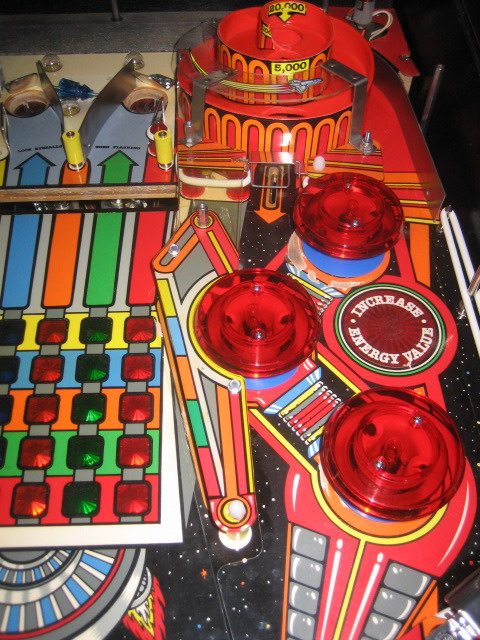
I could not polish the area around the bumpers with the 4 inch kit - I will need a 2 inch kit for that.
More progress pictures ;

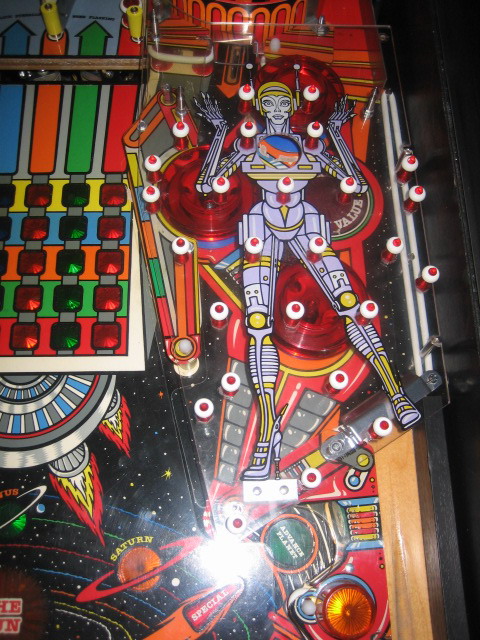
Not far off from firing it up and starting the boards etc !


