This is a really easy cabinet to paint as there is only one color, so not registration issues to deal with. As mentioned in the first installment, the base coat was modified with the purple fleck, and it was much closer to the original color and finish. The black is just the one stencil. I wait 2 days for the base to cure, and no more than that - even though it is dry (touch dry in 10 minutes), I like to ensure the stencil colors bind before fully cured.
I use
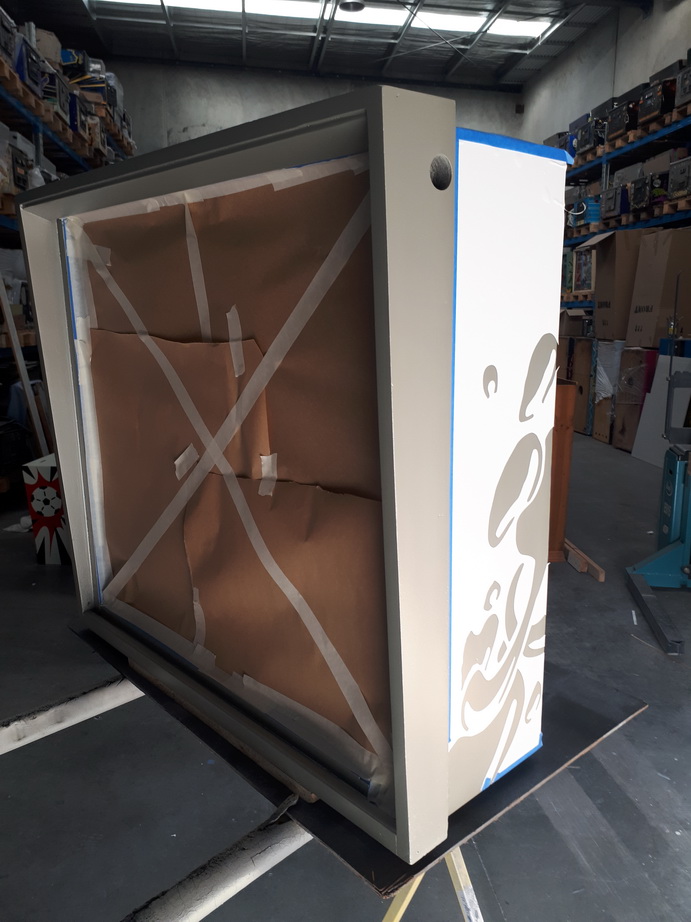
@Pinball Pimp Stencils, which are tricky with acrylics, but I've worked out a really good system with exceptional results. First I like to trim the stencils and play around with the alignment. I use the blue tape once I'm happy with the alignment.
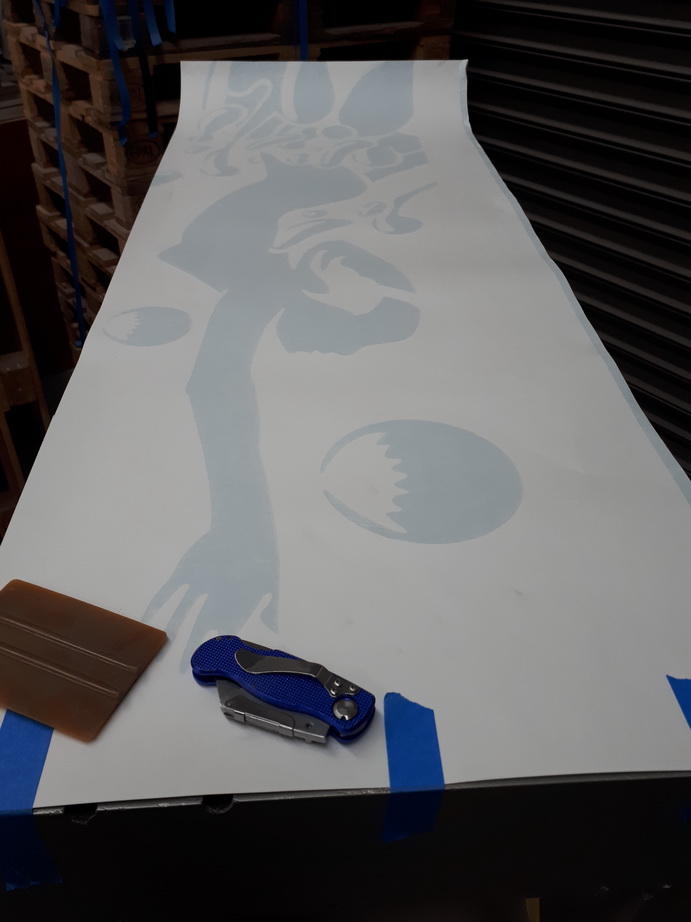
Once aligned, I can start to peel back the stencil. I take my time here, making sure there are no bubbles etc - really easy if you are patient.
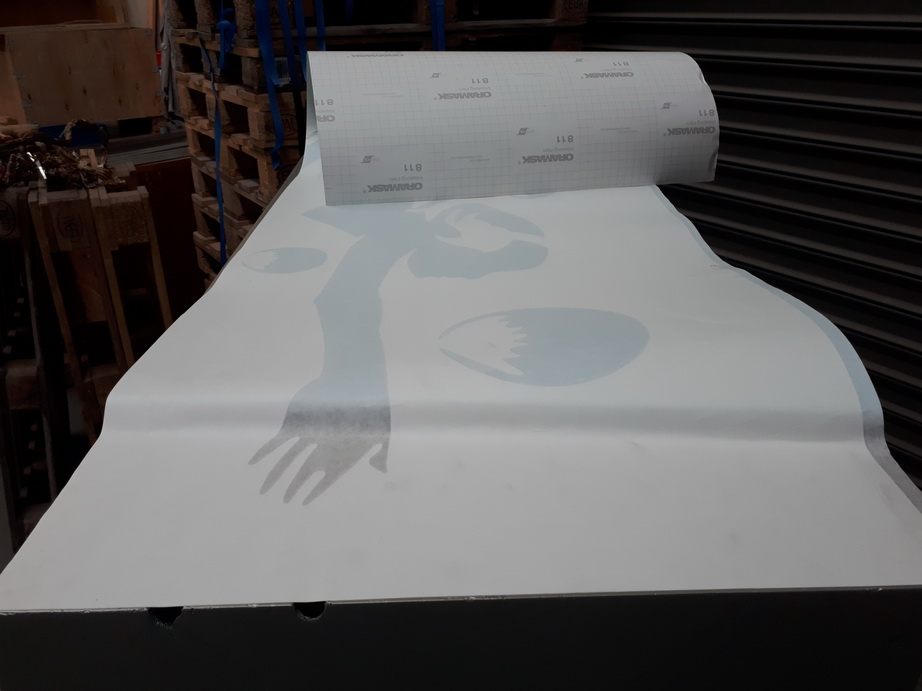
Don't worry about the unpeeled section rolling up a little. It has been aligned so it will be exactly straight.
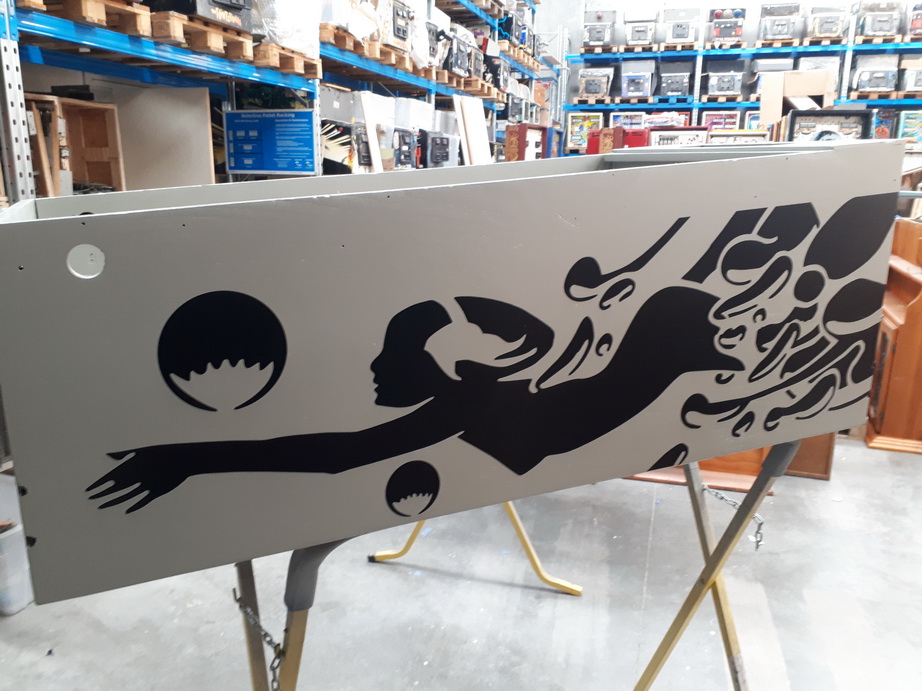
Cabinet side is done and ready for the transfer removal.

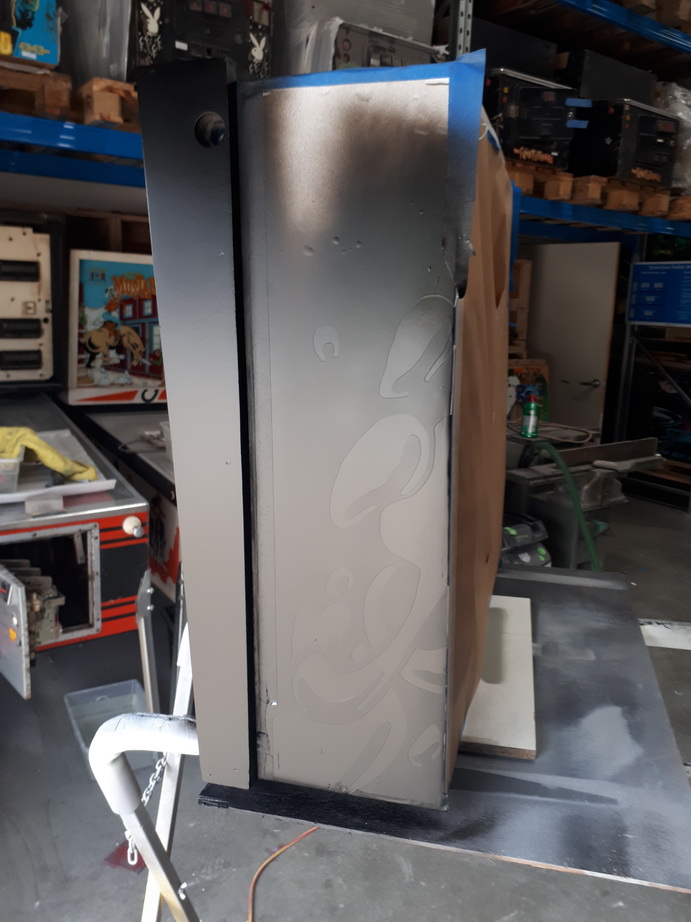
The headbox is prepped and ready to go at the same time. I like to do the color at the same time as sometimes the finish can be slightly different in different conditions. Black can be hard to control if you paint in separate sessions. It is hard to "build up" a dark color.
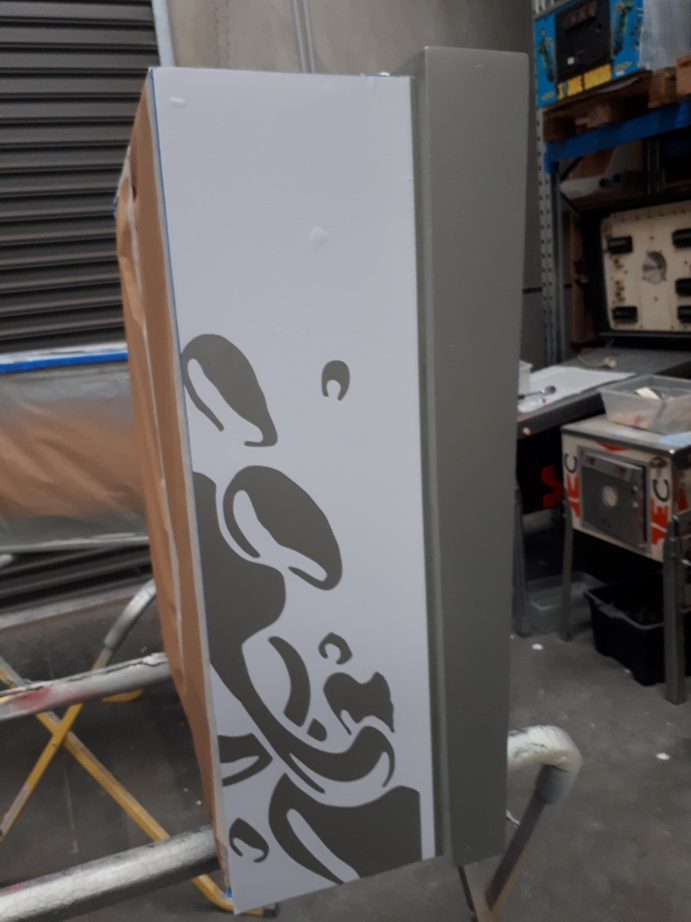
Peel off the stencil, and here is the lower cabinet !
Headbox masked off and ready ;
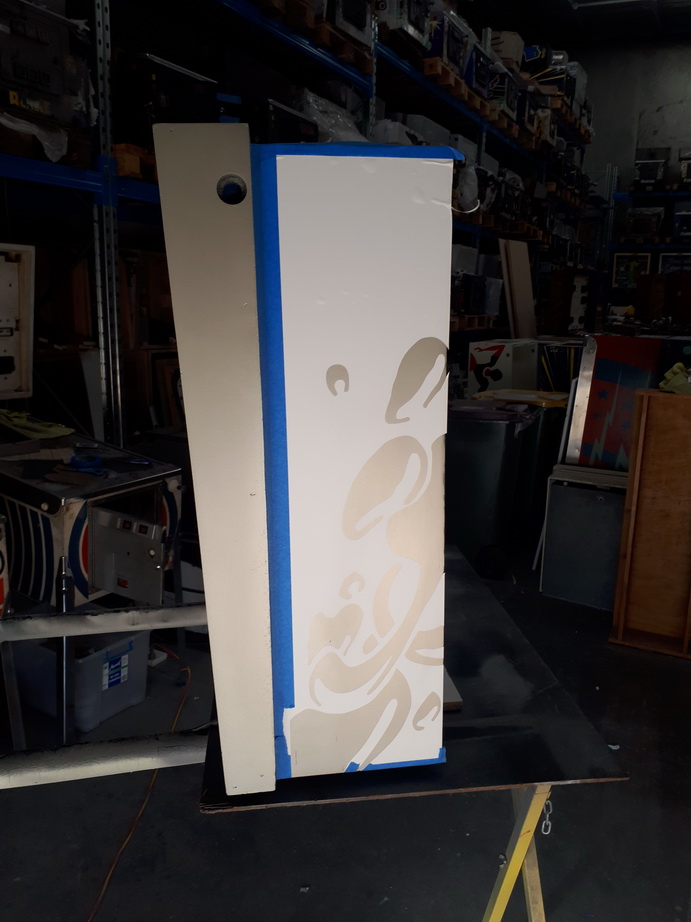
The photo below came out well. You can see how light the coat of paint is. This is the first coat after the mist coat. No need to go nuts and this is the secret to using acrylics with these stencils. You can EASILY see the stencil. The thickness of the paint is thinner than the stencil. This stops any edge forming on the stencil that will cause issues when peeling the stencil. This is where you need patience and work with the paint and stencil to make it work.
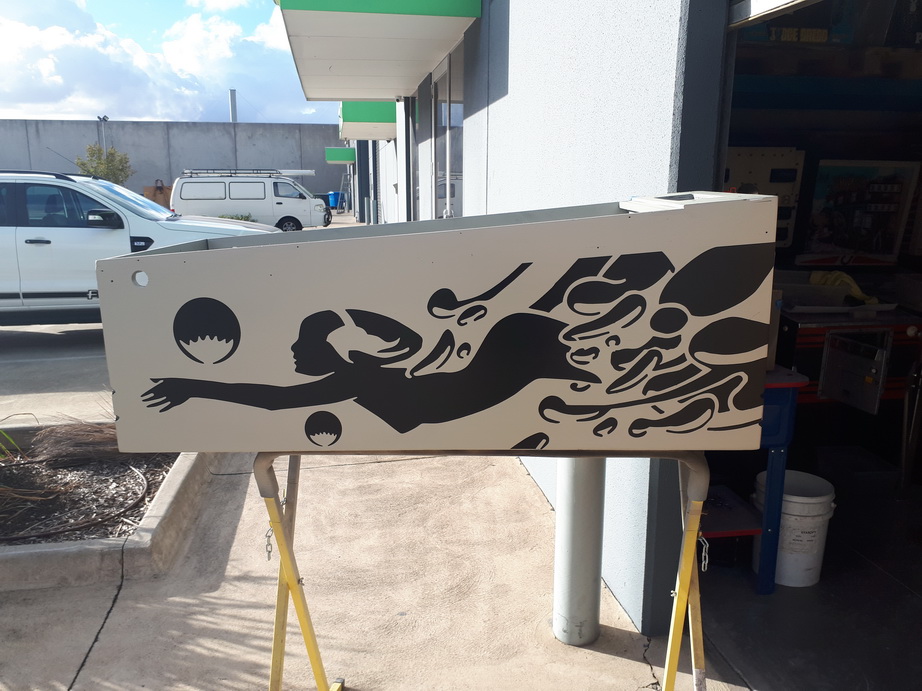
"Less is More" - This is the finish a Stern cabinet should have.
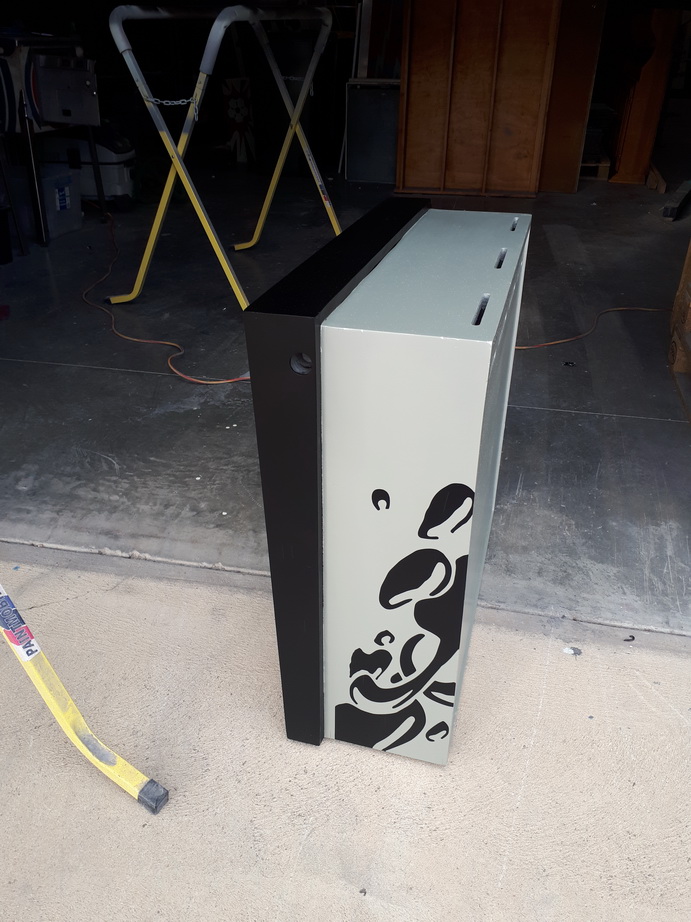

Lower Cabinet ;
Very pleased with the final result. Around 10 minutes after painting, I use a soft rag to remove any edges. Cabinet is now put aside.


