Here's a an update on the Sinbad Head, which I thought was going to be easy, but I found a world of pain with this part of the restore..Read on...
Before PicturesNothing too exciting, just dirt, corrosion and rust.. Lots of rust, but everything was structurally ok. Paint is in great condition, and there is no moisture in the wood or anything abnormal...yet...
Score display and Credit Display missing - anyone have spares lying around - PM me..
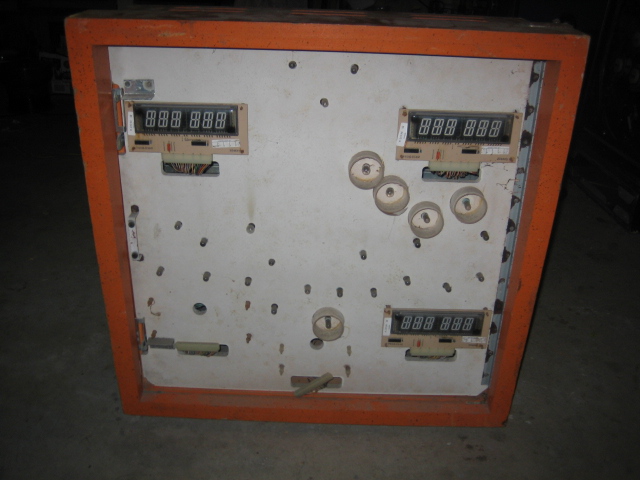
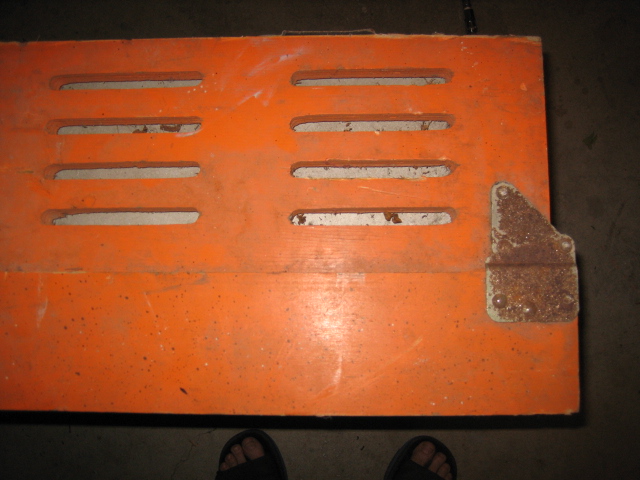
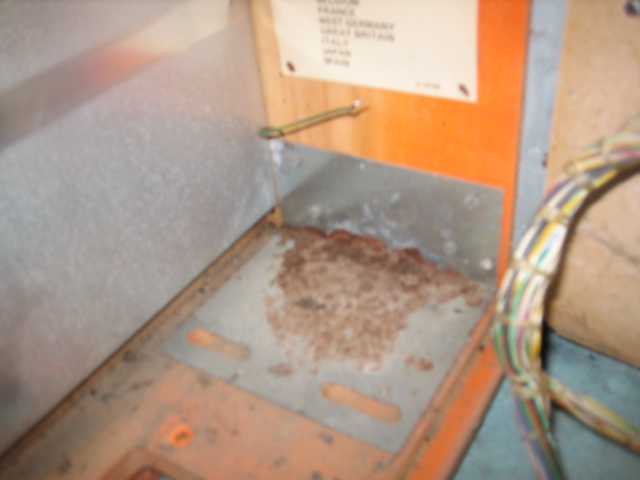
Worst rust spot on the entire game.. Luckily - never seen...

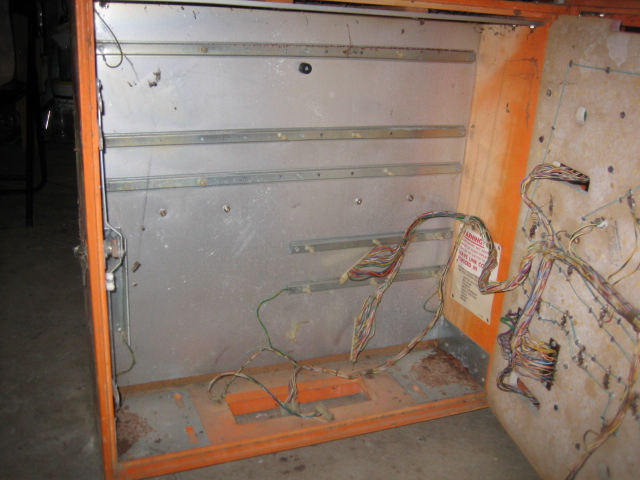
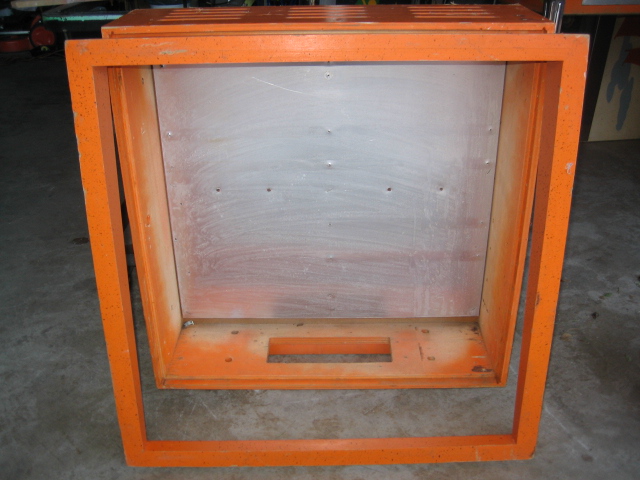
Shock, Horror - No boards

That's how it was bought, and there's a PI -X4 going in this machine later on.. More rust, but all the parts are intact ;
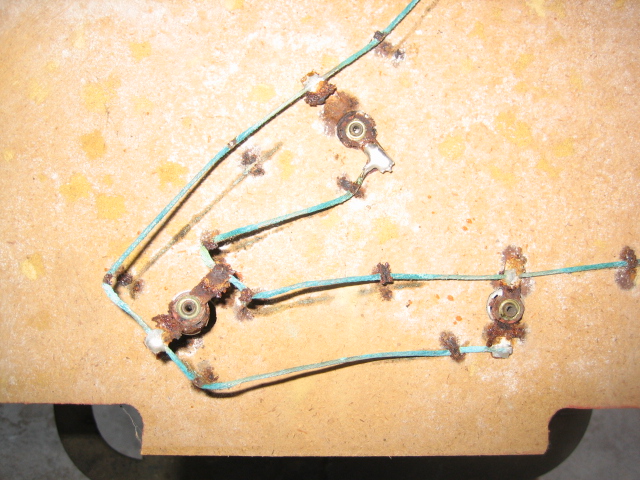
Hmmm.. That looks nasty... Bit of corrosion for you ? Gets worse !
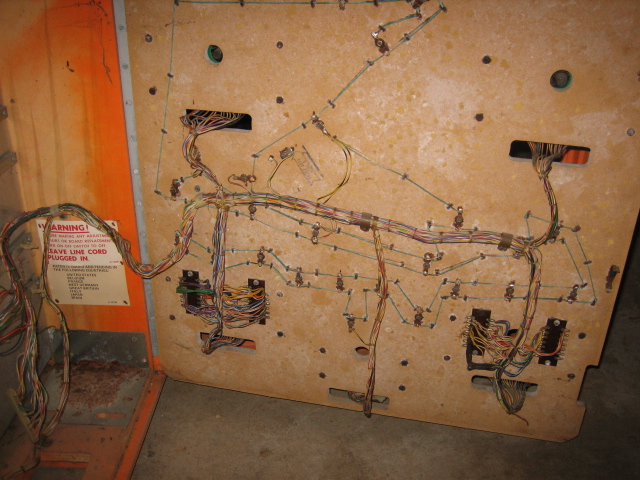
GROSS

!
WTF is this crap ? The corrosion has attacked the GI Braid and it literally is falling off. The staples are completely rusted !

More pictures ;
 After Pictures
After all the main parts were stripped, I placed all the metal parts in a container 1/4 full of Ranex and let it soak for a few hours. Most of the screws were so badly rusted, I just threw them out. While that was happening, I quickly cleaned the cabinet with, you guessed it, NIFTI

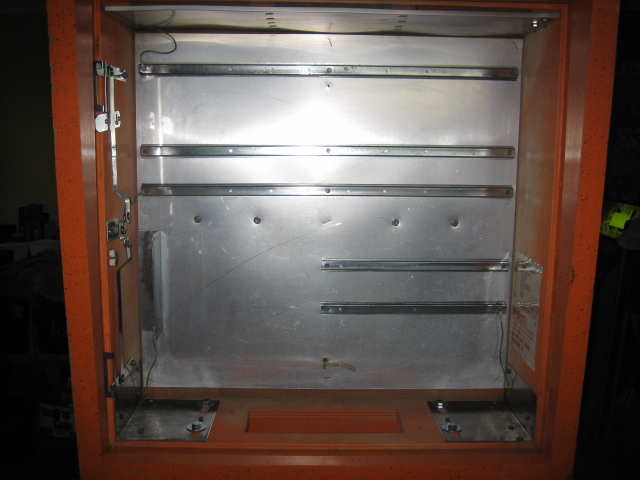
I removed the metal parts and polished them further on the buffing wheel, or with a 000 Steel Wool and Brasso. Spend a lazy afternoon and then reassemble... I'm surprised it come up this good..
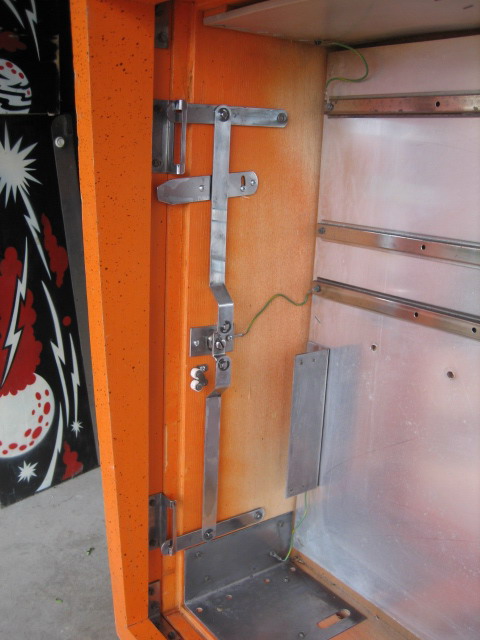
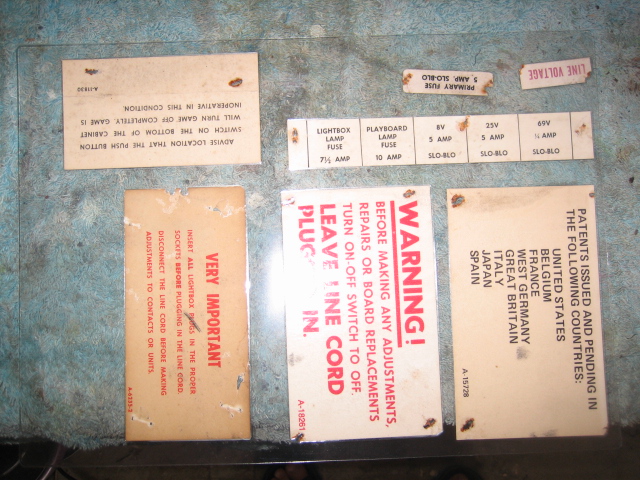
Notice the cardboard cards ? I cleaned and then Laminated then into one sheet. Then used a staple gun to mount them on the right hand side... I used my laminator that I have at home... It looks like this after passing it through the laminator...
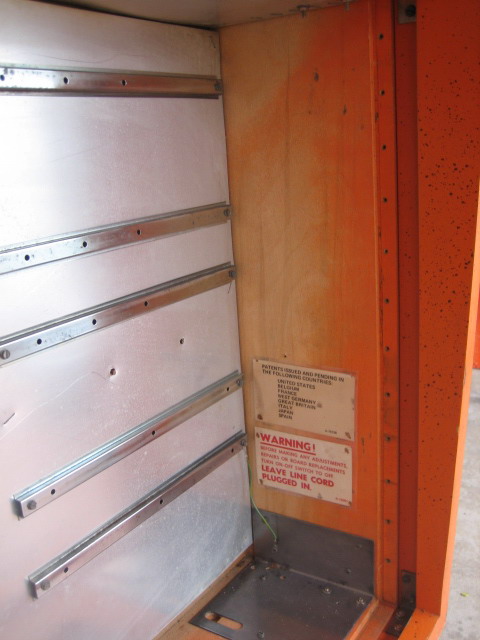
Then I just trim the cards and staple them where they originally belong.
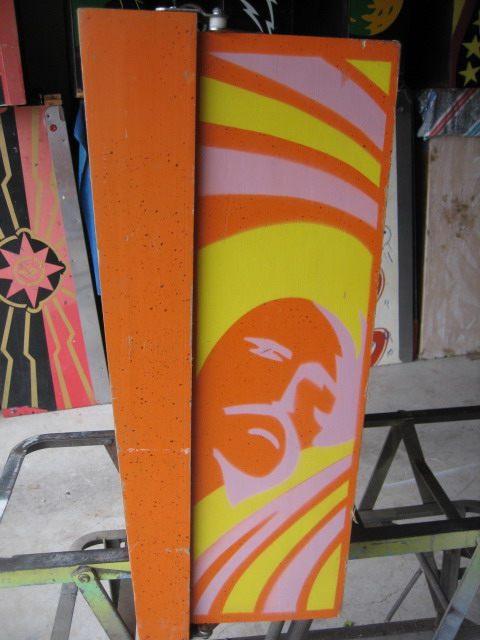
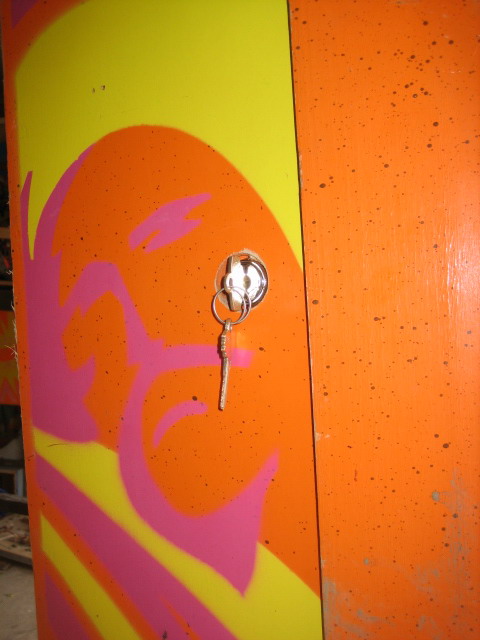
Nice paintwork on this game. The picture (below right) is just a "jab" at those that keep calling me "anal" with my restores... I was thinking of you guys while buffing the lock and brushing the original keys

... But I enjoy this level of detail.
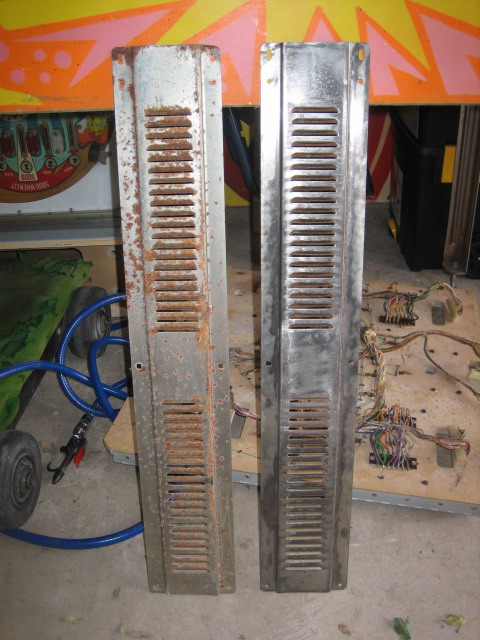
 Rear Panels
These were bloody UGLY and tear AGES to clean.. Rusted and corroded.. I used my bench grinder with a wire wheel and went nuts. Then I used an old paint brush with Ranex and went to work with steel wool. Finally, a quick shime with Brasso and it looks fine..
LHS Picture, LHS panel was exactly as they were. LHS Picture, RHS panel was after Wire brushing
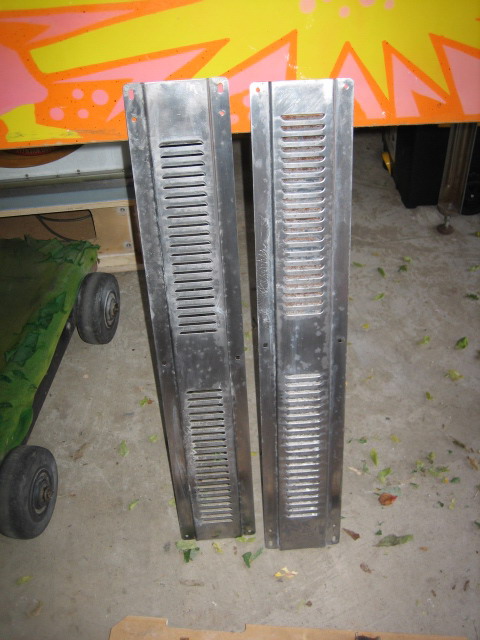
RHS Picture is both panels after Ranex and polishing
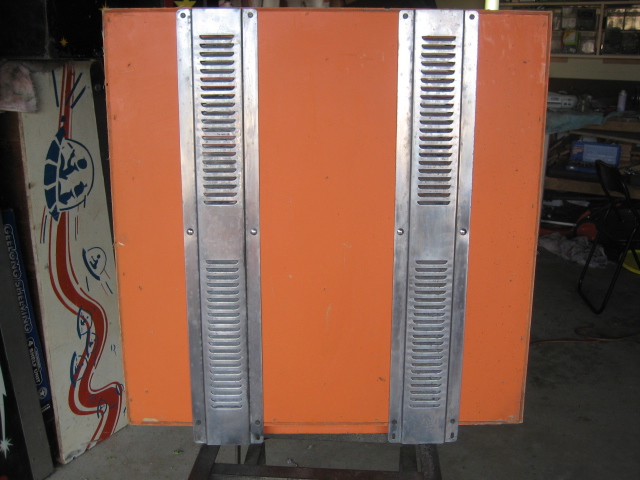
Bolted on to the rear of the Head...
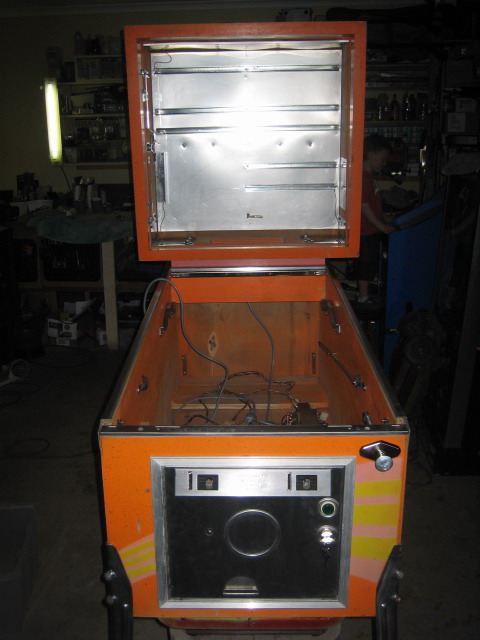
Close up of the finished Head ( without the light board)
PBR Order arrived today
!!!

Installed the Shooter Rod, Lock and a few other parts.. Head is mounted and here's the last picture !
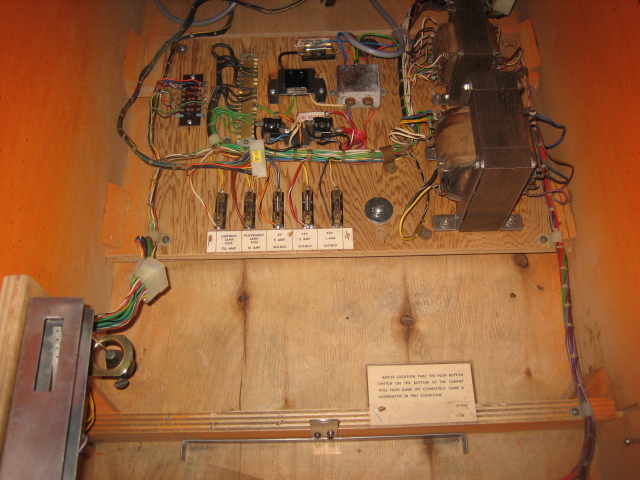
Oops.. Forgot this one
- This is the Transformer board with the Laminated cards.. Also the tilt board is installed.
Till next time


