Here is a mini guide to my cleaning process for playfield parts. I use this method for all machines. The purpose of going through this process is simply to have all the dirt off the parts you want to put into the tumbler. It is preferable to put CLEAN parts into the polisher -after all - the tumber is a polisher - not a cleaner.
All you need is a couple of old containers, tooth brushes, paint brush, green scotchbrite pads and windex. Don't use the cheap window cleaners - they just don't work. I use recyled water out of the tank.
Here's all the playfield parts with no hardware attacked - straight off the playfield
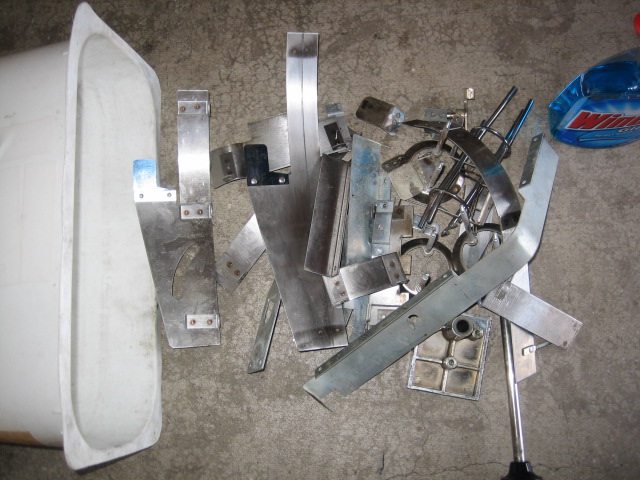
Windex - I started using windex for cleaning metal parts after I ran out of Nifti one day. Found Windex to do a far better job. Spray the windex into the container - around a dozen squirts !
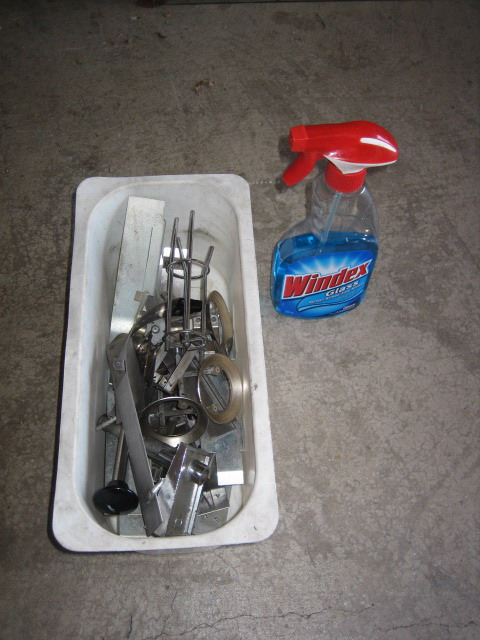
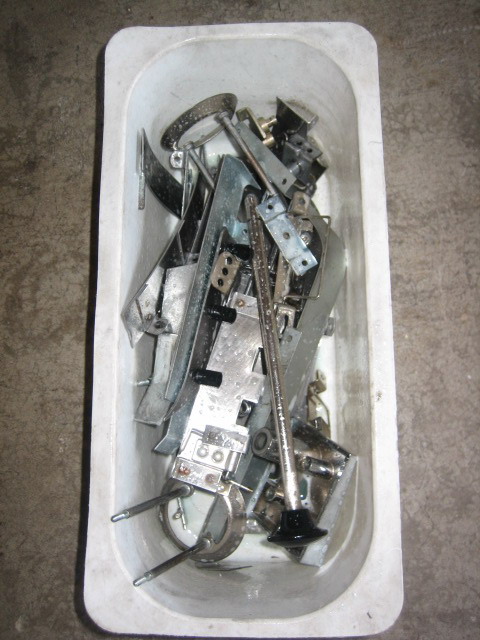
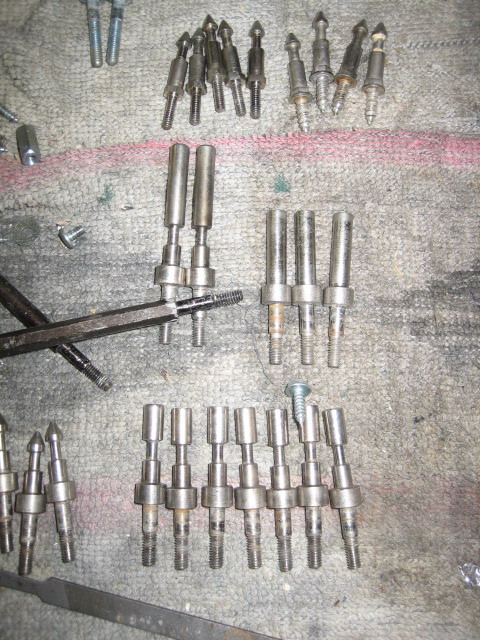
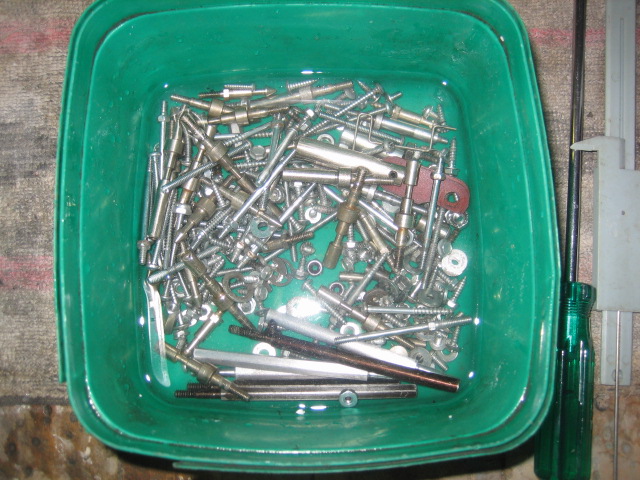
Here's the playfield hardware. FILTHY.
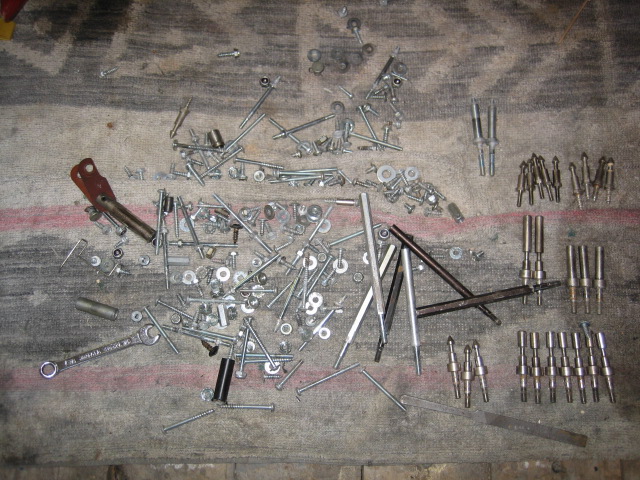
Same deal for the hardware - a dozen squirts of Windex.
Boil the kettle and pour over both the containers. Just enought to cover all the parts. Put these two containers aside. The bucket on the right has COLD water and a couple of sprays of nifti. Throw the plastics in the bucket and clean them with an old paintbrush. Rinse them in a clean bucket of water and leave on a towel in the sun !
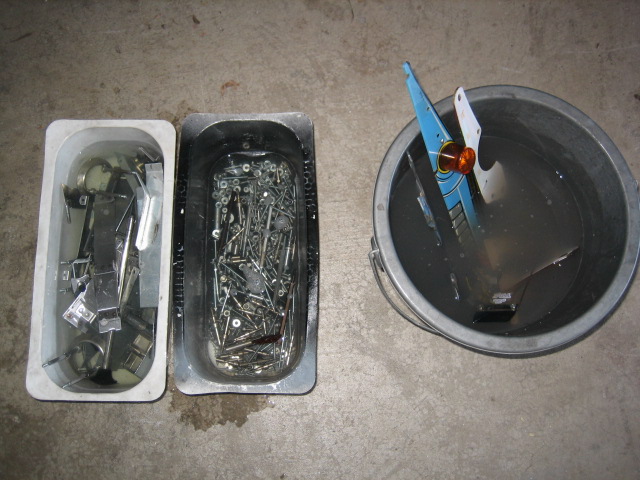
You can leave the metal parts overnight - but I removed them after 3 hours. Notice the water is very dirty, but the parts are still a little dirty. It is more the bottom of the parts where the threads are.
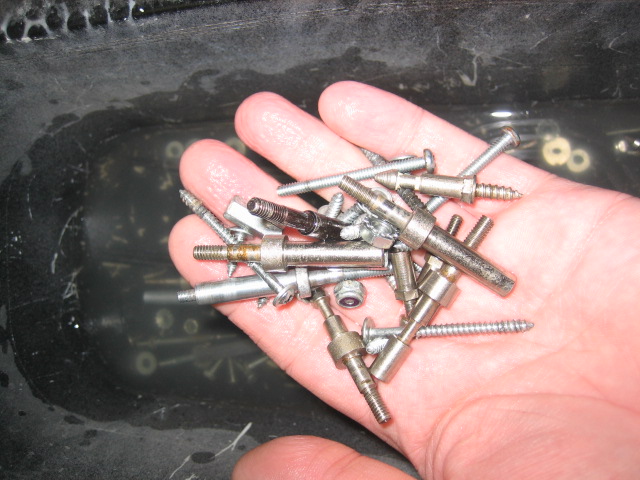
So we take the hardware up onto the bench. I have a smaller container that will help remove all the dirt. Grab a handful of hardware and drop it into the small container with the blue top. spray windex in the container - two of three sprays. Close the lid and shake for a minute. Take the top off and then scoop a capful of clean water and pour it into the container. Close and shake for another minute.
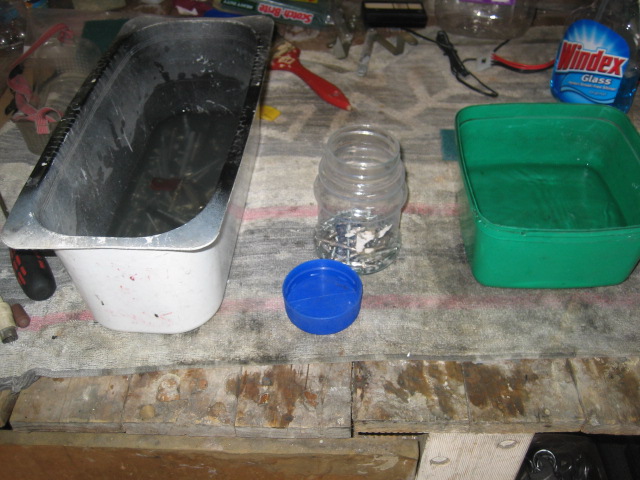
This is where the really bad filth is removed - this is the filth after 2 minutes;
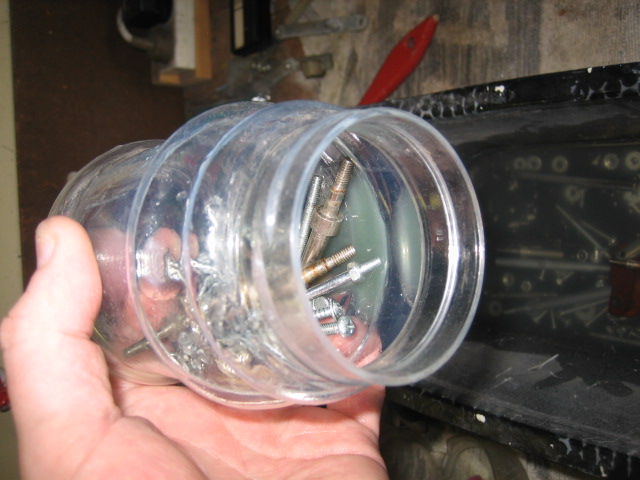
Keep going for the rest of the hardware

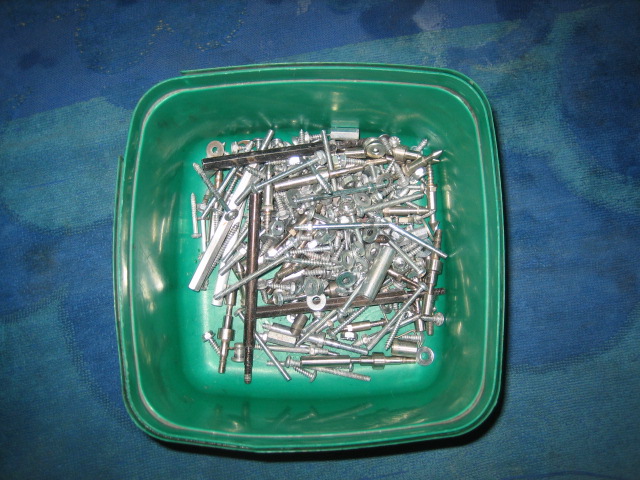
Still a bit dull - but clean enough to go into the tumber.
On to the playfield parts. While they are still in the solution of Windex and filth, use an old toothbrush and green scotchbrite (cut into smaller pieces). Just clean the dirt off - as the boiling water and Windex displaces the dirt, but you have to remove it using the toothbrush or scotchbrite. Regrain the metal lane guides with the scotchbrite pads.
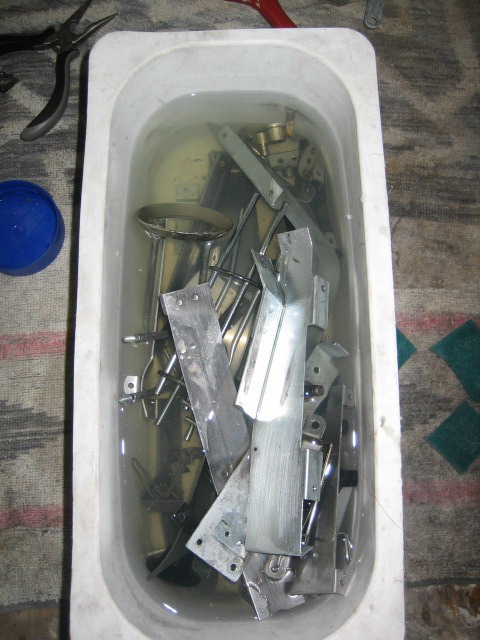
When done - the water looks like this !

Back to the hardware - Just use a small piece of scotchbrite, and wrap it around the end of the posts, and turn in your hand - like chalking a billiard cue !
Rinse and dry - parts are ready for the tumbler !!
It reads like a long process - but it is quite easy after a few machines.