As I mentioned earlier, I was very fortunate to source a NOS playfield. Here it is …..
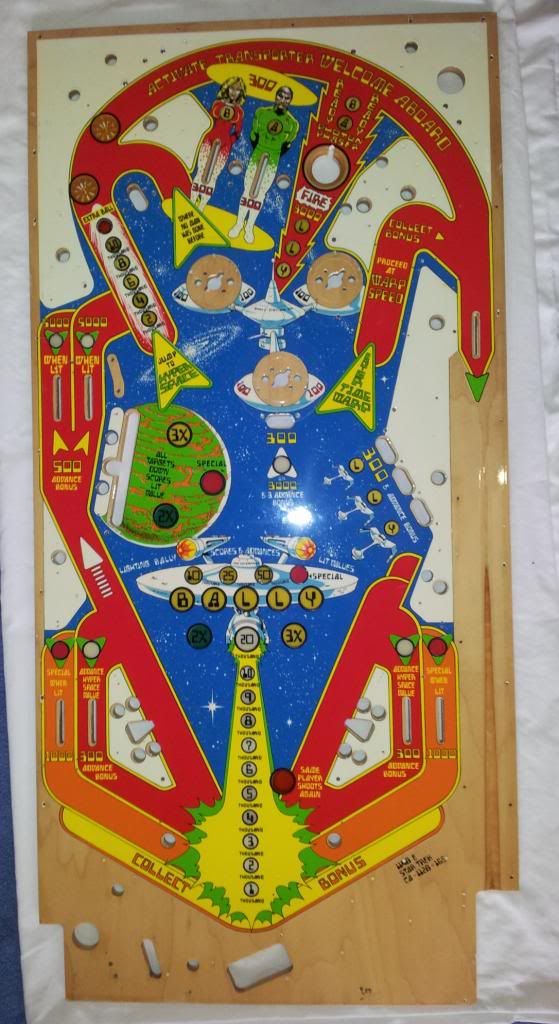
It is in excellent condition, no warping and the surface was very smooth to begin with. I begin by first applying the thumper bumper mylar rings, and now is then an excellent time to wax the playfield. I put two coats of wax on.
With the original playfield removed from the cabinet, the playfield swap commences. I decided, as I have done now on all my playfield swaps, to retain the original illumination wire. I did a bit of web searching on this, and found enough evidence (at least on the web) that using the original braid is just fine. I see people from time to time refer to this as “ground” braid, but this is incorrect. For the switched illumination braid, the braid of course is +5V, and the grounding is done by the shielded wire connected to the light.
Anyway, back to the restore. The upside to re-using the braid is minimal work since no re-soldering of braid to sockets is needed (as well as the laying of new braid). The potential downside is losing some current due to damaged braid, as well as dealing with those lovely 30+ year old Bally sockets that tend to be intermittent. My experience was that I had to solder a few parts of the braid to restore continuity of a few strands, and if a lamp socket was dodgy I simply replaced it. I have now done 4 playfield swaps (yes, more restoration threads to document on the forum), but having played these machines and operated them since then, I can say I am more than happy with the lamp operation and really don’t see a need to replace the braid – just my experience.
I remove all the braid staples with a small chisel, and all the screws holding down everything come out. I use masking tape to tape the wire harness clamps and their screws to the wire harness – this maintains the same position of the clamps on the new playfield.
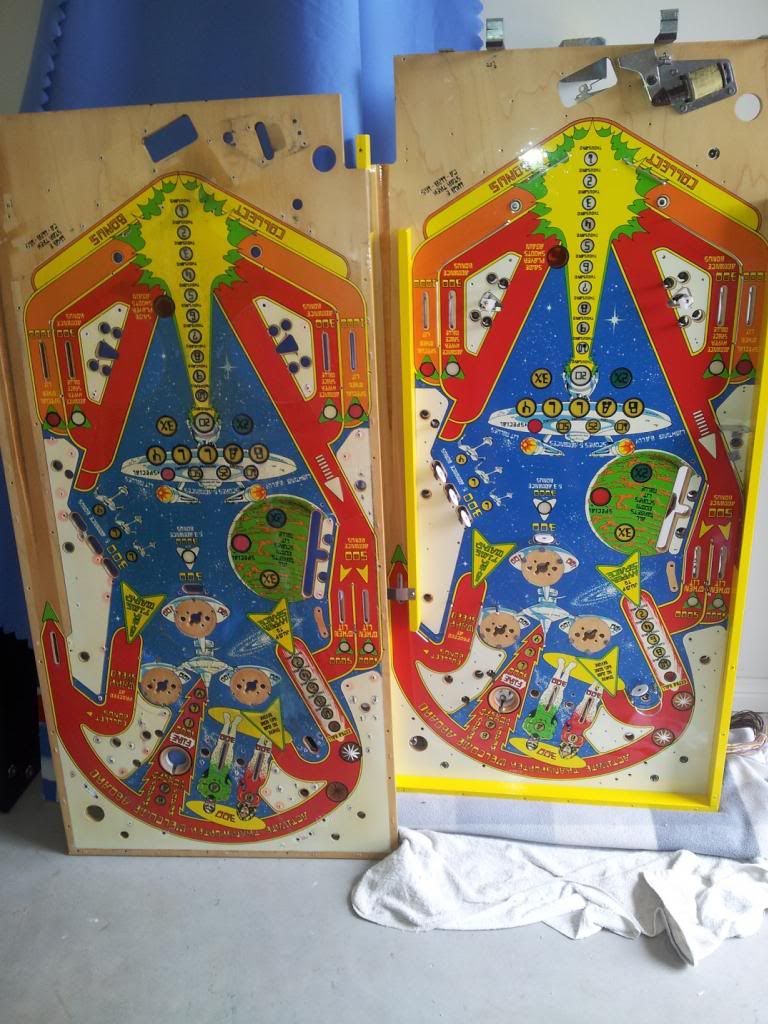
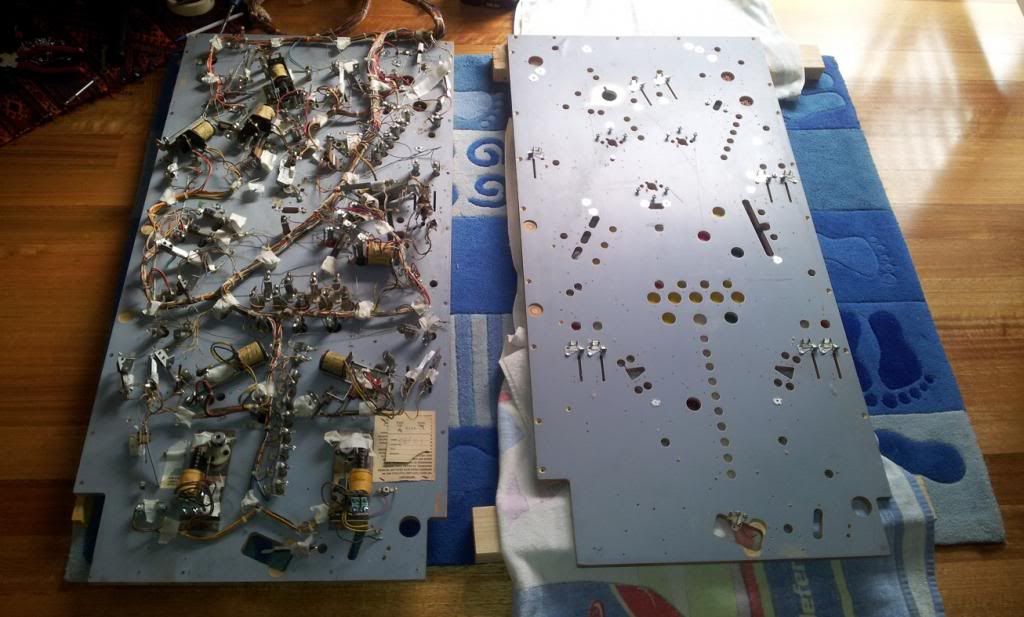
Before transferring over to the new playfield, the new playfield has all of its new tee nuts installed. Here are the two playfields just before transfer.
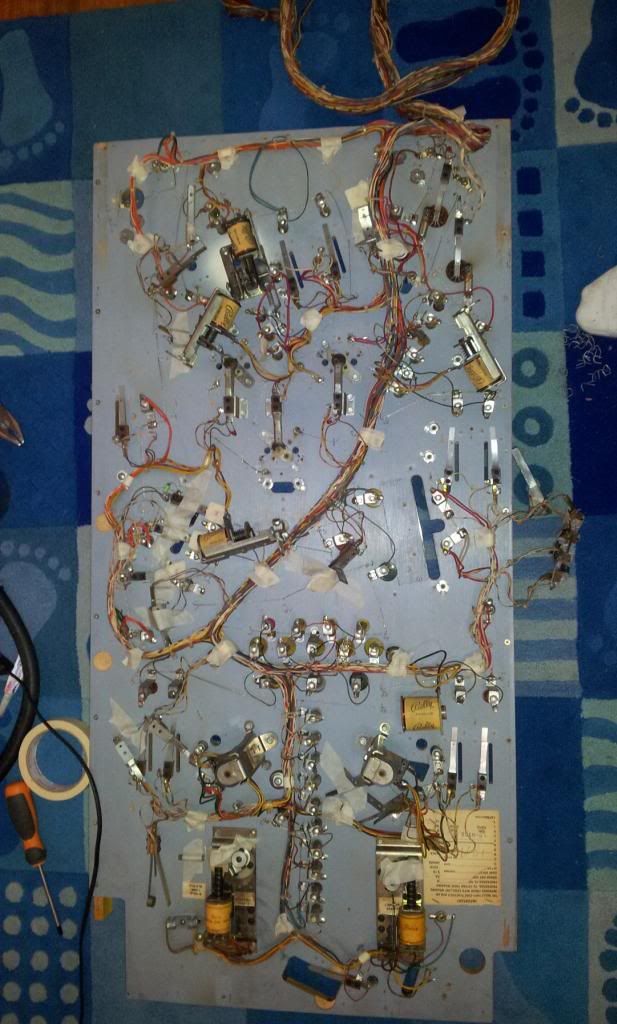
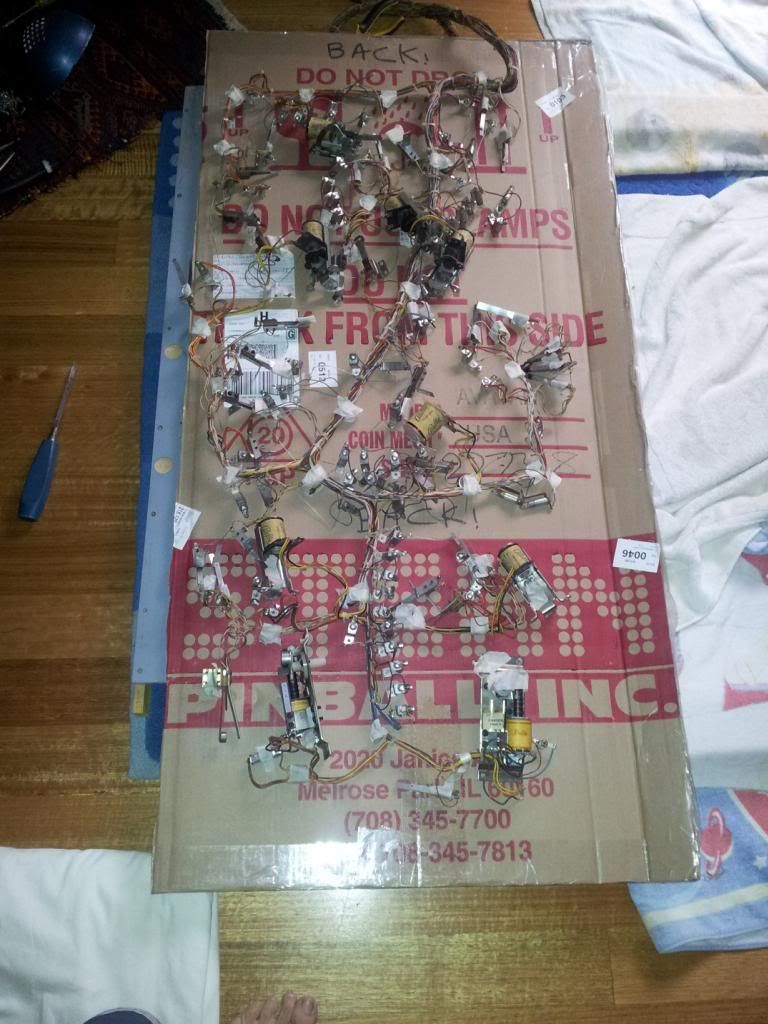
Once everything is free to move on the original playfield, I begin the process of slowly inserting a large, playfield-size piece of cardboard at one side of the playfield. This is pushed slowly across the playfield, and it is an iterative process of pushing a bit, placing some of the under-playfield components on top of the cardboard, pushing it a bit again, place some more components, etc, etc. All until the entire under-playfield components are sitting on the cardboard, as per the following image.
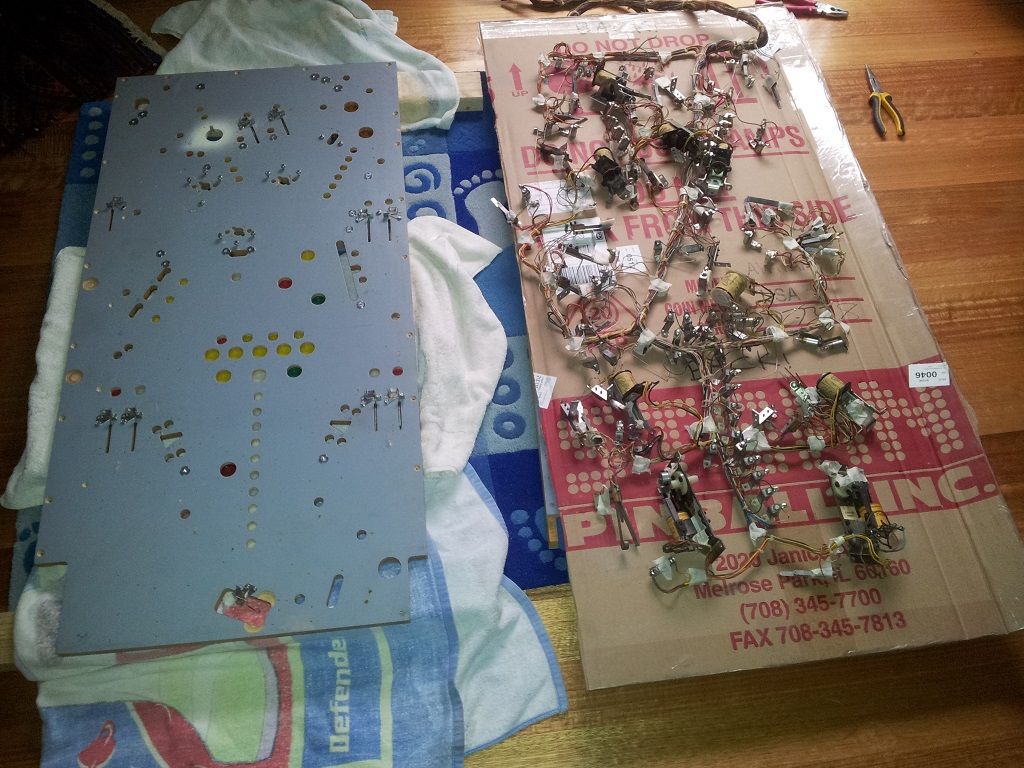
The new playfield is then placed next to the cardboard, and it is quite easy to literally slide all of this onto the top of the underside of the new playfield.
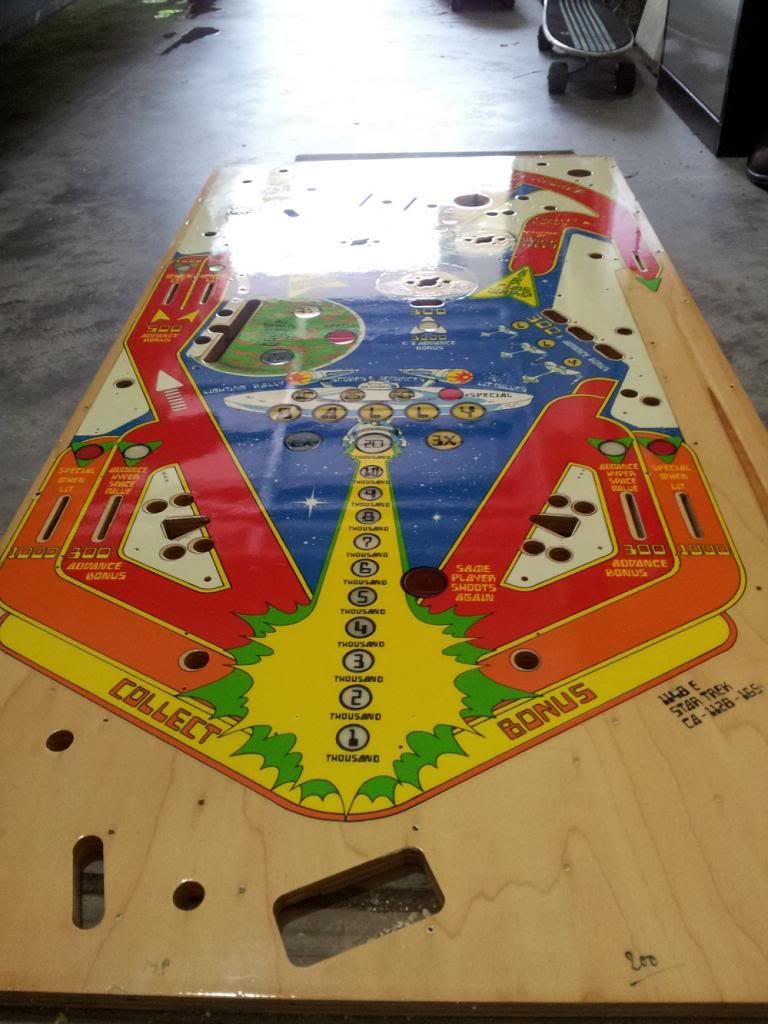
Now begins the task of fastening everything down to the new playfield. The wooden playfield rails were resprayed with a fresh coat of paint, and fastened onto the playfield. Here are the two playfield side by side.