13/2/17
My Indy decal arrived and im not very happy with it, the reprint of his shirt is spot on, but his skin colour looks terrible (picture doesn’t really show it), and is also very grainy. Looks like the resolution just isn’t there. The colours and artwork underneath him wont lineup or match the pf either, grrr..
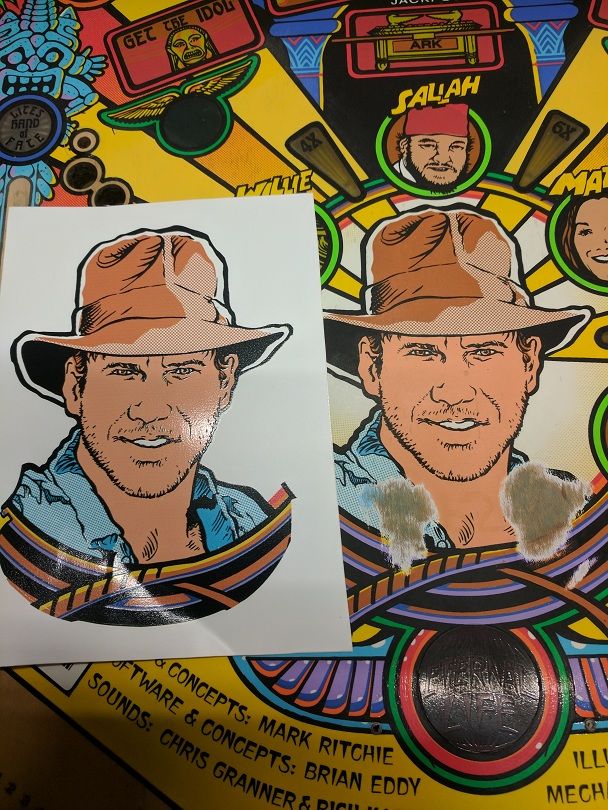
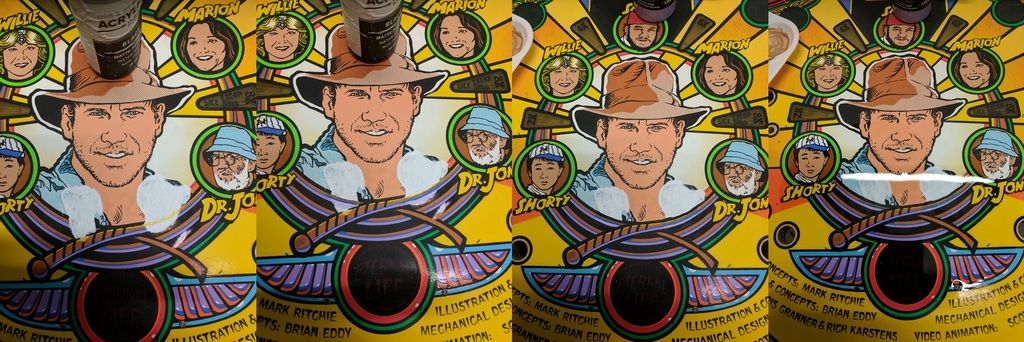
After some deliberation I decided I will use the decal shirt area’s, but touchup the rest myself. The washed out brown colour was a b*tch to match with what I had, but im happy enough with it. I will clear the pf before applying the decal, just to give it a nice smooth surface to attach too and as I will be doing it using detergent so I can line it up properly I don’t want to ruin my touchups. The last pic in this row has a splash of shellite over it to see how it might look under clearcoat.
19/2/17
Well the Dremel was cactus so had to go buy a new one, oh well, cant complain about how long the old one went for, man it did some work!
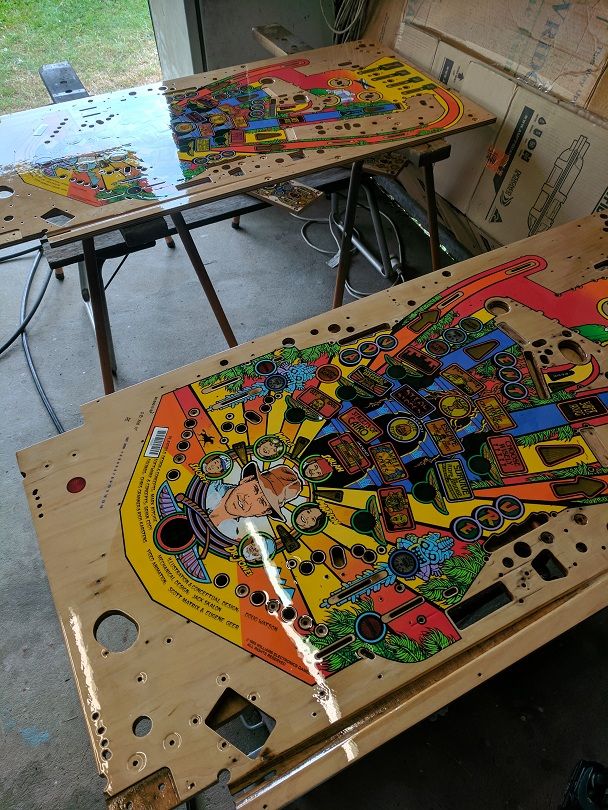
Finished cleaning up both pf’s now, you can get some great little bits for the Dremel to clean out the slots and holes.
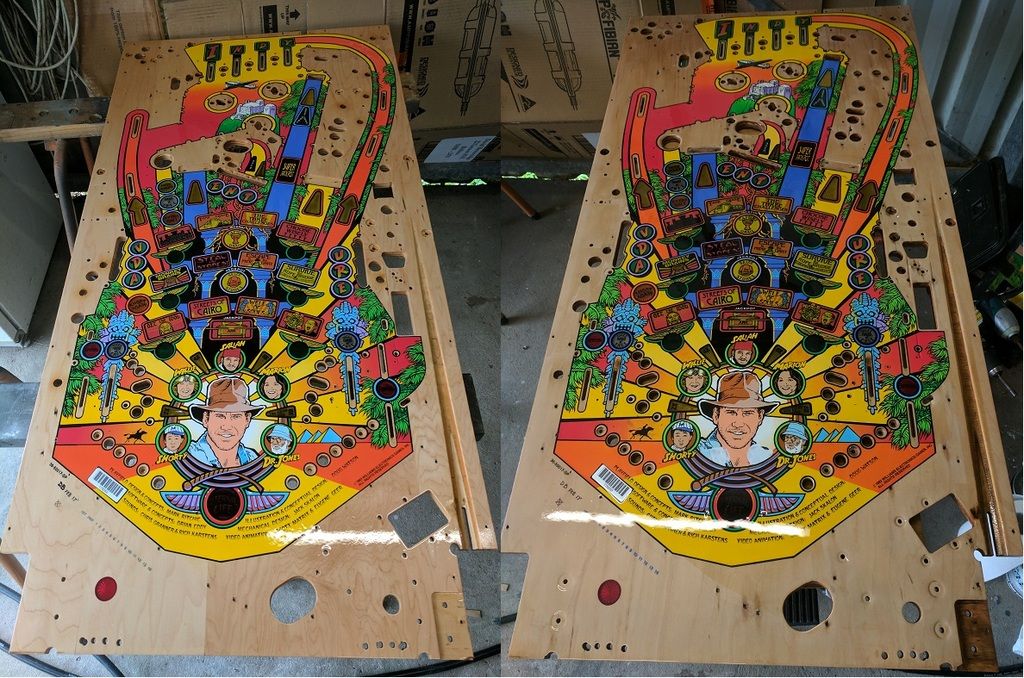
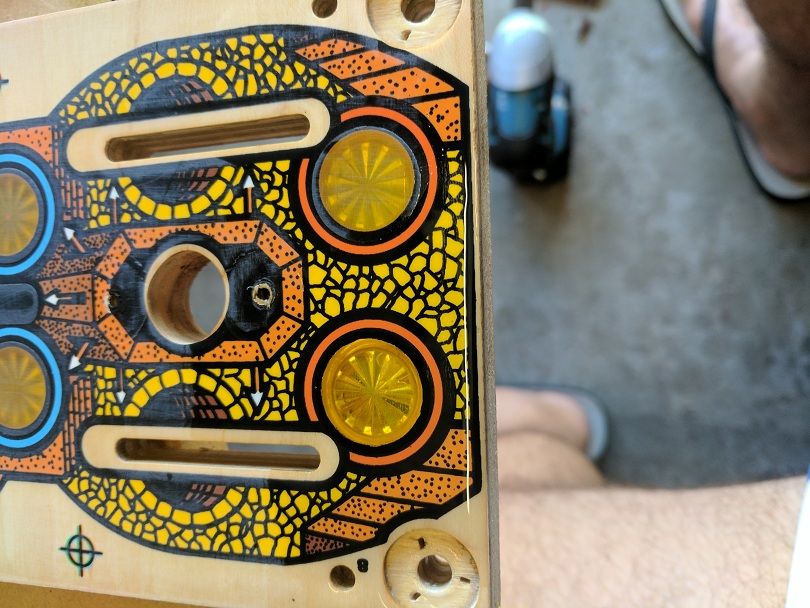
Onto the mini pf’s, they don’t get anywhere near the amount of ball movement as the main ones so they should be pretty good ontop, under may be a different story though. This is the flood victim underside..
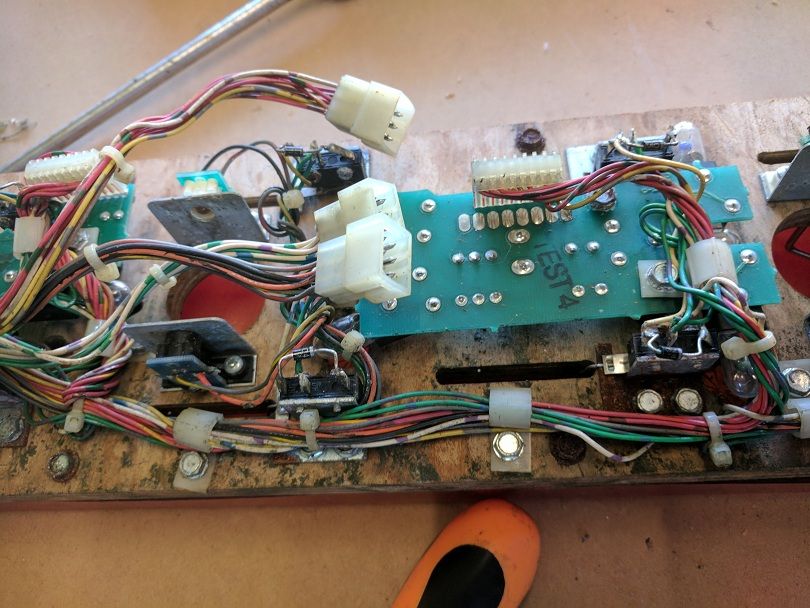
I will strip all this off and clean it up after I clear it. The other pf was clean underneath.
Just have to give them a clean up and prep them for clear, should be pretty quick… Oh what’s this, some mylar over the top inserts, hope it comes off ok…
NOPE!!
Mylar took off part of the decal and clear coat (left one in picture), so a 5 minute job just turned into a half hour one.. I was very careful not to let any Goo off touch the insert (maybe not being so liberal with the stuff is what lifted the decal and clear to begin with, will never know :/ ) Anyway repair as usual..
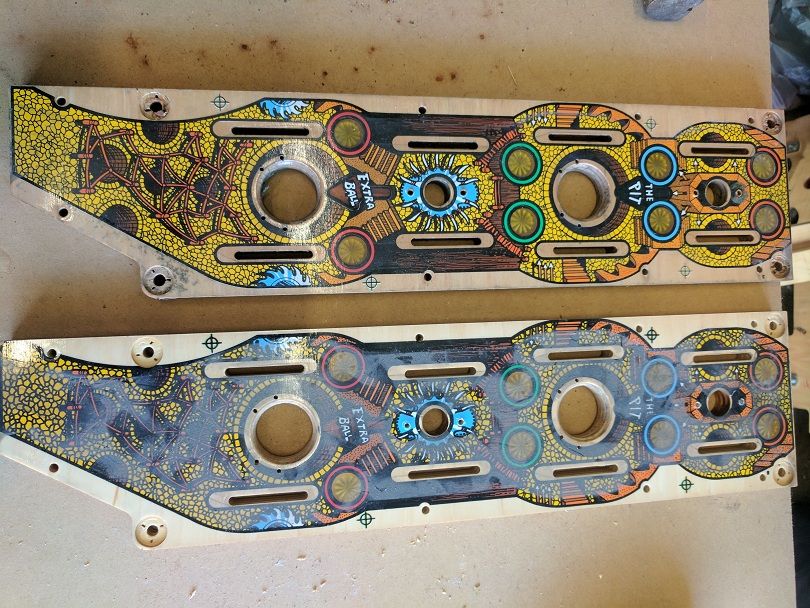
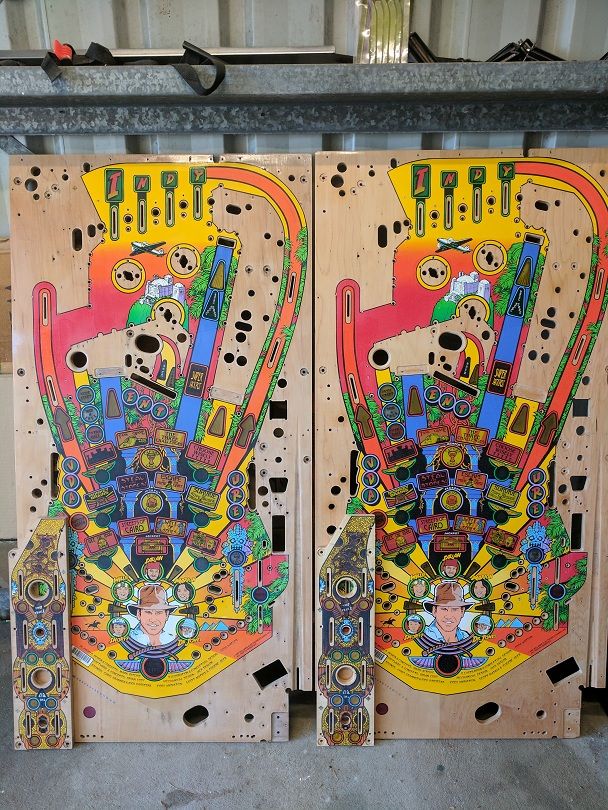
All pf touch up’s (first stage anyway) completed and prepped for first clear.
I always get a bit nervous before clearing. I don’t have a booth or anything so its all done outside, which means there are a lot of variables to take into account - weather, wind, bugs, dust.. Just have to cross your fingers and hope things go to plan. Weather forecast was good but would have to get done early to beat the wind blowing up.
Once spraying is done I get everything back in the shed asap and close up all the doors.
Pretty happy with the first coat, noticed I was a bit light on down the middle of one of them, but being the first coat it will be ok. All touchups will be locked in which is the main point.
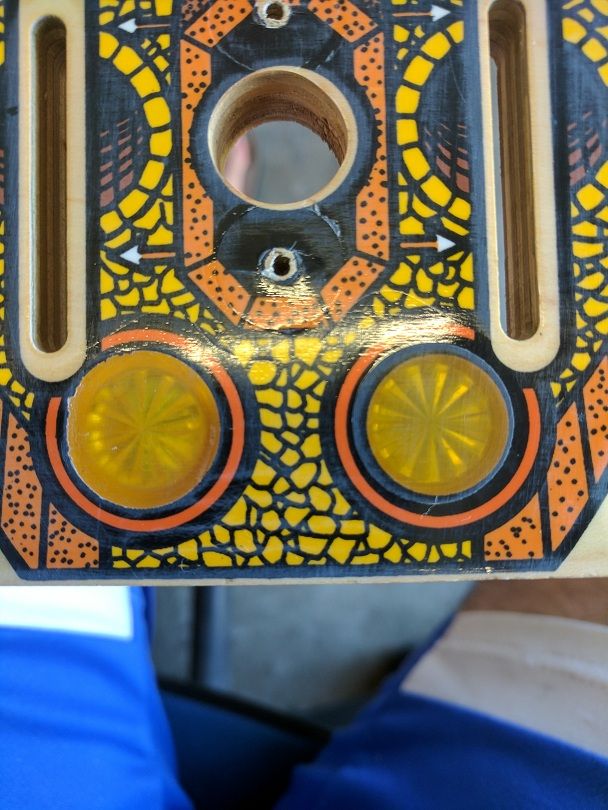
Expected as such, but this has highlighted the shooter lane on one of them (flood victim) will need to be sprayed, already have a simple design in mind (same as the FT I did previous).
Will let the clear cure for a week or two now..