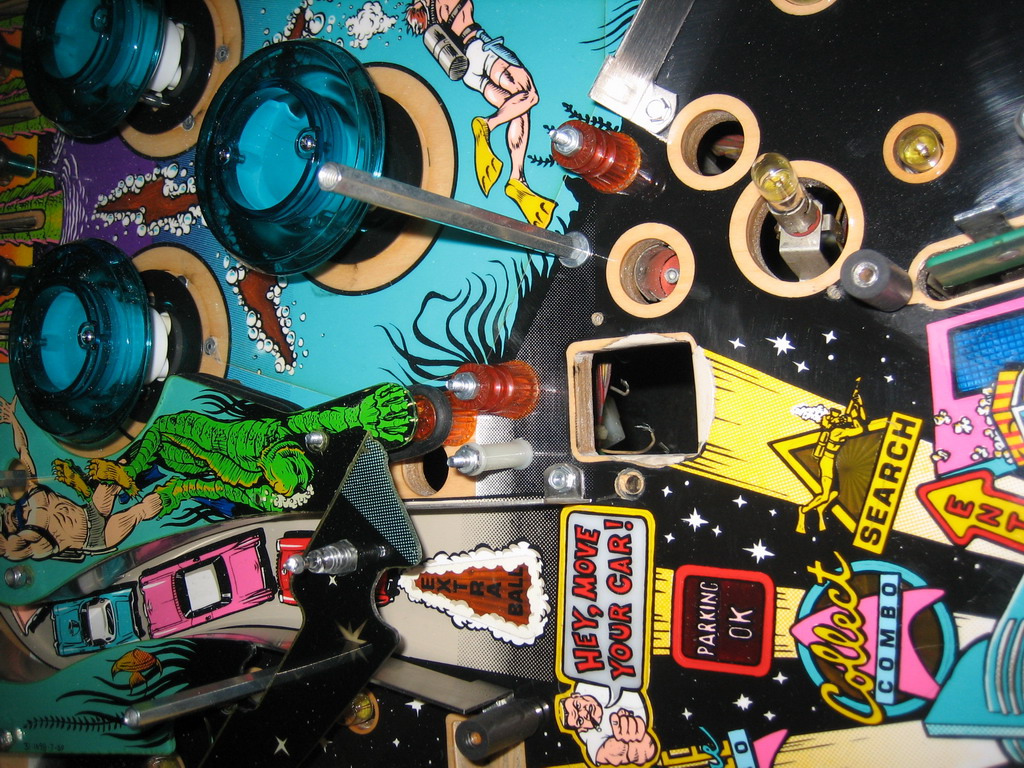
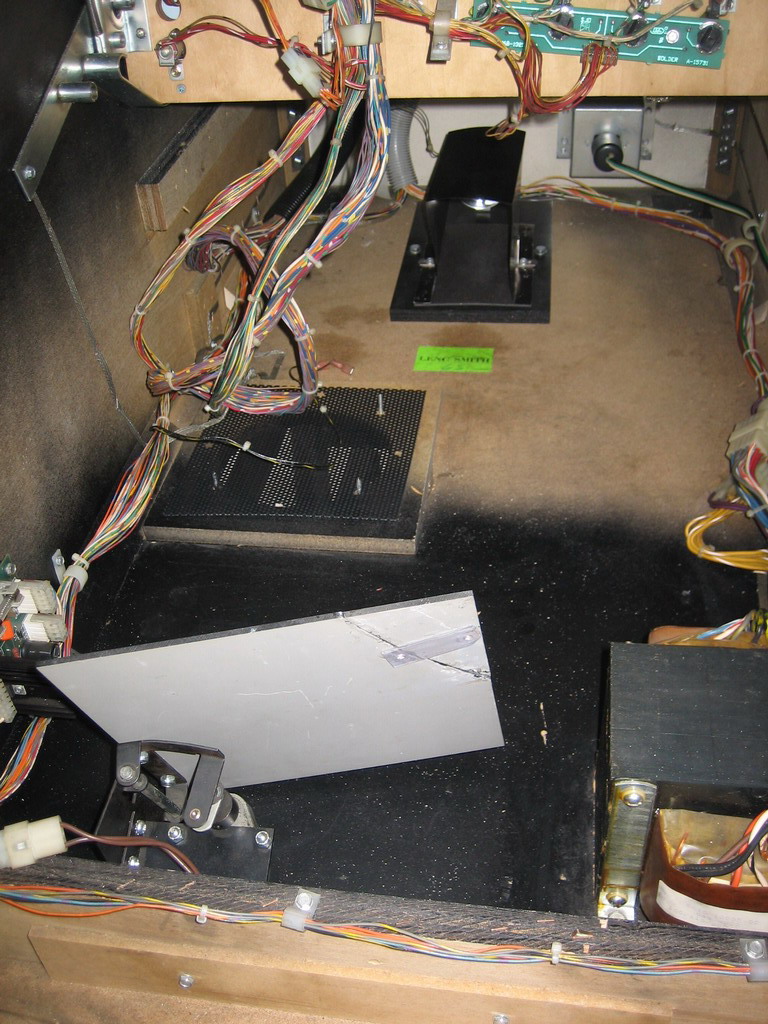
CabinetPlenty of dust and broken/missing parts. The mirror was broken and an attempt to fix it was made at one stage, but it was a poor effort. The black "Shroud" over the lamp was broken and missing, so was the black shroud around the creature window. All this needed to be addressed.
Here's the cabinet "before" picture
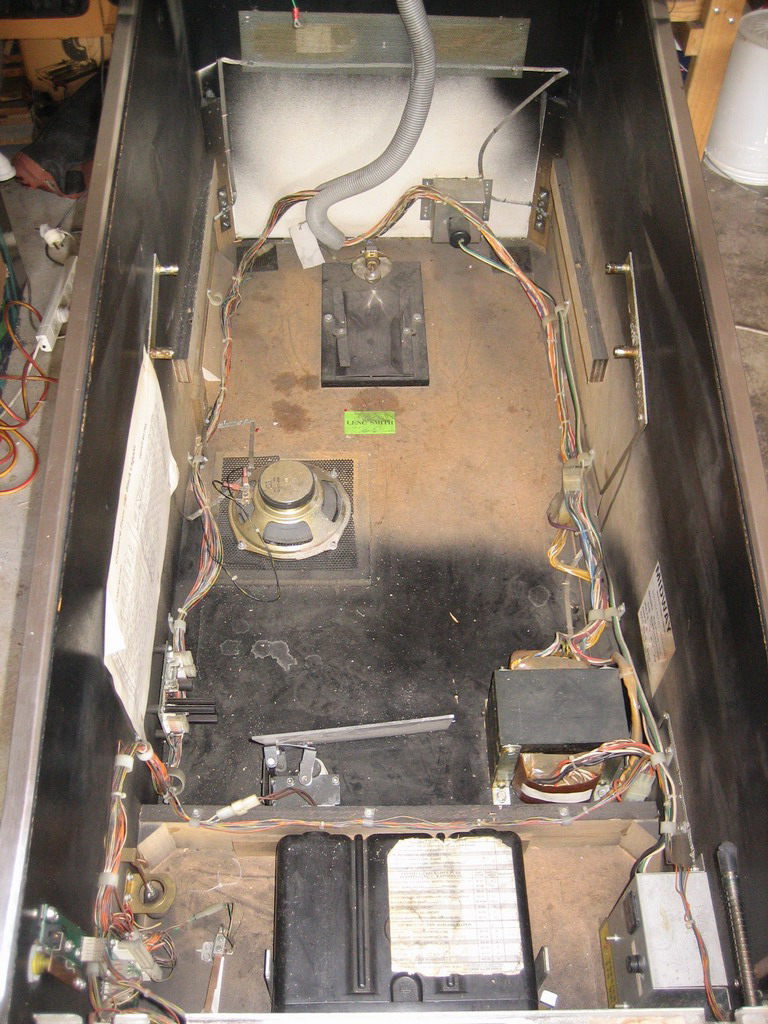
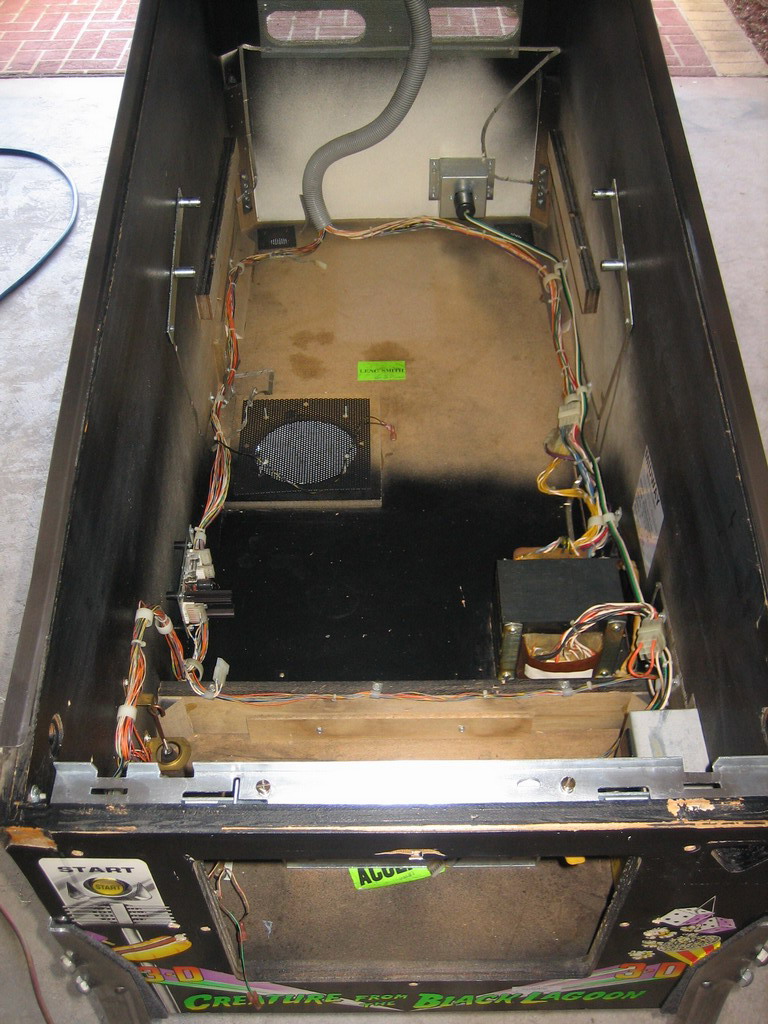
All the parts were cleaned - the Lockdown bar was stripped and cleaned with scotchbrite pads - Green, Red then Gray. Gave it a really good shine in the end. All the wires were cleaned. I will need to buy a new speaker, as the old one was broken. A new grill has been installed.
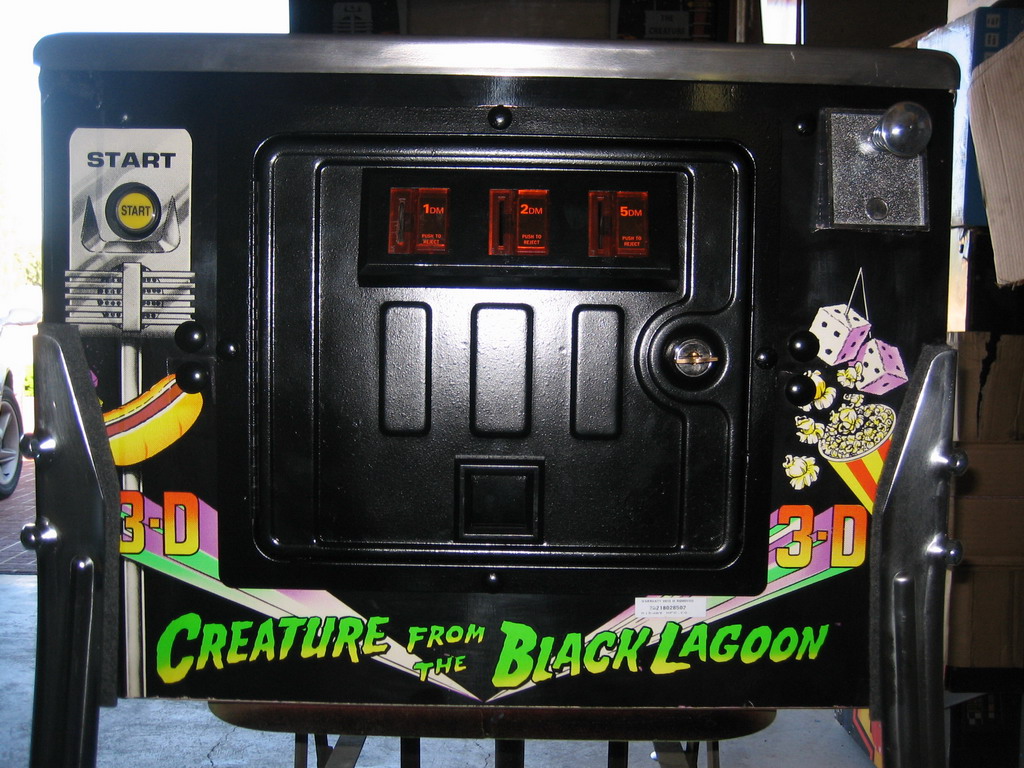
The Door was straight, but it needed a repaint. Everything else will be cleaned, polished etc.. The bolts for the security bar will be primed and then painted black. I used a better quality paint for this door, and it was a Satin Black, rather than Flat Black.

I used Mr Sheen to really bring out the "Black" on the artwork. Legs will be chrome, not the factory Grey - at the onwer's request, and I personally think it looks a lot better.
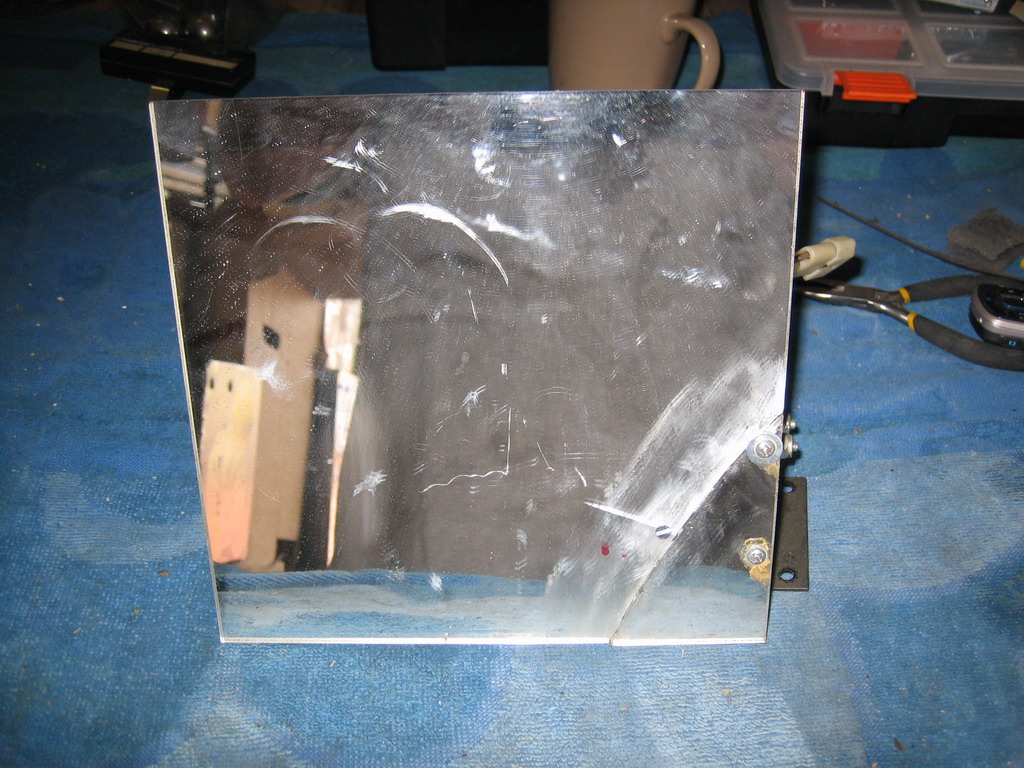
 The Mirror
Was broken.. The plan is simply to glue and re inforce the broken piece, reverse the mirror so that I can drill two new holes and it will work as designed.
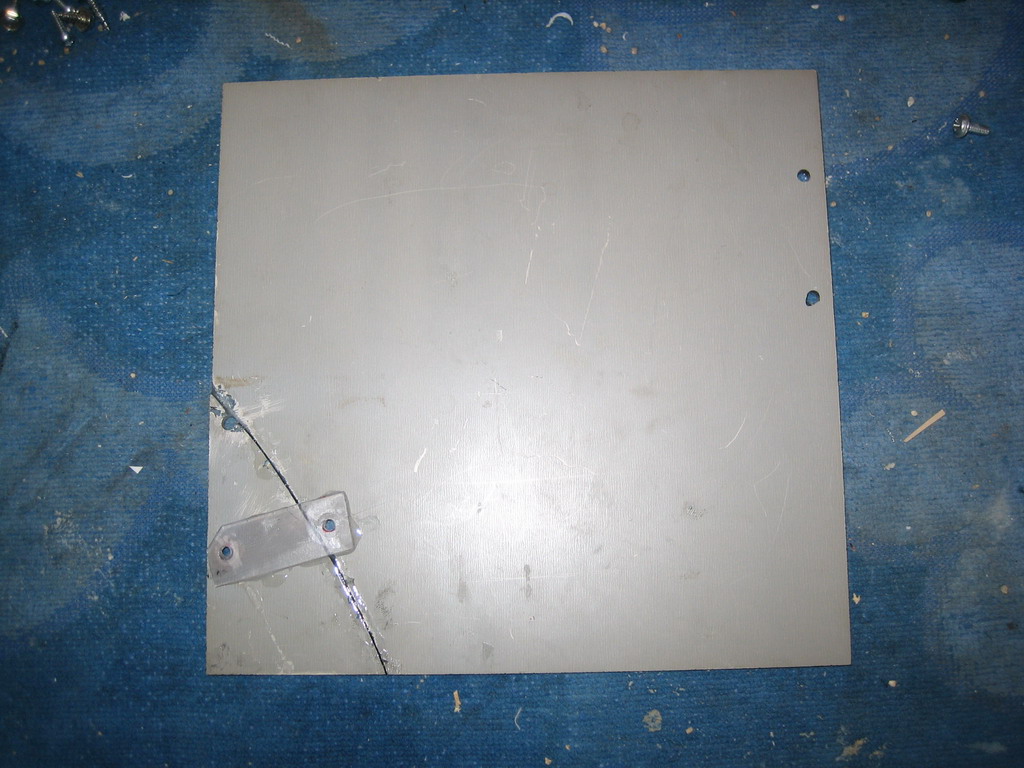
Glued with two new holes, ready to be remounted - not the prettiest picture, but it will work properly.
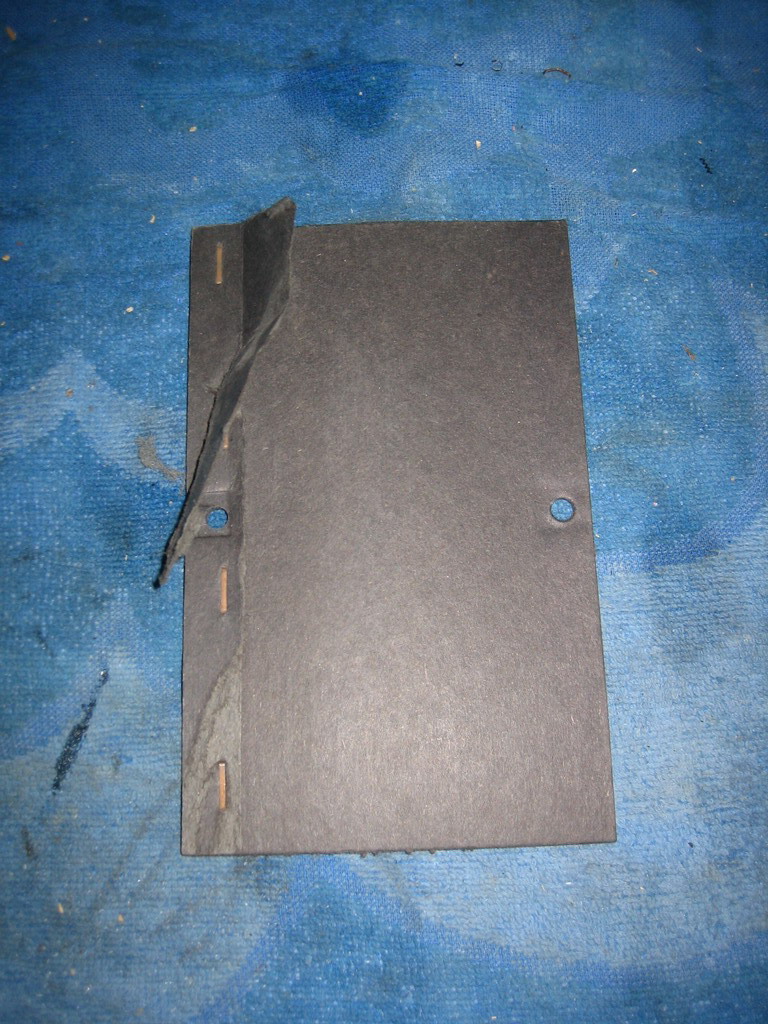
 Lamp Cover
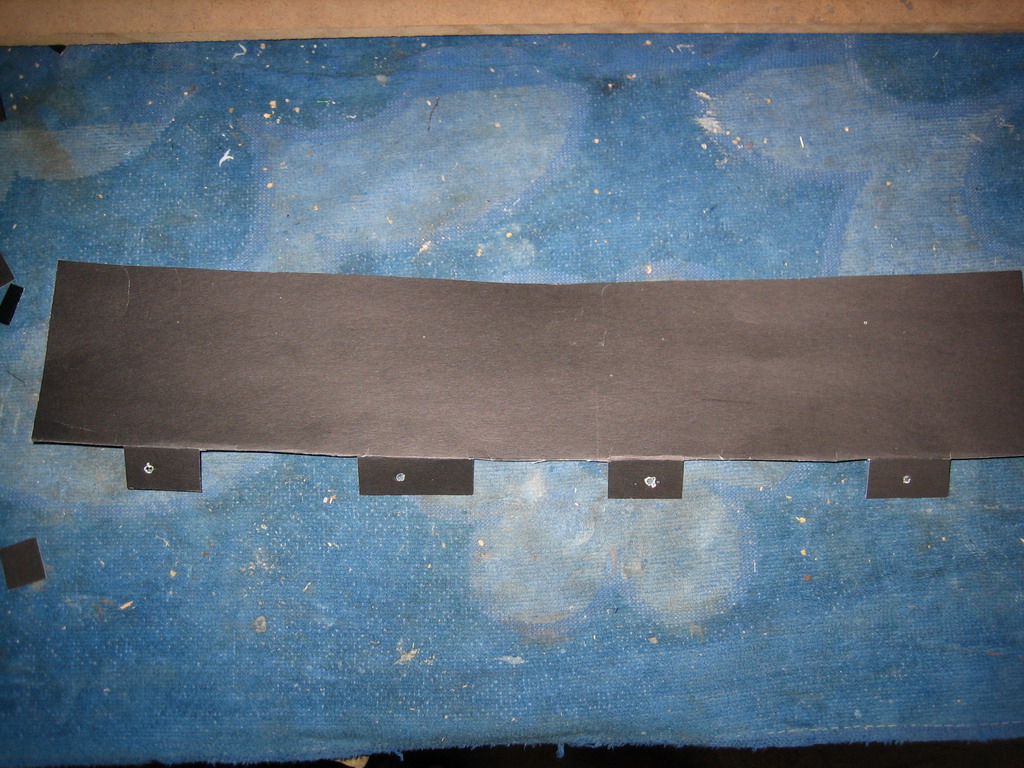
This is all that is left of the original shroud / cover
Plan is simple - use some black cardboard, cut it into shape, fold it and mount it on the base. Too easy - but it took time.
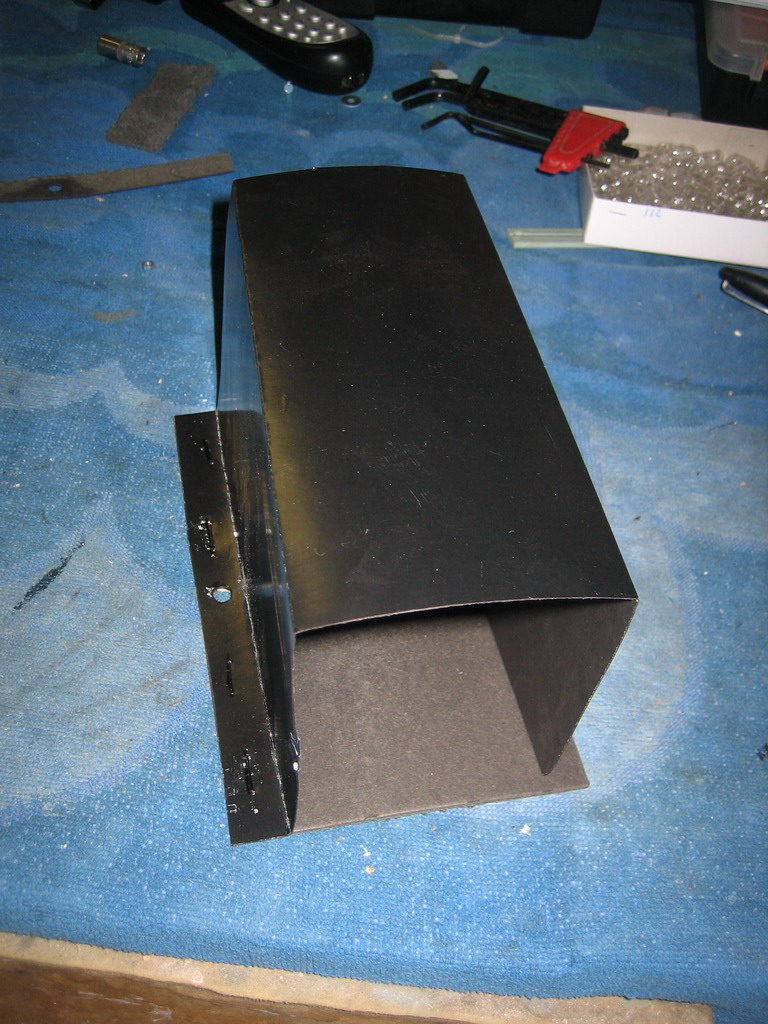
After installing the missing / broken pieces, it looks very good. I'll just have to test it later on..
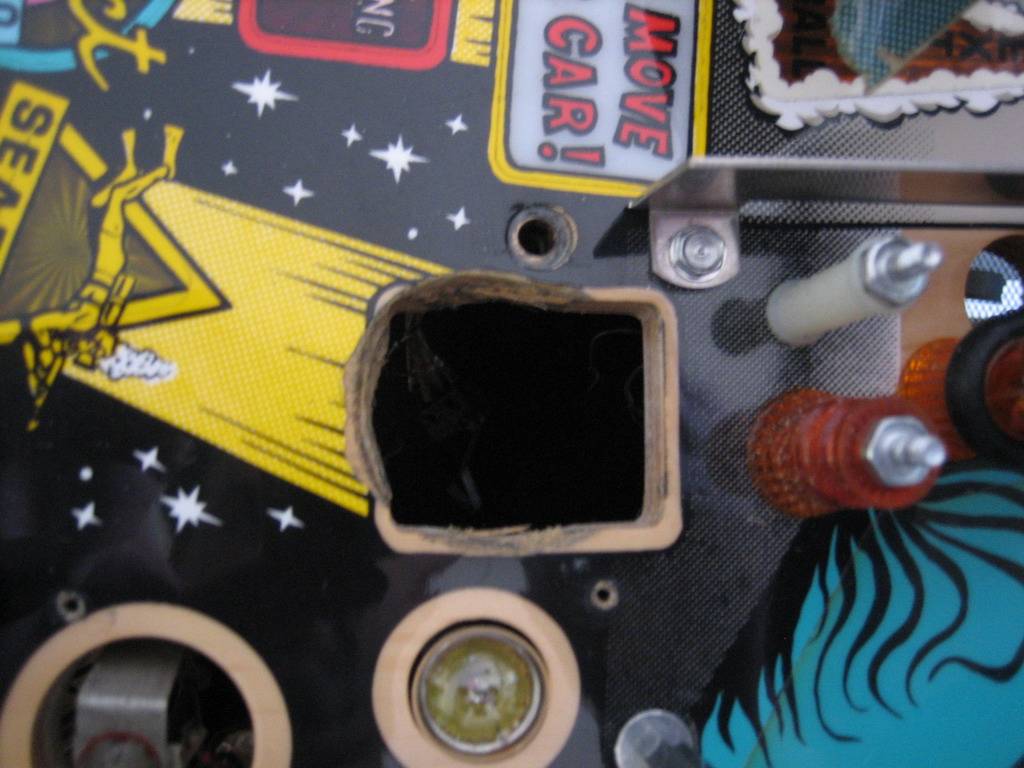
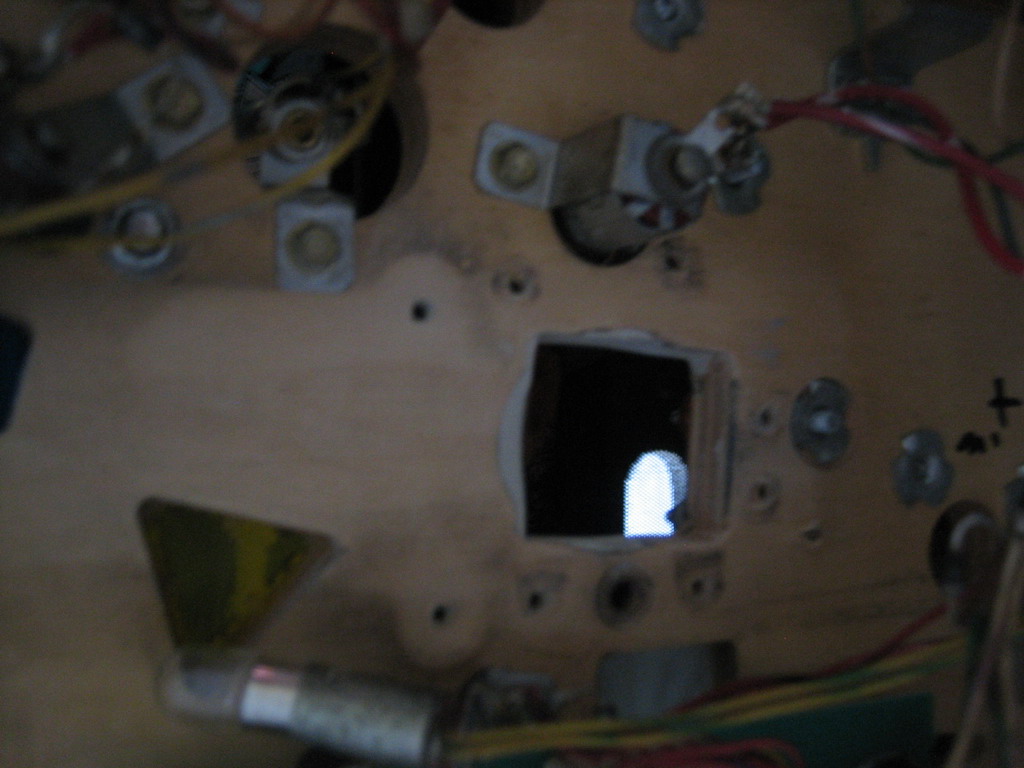
Finally, I made the backing that is missing from the creature window. I've never seen one on a machine, so I just guessed the dimensions and cut out a piece of black cardboard. This took a while, but I think I got it right.
Installed. Finally the hologram itself is installed.
 Outhole Repair
This will be my first attempt at outhole repair with a new product I bought from RTBB - "quickwood". This stuff is SO EASY to use, and it sets ROCK HARD. Love this stuff.
Here's what I'm looking at ;
I took these photos after I completed the repair, as the hardware is installed around the outhole. Basically, I used 800 Grit and a small block to level the repair, finishing with 1000 Grit and later a clean with Novus 2. The Cliffy will be installed last.
Here's a picture of the underside.
Finished repair - just need to install the Cliffy