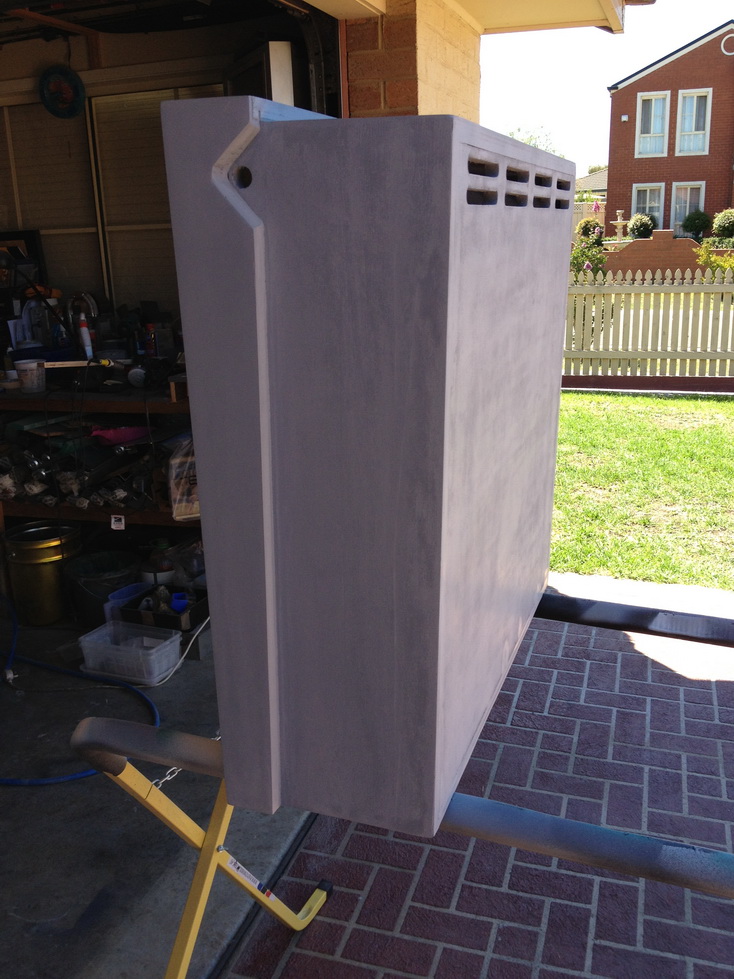
Headbox preparationThe head will be prepped and painted before the body. The body needs a lot of repairs. The head needed some minor repairs as the bottom panel was separated from the rear. I glued, clamped and nailed the head until it was completely stable. Then I can sand and mask.

Here's the headbox after primer / undercoat. I lightly sand out any imperfections.
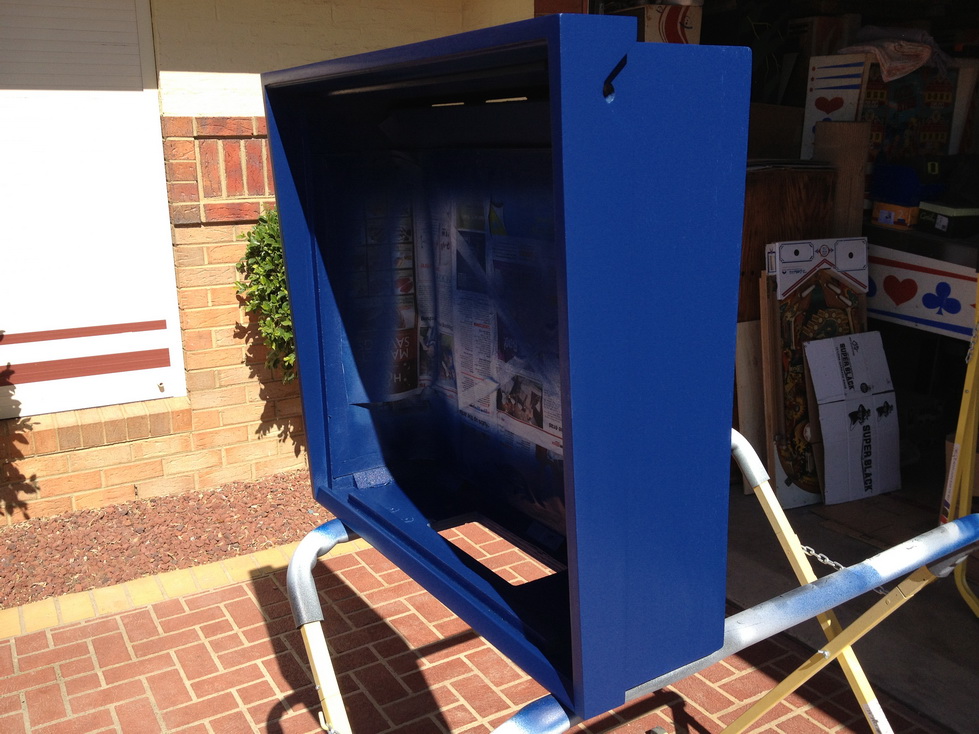
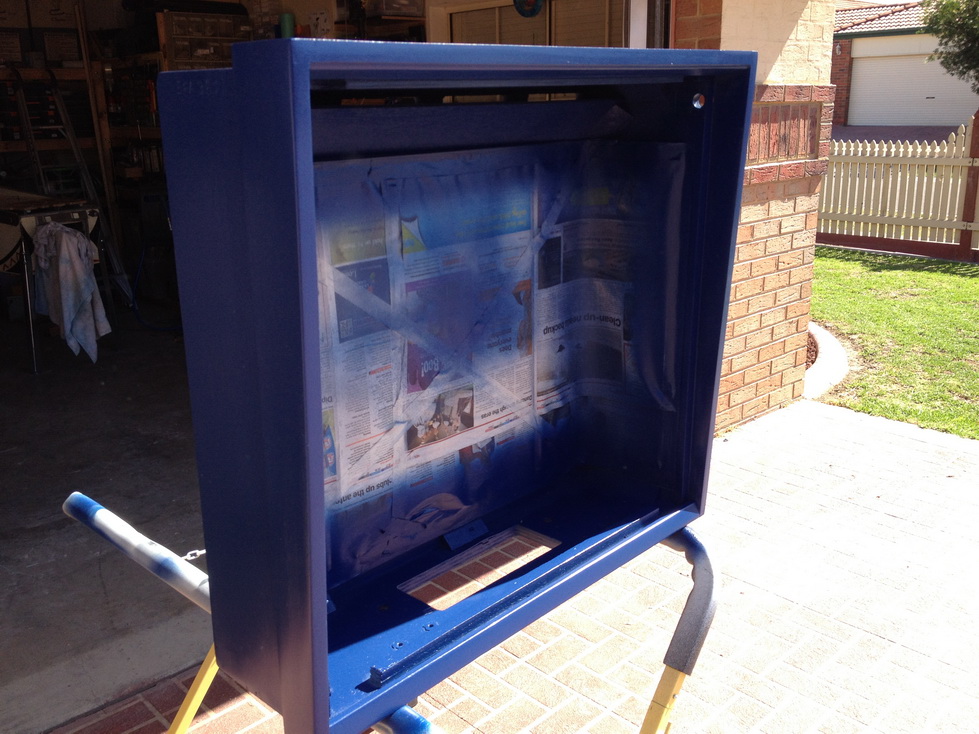
Here's the basecoat in the original color. The color, and more importantly the finish, is exactly as per original. Slightly under a semi gloss.
 Lower Cabinet repairs
The lower cabinet has been cleaned and sanded.
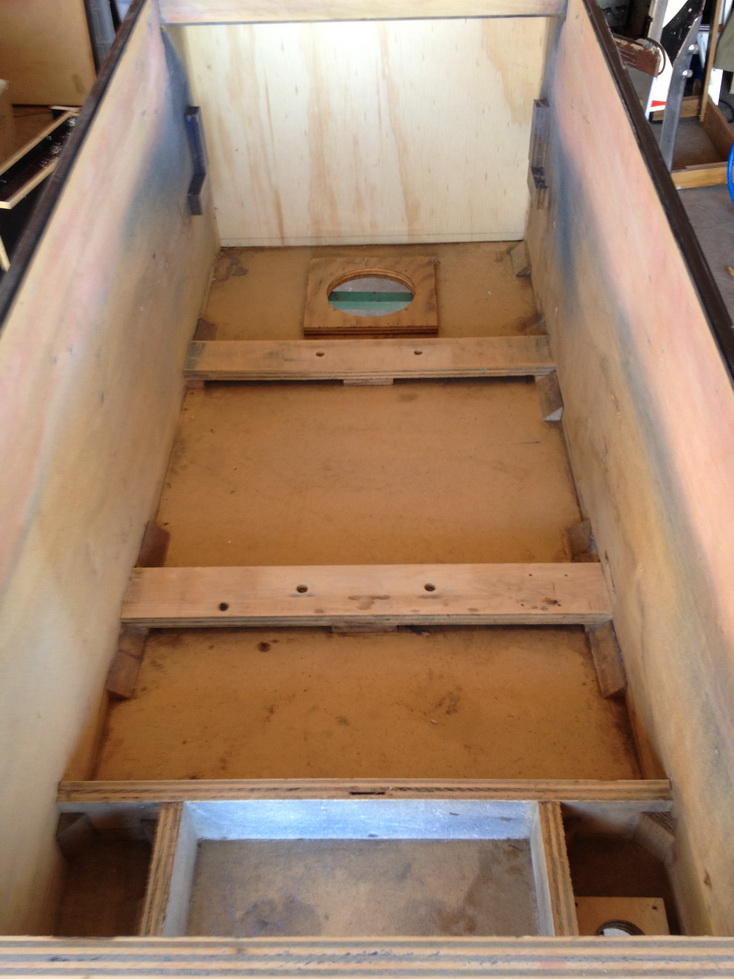
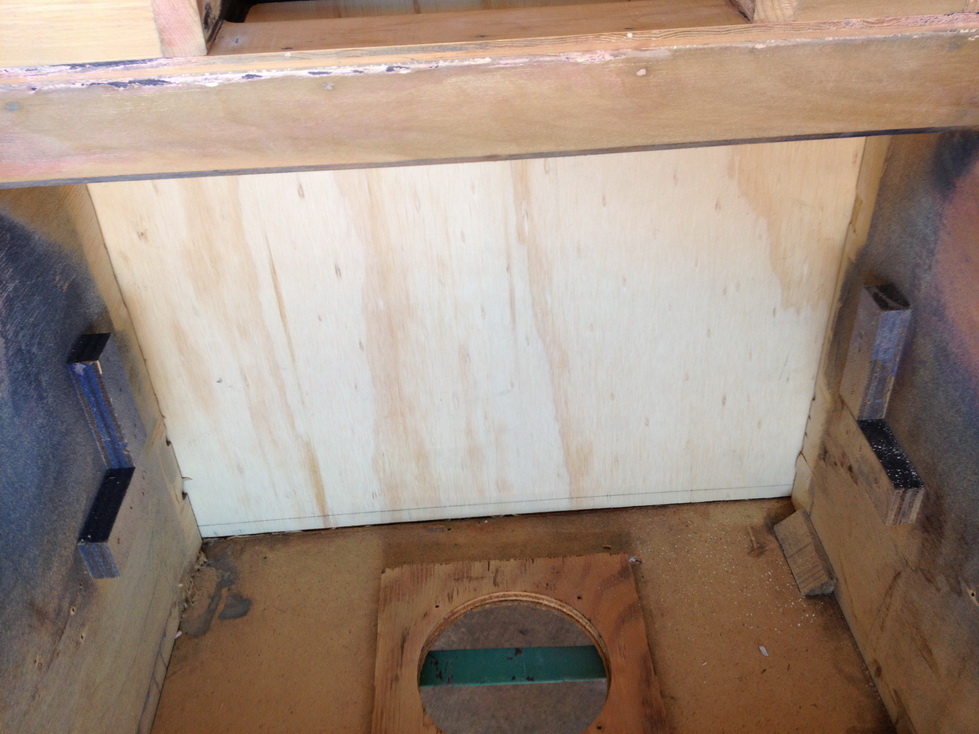
Now that the back panel has been replaced, I can install the leg plate brackets. Here's the new back panel installed
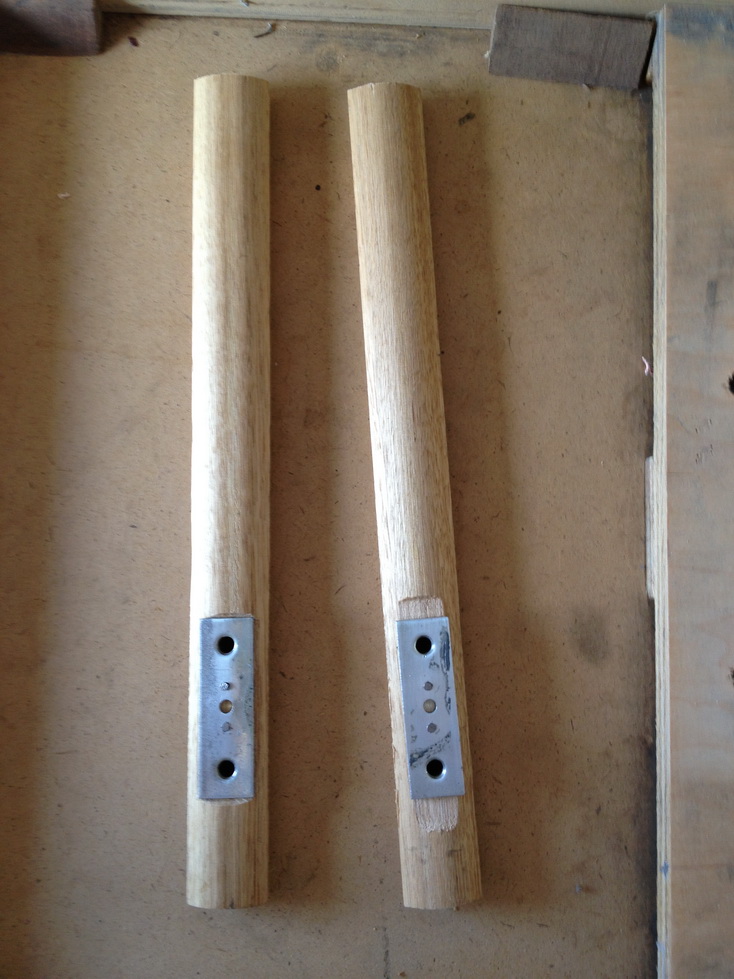
I use hardwood panels as a bracket. First I measure and drill out the legbolt holes. Then I file the side flat so I can mount the leg plates.
Finally I use the same staples as used in the factory after gluing the brackets in place
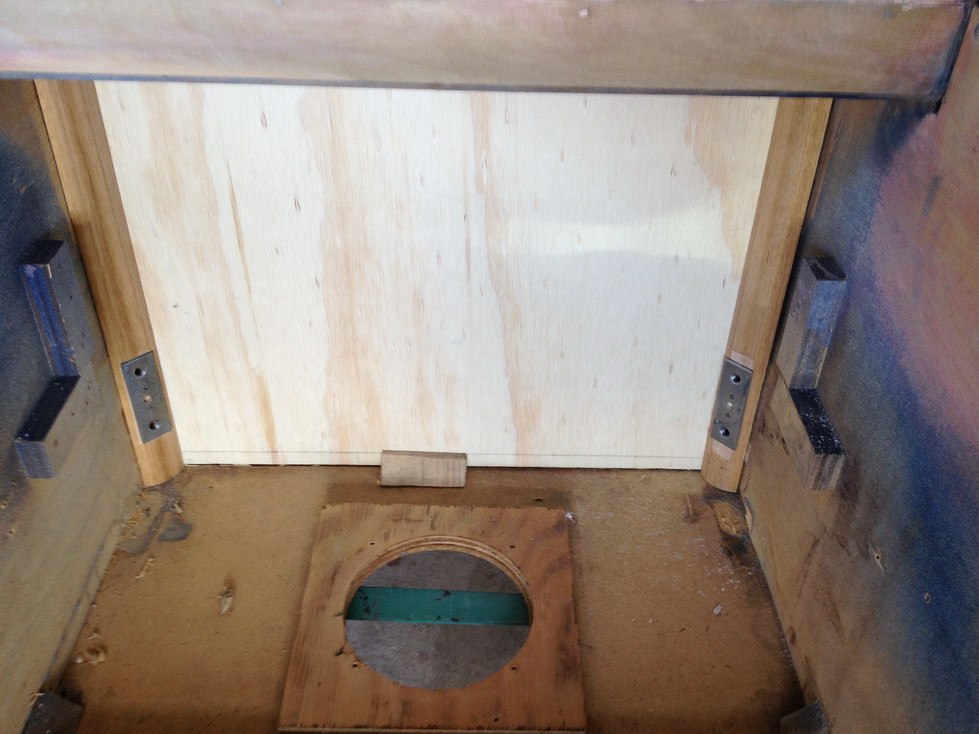
Now the cabinet is VERY stable and ready for repairs to the underside. Slow progress, as I have to wait for the glue to set etc.


