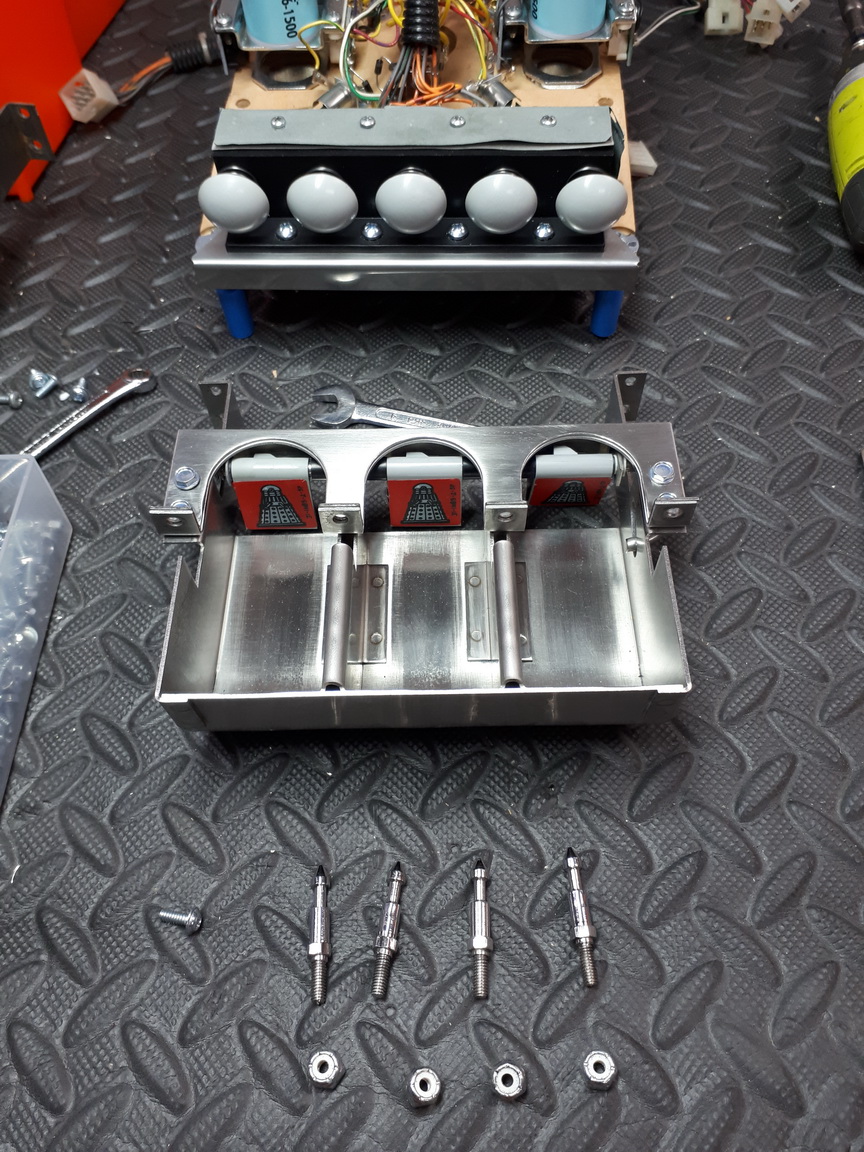
Re-assembly of the Dalek switches / metal scoop is also time consuming - cleaning re graining etc. I use Hex head machine screws rather than phillips head to mount the mini post panel. The reason for this is that this panel with the mini posts cops a beating, and EVERY Dr Who I've seen has this panel loosened over time. To re tighten, you need to remove the outermost mini posts. If you use 1/4" hex heads, all you need is a 1/4" spanner - no need to remove anything.
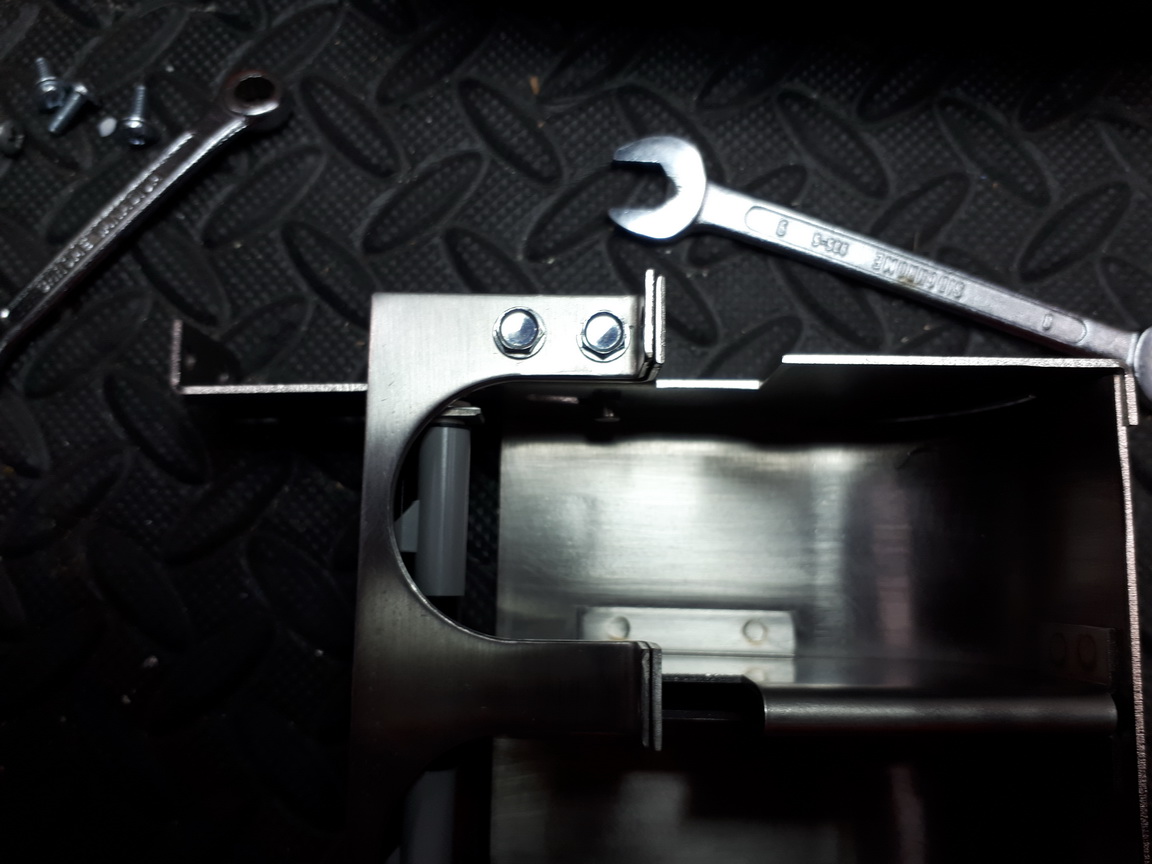
Time Expander entrance Cliffy protector is mandatory.
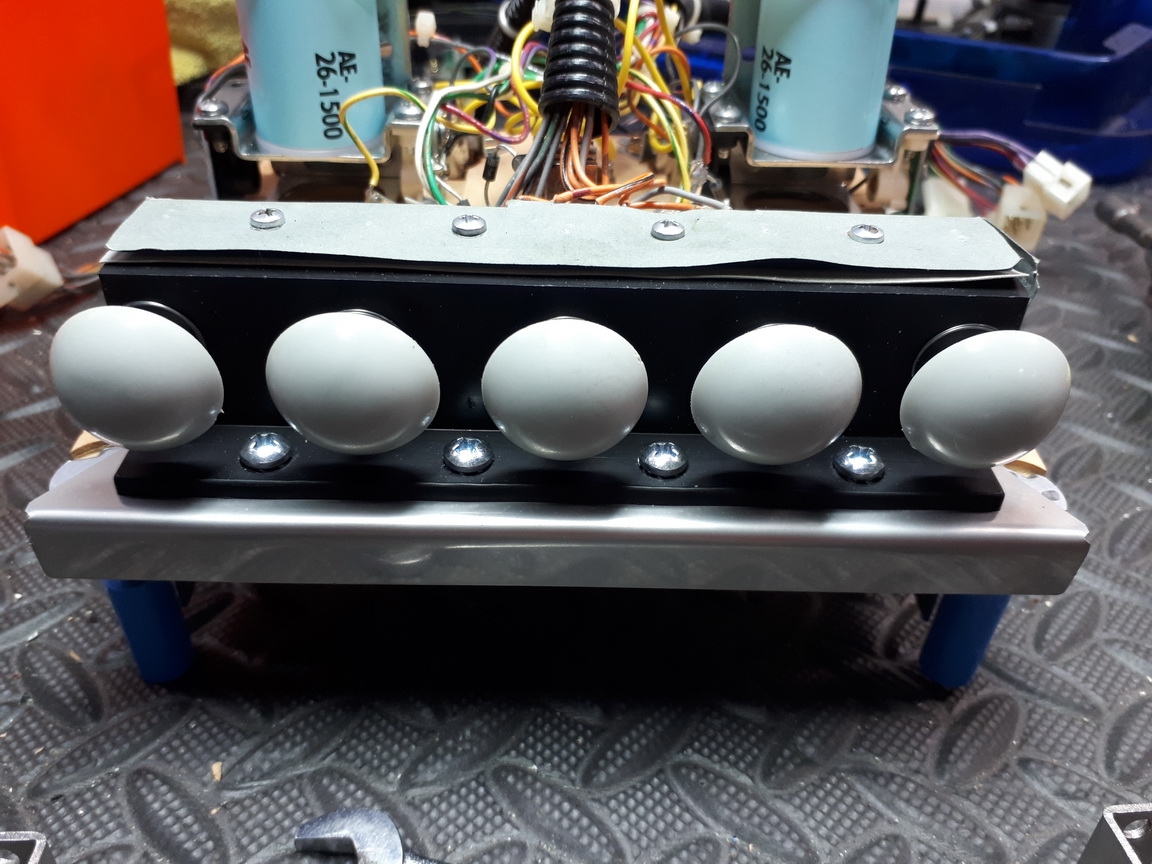
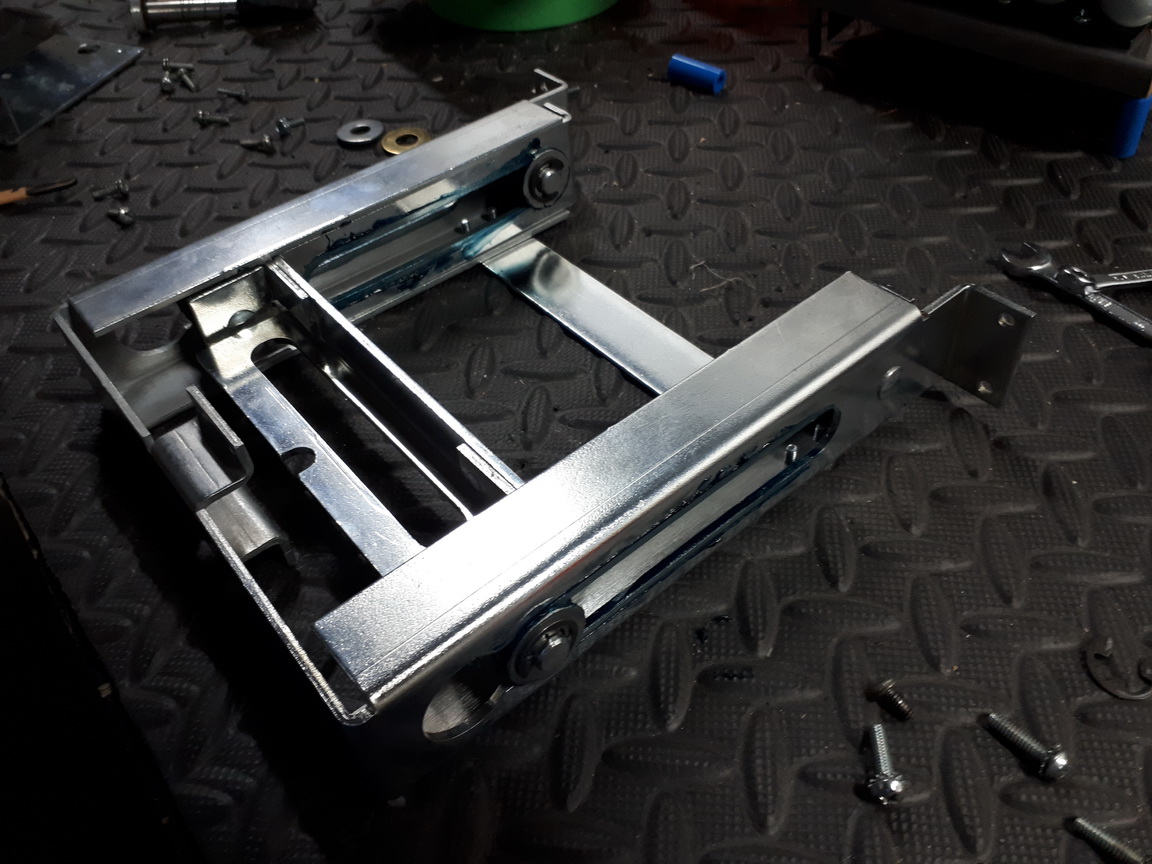
Moving on to the main assembly - re-plated and polished. New bracket screws installed.
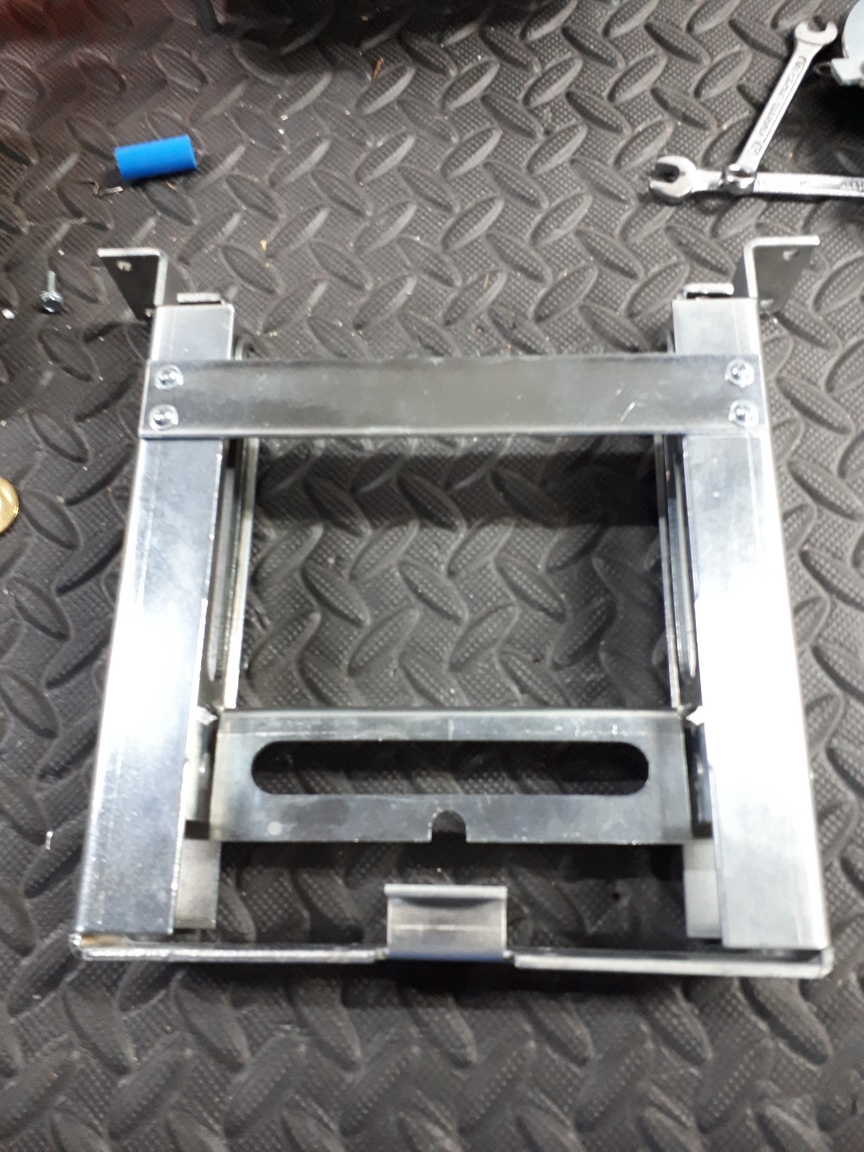
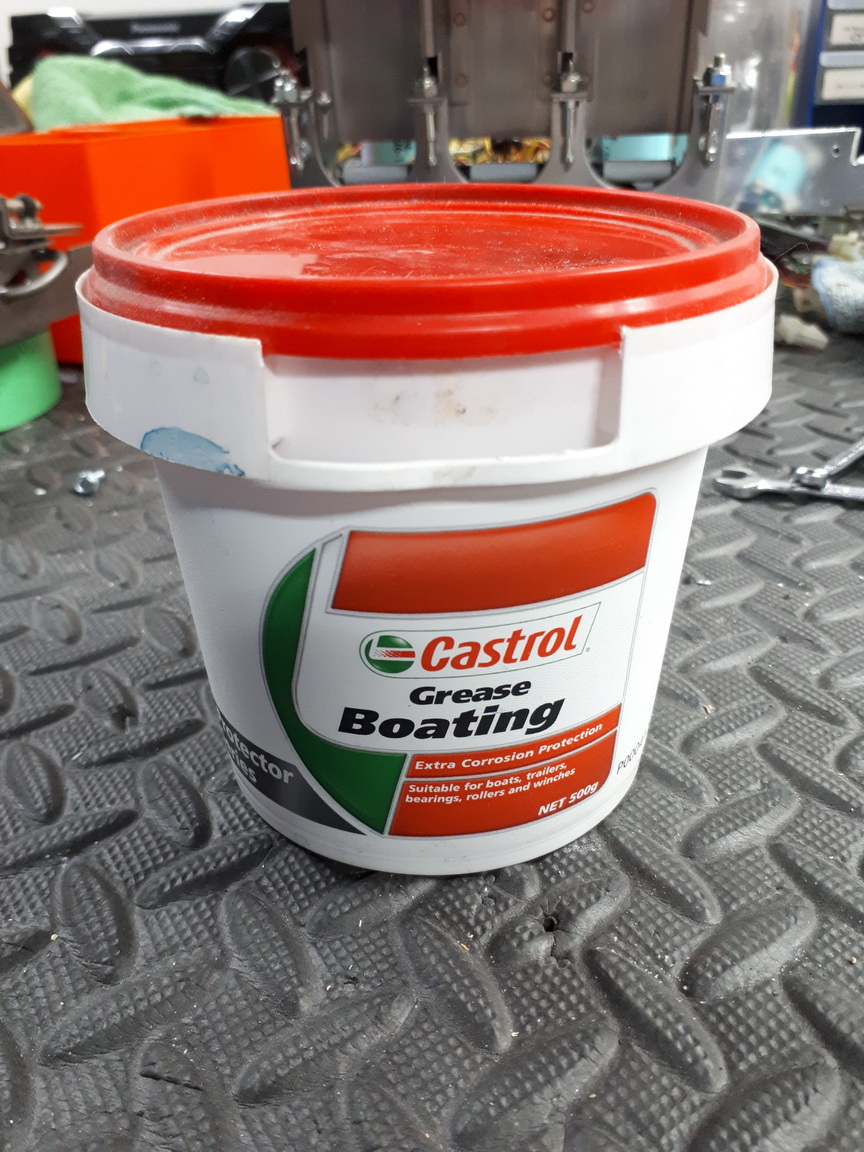
This assembly requires new bushings. They are expensive, but they make a huge difference. The Time Expander Assembly is the ONLY assembly I recommend any lubricant on metal to metal parts. I use Castrol Boat Grease. It is VERY good for this application, and previous Dr Who restorations I've used this grease on are still working 100%.
Don't go nuts - This is all that is needed ;
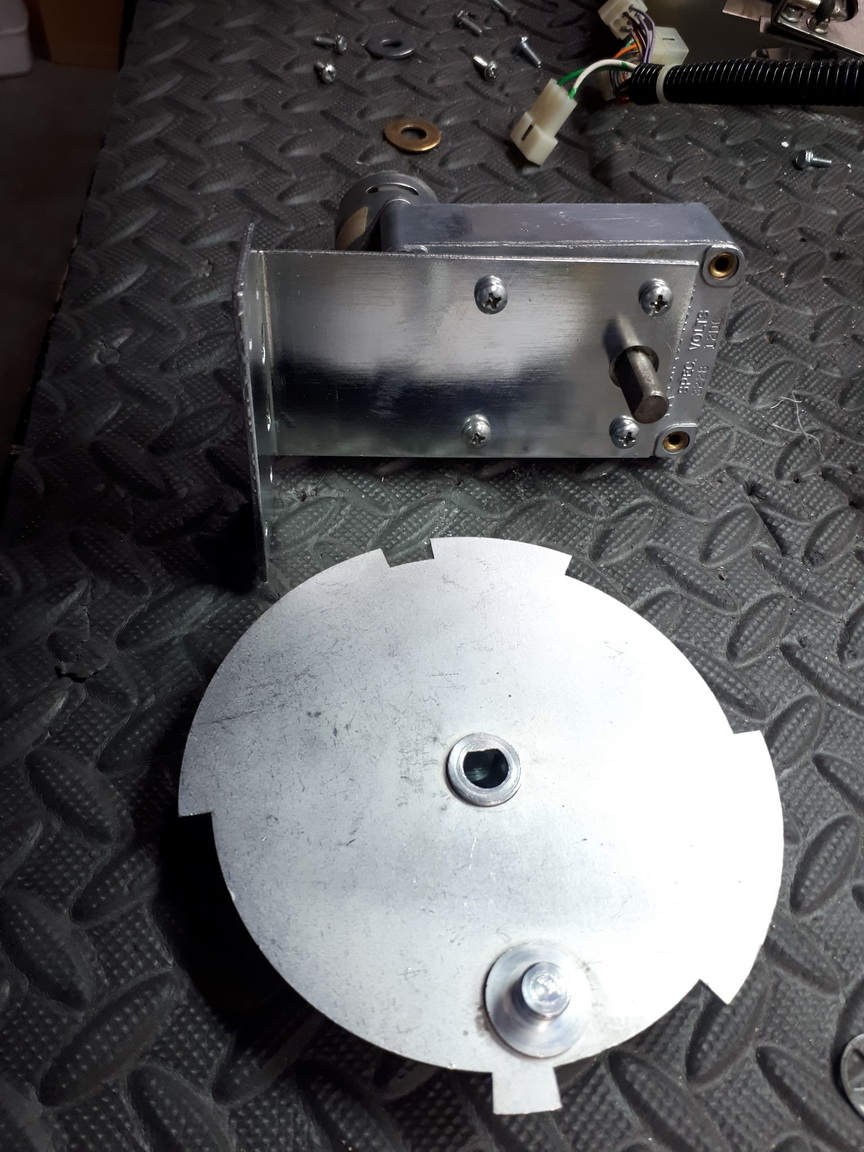
Next Step is to degrease and polish the cam. The mounting bracket is plated and the motor is a new motor.
Next Update shorty !


