Author Topic: Bally Skateball  (Read 2651 times)

0 Members and 3 Guests are viewing this topic.

Offline Steve2010

  • Trade Count: (+11)
  • *****
  • Forum Posts:
  • Sydney
Bally Skateball
« on: April 07, 2015, 11:26:55 PM »
Here’s a restoration I did about a year ago, so it’s overdue to put this on the forum!  I have been busy with other restorations in the past number of months (which will be put on the forum as well with time), but though I should take a breather to put this one on.

Skateball was my first machine, purchased five years ago to this very month.  The seller (Marco, aka pinfan) was more than helpful and going beyond the usual distance in making the purchase of my first pin a very smooth transition.

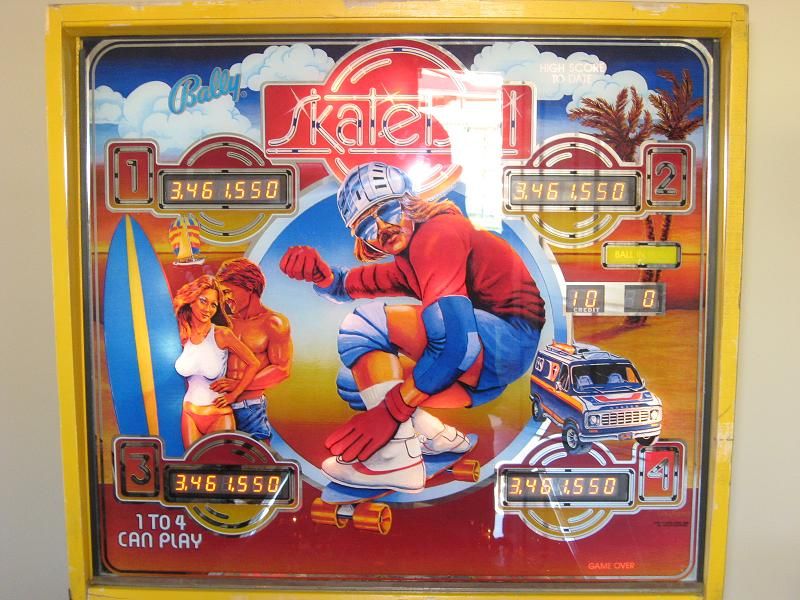
The playfield and backglass were both in excellent condition, but the cab was on the rough side.  When I took delivery of it, I had no idea of restoration, and since it worked very well, I was simply enjoying playing it.  Restoration was maybe something for another day at that time.

Once I got more confident with cabinet restorations over time, it was due time to tackling the Skateball.  Skateball is simply a blast to play, and seems to be one of the most used machine when there’s a crowd over.  It is forgiving with drains, and there is a reasonable amount of air time with each ball.  Not a title that is seen much or comes up much for sale.

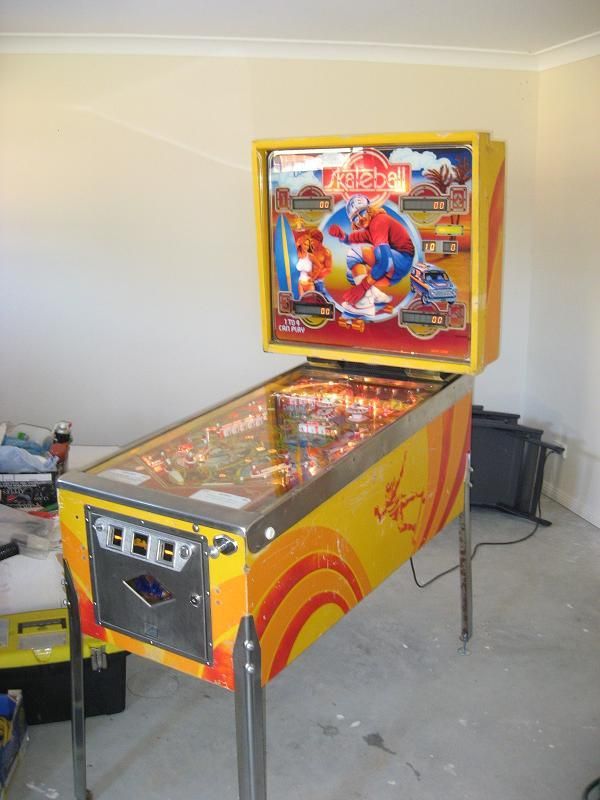
Here are some images of the machine from five years ago.


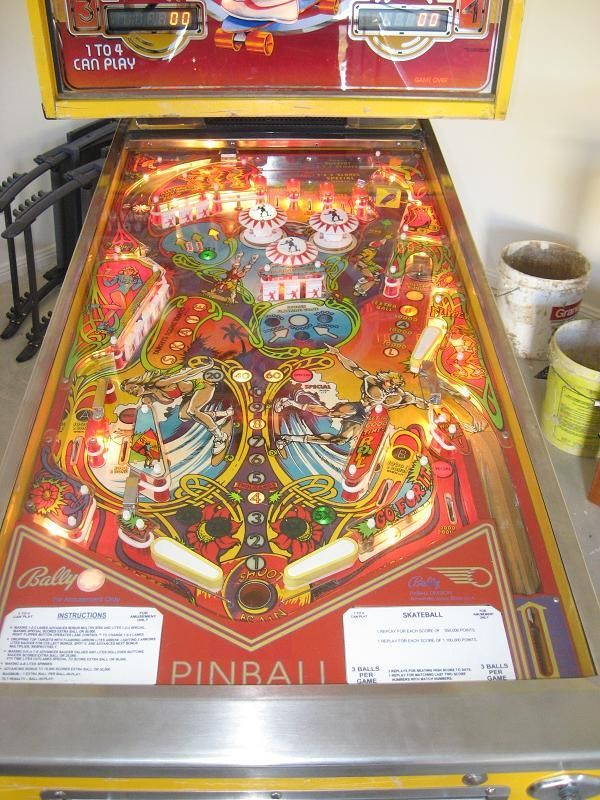
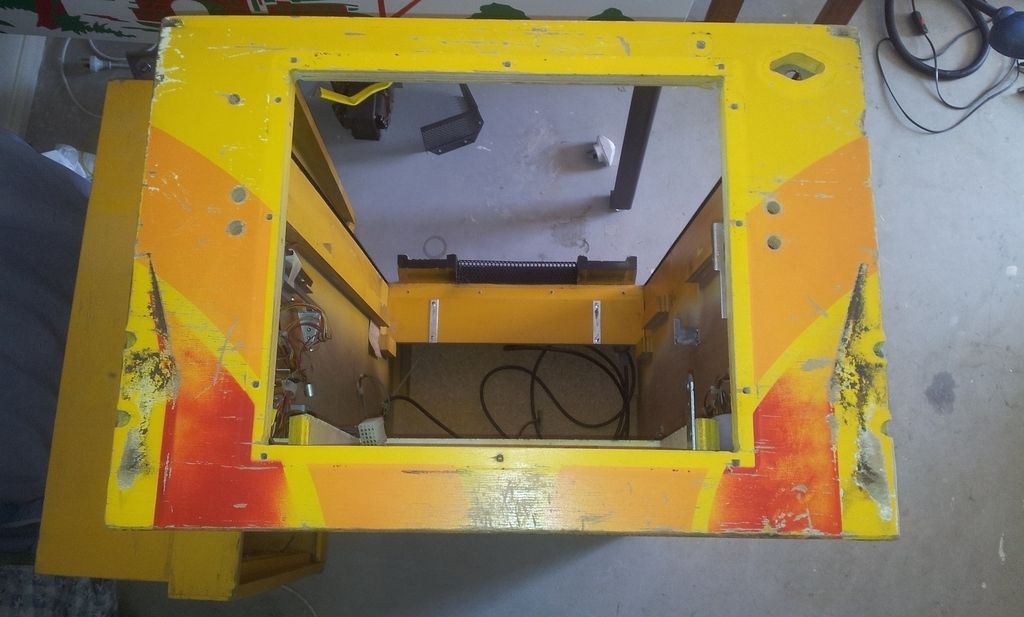
There was really not much work to do on the playfield itself, it had previously been restored by Nino in the past (http://aussiepinball.com/index.php?topic=1987.0).  I did though eventually repaint the wooden rails on the playfield, and restored the spinner, but that’s about it.  With the playfield pulled out, here are some images of what I was working with.


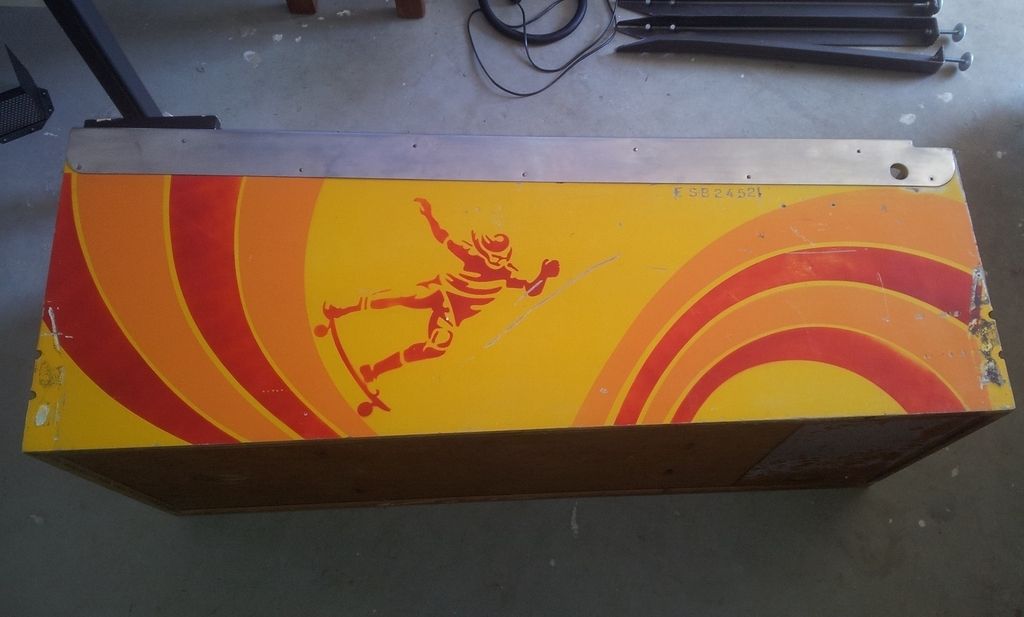
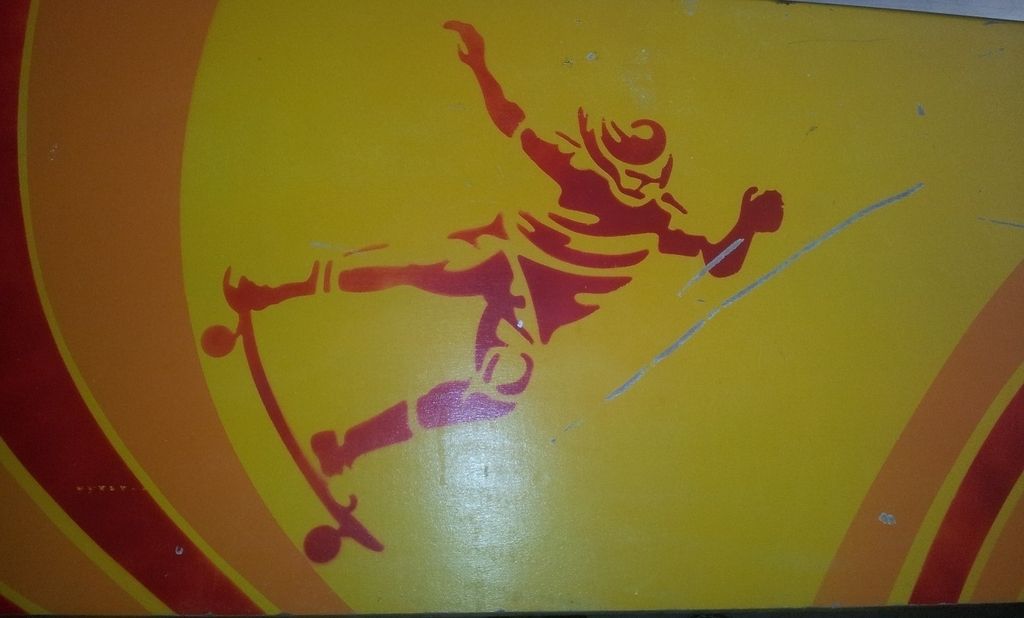
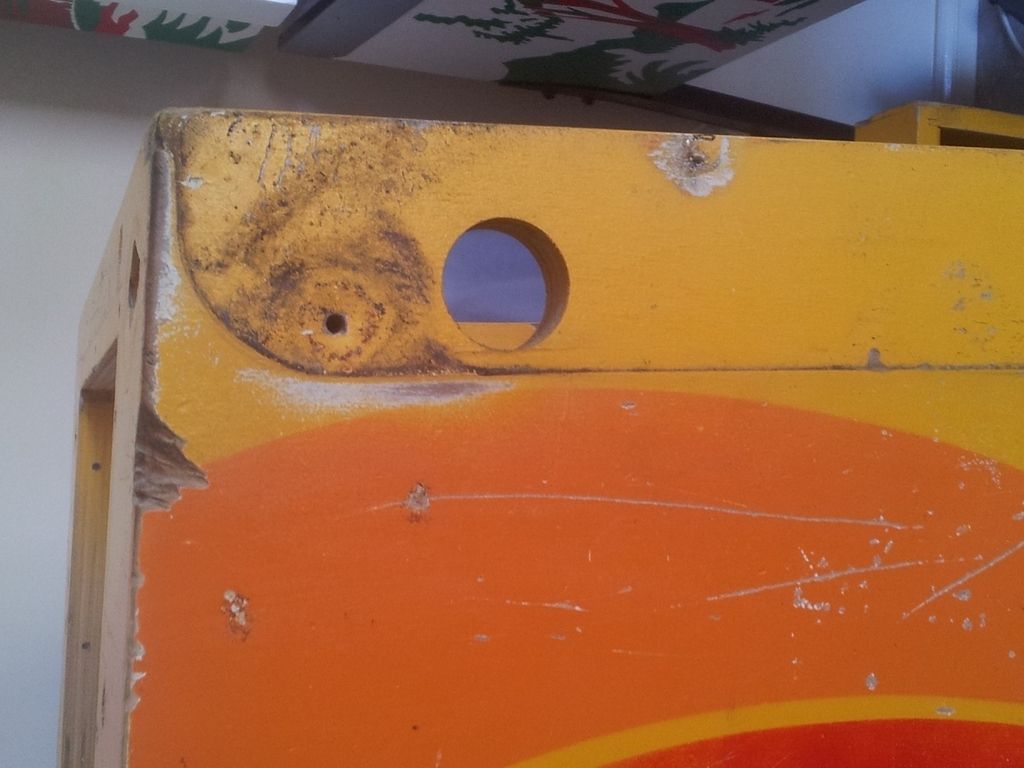
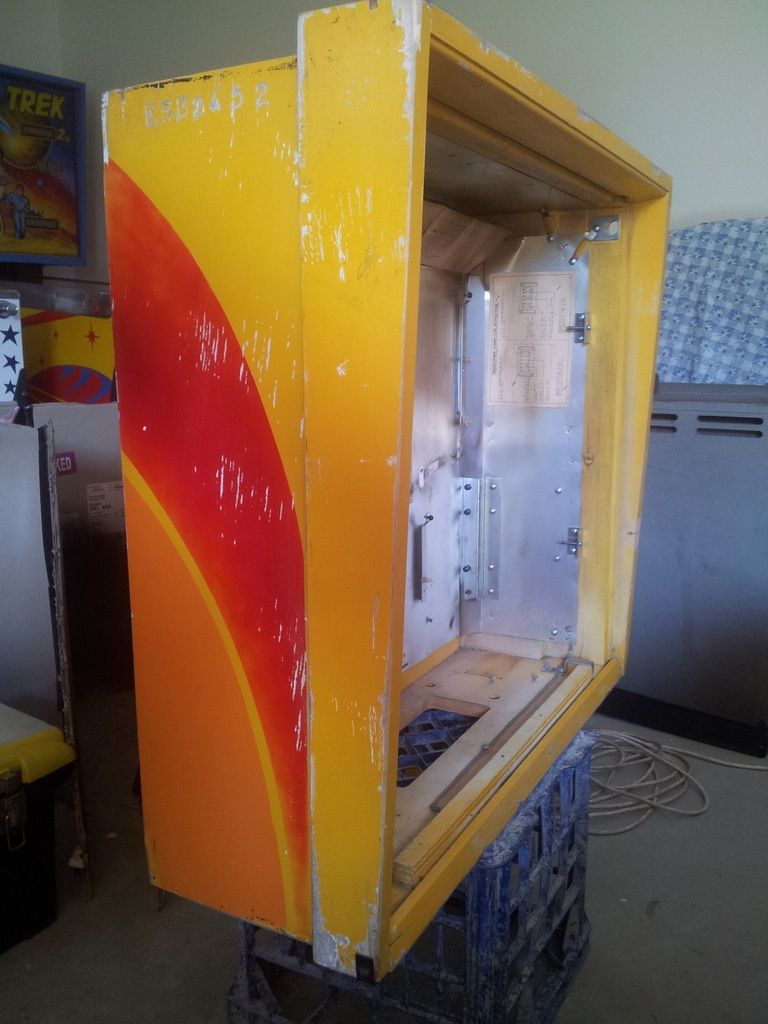
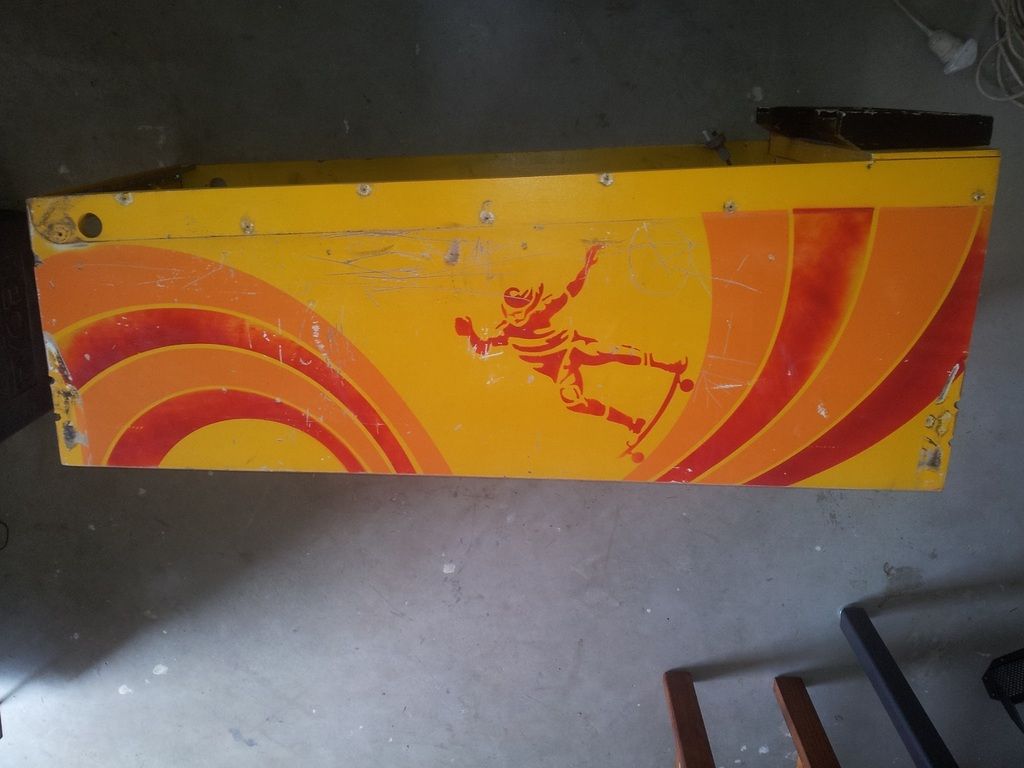
The front showed a fair amount of work to do – holes to be filled, the left and right corner edges were rough (and there was separation of the cabinet on the left corner side).  You can see so easily the colour fade, especially the red.


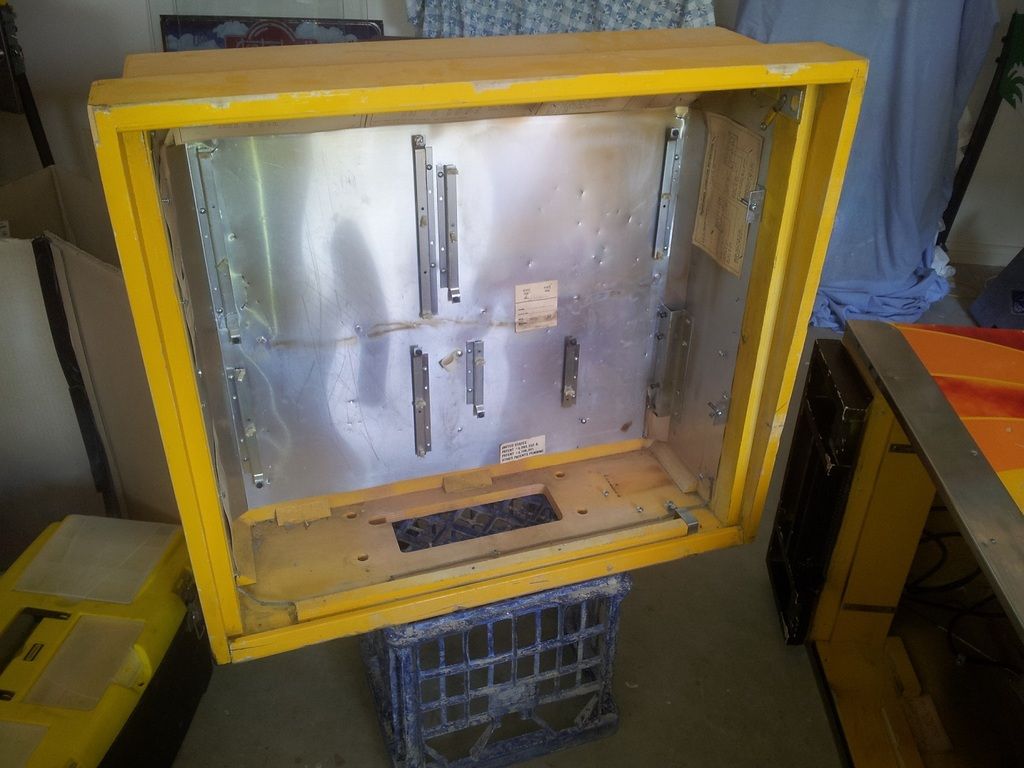
The backbox was not too bad, but certainly in want of better days.


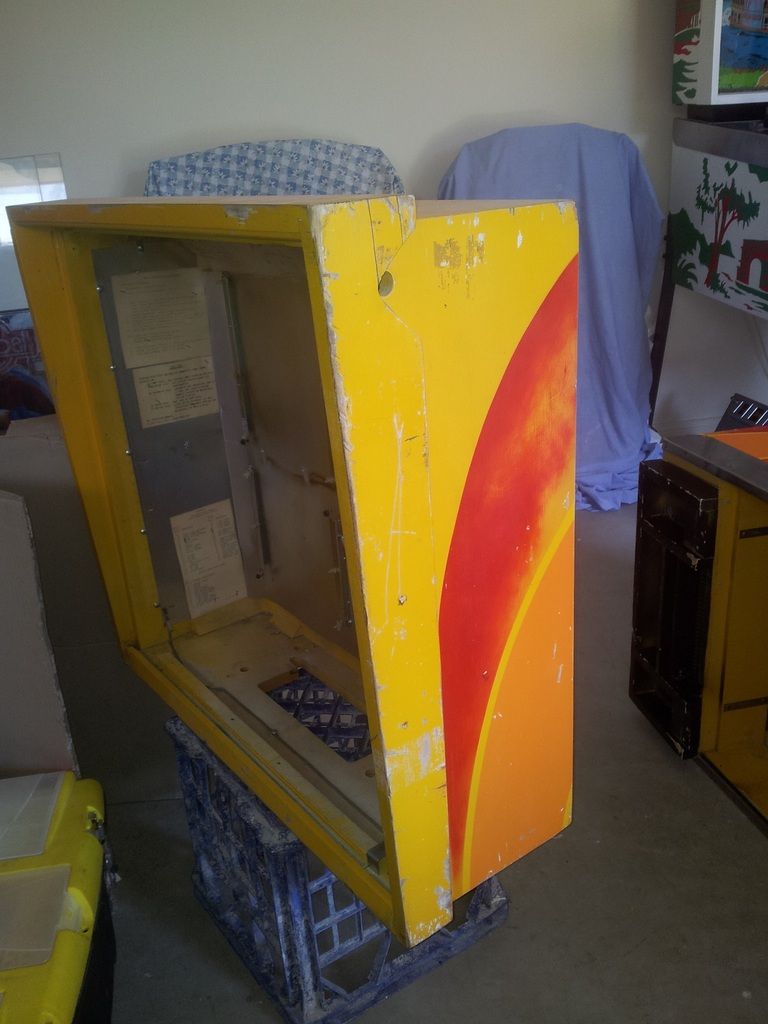
Here’s the main cab with the siderails removed.  As I have mentioned in previous restoration threads, it’s always pure joy removing those siderails nails without damaging the siderails.  I always get there in the end, but it usually takes a few hours to get there.


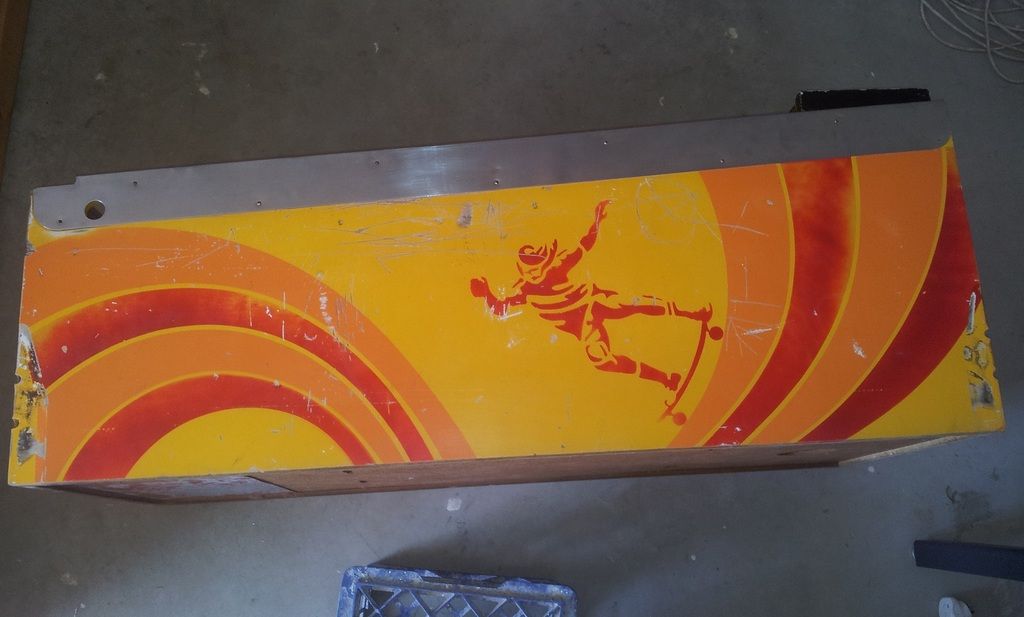
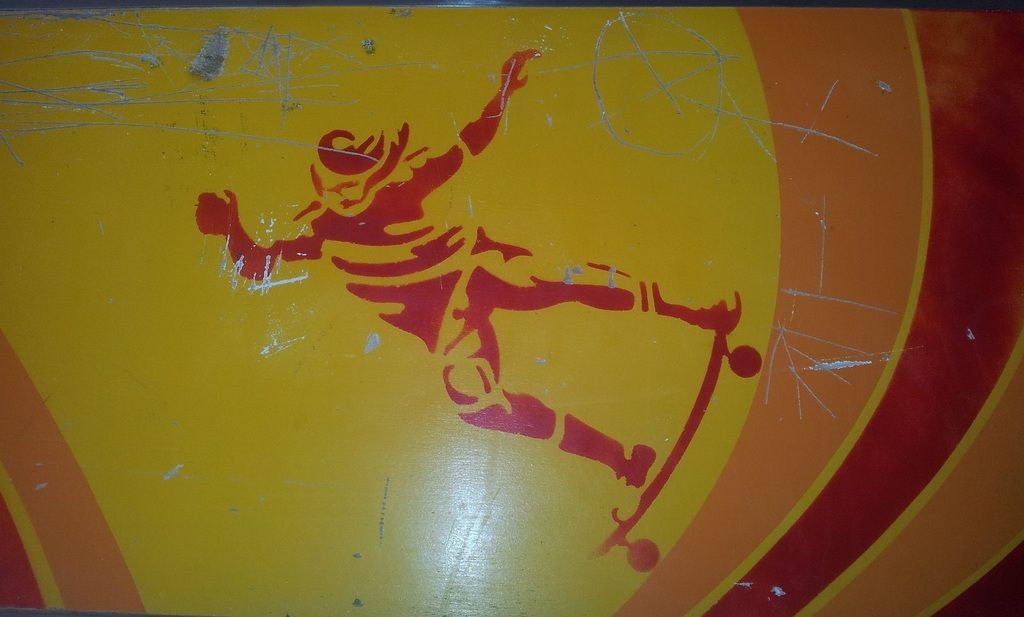
Here’s a close up of a nasty gouge on one of the front corner edges.


Offline Crashramp

  • Trade Count: (+3)
  • ******
  • High Score Initials:
  • Forum Posts:
  • Albury
Re: Bally Skateball
« Reply #1 on: April 08, 2015, 12:36:06 AM »
Very cool, I'd love a Skateball one day, thanks for sharing some pictures.

Offline Strangeways

  • Pinball Restoration is my passion
  • Administrator
  • Trade Count: (+9)
  • *****
  • High Score Initials:
  • Forum Posts:
  • Melbourne
  • ABN 68 283 634 461
    • Ride The Boney Beast
Re: Bally Skateball
« Reply #2 on: April 08, 2015, 09:53:22 AM »
Fantastic machine. The playfield was one of the better example. These are always worn to wood. Definitely a sleeper title, - a cross between Flash and Fathom !
Aussie Pinball - Proud to be Australia's Premier Pinball Forum

http://www.australianpinballrestorations.com.au/

http://www.rtbb.com.au/catalog/

We carry the largest range of NEW Ramps in Australia

Offline swinks

  • Trade Count: (+18)
  • ******
  • High Score Initials:
  • Forum Posts:
  • Lake Macquarie, NSW
Re: Bally Skateball
« Reply #3 on: April 08, 2015, 10:40:29 AM »
I wish I didn't sell mine  ^.^

great game, still have 2 worn playfields (1 x populated with complete harness and 1 x unpopulated) contemplating doing a repro build or a retheme.  !@#
https://swinks.com.au

for pinball parts (reproduction & mods)
for pinball t-shirts

Offline Crashramp

  • Trade Count: (+3)
  • ******
  • High Score Initials:
  • Forum Posts:
  • Albury
Re: Bally Skateball
« Reply #4 on: April 08, 2015, 09:38:37 PM »
For some reason this game reminds me ( in the best possible way) of those Big M and Chico roll posters which used to hang on the wall of every cafe and fish n chip joint in the country.

 I've had my name down for one of the CPR repo playfields for a year or so now so hopefully by the time they're ready to go I'll have found a game to put it in.

I'd love to see some more pics of yours Steve, it looks really nice.  *%*  did you ever get around to restoring the cabinet or is that next?

Offline swinks

  • Trade Count: (+18)
  • ******
  • High Score Initials:
  • Forum Posts:
  • Lake Macquarie, NSW
Re: Bally Skateball
« Reply #5 on: April 08, 2015, 10:57:40 PM »
it wasn't a priority for CPR for what ever reason with only the CAD file to be done, I happened to have done 80% CAD file of the playfield in which they were appreciative... maybe soon
https://swinks.com.au

for pinball parts (reproduction & mods)
for pinball t-shirts

Offline Steve2010

  • Trade Count: (+11)
  • *****
  • Forum Posts:
  • Sydney
Re: Bally Skateball
« Reply #6 on: April 09, 2015, 11:14:16 PM »
As with all cabinet restorations I have done, first order of the day was now to create the stencils for the machine.  But, unlike all previous resprays I have done, Skateball was going to be done a bit differently.  The “rainbow” red and orange stripes were effectively going to be done entirely with blue painters tape.  I wanted to create a uniform gap between the stripes throughout, and knew that lining up the red and orange stencils for this outcome was going to be very challenging.  I then had the thought of using a narrow (ie. about 5mm wide) strip of painters tape as the edge of each stripe.  The locations of all stripes had to be recorded, so I did effectively make a stencil to later be able to locate where the stripes should be, but used the tape as the mask for spraying.  More on this later.

The skateboarder had to be fully stenciled, as per the usual approach.  So, prior to sanding down the cabinet, all stencils were created first.

Here is the stencil for the skateboarder.


Then cut out with xacto knife.


Then verified against the original artwork.


After the stencils were created, the cabinet could then be filled and sanded.  Here’s the main cabinet before sanding.


And after sanding.


After the main cabinet was primed and base colour applied, here’s an image of it standing next to the original backbox.  I was pretty happy with the depth of the base colour.


Offline Steve2010

  • Trade Count: (+11)
  • *****
  • Forum Posts:
  • Sydney
Re: Bally Skateball
« Reply #7 on: April 11, 2015, 10:23:51 PM »
Now onto the backbox for the base colour.  Here are some images again of the backbox, closer up.  The bottom lefthand front corner had a bracket “holding” the two edges together, which needed attention to fix.


After filling and sanding.


OK, back to the main cabinet and the stencils.  As mentioned above, the “rainbow” stripes were created through a combined use of stencils (to provide the exact location of the stripe), and finally with a narrow strip of painters tape.

Here are two of these stencils, providing the edges of where to place the tape.  Parts of this stencil would be cutout to effectively create the guide for the tape.  The very small holes at the top of each of these stencils are the siderail nail holes, thus provide a registration for when the stencil is applied to the cabinet.


The following image shows this a bit better I hope.  As mentioned above, parts of the stencil were cut out, and taped in position on the cabinet (no need to use an adhesive here, they were just needed to be held in position while the painters tape was applied).  I then ran the narrow painters tape along the edge of the stencil.  I did not get this idea from anyone, just an idea that popped into my head of doing it this way.  Here the righthand side of the main cabinet is being prepared for the orange stripes to be sprayed (the stencil not only guides where the painters tape is to go, but also provides a block for the orange spray in this case).


Hope this all makes sense, not the easiest to explain.  Anyway, here is the outcome at this stage.


Offline andypinboy

  • Trade Count: (0)
  • ******
  • Forum Posts:
  • NSW
Re: Bally Skateball
« Reply #8 on: April 13, 2015, 09:20:29 AM »
Nice resto Steve. I like how you used the painters tape versus trying to line up stencils - made perfect sense in this case - easier & as good or better result. A LOT of work has gone into this cab. Please post more of what you did when you have some time. Cheers, Andy.
I enjoy Porsche, Gibson LPs, Bally-Williams & learning about pinball maintenance & restoration.

Offline Steve2010

  • Trade Count: (+11)
  • *****
  • Forum Posts:
  • Sydney
Re: Bally Skateball
« Reply #9 on: April 16, 2015, 09:15:43 PM »
With the “rainbow” stripes of the cabinet finished, to complete it all that was needed now was the skateboarder.  Here is the stencil, with a cardboard frame to ensure it will sit flat when it is applied to the side of the cabinet (and avoid wrinkling).


Here is a view of the stencil from the other side (the cardboard frame is underneath and not visible).  The stencil has the adhesive spray mask sitting on top of the stencil before spraying the adhesive.  This ensures no more spray is applied to the stencil than what is needed.


And here is what the stencil looks like after it has been sprayed with the adhesive.


And finally, here is the stencil after it has been applied to the cabinet, just prior to spraying.


And the completion of the main cabinet.


Same drill for the backbox, and the artwork here was done using the blue painters tape as well.


Offline howzat

  • Trade Count: (0)
  • *****
  • Forum Posts:
Re: Bally Skateball
« Reply #10 on: April 16, 2015, 11:23:41 PM »
Wow steve  Nice job 

Lots of work but well worth it  #*#   I have never played it before in the flesh  but I have it on my hyperpin

Its a lot fun to play     well done       Howzat

Offline oldskool1969

  • Trade Count: (0)
  • ******
  • High Score Initials:
  • Forum Posts:
  • perth
Re: Bally Skateball
« Reply #11 on: April 17, 2015, 12:04:35 AM »
Heaven is a half pipe!
nice work Dude and those colours are cool, good tip on stencil of skater, cheers.
If it isn't broke, it isn't pinball.

Offline Mr Pinbologist

  • Trade Count: (+5)
  • ******
  • High Score Initials:
  • Forum Posts:
  • Wauchope NSW
Re: Bally Skateball
« Reply #12 on: April 17, 2015, 07:59:19 AM »
Nice job again Steve  ^^^ ^^^

Offline Crashramp

  • Trade Count: (+3)
  • ******
  • High Score Initials:
  • Forum Posts:
  • Albury
Re: Bally Skateball
« Reply #13 on: April 17, 2015, 01:36:28 PM »
Nice job again Steve  ^^^ ^^^

+1 great job. Thanks for sharing, I'm thoroughly enjoying the read.  ^^^

Offline Strangeways

  • Pinball Restoration is my passion
  • Administrator
  • Trade Count: (+9)
  • *****
  • High Score Initials:
  • Forum Posts:
  • Melbourne
  • ABN 68 283 634 461
    • Ride The Boney Beast
Re: Bally Skateball
« Reply #14 on: April 18, 2015, 10:54:13 AM »
Good job Steve  ^^^
Aussie Pinball - Proud to be Australia's Premier Pinball Forum

http://www.australianpinballrestorations.com.au/

http://www.rtbb.com.au/catalog/

We carry the largest range of NEW Ramps in Australia