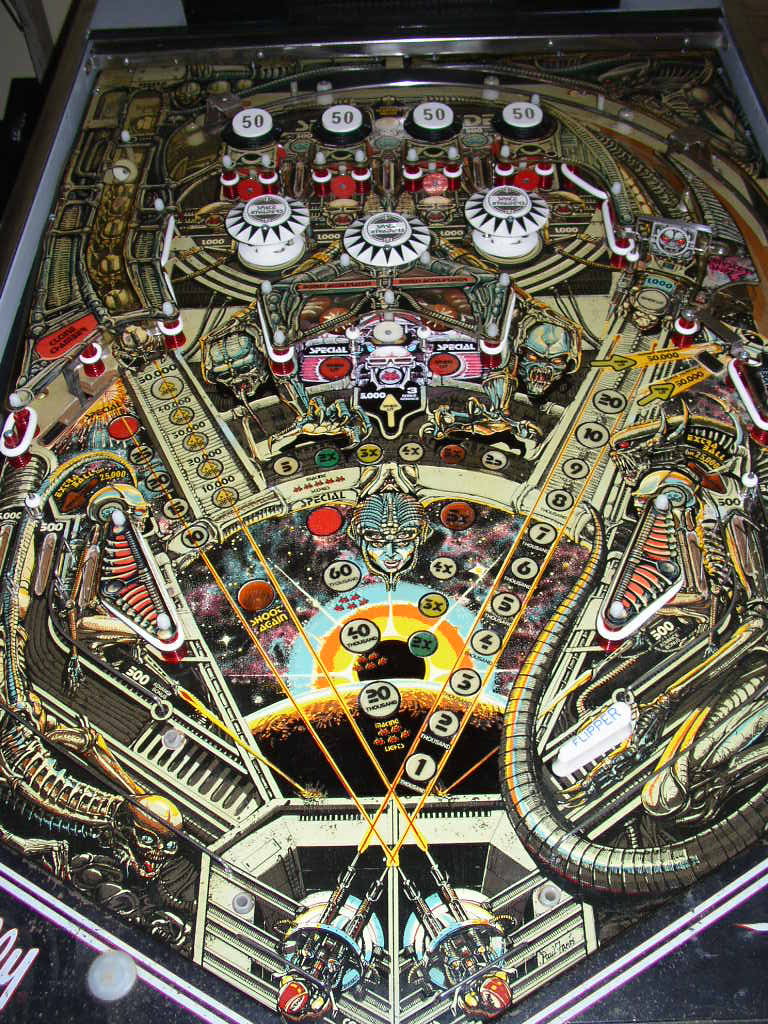
PlayfieldThe playfield was previously worked on by Wotto. He removed the mylar, so all the hard work was already done for me. However, I wanted to do remove all the parts from the top of the playfield anyway, and attend to the centre horse shoe area. Looking at the "before" picture below, the area looks to be in good condition. It was previously work to wood and the rollovers had to be replaced. There was also two holes near the "Special When Lit" inserts. It looks like the Operator installed some miniposts near the entrance - Nasty !!
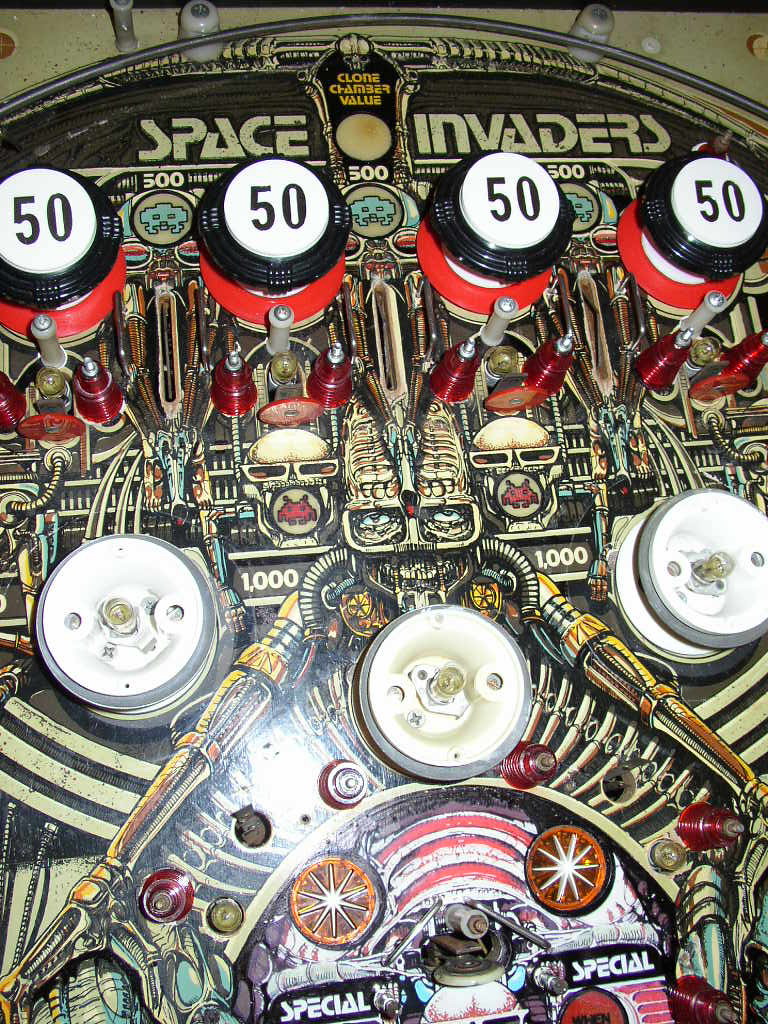
Wotto created, printed and installed the decal and it looks incredible. It was lifting under the posts, so I thought I would address that later on with a sheet of mylar. Notice the new Bumper Caps, and all the plastics are in great condition. Not much to do here, but I'll use any excuse to strip a playfield !
Even though the mylar was removed, there was still a "dullness" to the playfield. However it was still in great condition.
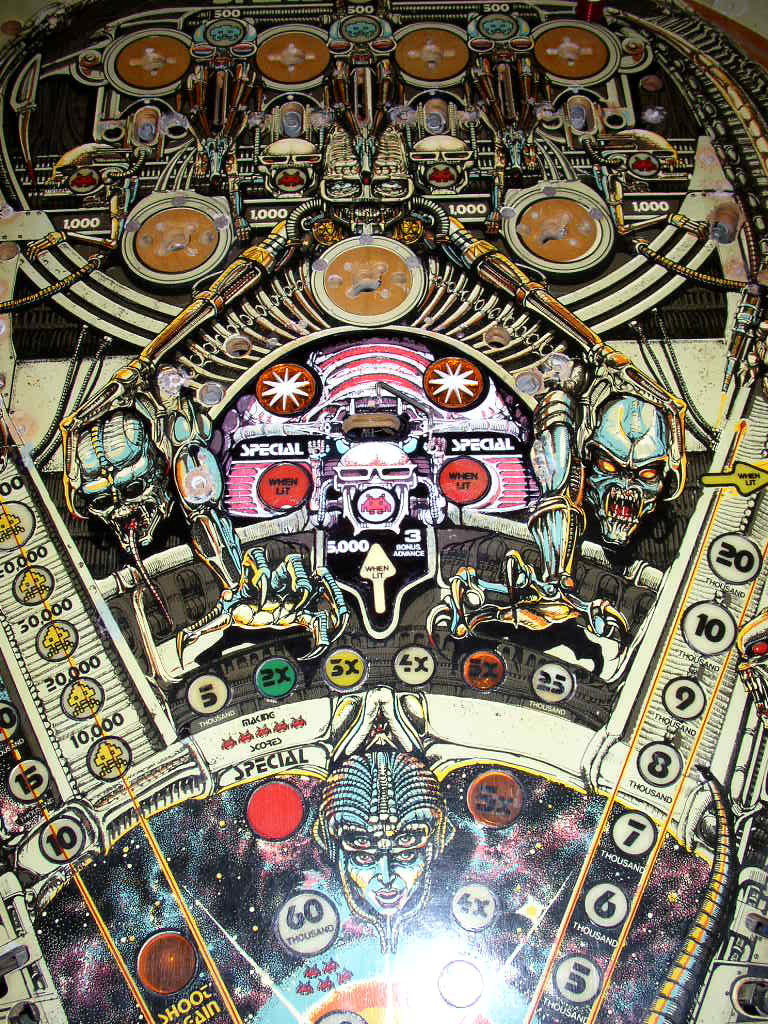
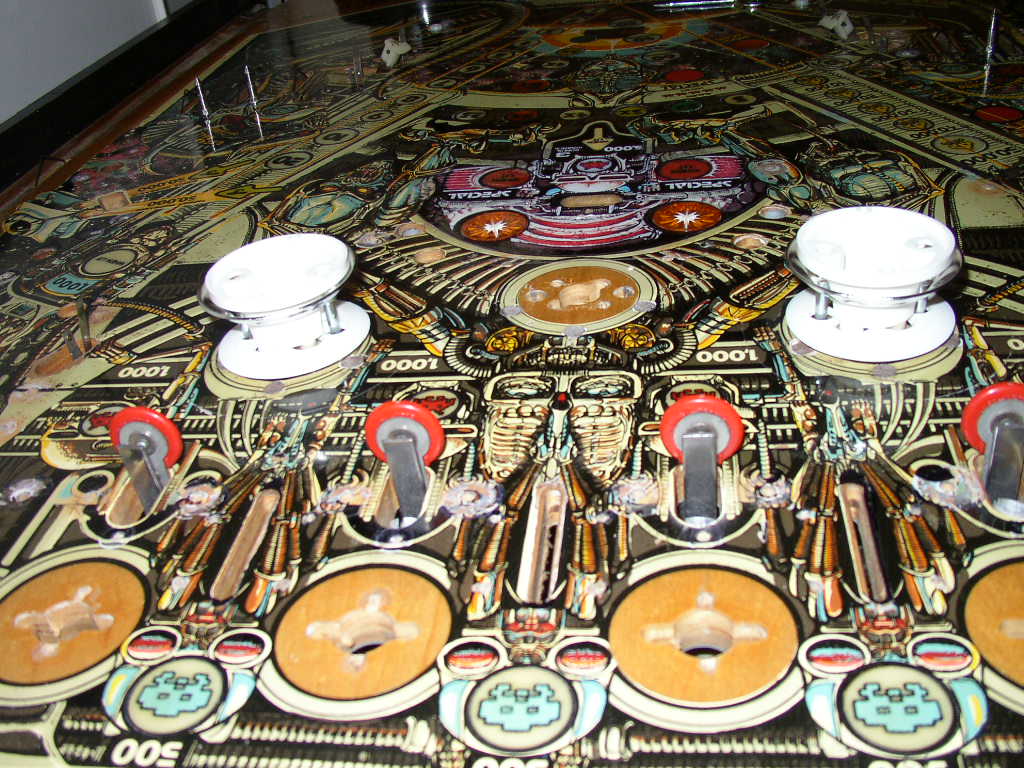
Here's a closeup of the Horse Shoe area with the decal installed. The idea is to protect the area with a sheet of mylar. There was some touch up work done where the decal joined the playfield.
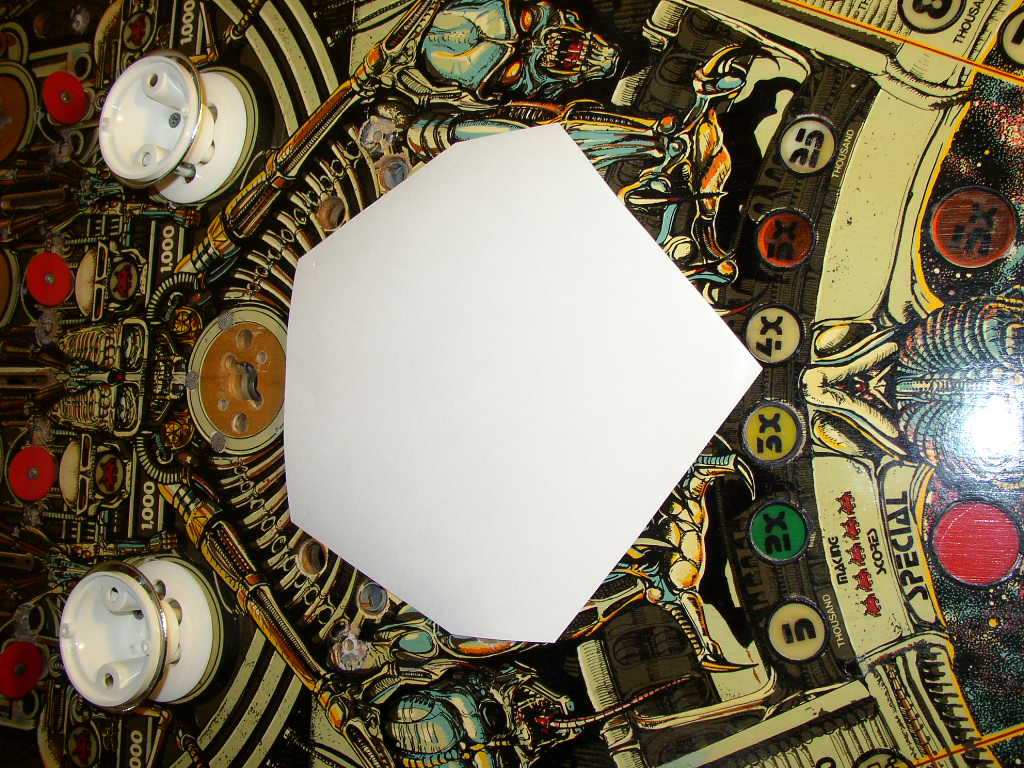
The area I had to cover had to be bigger than the decal and also be alighned under the playfield hardware. So I drew a template for the mylar ;
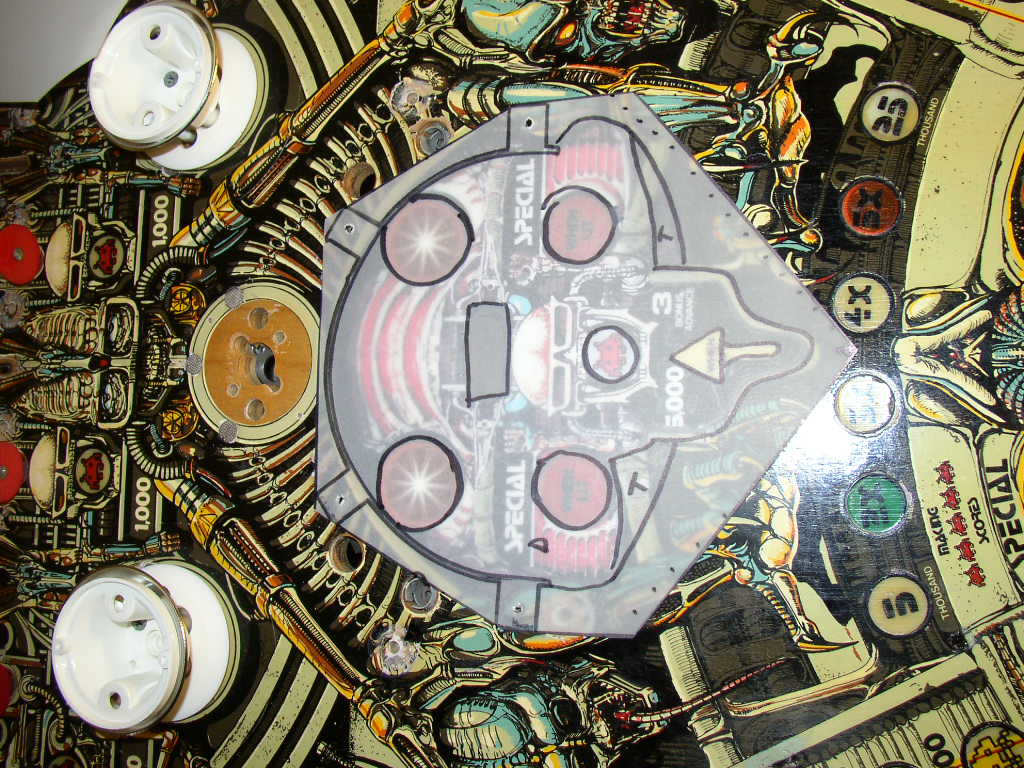
Cut the piece of mylar to size and position on the playfield ;
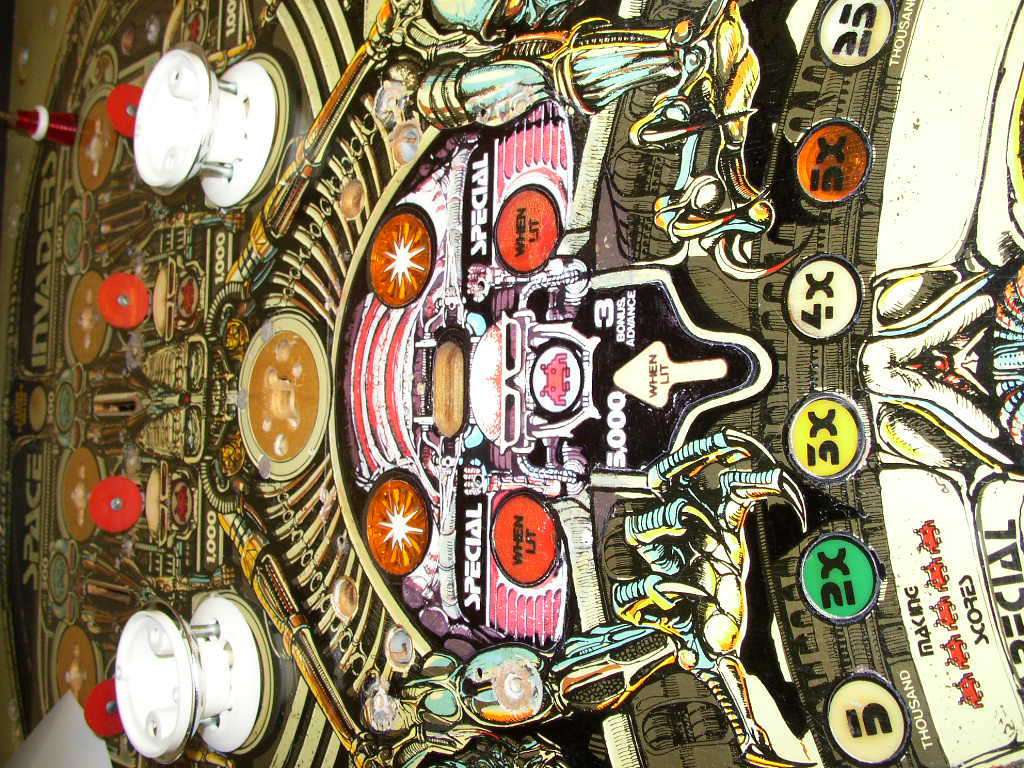
Mylar sheet installed - Note that you can see the mylar between the "3X" and "4X" Bonus inserts. It looks a lot better from the player's view.
The playfield has been cleaned with Novus 2 and has its first coat of wax.
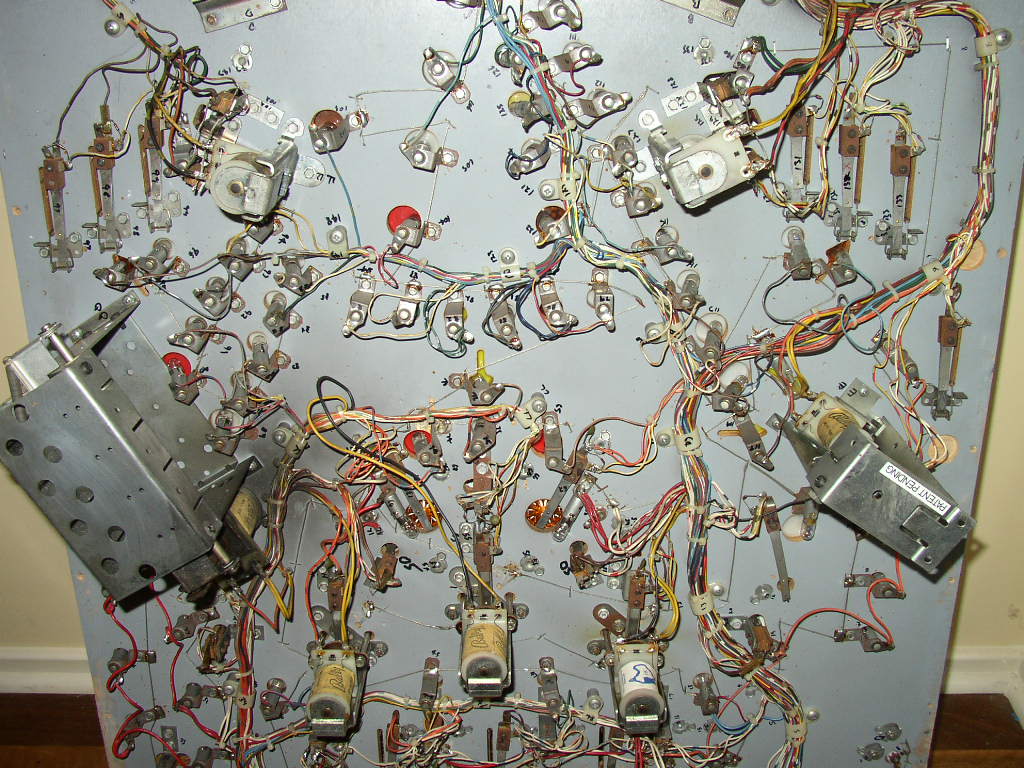
 Under the Playfield
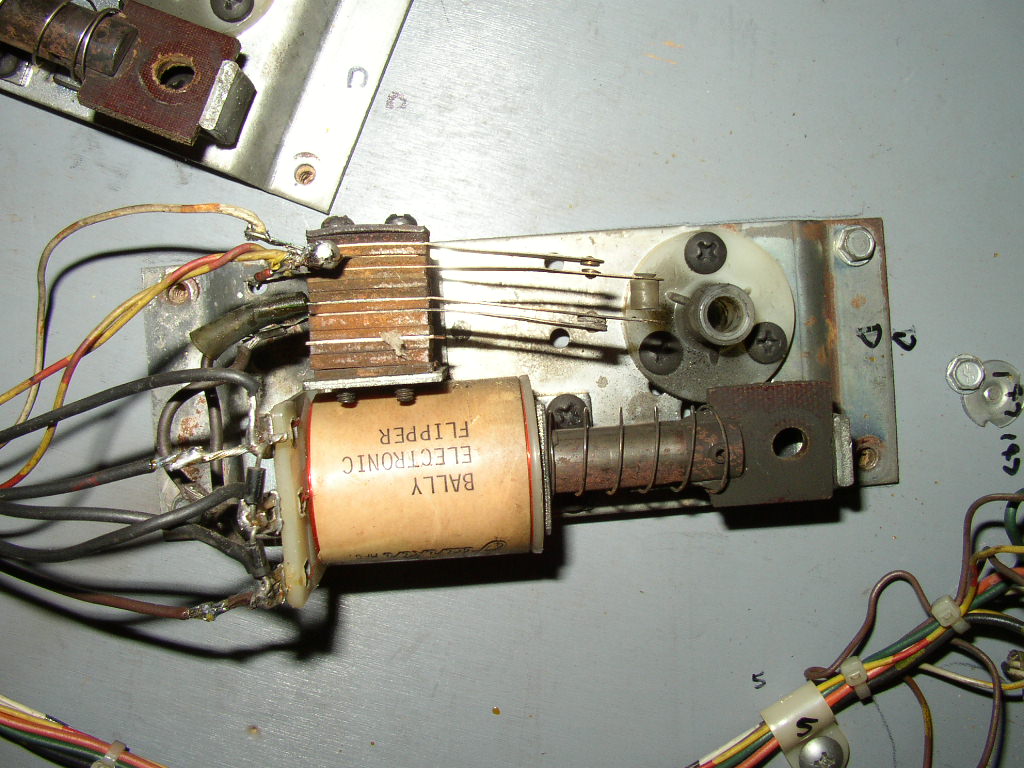
This is where quite a lot of work was required. The Flipper assemblies are very worn. I decided new coils and rebuild kits were required. The EOS and the "advanced" EOS on these pins are crucial to be in good working order. The coil values were not correct, so I ordered them as well.
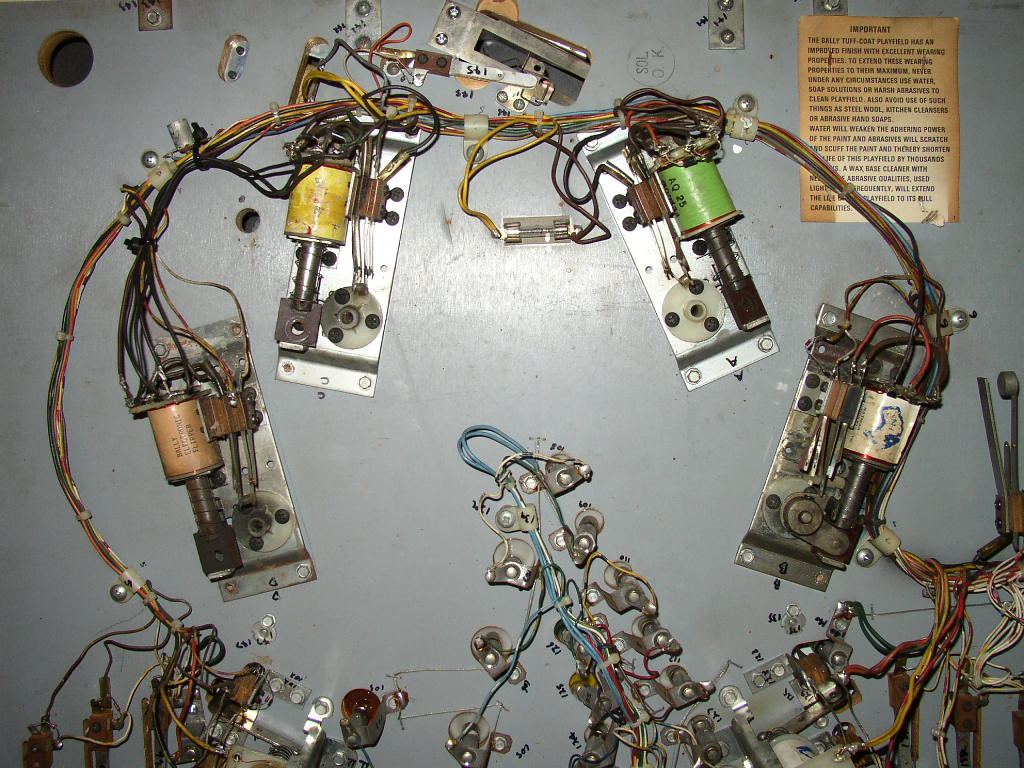
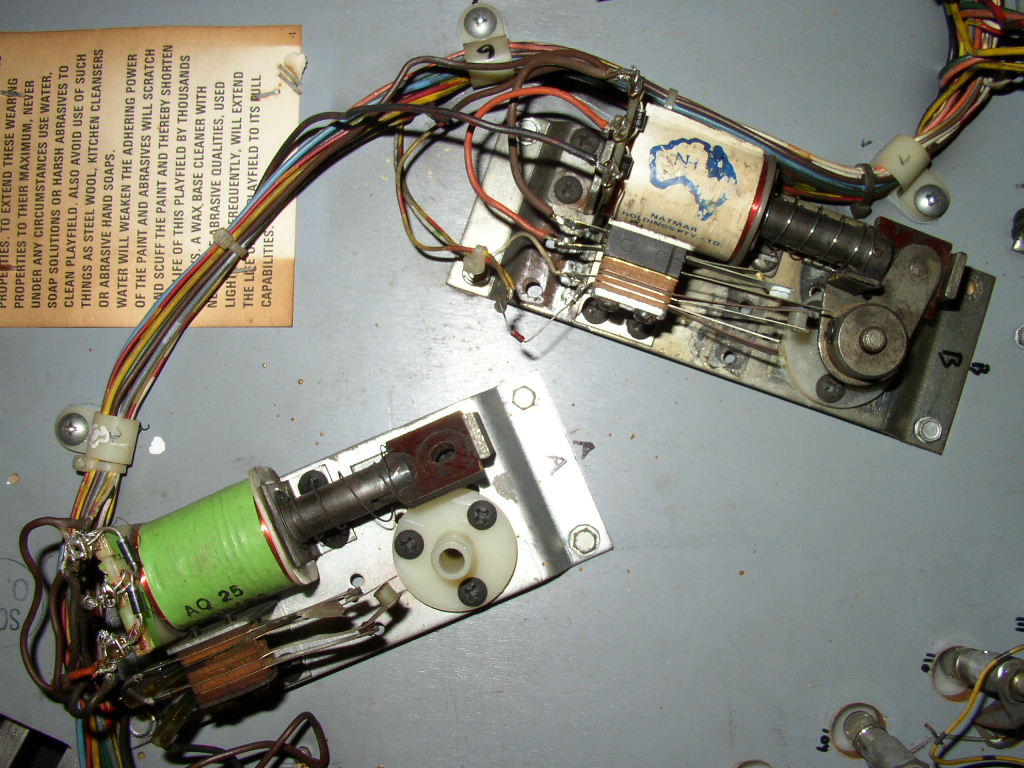
The Target Banks will be rebuilt, as will every other moving part ;
Sneak Peek !
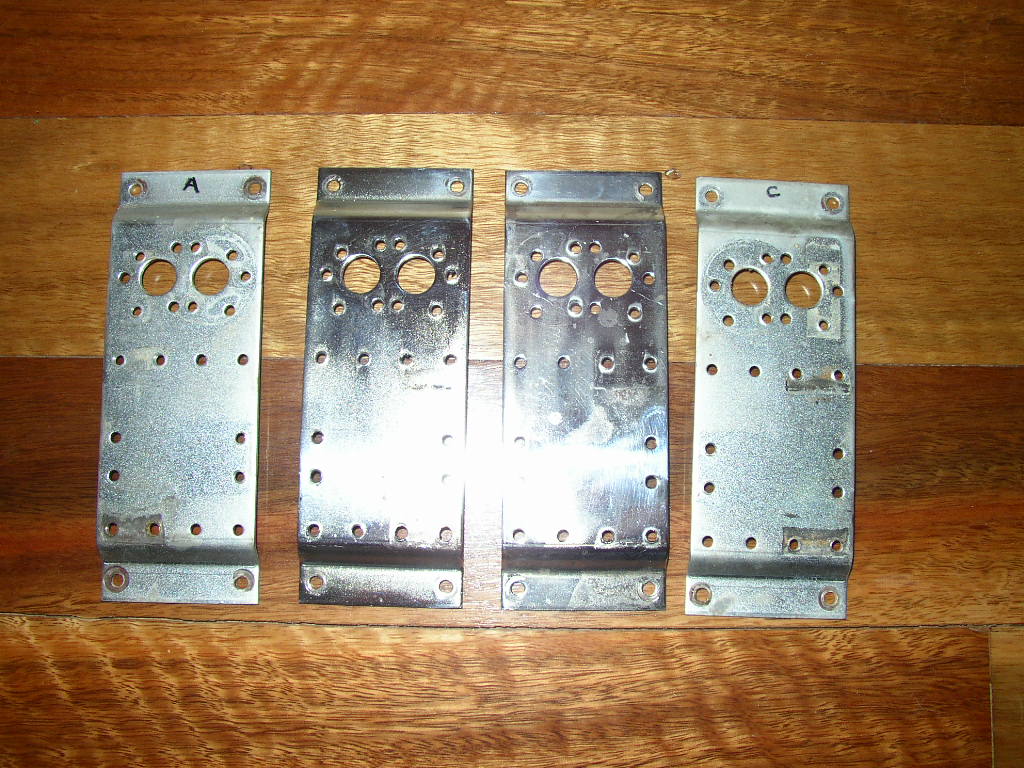
Here's a picture of the flipper coil bases. The middle two have been polished - just for kicks ! Here's a tip - Notice the coil stop screw holes - They are worn and oversized screws have damaged the holes themselves. So new screws will eventually loosen in time. All you need to do is SWAP them over - so that the coil stop is in the next two holes mext to the originals. These plates can be used for LHS or RHS. I ALWAYS swap them over and use the new holes.
Next Update - Flipper Rebuild Heaven !


