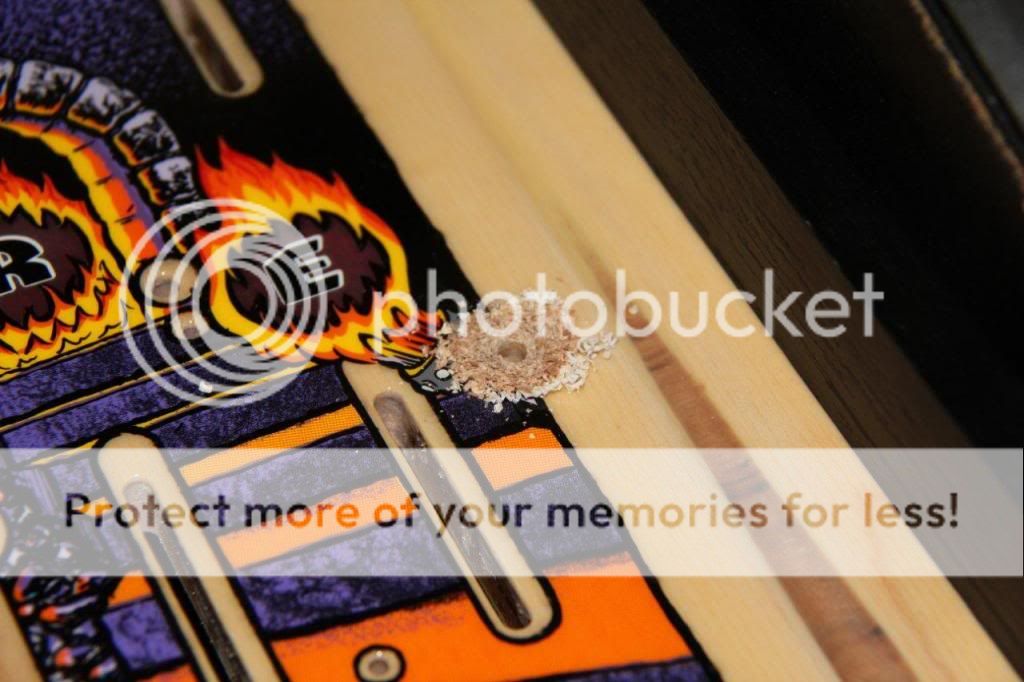
So when i started looking at a few photos on the net, i realised the black side timber on top of the right side of the playfield had some steps cut out to accommodate the large ball guide. If i had a MM here to compare it would be easy, but its all part of the fun trying to work this all out. Looking at a few photos from different angles, i estimate where the steps should be cut out, and took the rail over the the neighbour who has a router mounted on the bench. Cut the step out, and painted black, and everything now installed looks pretty right.
Cutting with the router

I then started making some of the hex posts, i had some measurements from a photo on the net, but looking at the parts manual, i think the lengths listed are more accurate in the manuak (also according to a few other people i emailed). Let me just comment that imperial system is soooo painful. The lengths in the parts manual are listed as decimal imperial....don't know why the yanks cant figure that metric is so much easier!!! Cut the posts to the correct lenght, then centre punched them, drilled out and tapped the hole to 8-32 size

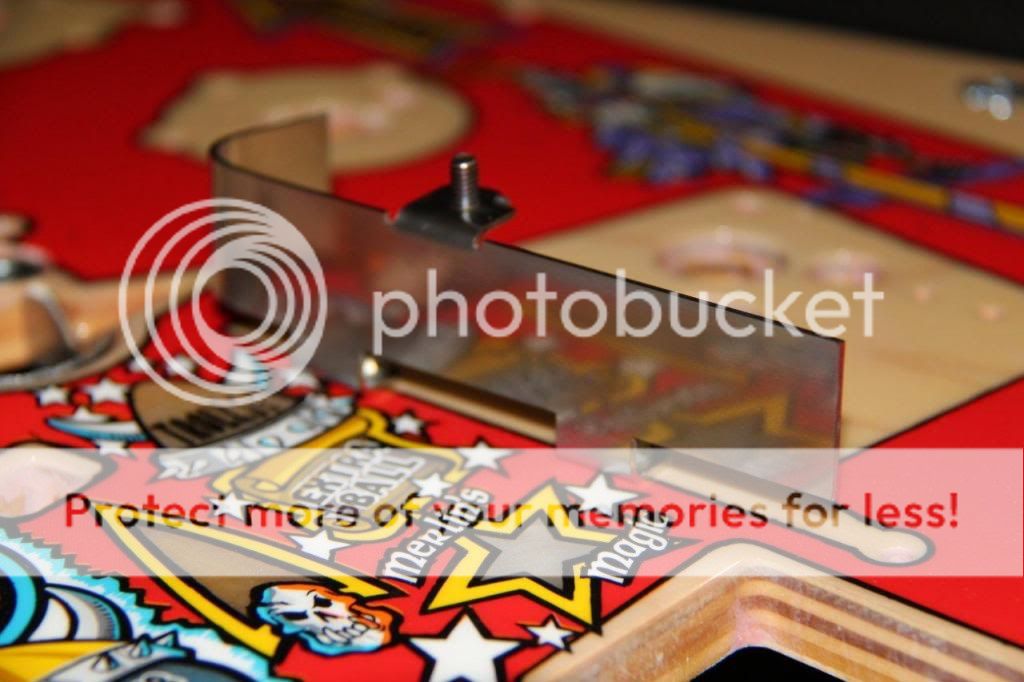
Someone had sent me a link of high end pins youtube video stating how reproduction playfields need to have some modifications. One such was the photo below - i cut a thin slot so the protector can line up correctly with the hole

The next nerve racking cuts were made where the gate assembly goes - the slots need to be widened to the right as marked below

Used the dremel to cut a bit wider

One other issue i have just come across is the mantis merlin hole protector actually interferes with the popper that pops the ball out of the merlin hole - happy if anyone has any suggestions to overcome this one?
Then i got all the ball guides. These were laser cut and bent up by a top bloke with a few more metal skills than myself

Start to install the ball guides

Started to install some of the posts, and some of the holes in the playfield were only marked, not drilled. Again, a few nerves and make very sure the drill doesn't slip when doing this stuff!!!

Again - i don't have anything to copy off, so just going off photos of where things go, but things are starting to come together a bit now
