More painting. Although my airbrushing skills have gone from ZERO to OK - I still need to work on color matching. I still have "no idea" and I spend most of my time experimenting. I heard that acrylics dry darker - well that does not seem to be true for me !
Here's an EASY part - the whire area that is not really seen, located at the top right hand corner. The paint was falling off, so I primed the area, sanded and created a mask from a cut of "frisket". I mask the area off and paint the white color with the airbrush. Took 2 minutes !
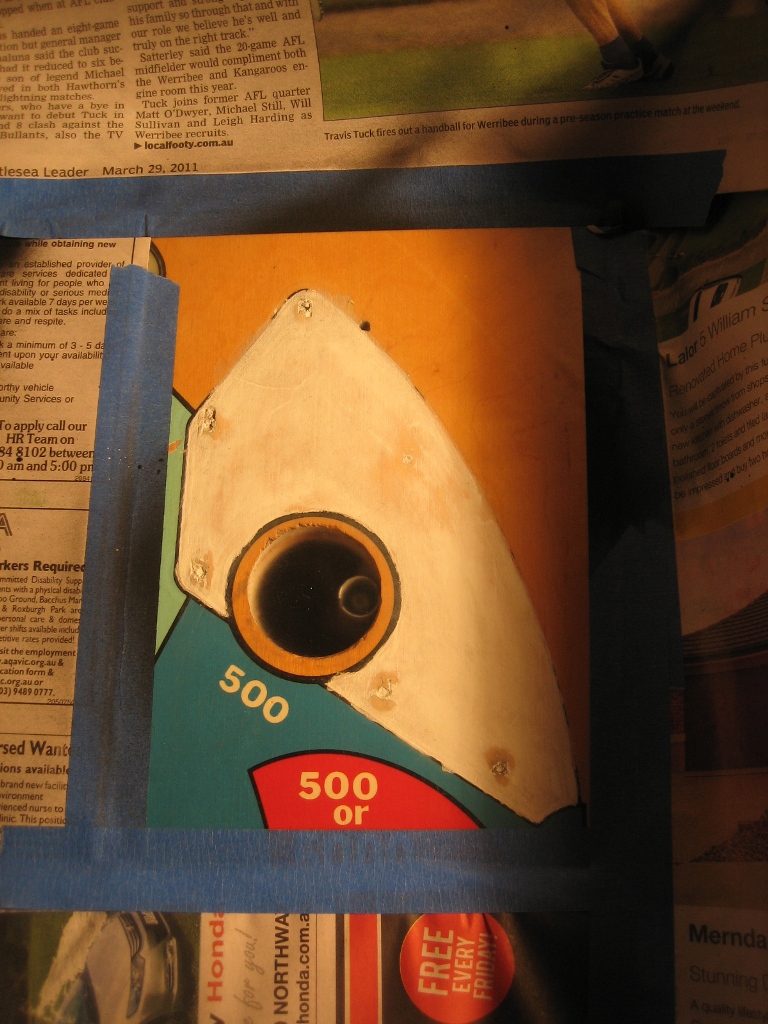
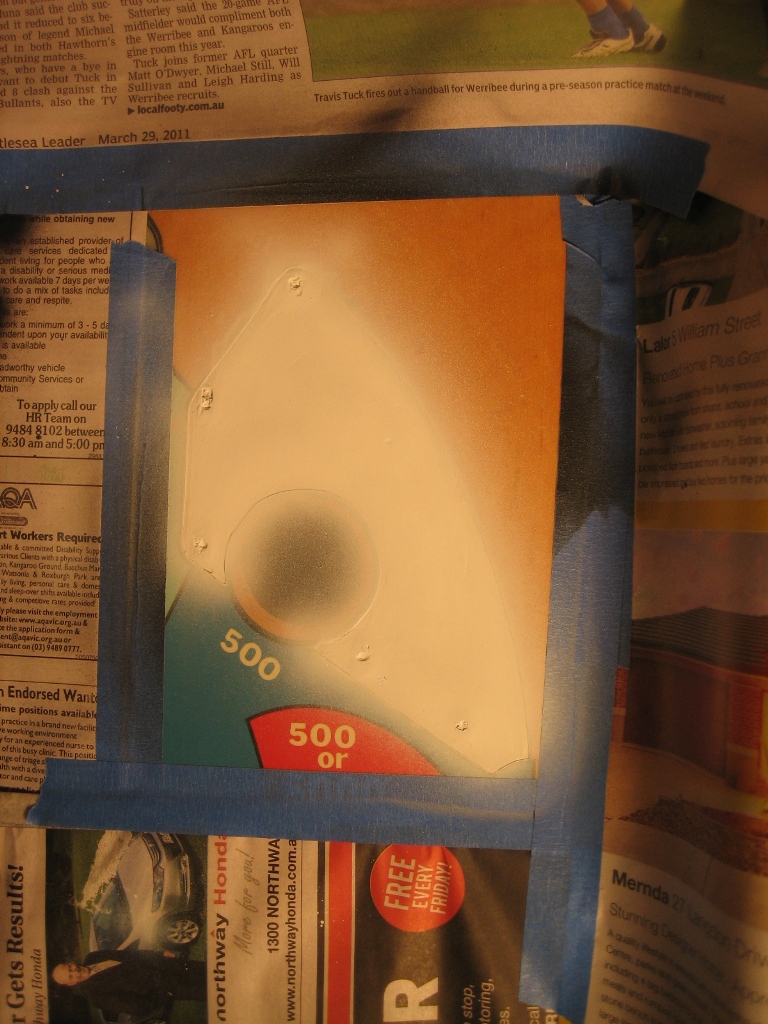
Don't worry about the black lines, I'll cover them later.
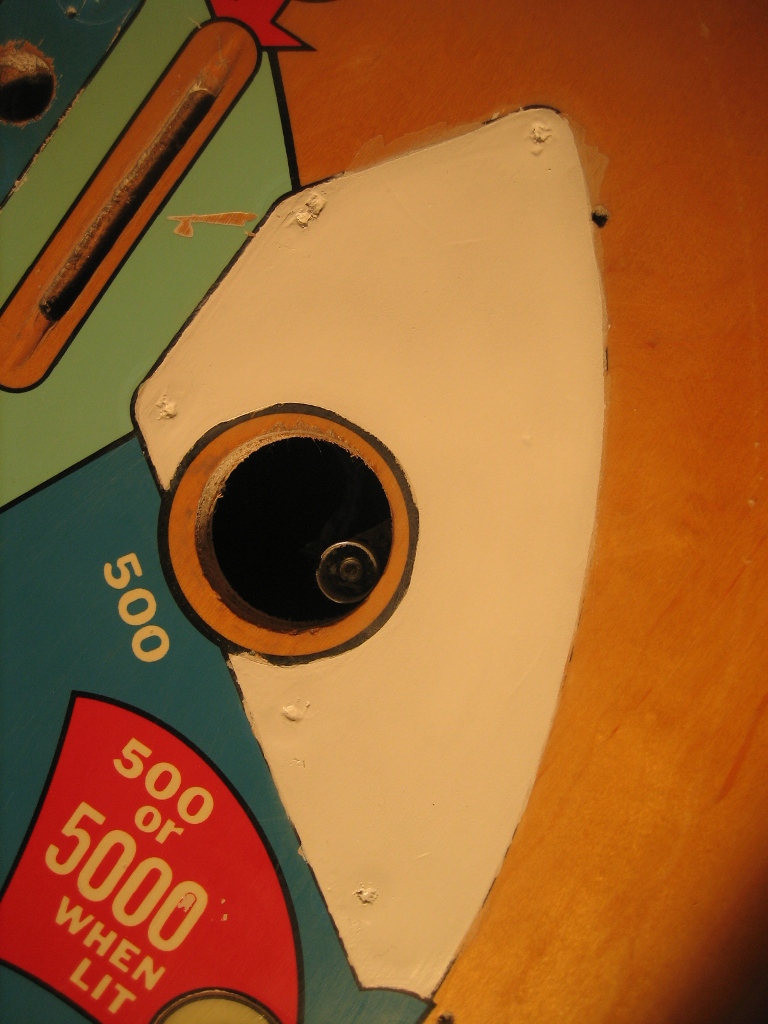
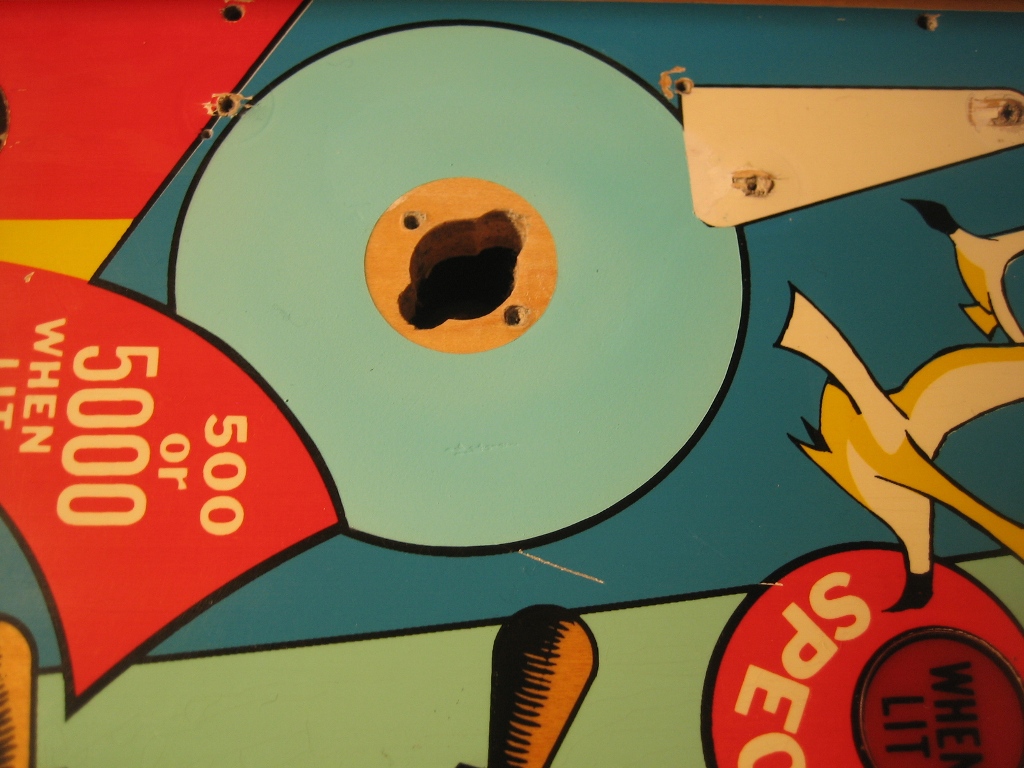
The left hand passive bumper - there was a huge chunk missing, so I primed the area, sanded the old paint back for adhesion, applied the mask and some frisket for the unpainted areas and it now looks like this ;
OK - it is a little too light and Blue than Green. This will come with experience with the paints. I think it is the right color, but it has not got that "worn" look. That's ok - better than it was before and I'm happy with it.
Close-Up - Really nice color and coverage. Not bad ! I'm pleased with the practice and "understanding" the airbrush and paints. Back to basics with color matching.
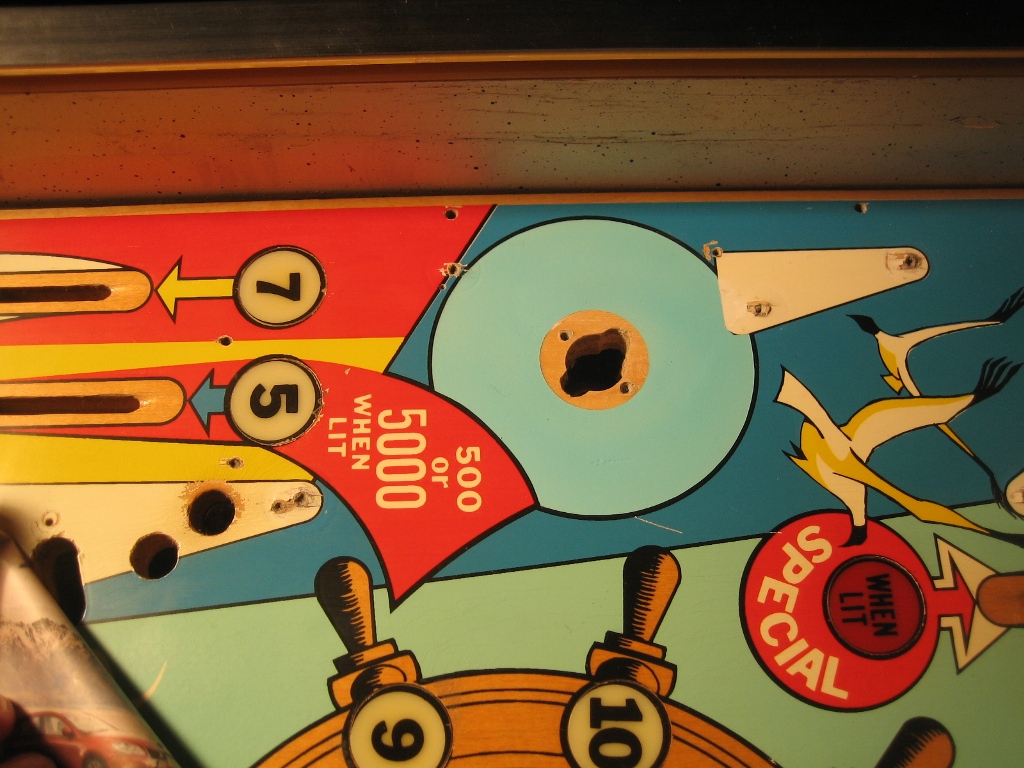
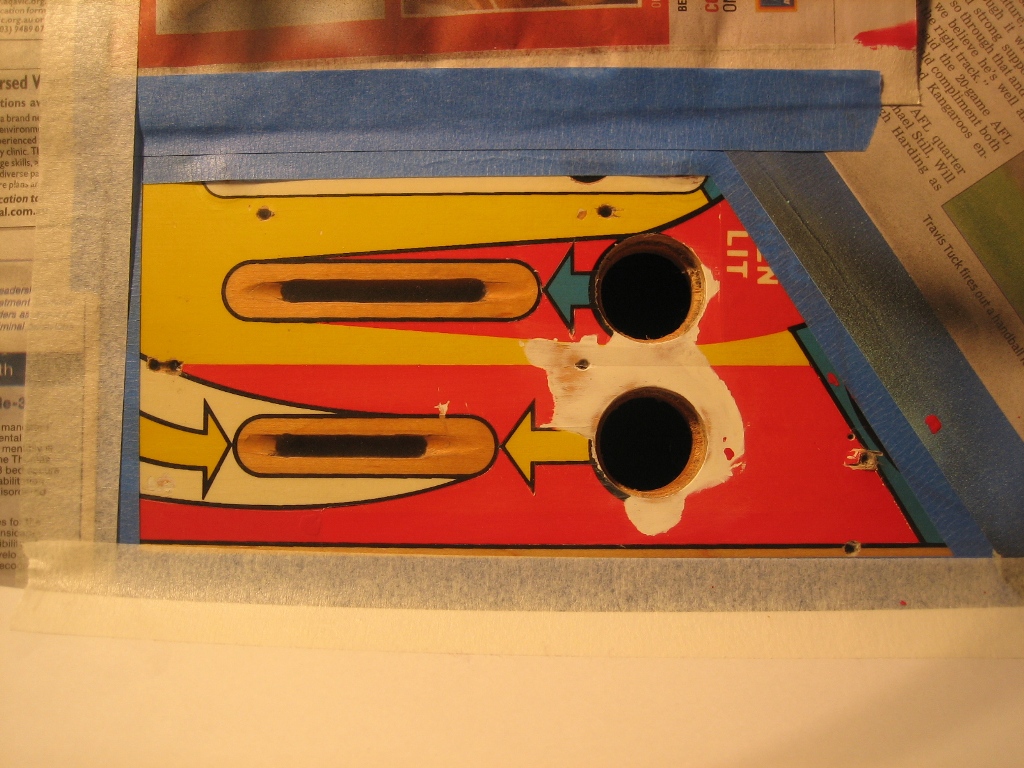
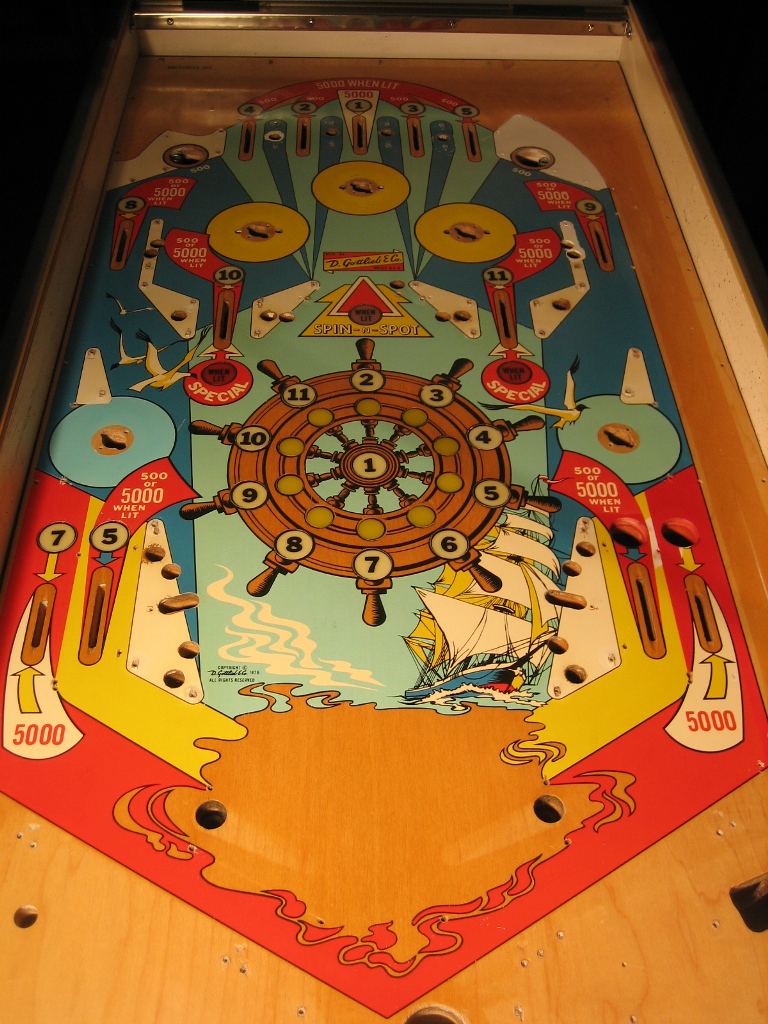
Lesson number 2 - Do lighter colors first. So I picked RED - Duh ! In this area, I need to paint the red, and red looks easy to match, but I found it difficult. This is the in-lane / out-lane on the right hand side.
Prior to masking, I primed the area and sanded the sections I want to paint, then cleaned with Metho. Mask the area with frisket and use a scalpul to cut the section out where I want the red to be painted. Mask the surrounding area.
No need to apply too much paint, just an even coverage. A light mist, then work the paint in evenly.
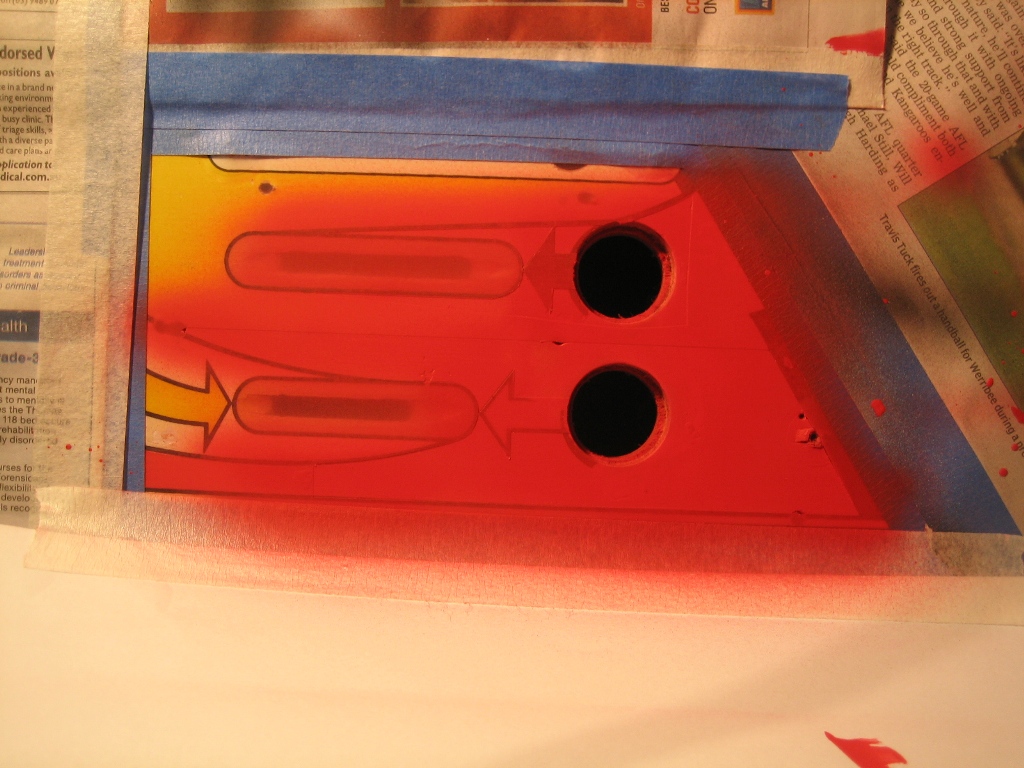
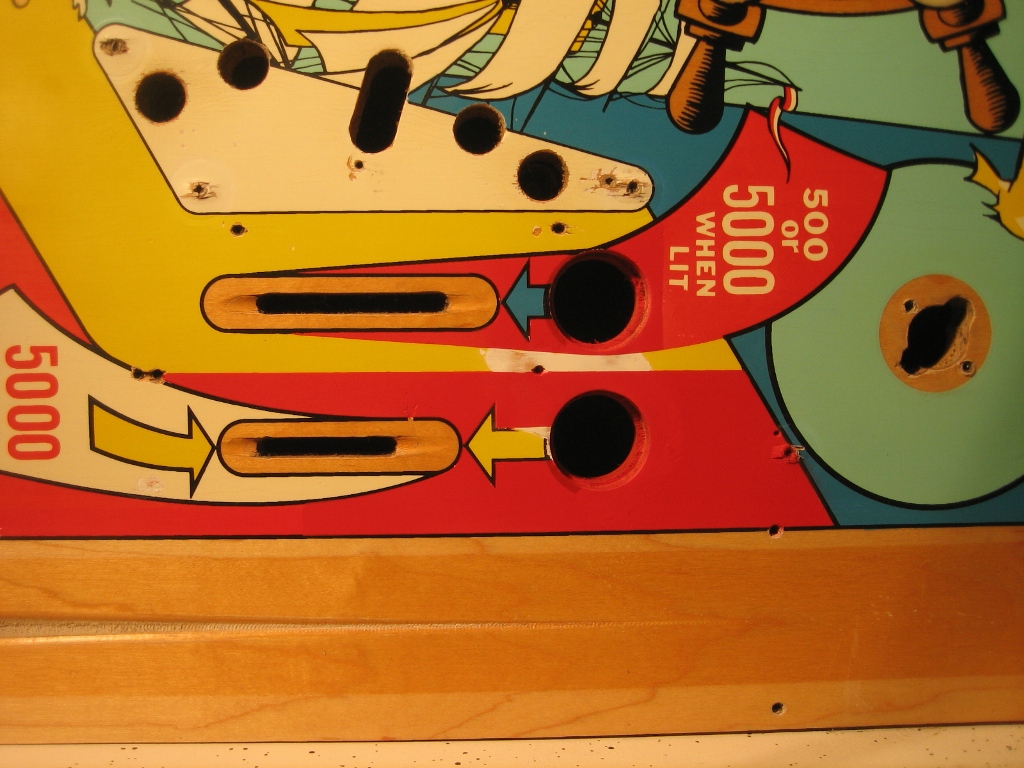
OK - the bottom section of the RED meets with the wooden lshooter lane guide. The reds don't meet, so you can't tell it has been painted. Just under the writing "when lit" you will see where the new paint meets the old. The camera makes it looks easy to spot. That's something that will improve over time, either by correct color matching or fancy cutting around the lettering.
I'm REALLY plesed so far. I know my limitations right now, and I'm going to keep the learning curve going. Comments by the gurus on improvement are welcomed and appreciated.
Looking much better !
Results are SLOW, but rewarding !


