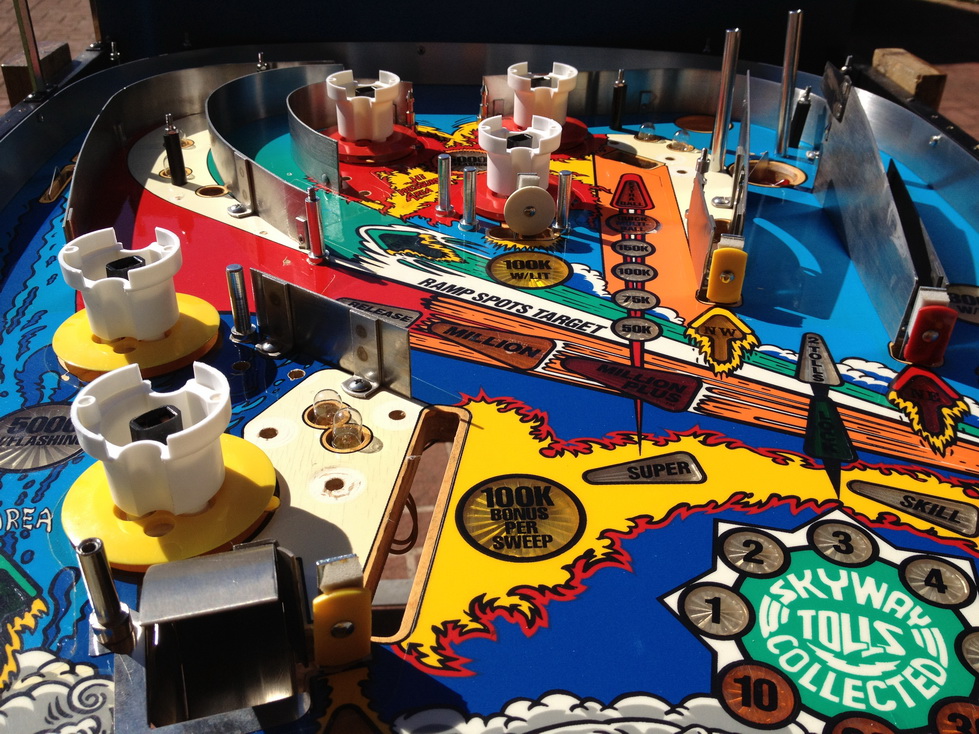
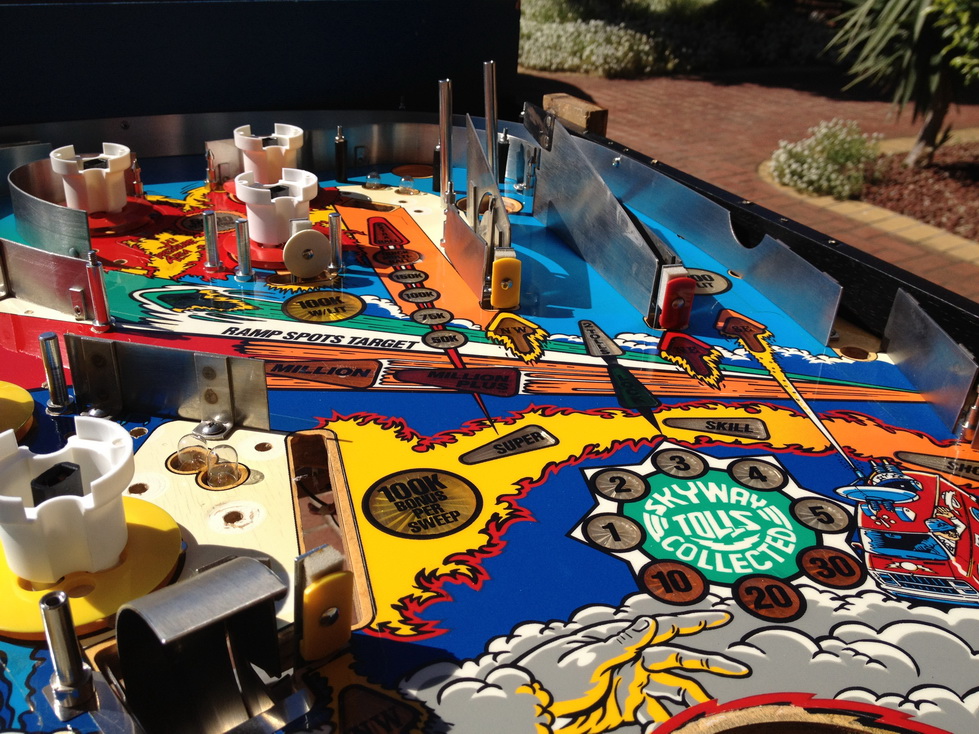
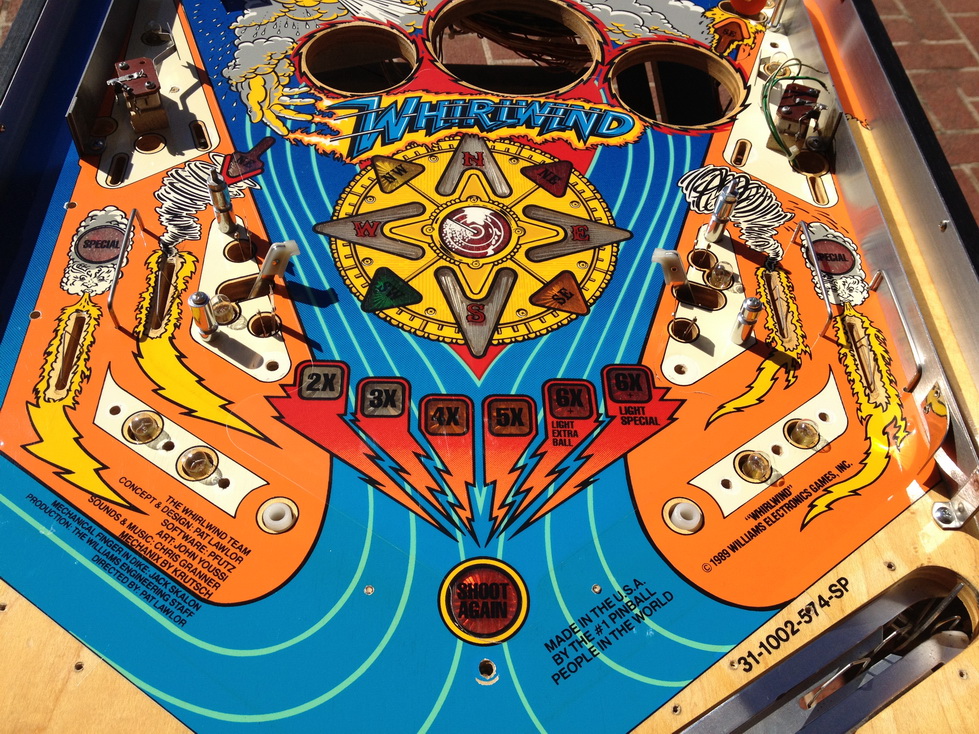
Playfield re assemblyParts arrived from RTBB so it is time to re assemble. New targets, Cliffys, pop bumper assemblies (all SIX) ! Regrained metal guides etc !
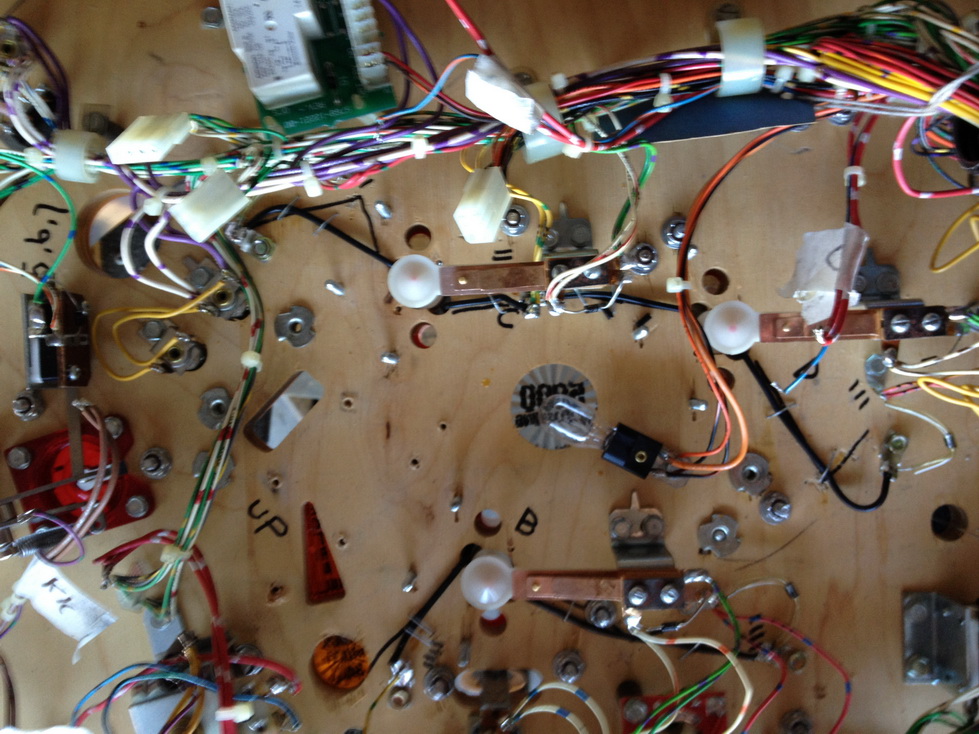
One of the most time consuming jobs is rebuilding the pop bumpers and replacing the 555 light sockets. I don't use the original style, I prefer these ;
http://www.rtbb.com.au/catalog/product_info.php?cPath=40_115_117&products_id=2530But there can be the issue of soldering the diode and playfield GI to these insulated sockets. So I thought I'd try a simple solution using the same idea as the designers - use lugs mounted under the playfield. Jaycar have these.

I used a short wood screw, and screwed in a lug close to the diode or wire that used to be soldered to the original lamp socket. I then soldered the lamp socket (trimmed and tinned), and then soldered either the playfield GI wire or diode, as can be seen on the RHS of the picture below. It is a bit out of focus, but you can see the red wires connecting to a lug and then to a diode. This is an EASY step which saves time and makes the job neat.
More update tomorrow !


