Tons of work done in the last few days. Had to wait for some Ramps from RTBB, so I've caught up and it is coming together nicely. Since the game was in such good condition to start with, I decided to really make a nice example - complete with ALL new ramps and LEDs. Should look and play great.
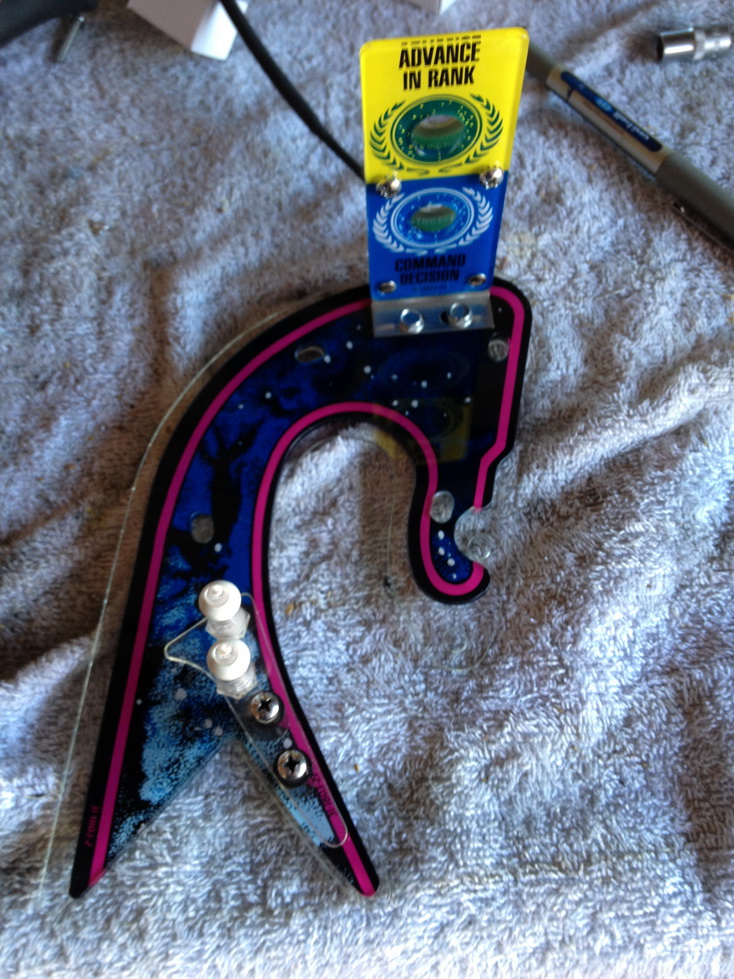
The trigger assembly was slightly worn, so I cleaned it up, resprayed it and then added a gloss clear. Looks much better !
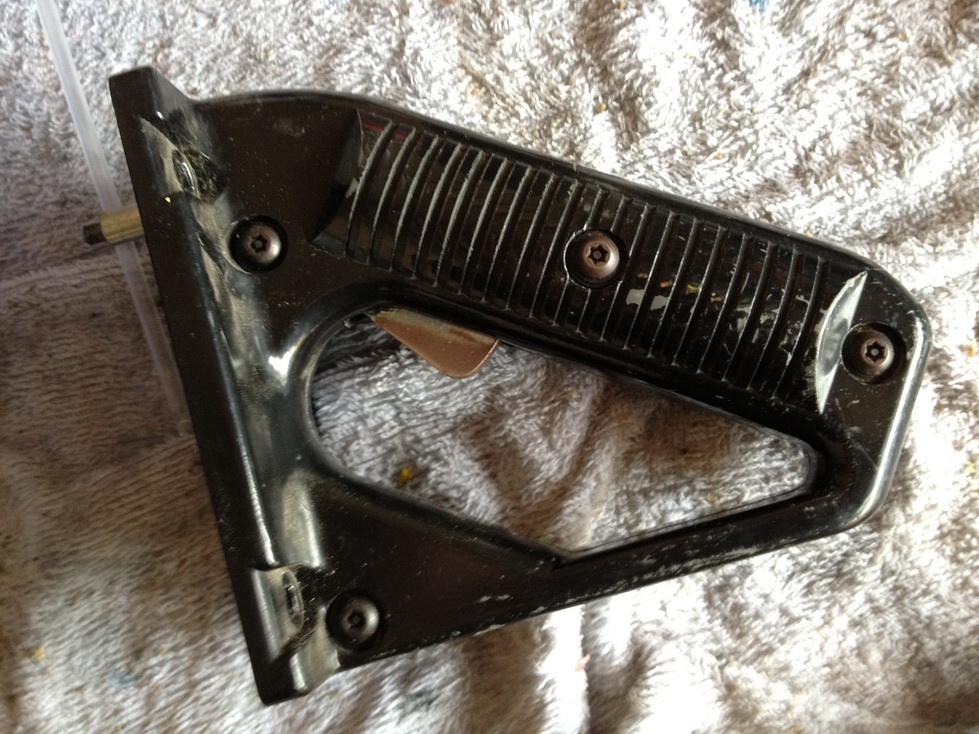
Drying after the final clear ;

Finished assembly on the left, and another assembly (from one of my other ST TNGs) on the right. Big difference.

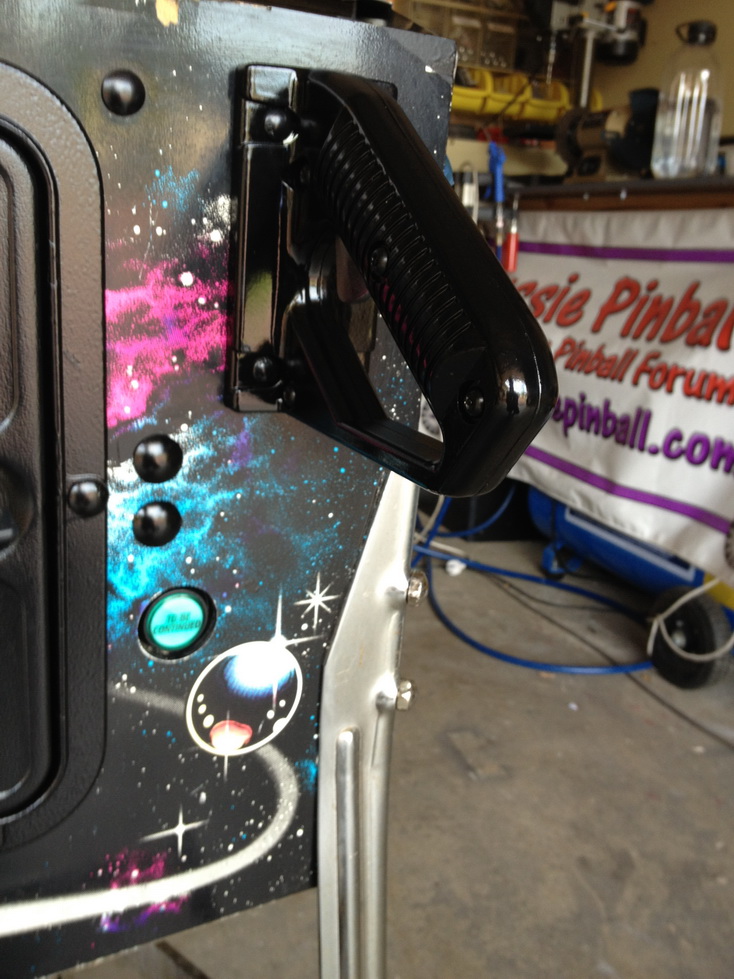
Fitted to cabinet ;
Outhole repair. I've seen a common mistake with the installation of cliffy protectors. The worn area should be repaired BEFORE installing the cliffy. It is not hard ! Hyper Thin protectors will eventually follow the shape of the worn area. So don't be lazy and cover up the wear !
I use Quickwood. Amazing product -
http://www.rtbb.com.au/catalog/product_info.php?cPath=127_153&products_id=1799Repaired area

Cliffy installed !
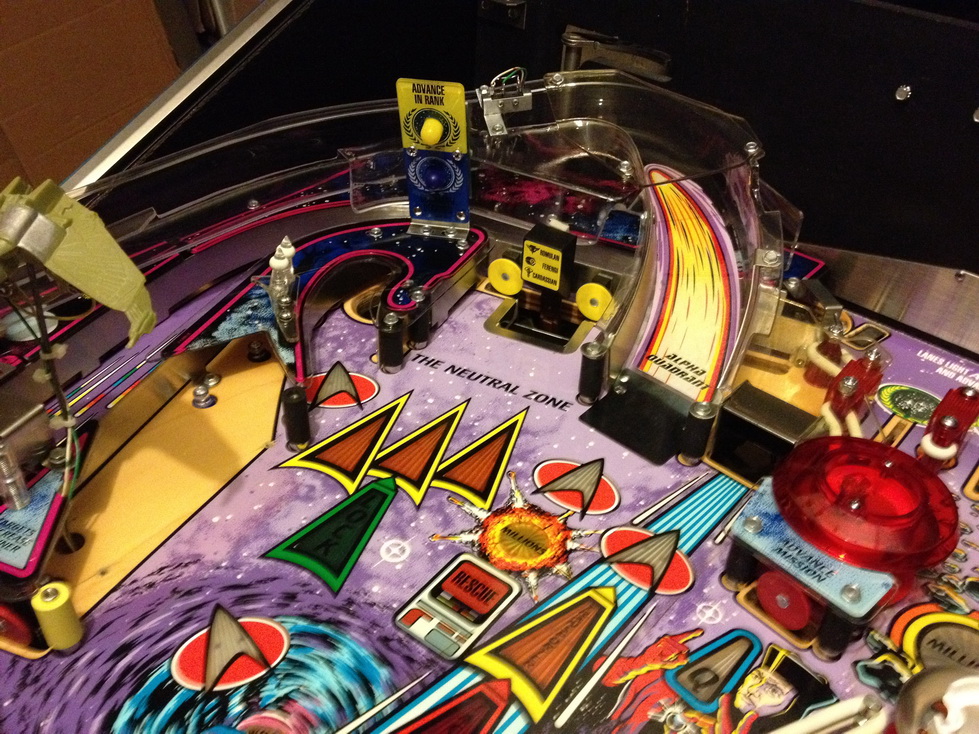
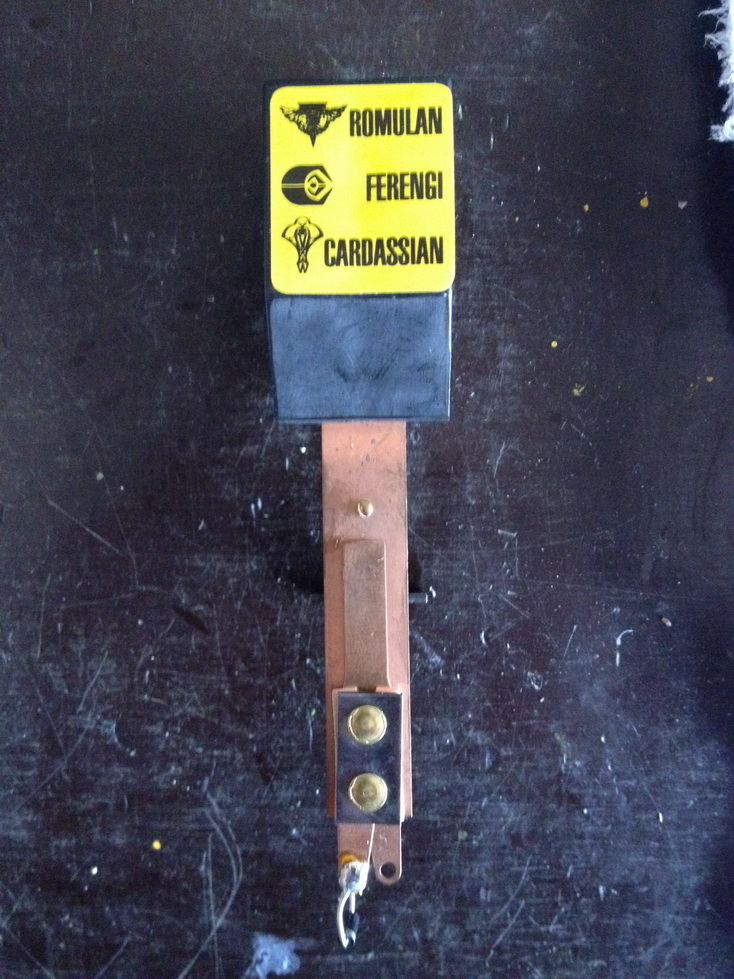
The Large Neutral zone target always gets a laugh. I always thought the Kardassian's were from a different planet, and here's PROOF !
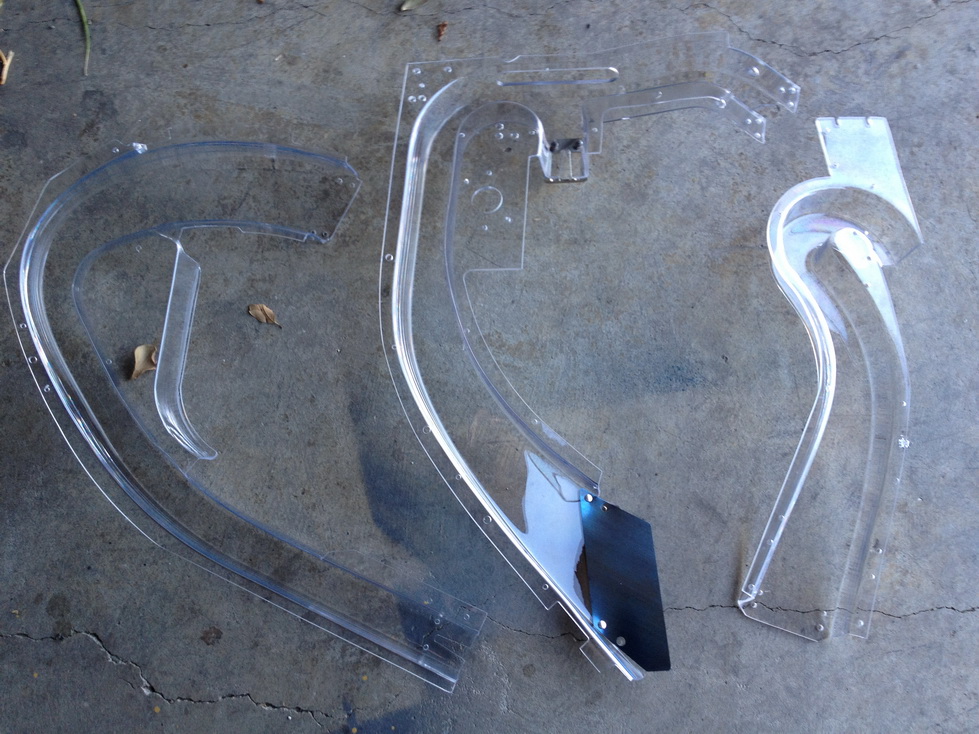
New plastics look great. Couple clears not included, but they are not seen, so it does not matter.

Old VS New - Colors much better and deeper. New Shuttle Decals ready to install.

I'm installing the plastic protector kit for this title. Who reasons - New plastics set, and this game has the prototype / Sample coils which are stronger than the production coils. The game will run faster, so the plastics AND ramp protectors will be a great idea.
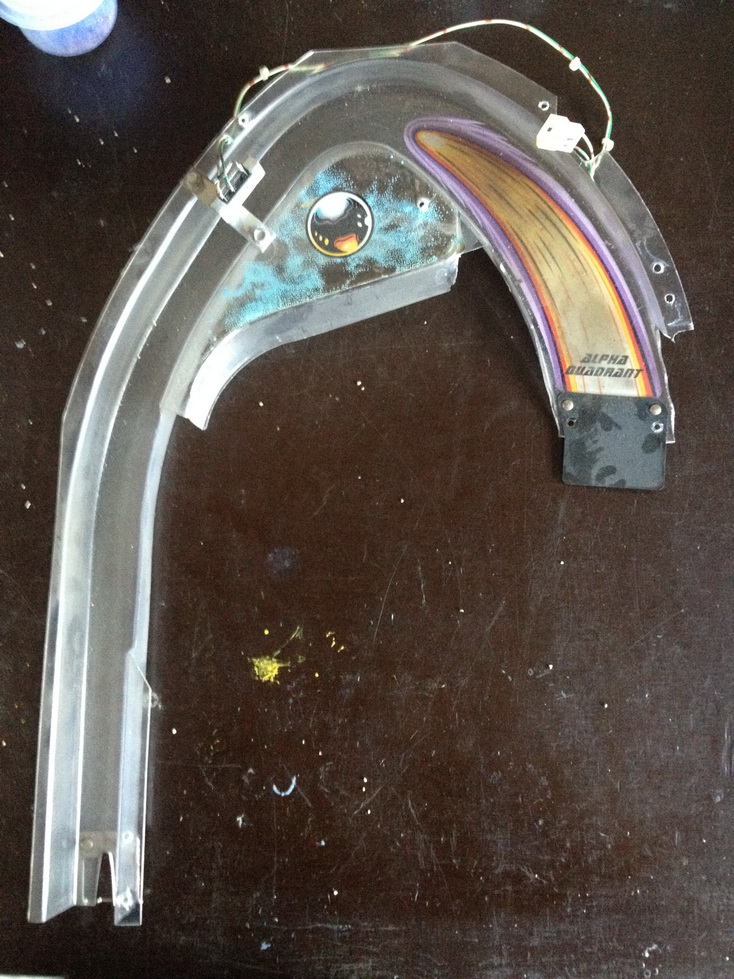
 RAMPS !!
Alpha Ramp was broken and needed to be replaced. I decided to replace all three. Delta was chipped, and Beta was fine. Greg at RTBB had all in stock, so I ordered BARE Alpha and Beta, and full Delta. New ramps make a HUGE difference, and I've been installing the PinballInc Ramps on all my restores (if needed) - but I look for excuses to install them even when not needed !
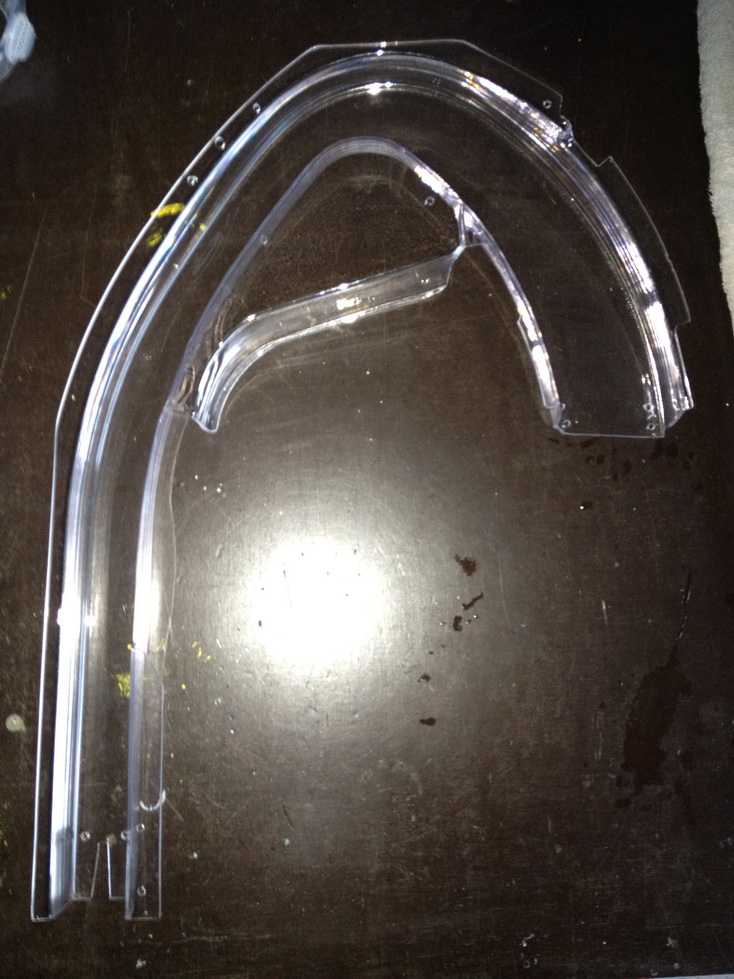
 Bare ramp swapout
I use my rivet press found at pinrestore.com. I built it out of a kit form and I use it for all bare ramp replacements. Here's the original Alpha Ramp.
I remove the rivets using a dremel - wearing eye protection. I shear the rivet with no damage to the old ramp or fittings. From there, disassemble the rest of the hardware.
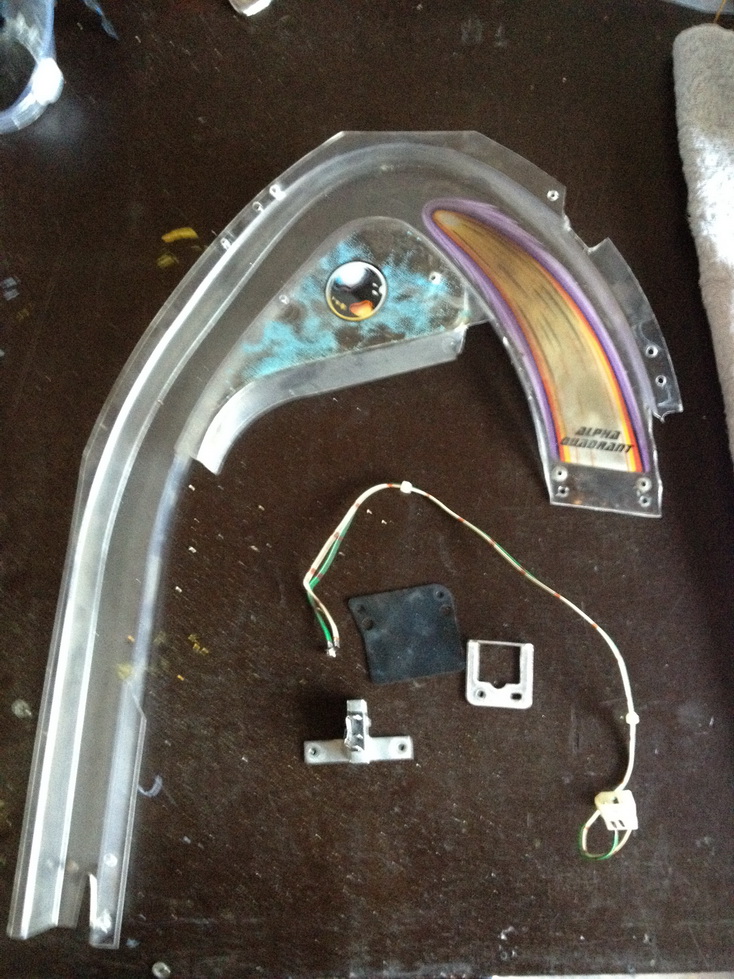
Bare Ramp - ready to install the ramp flap, ramp fitting, switch and decal.
Hardware installed
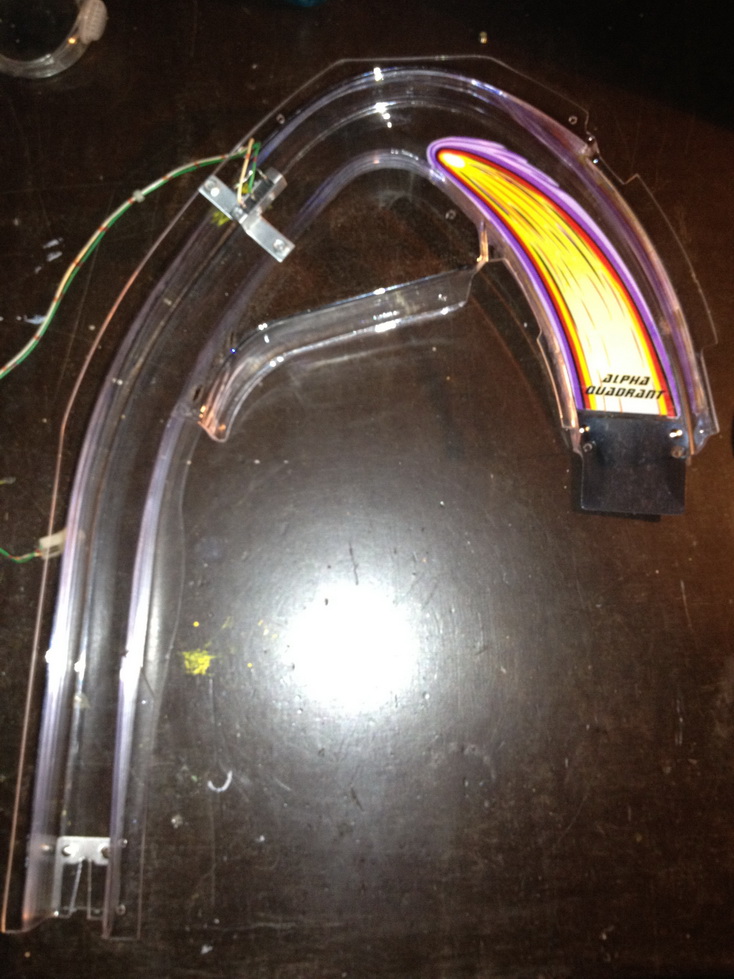
Here's a tricky bit if you want to install ramp protectors. Due to the fact the ramp protectors were made for original ramps which are thinner, you need to slightly modify the ramp. Two holes need to be drilled (mandatory). At this point, you soon discover that the thickness of the PinballInc ramp is more than the old ramp, and the protectors don't fit ! Easy fix - you need to use the dremel and cut a groove for the left hand side of the ramp, and trim away a small section on the right side of the ramp. The small piece of clear plastic that sits above the leftmost lane guide needs to be trimmed as well. I used a thick washer inbetween the left side of the ramp entrance protector and the post to elevate the protector, otherwise it digs into the ramp. Picture explains it better !

Ramp installed, and ready to move on to the others. Flipper kits have been installed and the first testing with LEDs was successful.