More Body Repairs !
The Head was in poor condition, and it had suffered some water damage. The front and the top of the head needed work - in fact, I ended up replacing both. I kept the "good side" of the original body, in case I needed to repair anything. The front head facade would be easy to make and all I needed was a sheet of ply from Bunnings..
I knocked this up in the afternoon with my electric saw, jigsaw, planer and router.. It was all a bit of fun with angles and involved some maths and a six pack !

Here is the original Head - with a chip out of the top of the facade. The facade was falling apart.

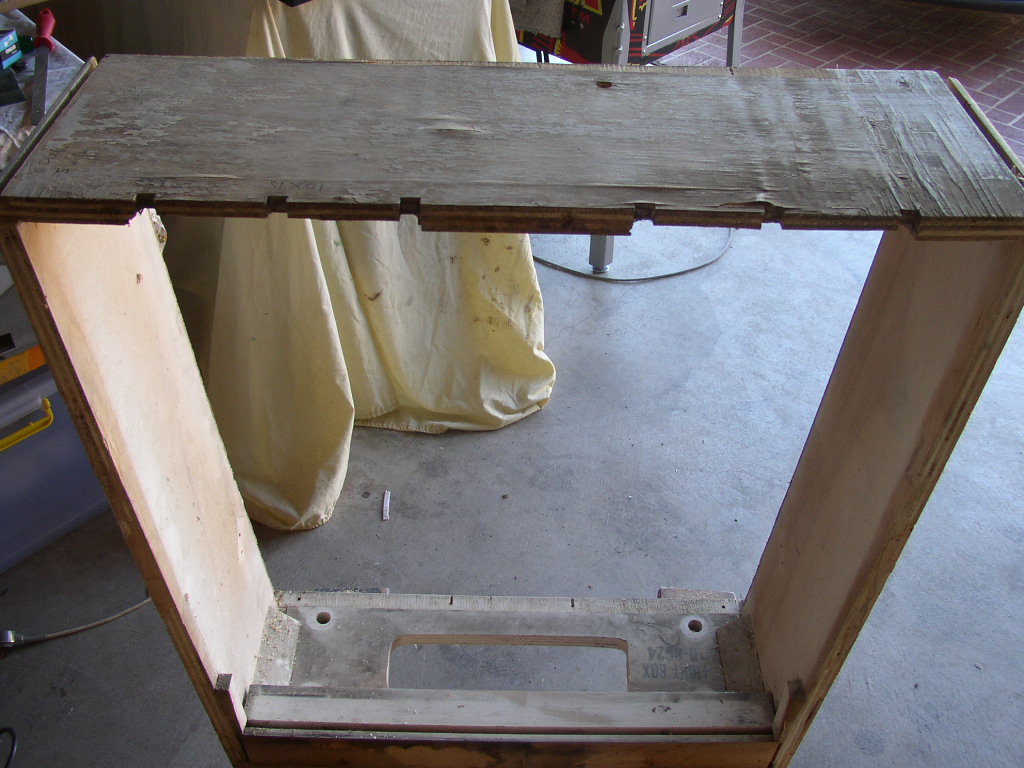
After removing the facade, here is what the rest of the head looked like. I had to carefully remove the top section... Which fell apart anyway !

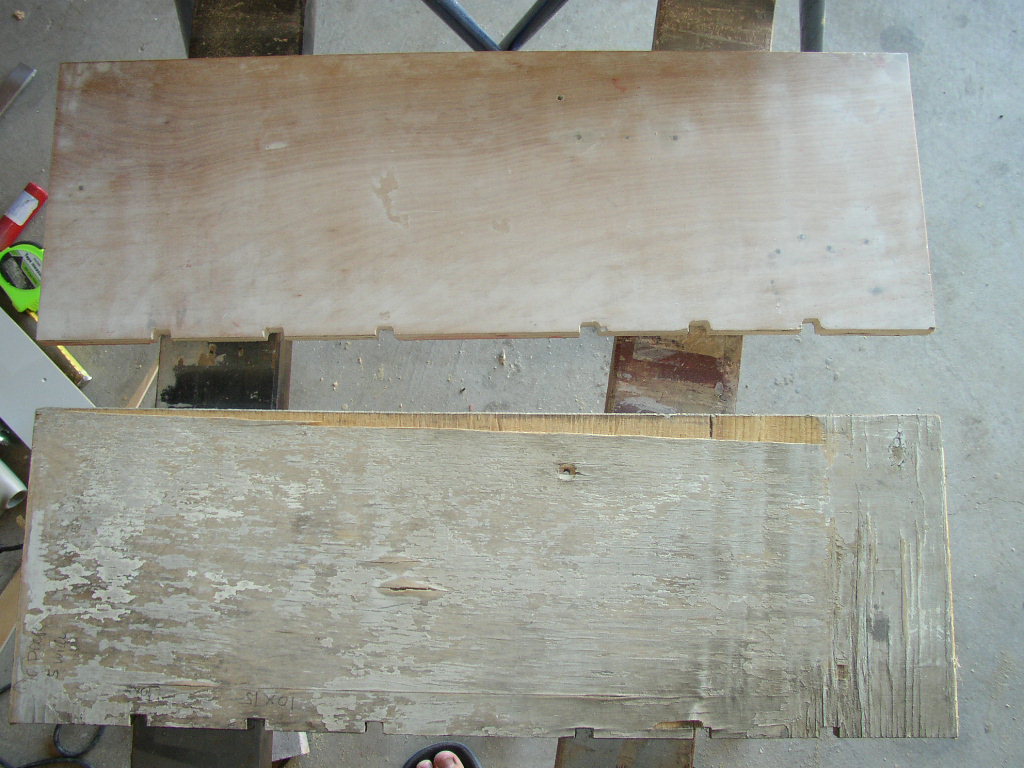
Here's where you have to remember what they taught us in Maths class.. There are a few holes that need to be cut, and some beveled edges. Basically, I made the top of the head by using an piece of the original side of the discarded cabinet ;

The reverse side was a lot more involved. This is where the router came in handy. Lots of measurements taken, and passed on to the new piece of timber.

Now here is the tricky bit for anyone that goes down this path... The sides of the head are cut square, so the bevel where the top section is fitted must be beveled perfectly. LOTS of trial and error here - and I'm no craftsman !
Finally, after a few changes, it fits nicely. Get this part wrong, and the the new facade is not going to look good. I also reglued the entire structure so that I was working with a stable platform..

Facade was a lot easier than I thought. I used the old one for the markings, and cut the new facade out slowly. To cut the inside out of the sheet of ply, I drilled four holes in the corners, and then slid the jigsaw along a straight edge. I then sanded the corners and trimmed where necessary to have a perfect fit...
End result ;

Final step was to have the facade aligned and glue it to the rest of the head.. Finally, some tack nails and I'm done. Check for square and I'm done...
