A lot of work has been done on this machine - so here's an update !
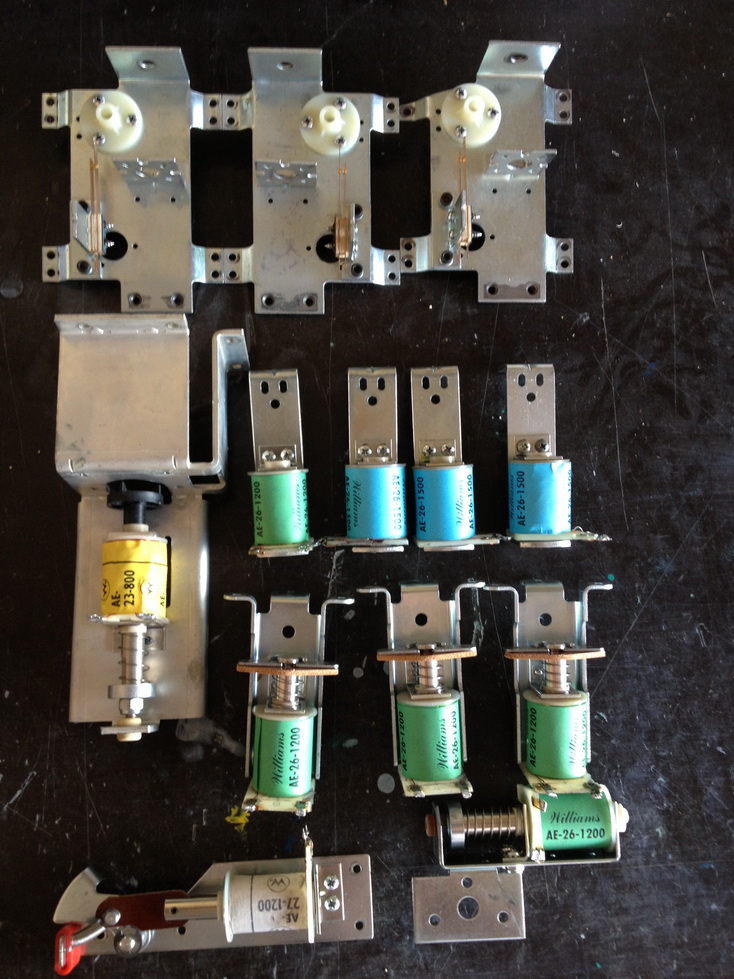
The playfield has cured and I can re assemble. I'll also be installing a repro mini playfield as the old one was chewed up badly. But first, all the mechanisms need to be rebuilt, coils tested (or replaced).
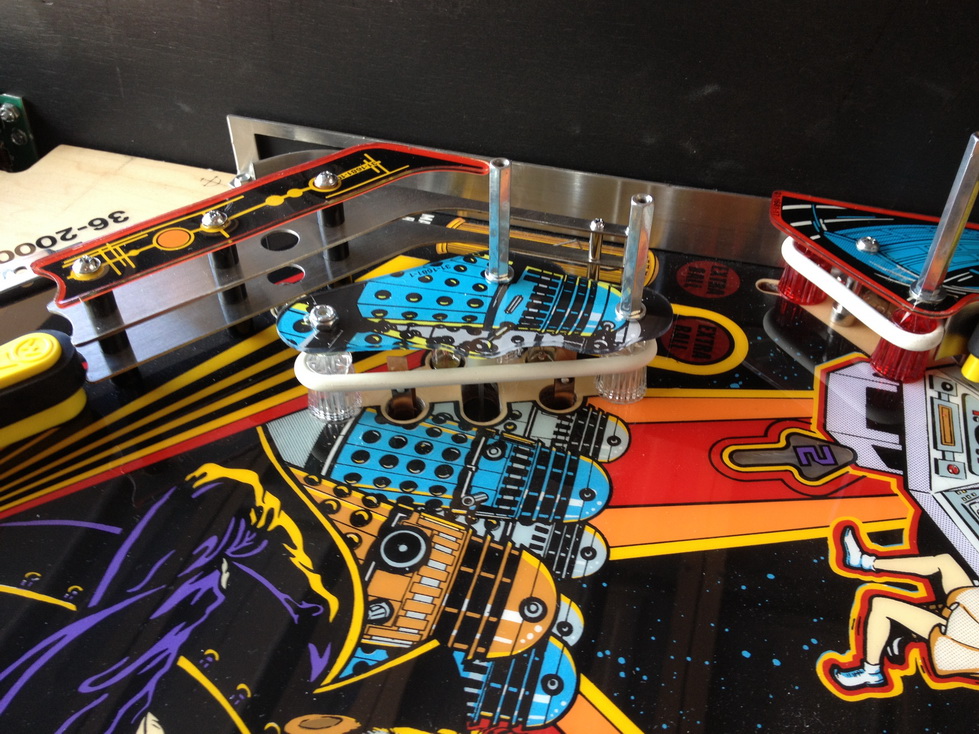
Top of the playfield is re populated. New slingshot plastics from RTBB.

Pop Bumper assemblies are rebuilt using NEW parts. No short cuts here. It is fast becoming my biggest gripe with "reconditioning" work and some "restoration" work where these are not properly rebuilt. The game looks GREAT with NEW parts !

Slingshot plastics are ALWAYS shot on this title. I've installed protectors as well,
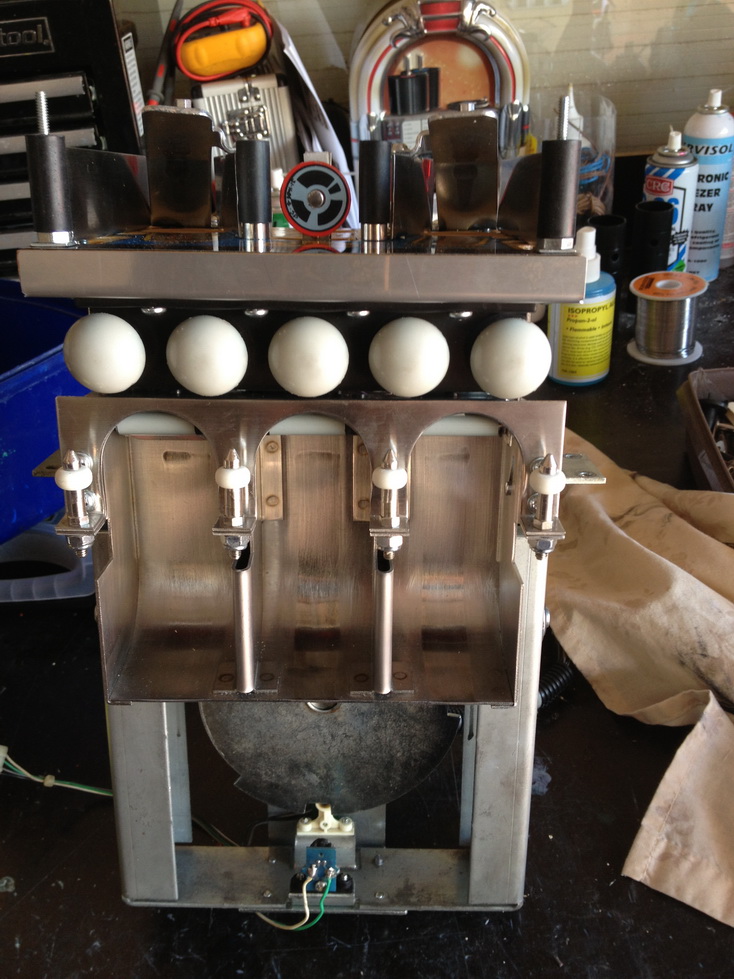
 Mini Playfield
The original was chewed up VERY badly and looked tired. So I'm installing a repro !
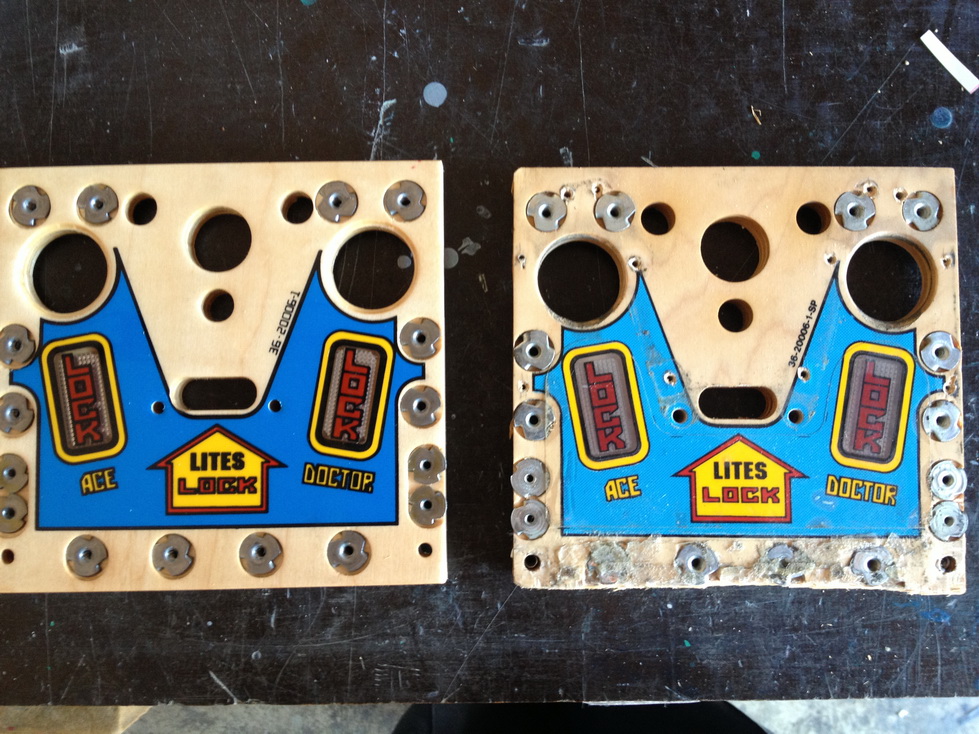
.. and here's my first BIG problem. The repro playfield has some registration issues. The holes were drilled 4mm out of where they should be !

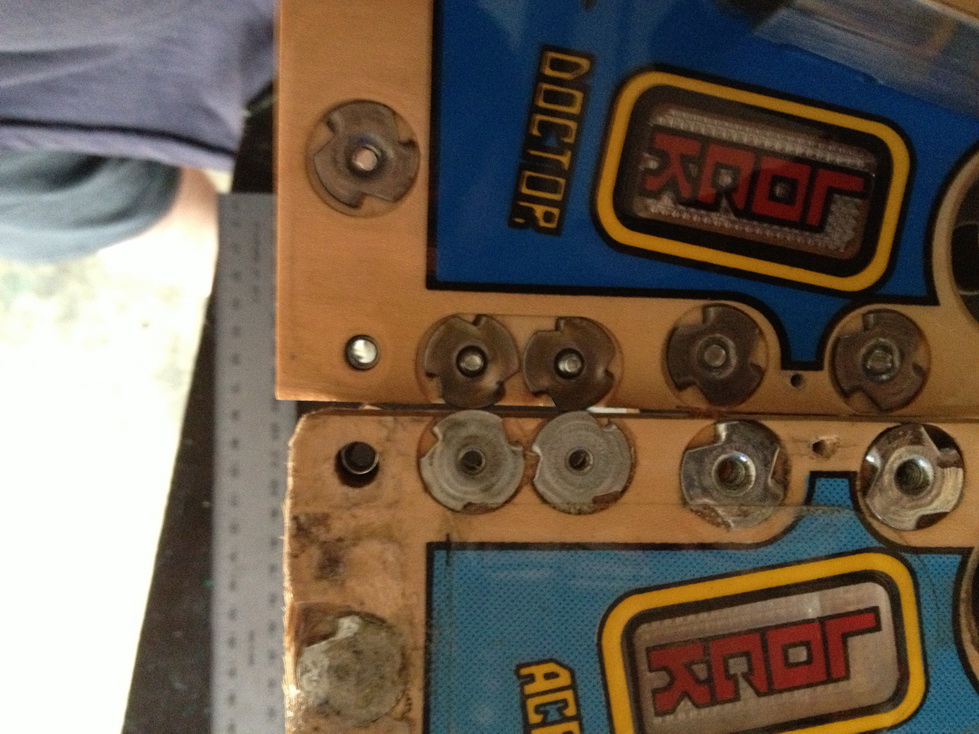
I want to install Cliffy's to protect my repairs to the playfield, and to protect the new mini playfield. There's no way this can happen with the problems with the mini playfield. So the "easy" fix was to remove 5mm from the edge of the mini playfield to correct the manufacturing error. I guess I was unlucky, or I'm the first person to install this mini playfield with BOTH the playfield and mini playfield Cliffy protectors. I trimmed 5mm and it lined up perfectly !
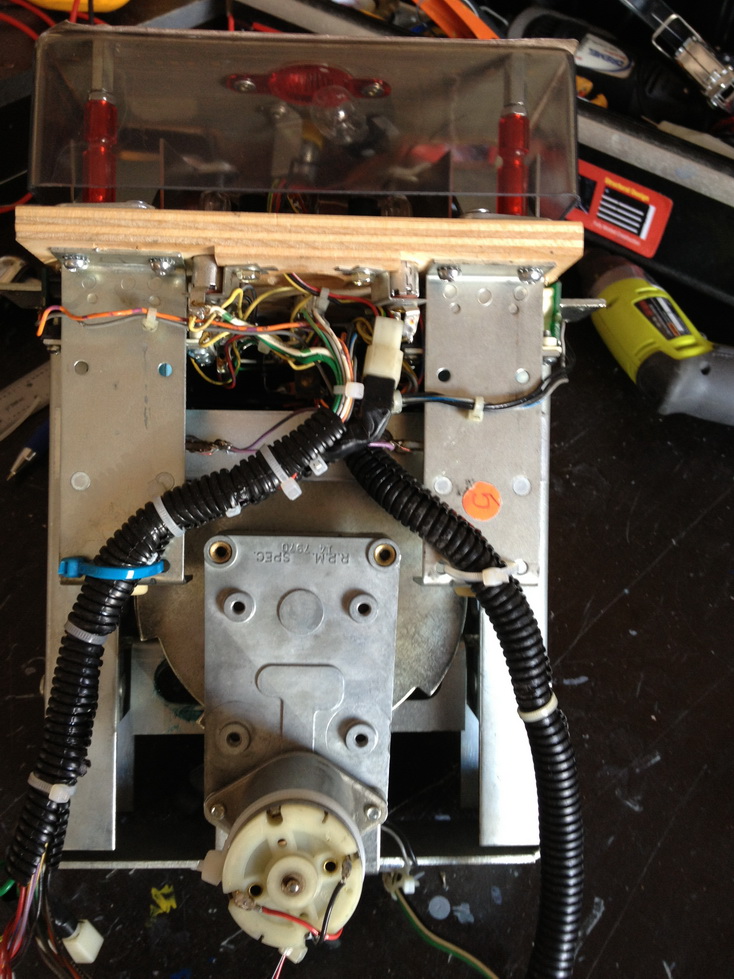
Here's the rebuilt mini playfield. This is EASILY the most intricate feature of any DMD pinball. The game revolves around this working 100%. It is VERY rare to see these working in any game that I've come across.

I re route the cables so they don't catch on to the loom when the playfield moves. I also replaced the shims in this game. This is an extra step, but it ensures the playfield moves smoothly.
Here's a "before" picture of the mini playfield ;

After a long time was spent on the mini playfield, I had to make a few adjustments, and now it works well. Here's a picture of the game with most of the playfield re assembled ;
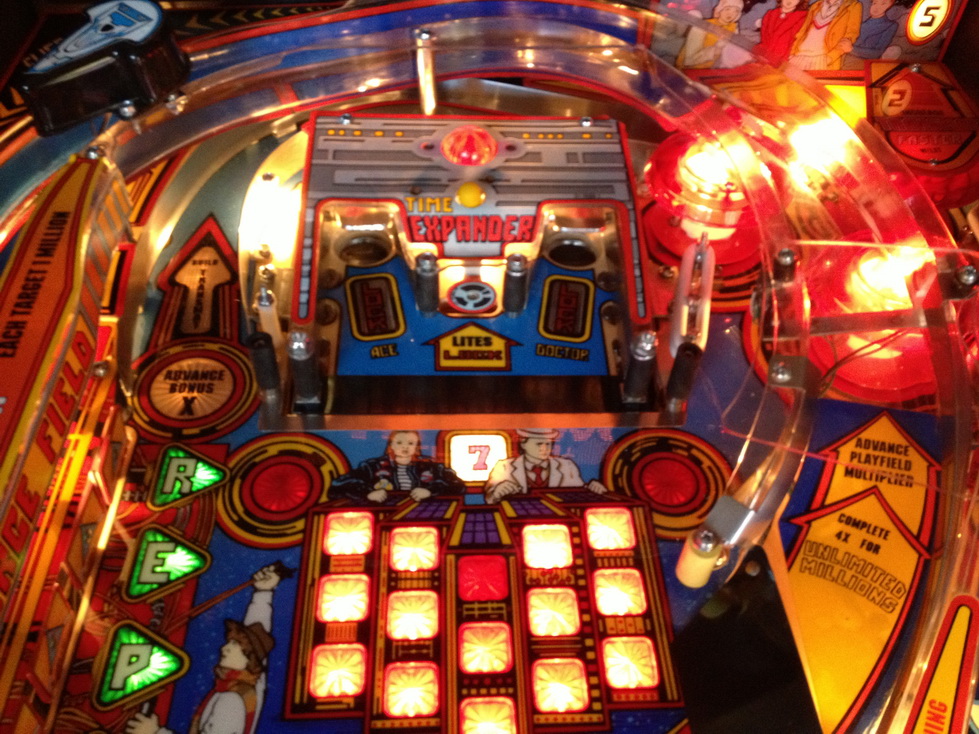
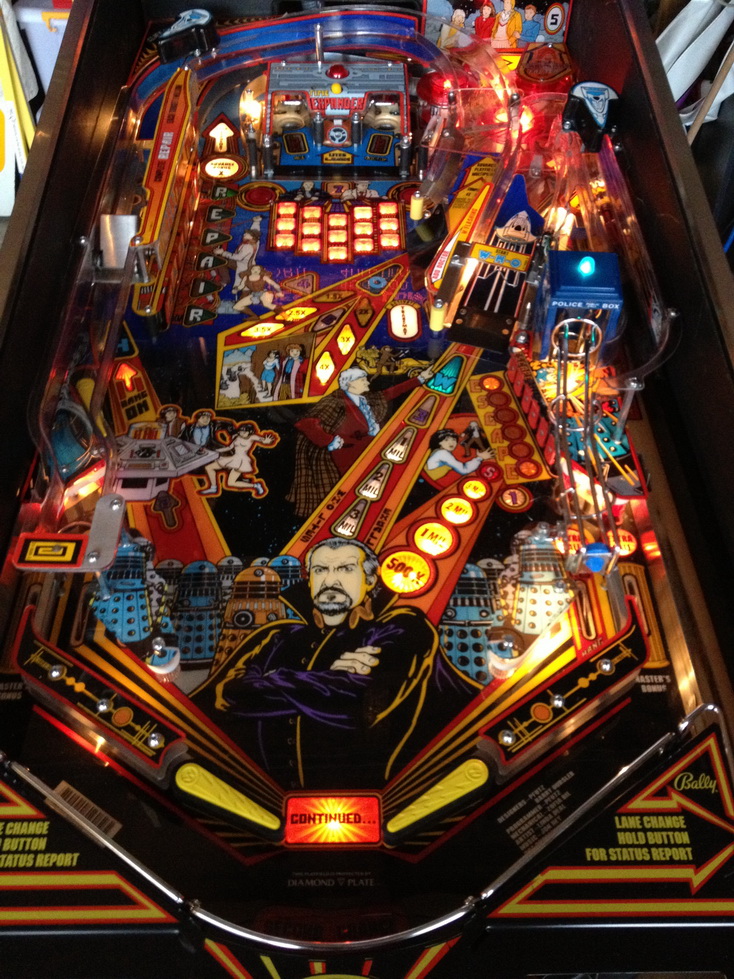
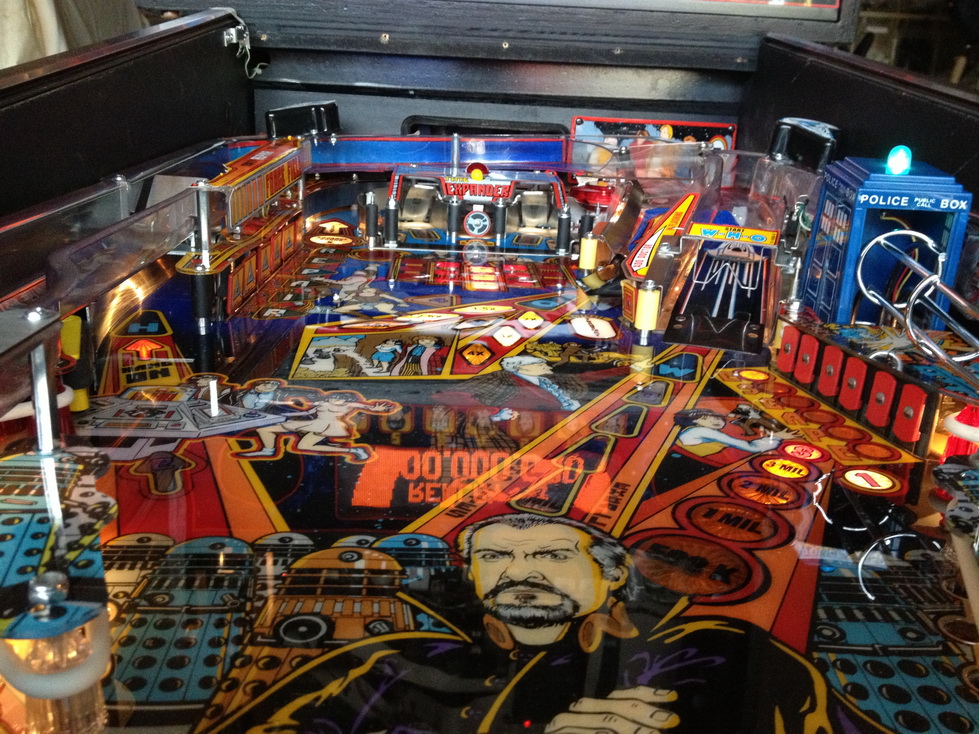
I have a few adjustments and parts to re assemble - but I've managed to play a few games and it is a really great player !


