I am glad I whined about the nipples. Maybe it's just me but that is the first thing I notice when I look at it. Kind of like the camel toe on Strikes 'n Spares. Every backglass should have something like that in my opinion.
I agree. Others have made references to the feature. so yeah; thumbs up.

-------
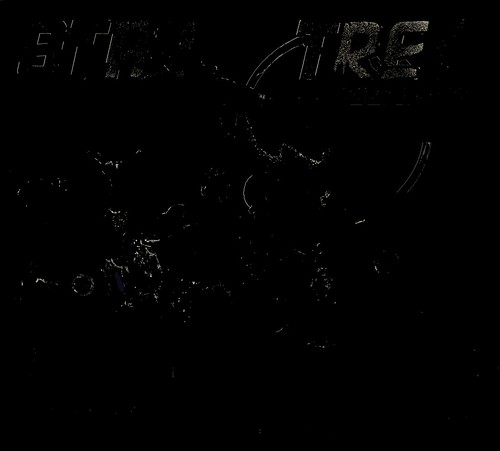
Right now; the artwork is a translite - as a result; I want to make sure the lamps behind it don't wash out the colors and I need to provide a mechanism to enable the hidden text which is illuminated by said lamps. So I used a black layer to create a "lite blocker" layer which if successful will be sent to the vynil cutter at Techshop where it can be use to create the dark silver layer necessary to "block" said lamp light.
I took the
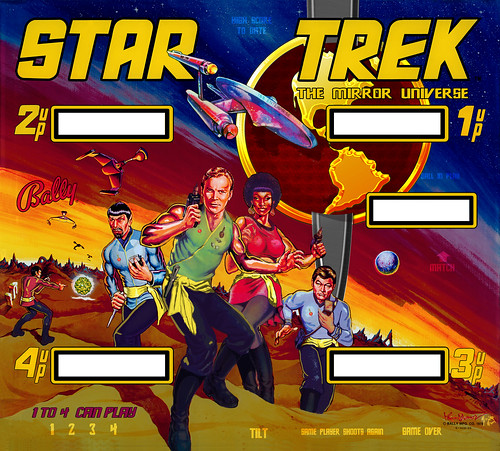
ipdb.org picture, straighten and scaled it in photoshop then used it as a template to enable the custom "silver layer" for the mirror universe:
I wanted:
1) the yellow part of the sky to "glow" and contrast the dark planet side features.
2) the pants of the crew to be dark (unlike the original).
3) Artists signatures to glow.
4) Hidden text is an Original Series font.
5) Gold parts of logo glow... as does some shading on the red part of earth.
6) Primitive ruins glow.
Here's a rendering of what it should look like if the lite block comes out like I hope:
The hardest part is going to be getting the dark to register closely to the translite.
Now it's time to turn back to the backbox ... namely to install the ATX powersupply and PSU board to enable the LED test Phase2.
SteveC came to the rescue and 3d-Printed a set of ATX psu brackets I designed a couple of months ago. The design is based on a 3dprinter psu bracket I downloaded off thingaverse IIRC.

Once I had the brackets mounted; the PSU just slides right in an attaches via the atx mounting screws:

Now to figure how where to mount the PSU board... I could have mounted it above the ATX PSU... but I thought the original wireing harness may have trouble reaching up there; so I decided to mount the PSU on top of the PSU fan... that way the airflow cools the linear regulator used for the GI lamps. I center promptly voided the warranty of the PSU; but drilling #6-32 holes for the nylon standoffs. With the standoffs in place; the board was mounted to the psu:

After mounting everything; I notices the psu may be a little high... to high and it'll smack the credit/ball display. To low and it'll smack the player 3 display. I'm working on the light board right now... so should have an idea if I need to make an adjustment early this week.
That's about all there is to report from this weekend... got a lot of irons in the fire... controlled chaos keeping them all in check. Stay tuned.
BTW: Is anyone else having issues with Flickr uploads? I Keep getting "reconnect" messages on uploading batches of pictures.


