I have recently used a set of Pimp stencils for a Nitro Ground Shaker. Using these stencils was so straightforward and easy to use, they were simply a pleasure. I think one of the key things Jeff does is he uses actual scans of the original cabinet artwork, and does not rely on images taken from a distance or angles. This is the reason (I believe) his stencils are true and authentic to the original artwork. And add to that all the titles he now has on his website (especially if you are a Bally SS fan), it seems hard to go past using these stencils.
Below are some images of the NGS using the Pimp stencils.

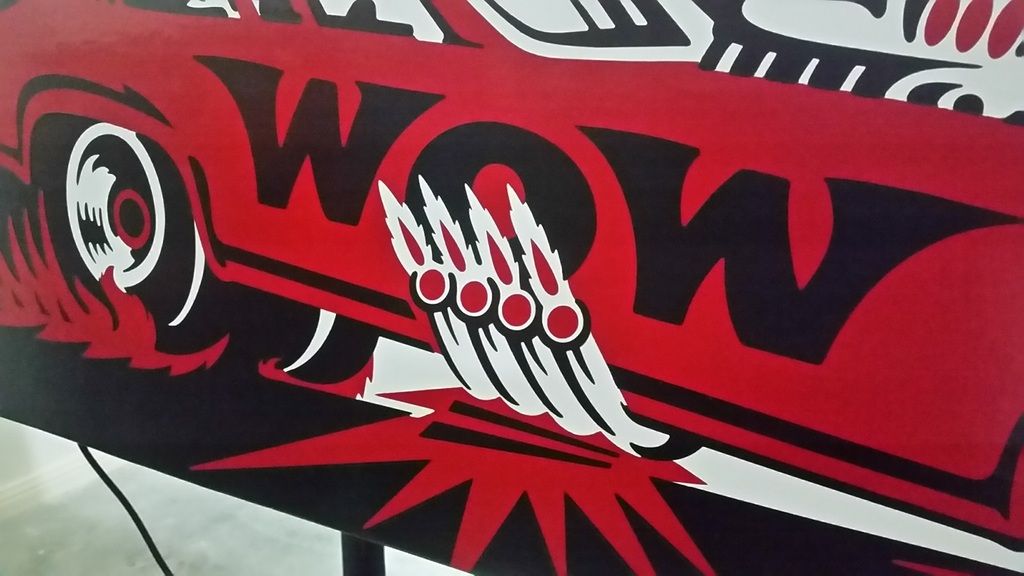
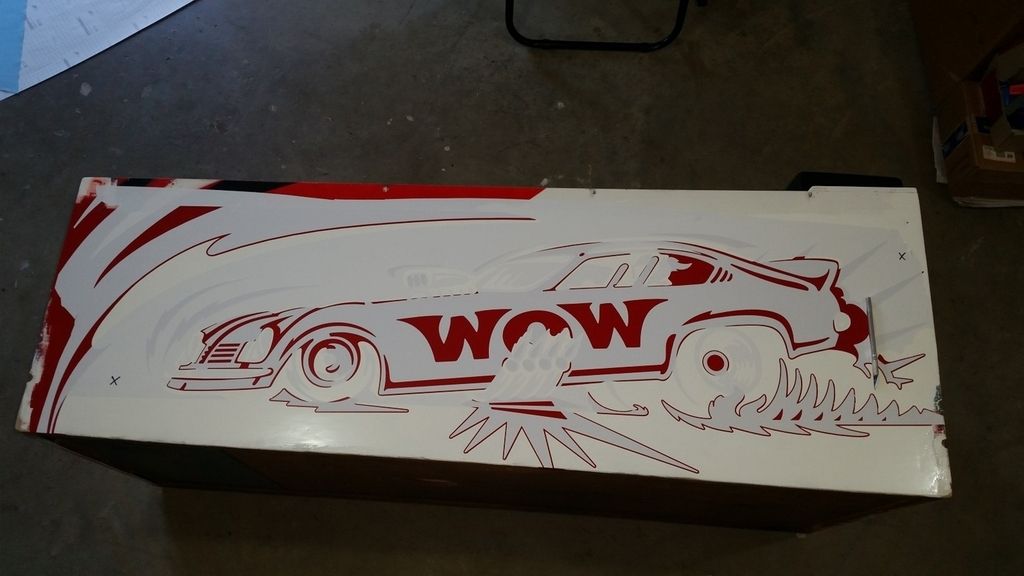
The following is a great image which really demonstrates the accuracy of Pinball Pimp stencils. This image was taken just before the final colour of black was to be applied, with the black stencil now adhered to the side of the cabinet. Base colour for NGS is white, followed by red, followed by black. Just looking at the perimeters of the black stencil, you can see just how well the artwork is designed to allow sufficient overlap between the previously applied red colour compared to the black stencil. Now this guy knows how to design proper stencils!