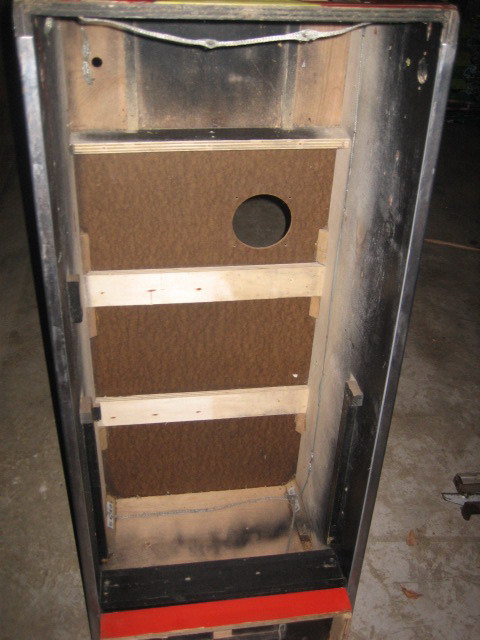
CabinetAs with most of these machines, the cabinet looked rough and suffered from some corrosion. The paintwork was intact and VERY good - being a Stern, the paint has not faded, and a quick clean will have the cabinet looking very good. The door is a bit of a problem, but that will get sorted out later - so don't let the pictures have you reaching for the bucket !
Before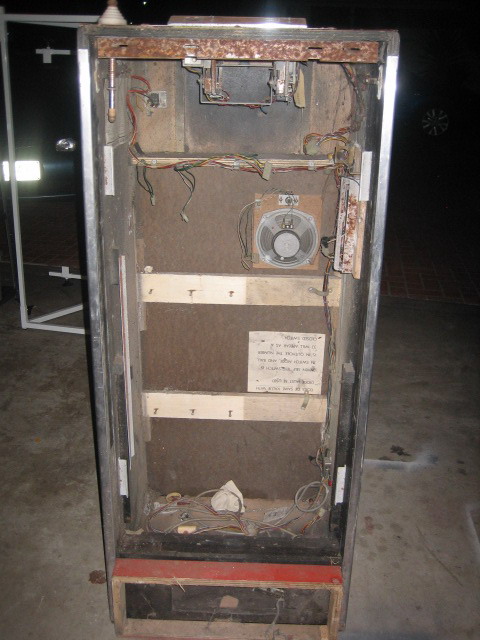
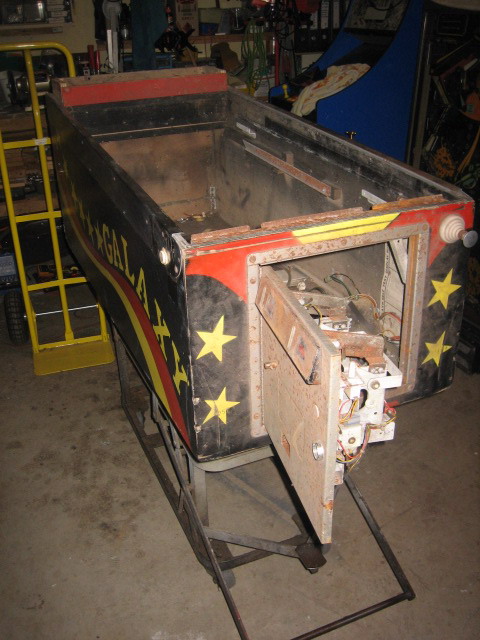
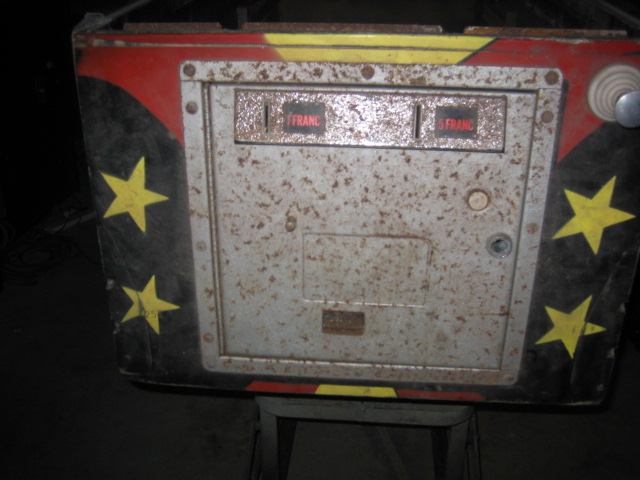
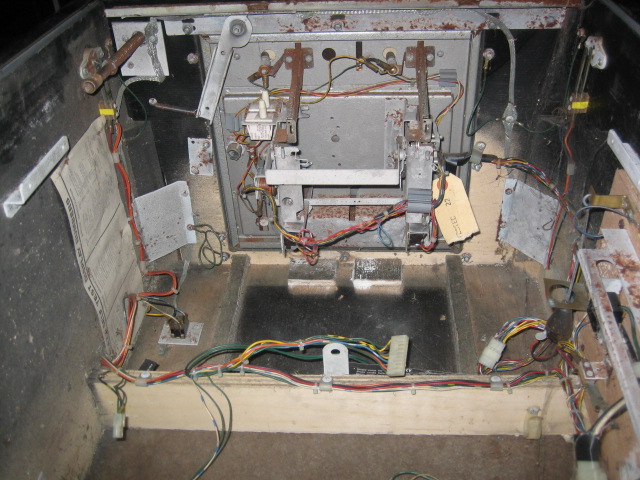
Resident Spider, unfortunately didn't make the trip - alive

 The Process
Every part is removed - every screw is removed. Anything not bolted is removed. Then the parts are washed with boiling water and nifti. Let everything soak for a while. When the water is warn, clean everything with a scotchbrite pad - I go through plenty of these. Then the fun begins - all screws etc are soaked for 30 minutes, then washed again in boiling water and windex. Finally dried and placed in the tumbler for 4 hours. Not done yet - Each individual screw is buffed on the bench grinder. Seems like a lot of work - but it has to be done !
All other parts are cleaned and either painted at a later date, or polished.
ProgressAfter a very thorough clean, the cabinet looks very good. Still have some regraining to do - but I will order new nails and regrain the side rails then and there. So here are the pictures ;

 Legs
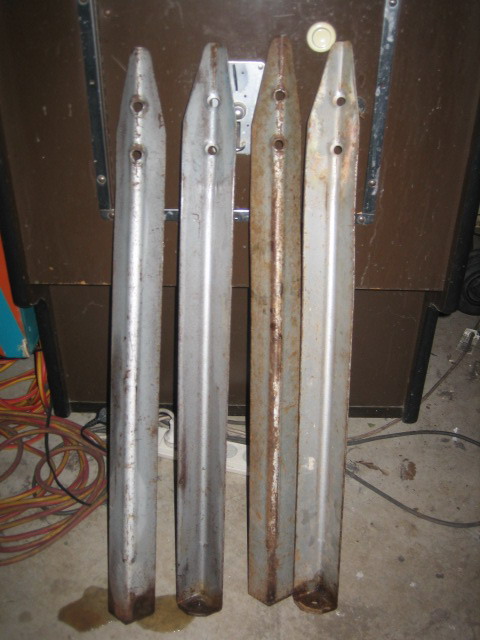
LegsThese are the proper 28 1/2 inch Stern legs. They are instantly recognizable, as they have the paint applied with a pattern - a "hammered finish", which I really like. There were in bad shape, so I straightened them as best I can and gave them a clean ;
The two on the left have been cleaned with Nifti and a scotchbrite pad. The two on the right were "as is".
Now they have been cleaned and prepared with the wire brush on the bench grinder. Ready for painting ;
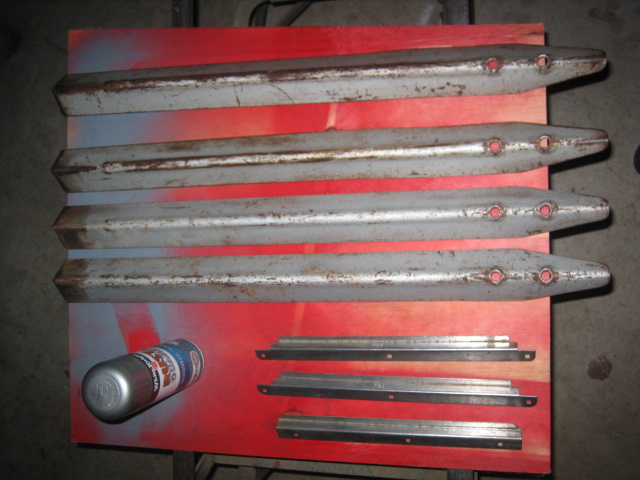
First coat is thin, the next is a little thicker. Then it must be left for 3 days, and repainted. They will look like this (still wet)
 Coin Door
What a mess ! corroded and dirty - nuff said !
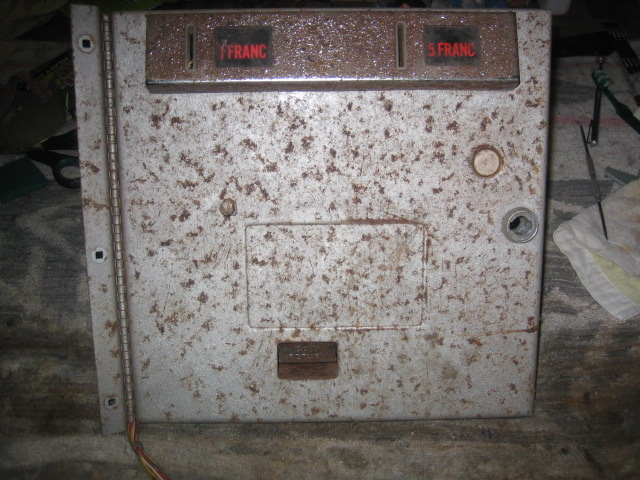
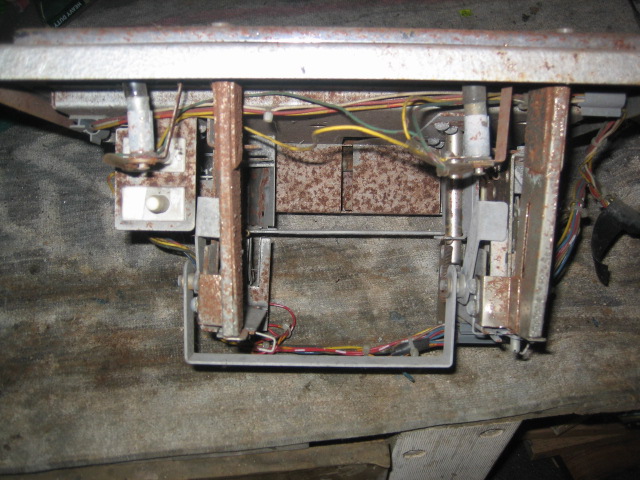
Again - Stripped, cleaned, treated with ranex, but still not good ! I had to strip the paint off with Citrus Strip. Then with a wire brush - remove all traces of corrosion. This took 6 hours to have it ready for painting.
Here's the individual parts after painting ;
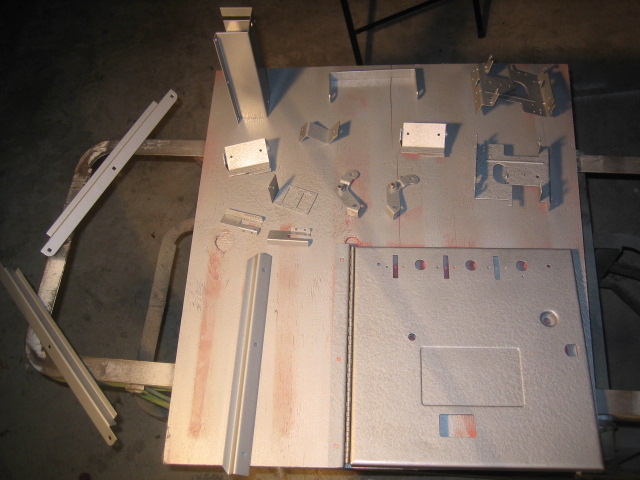
The front Door - looking VERY good !
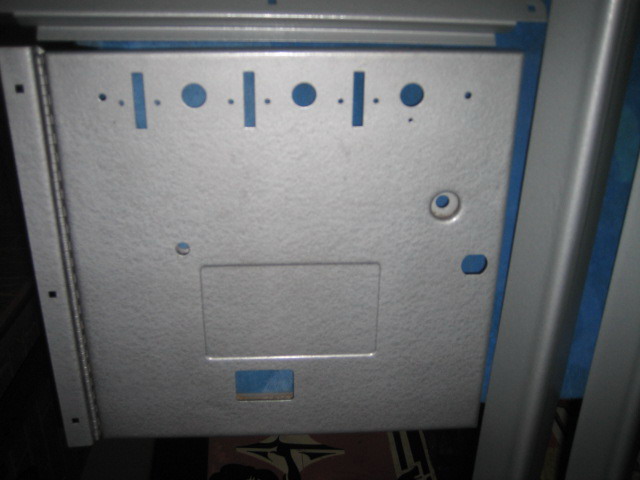
I'm very pleased with the "hardest" part of the restoration - the coin door !
