Between changing nappies and looking after the new addition to the family, I've had a bit of time to spend in the garage between visitors !
I've gone BEZERK with the rust product - Ranex, with some amazing results...
Really simple procedure here... Ranex poured into a plastic container, and a small paintbrush.. "Paint" the Ranex on and watch the chemical reaction... The area with white corrosion turns to foam.. Wait 10 minutes and wash it off... GONE... With the RUST - you have to be more aggressive with a wire brush and green scotchbrite... Final clean with windex and then a bot of Brasso...
From this ....

To this ...

Bit of an improvement ????

The front of the Dorr was simply regrained with Windex and 360 Grit Wet / Dry. There are a few smudges from my fingers on it, but it looks good. The coin entrance plate was also regrained ;

The Door frame was washed and scrubbed. Straightforward really - used Windex and then sprayed it with an air compressor. I mounted the door frame - using the hardware that was put through the tumbler for 12 hours. Here's a nice shot from outside in the sunshine ;

All the hardware was removed, dropped in a container with Ranex. Scrubbed and cleaned. Then left in the tumbler... Anything still "dull" was then buffed on my bench grinder with a buff wheel..
View of the front are of the machine, just to show off the lock down bar assembly... Look at the "before" pictures, then look at the results. No plating and anything like that.. Just a bottle of Ranex and some experimentation !

Door is re assembled and placed in the door frame....
First, here what it looked like before I started ;

Here it is as of today ;

Front Section coming together nicely.. Everything free of corrosion and rust.. Some of the chrome plating was removed by the rust and corrosion.. Not to mention the process of cleaning it off - But that's a price I was willing to pay..

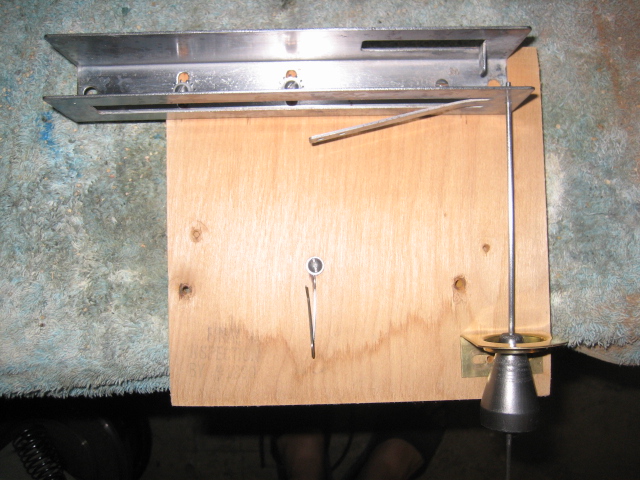
Tilt Section - Simply regrained with emery Cloth then 120 Grit. The ball assembly was tough to clean, but it turned out ok.. All of this section was covered in corrosion..
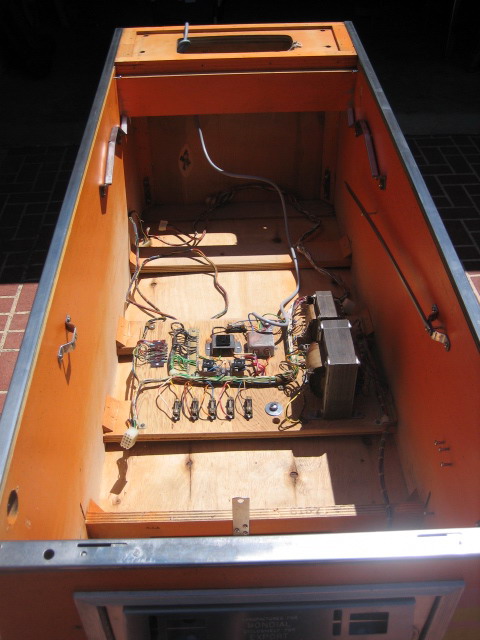
Finally - Power Board done... New mains lead installed and the correct fuses installed..Ready to power up and test when I install the plug !

The only part left to do is the Chimes section.. Which was VERY corroded !


