Playfield UpdateThe task of completing the underside of the playfield is almost done. The bumper bodies have to be installed and the lamp sockets soldered into place to be able to install the bumper coil assemblies. Before doing that, the large Target assembly has to be installed. If it is done in the wrong order, then it will be difficult to screw in the drop target switches mounted on the assembly.
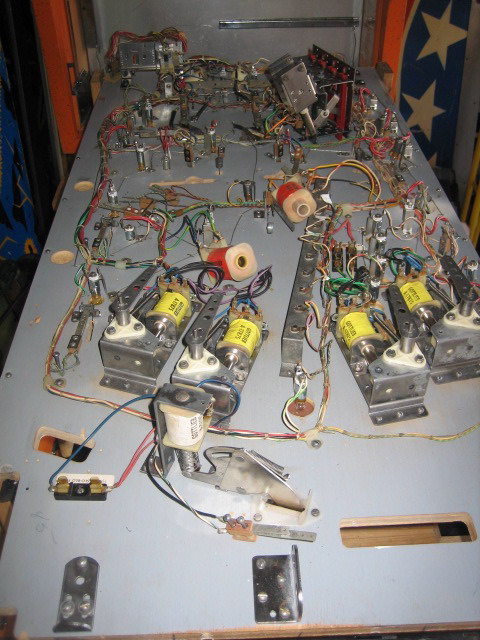
Here's a progress picture of the underside before installing the large target bank, and a picture of the topside of the playfield after 3 coats of Meguiars Paste Wax.


The relays have also been cleaned and rebuilt. No corrosion and the contacts have been cleaned;

Three coats of Wax - It looks a bit dull due to the photo. It is very nice "up close". Notice the spot targets have not been replaced. There's a six week wait from PBR from the time of the order. So the old ones are cleaned as a temporary measure so that the game can be completed.

The smaller target bank is installed - with new targets. Bumper body etc are new. All the contact switches are individually cleaned and gapped - metal forms are tumbled. The playfield is an EASY 9/10.. All the art is intact, no wear and no fade..
 Large Target Bank
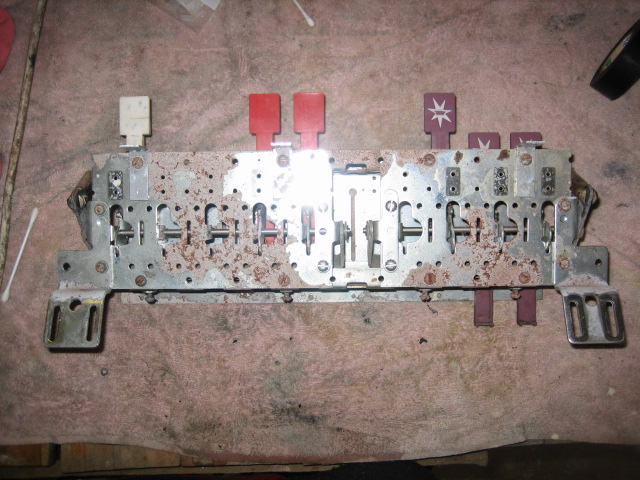
This was a bit of a challenge due to the size of the parts. It would be hard to soak the larger section to remove the corrosion. It took a bit of time to complete, but it was worth it. I ended up using an ice cream container and a toothbrush.. I then used a wire brush on my bench grinder. Here's what I started with ;


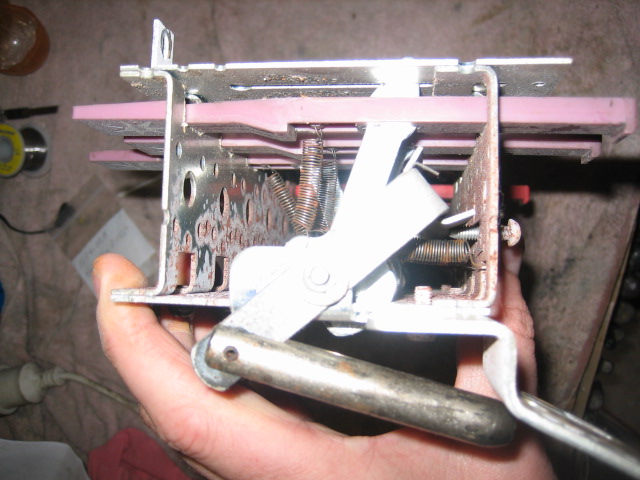
After a bit of elbow grease, the assembly was coming together nicely ;

Finished product with new targets installed ;

I'll be fitting the assembly and finally the bumper coil assemblies tonight and the saga that was the underside of the playfield is done...