Next...
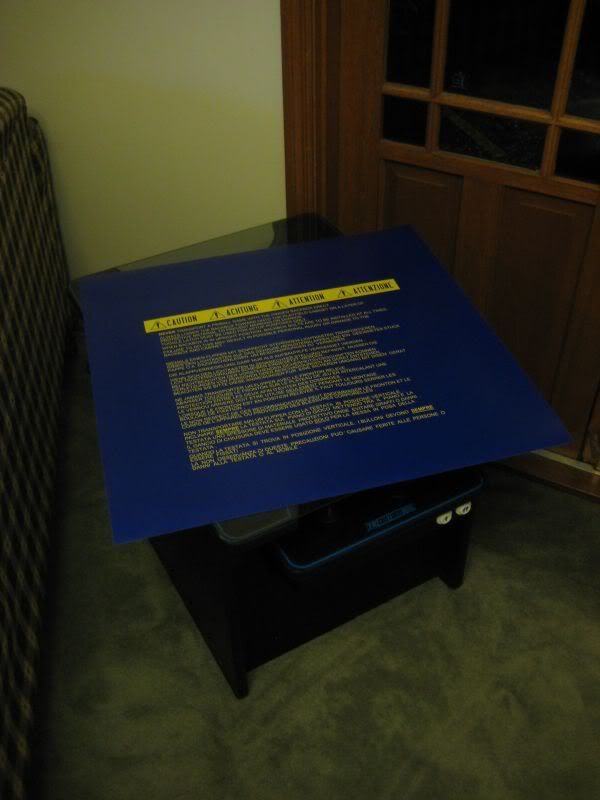
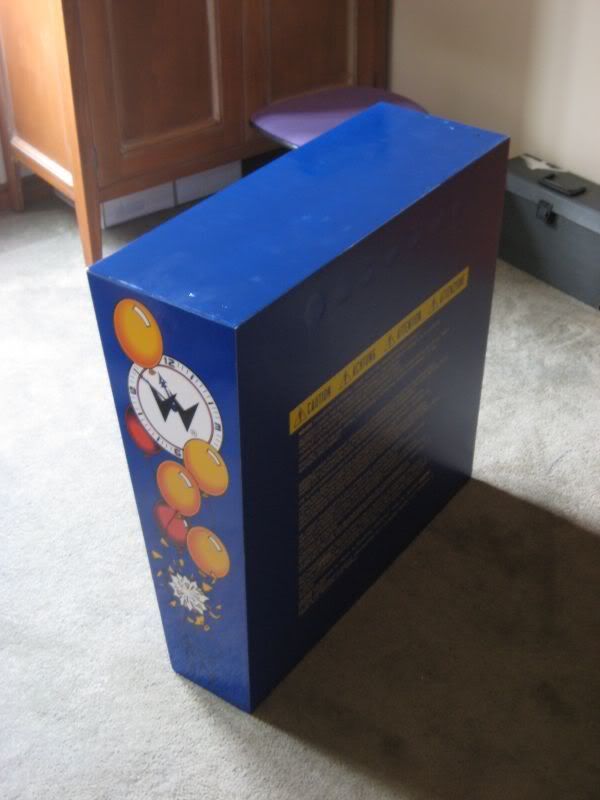
While watching Entourage one Sunday, i traced out and retyped the Williams Backbox warning text, and colour matched the Funhouse blue. I could've had this printed on transparent vinyl (basically laminate)
but decided that actually printing the blue would make the text look like it had been screened, and not overlayed. In order to achieve a flat surface, i spent a bit more time sanding and filling the back of
the backbox to get a seamless join around all panels.
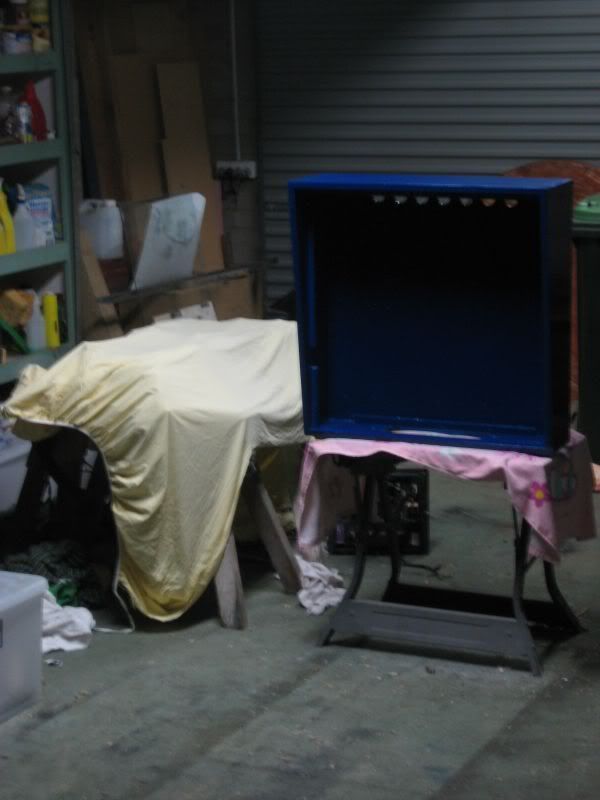
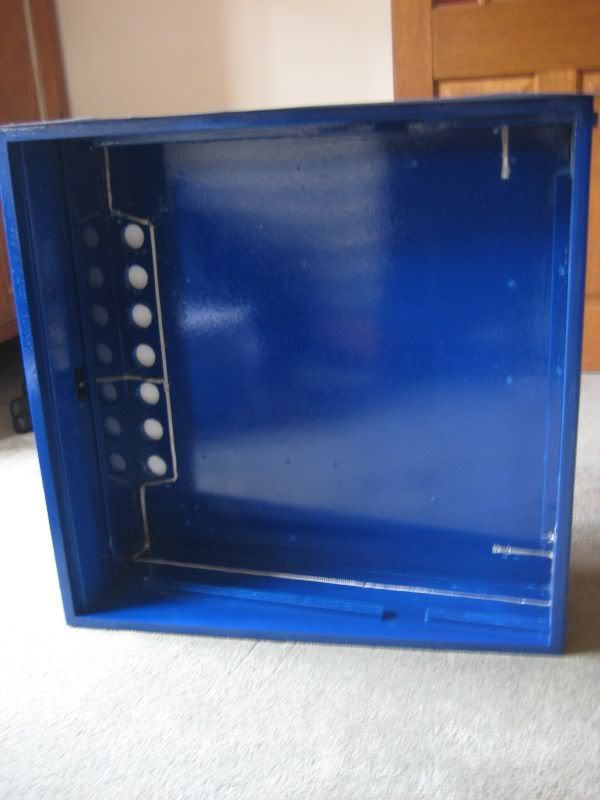
Refinishing the backbox...
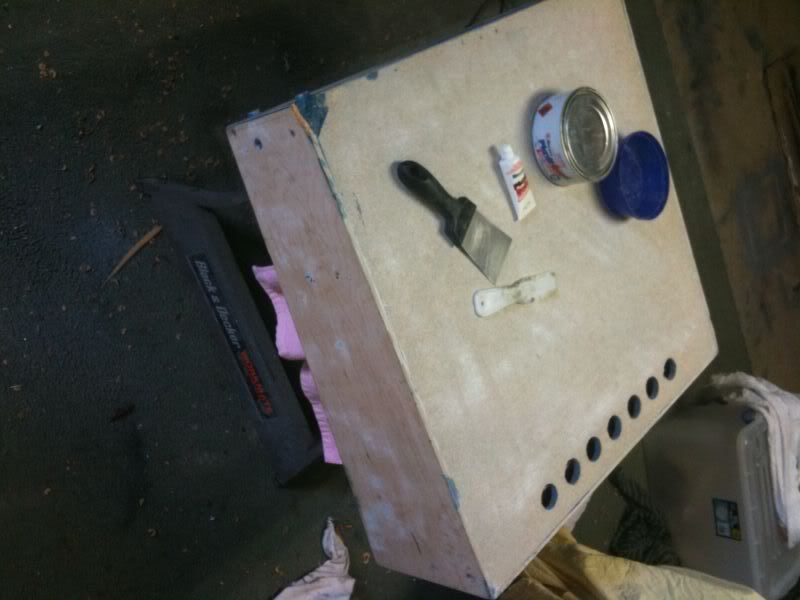
Fresh paint...
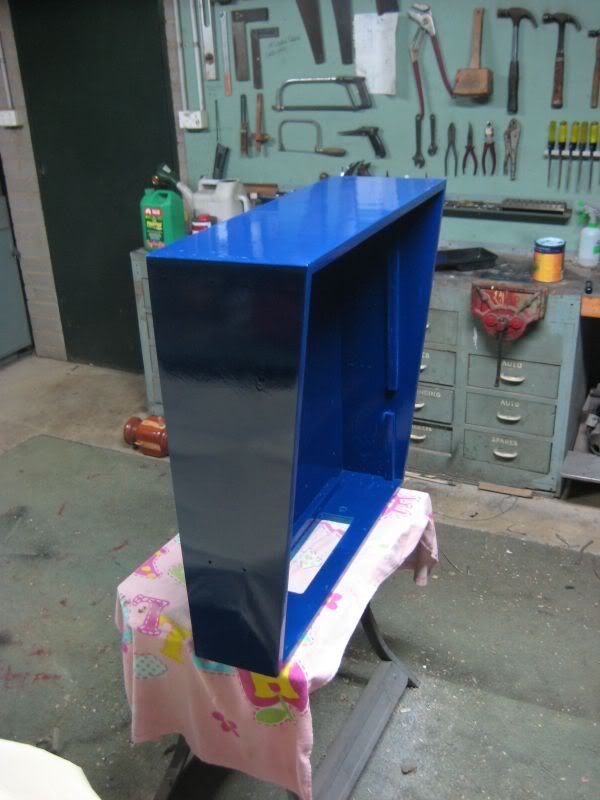
Sitting, Waiting, wishing...
Backbox decal ready to apply...
Grounding braid was stapled in, and i didnt really deviate from the factory layout - except square up the braid path. I cleaned all metal parts, and put her back together. After a few days, on went the
decals...
Grounding braid installed...
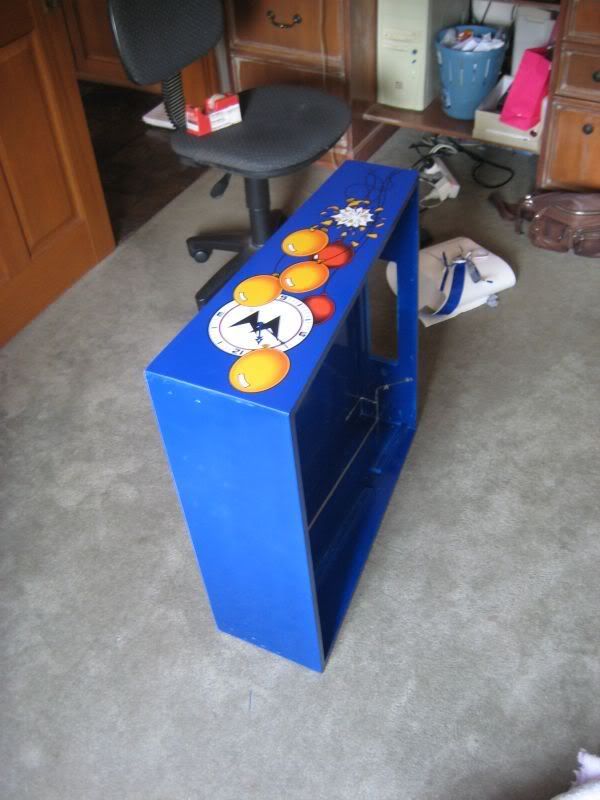
Side decals applied...
And the backbox decal - just need to trim the rear vents now...
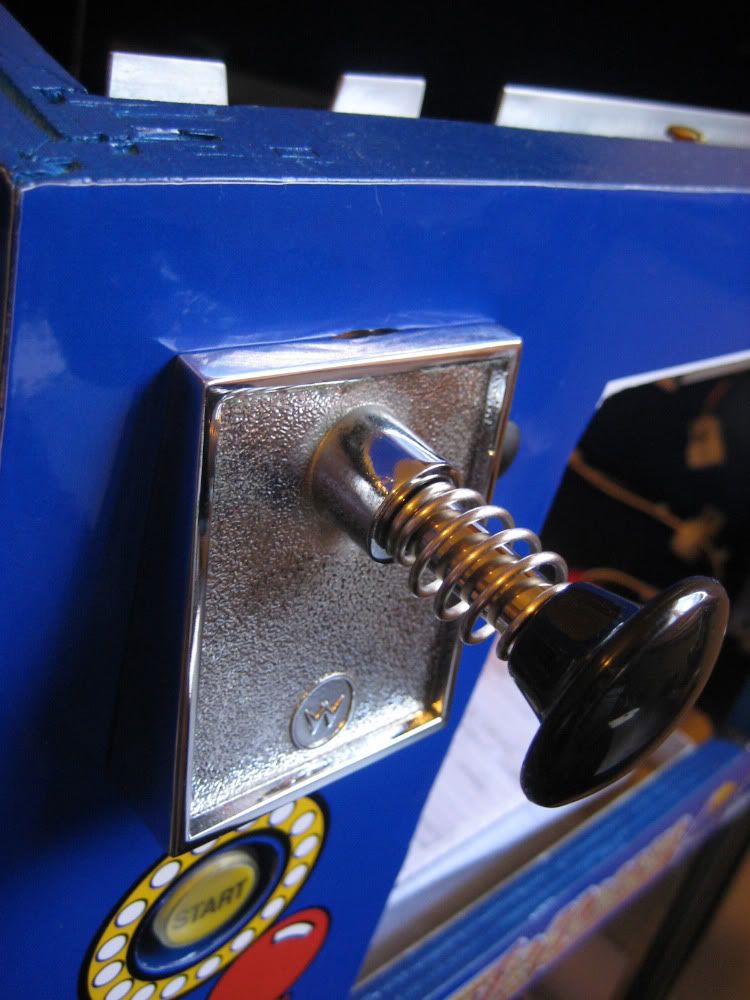
After a short wait - my Chromed parts arrived - which also brings this thread up-to-date with the project.
Plunger faces rechromed and polished, MUCH much brighter this time! (Shooter Rod and spring just sitting there for looks at the moment)...
I'm having alot of fun, and i'm TRYING not to rush anything. I'm learning alot along the way, and i thank all the Aussie Arcade/Aussie Pinball guys for their super helpful posts, and their willingness to
help me with my pinball-noob questions. Also, a huge thanks to everyone here who posts their great restoration stories/tips etc. They are great to read, and infinetly helpful!
Thanks again guys, and ill keep this thread updated as i make more progress...
el_timbo