Thanks for the encouraging words guys,
It really does help a 'first timer' keep his motivation levels up.
Well, i finally got around to tracing out the remaining decals required to finish the backbox.
Picked up the new decals-

Sliced them up-

And on they go...
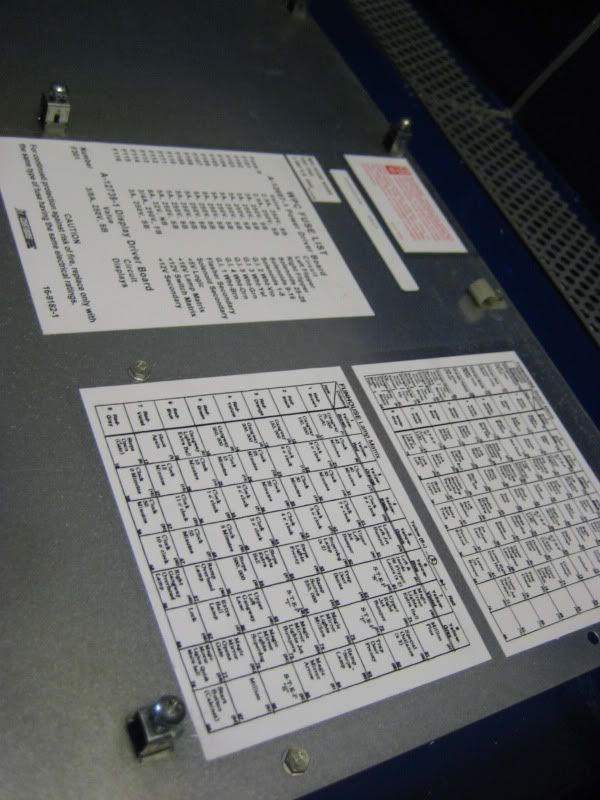
While i was at it - i also made up some custom speaker decals for the speaker panel. The speakers i upgraded to are actually different sizes to the ones that came from the factory, so i set to work on a new speaker panel.
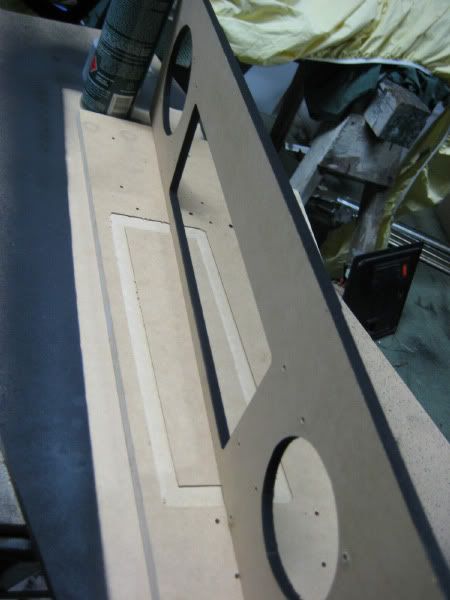
Looking at the old one, everything is bolted through and held in by t-nuts. I took some dimensions and milled up a new panel so i could start fresh.
Assessing what i've got...

Milling machines are your friend...

With the speaker holes cut for the new sizing, i used the old panel as a template (with the t-nuts still in) and dimpled the new panel with a tiny drill bit. This gave me a nice starting point for the spade bit, and i set out counter sinking the dimples to make way for the t-nuts. Once all holes were counter-sunk, i drilled out the diameter of the t-nut thread. This meant i still had plenty of bite from the nut-and this would still allow me to bolt parts back on easily.
Dimpling the new panel...

All holes counter sunk and ready for a test fit...
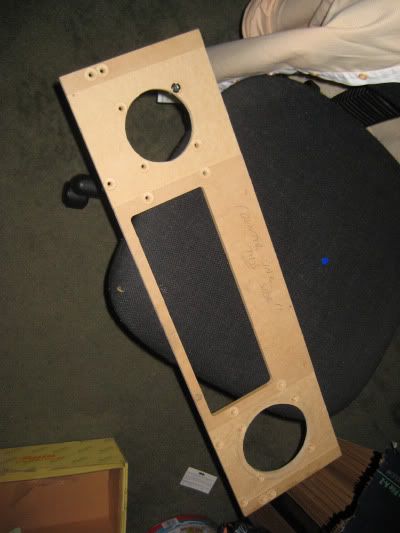
I removed all t-nuts from the old panel, straightened the teeth again with a pair of pliers - and went around re-installing them in my new panel.
Re-Installed...
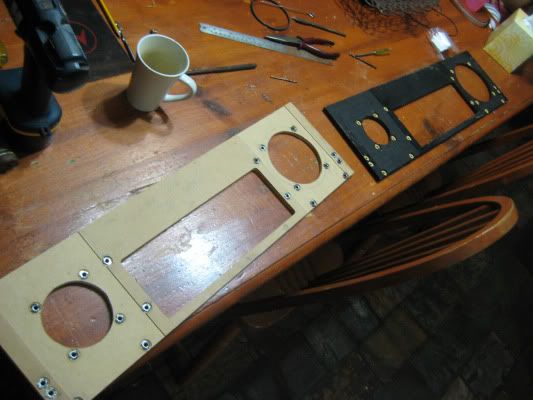
I masked off the back of the panel before paint, as i didnt want any ugly overspray.
Masked...

After a couple of coats of spray, i removed the mask and my new panel was born.
After...
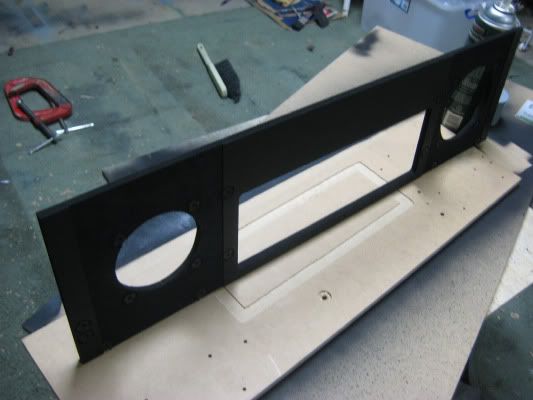
And the back...
The speakers are a nice fit, and i installed my speaker decals which just add a little life to the setup.
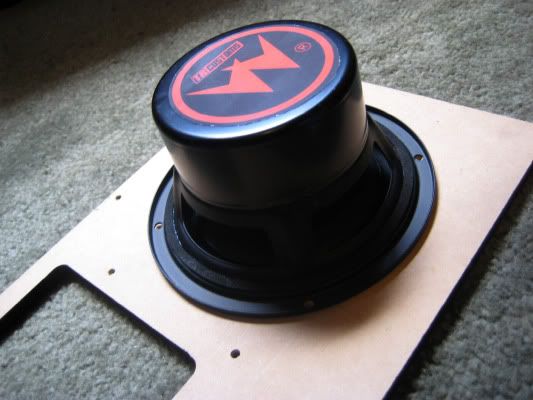
I still have to re-stencil the speaker grilles, and install the plastic surround, but thought i'd post an update.
Thanks for reading guys, hope your enjoying following my progress.
el_timbo
