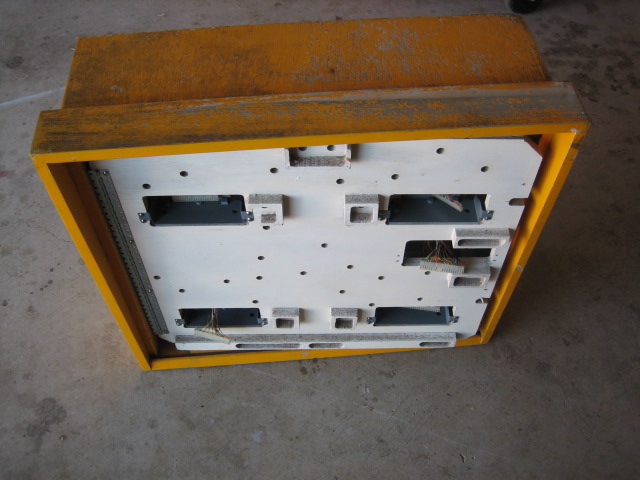
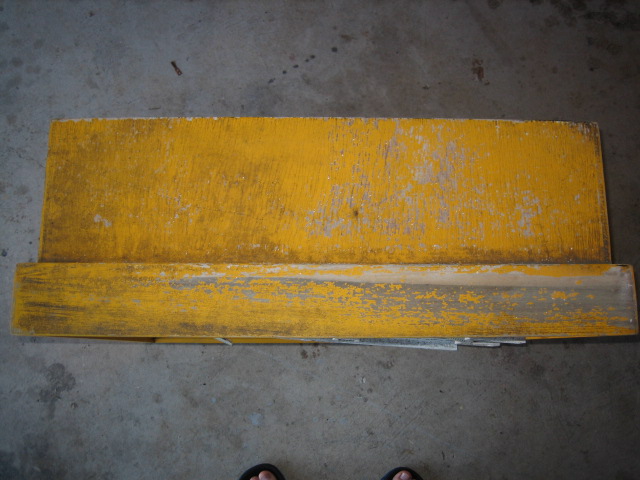
Cabinet repairsThe headbox top was in bad shape. The paint was flaking and it just looked like it needed some work. The rest of the cabinet was in very good shape, and I didn't want to neglect the top of the head, even though it is not visible. The backglass surround also needed a bit of work. After cleaning the head, I decided to start. Here's the damage ;


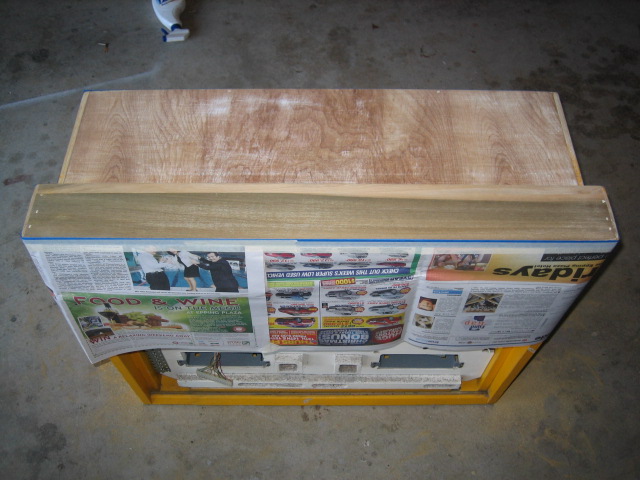
First, I sand off the old paint and start to even the wood out - Just some 100 Grit to start off, 180 Grit and then 360 Grit. Mask off the area and cover up with newspaper.

Prime the area to be painted. First a thin coat. Sand with 360 (lightly) and then a thicker coat. Lightly sand with 600 wet/Dry.

Then I used a "White Knight" brand of paint for the top. First a light coat, and then a heavier coat - no sanding in between. It LOOKS a lot darker and glossier than the factory. It is still acceptable for a part of the machine that is never seen !
 Inside the Cabinet
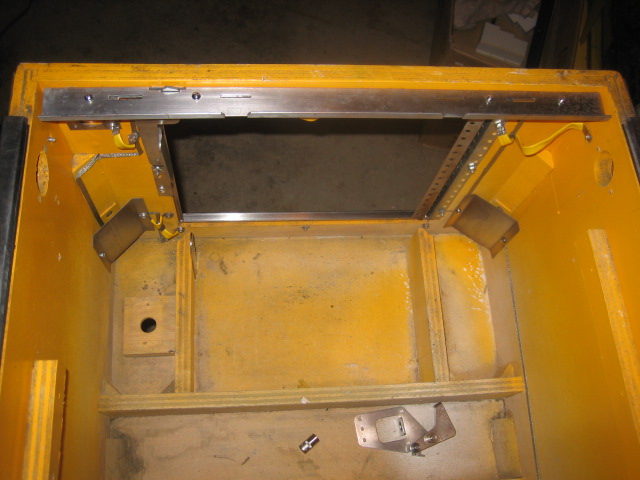
Completely cleaned and allowed to dry. All the parts are stripped off and indivdually washed, cleaned, tumbled and buffed. At the end of this process, parts are reassembled like a jigsaw puzzle. The lock down bar assembly is treated with Ranex and a wire brush is used to remove all corrosion. I then use green scotchbrite and Brasso to shine up the assembly. It takes a bit of time and work - but it is worth it !
Even the smallest detail - like the yellow plastic sheaths on the ground straps are cleaned and refitted


Chime assemblies are rebuilt. Some of the coils were not present on the machine so I ordered replacements.

So far, so good !