One of the MANY things I like about restoration work, is that you are "tied down" to repetitive work. There's cleaning, polishing, painting, installation of new parts, testing etc etc. I really enjoy the board repairs. In fact, years ago, I used to buy Bally / Stern MPU boards riddled with corrosion - just for the "challenge". Over the years, only ONE board has me stumped (to this day) !
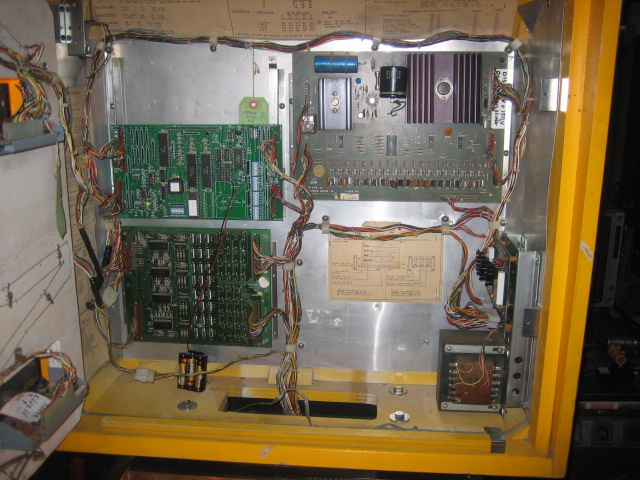
All the boards in this machines needed rework. While I wait for parts, I strip the boards.
Here's the thread on the rebuild of the Power Supply
http://aussiepinball.com/index.php?topic=1557.0Here's the thread on the rebuild of a Solenoid Driver Board
http://aussiepinball.com/index.php?topic=158.0Here's the thread on an MPU rebuild (Stern -200 board)
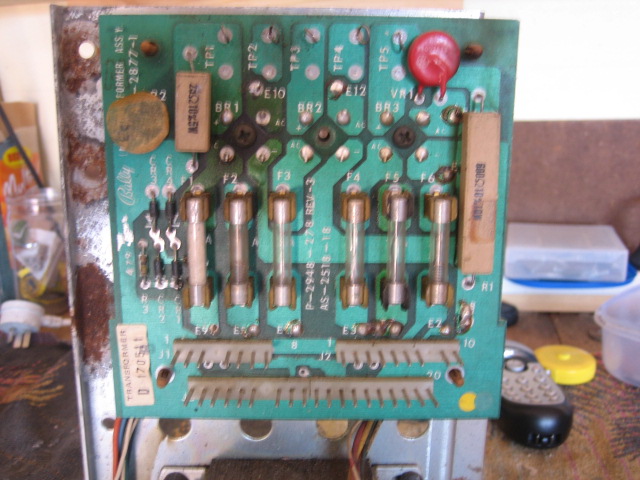
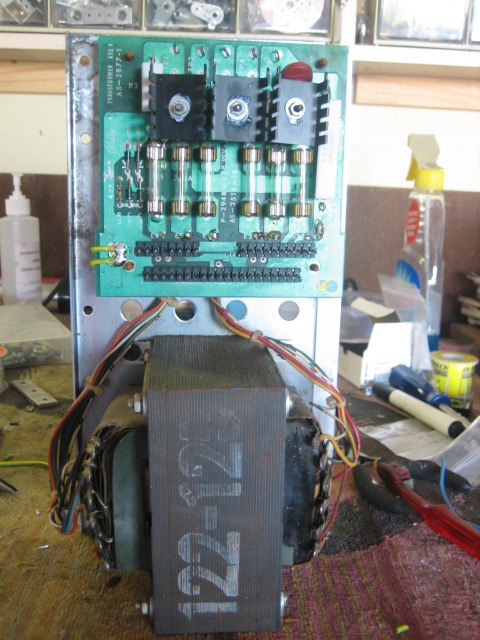
http://aussiepinball.com/index.php?topic=2343.0The strikes and spares had a typically "tired" power supply that looked like this ;


By following the same process from the rebuild thread, I have a working a tested Power Supply

All displays are tested and repaired if necessary. Solenoid driver is upgraded, Lamp Driver is repaired where necessary. The first test is with my trusty Altek board. This eliminates any errors that may be present on the original MPU. I almost ALWAYS test with the Altek first. As the "self test" does not really test the PIA outputs etc.
Note - I ALWAYS replace the 5V ripple capacitor C23. I notice many eBay auctions where copious amounts of time is spent on the cosmetics of the machine and the electronics is appalling. It takes no longer than 5 minutes to replace this cap. The bottom line is that a true restoration involves ALL aspects of the machine - not just the "eye candy". The connectors are replaced in the wiring loom for the power supply and this machine booted perfectly - first time - no "chasing my tail" - it is all rebuilt.
 The Apron
Well it was missing ! Ken (Skybeaux) kindly GAVE me one to install in this game (thanks again, Ken). I removed the paint, primed and then topcoated using "Appliance white" White Knight paint. Came out really well. I made the apro decals myself, as the ones on eBay were (are) the wrong shade of yellow.
A test run on the playfield which is dropped into the machine

New parts (everything) are installed into the game. I bought some "almost NOS" plastics from eBay, and then made a complete set from all the good parts.

Plastics are installed ;


Decals are installed on the apron. The camera distorts the color slightly - it is a bit darker and fuller.

Instruction cards really finish the apron off nicely !

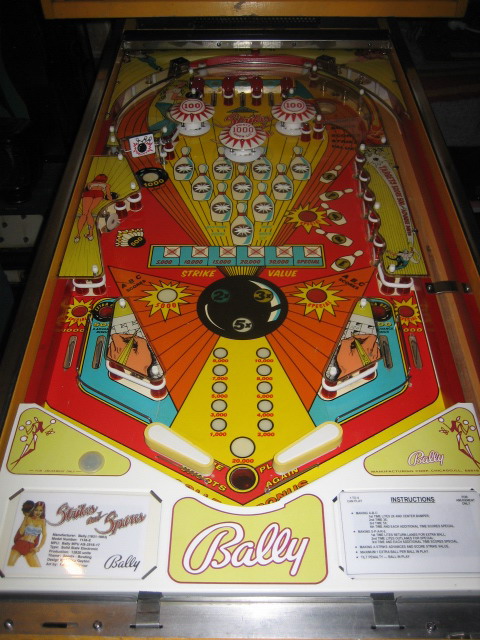
Add a spinner decal and the playfield is done !

