Hi guys,
Thought I would update this thread, before the field moves to far along the job-list.
I have been working on this field when i have had a spare hour or two between client projects.
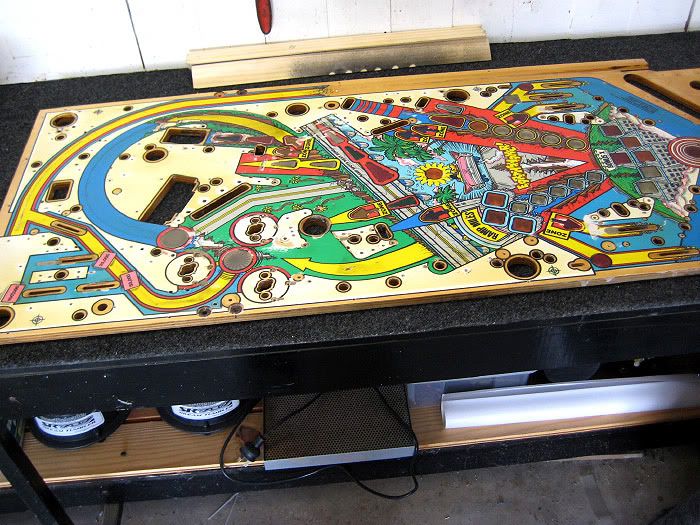
Looking back at what i had started with, the playfield has already come along way. Its now perfectly flat, and obviously very playable. The art re-work will simply take it up to that next level, which is of course what makes a playfield restoration truly 'POP'.
As mentioned, the playfield is now level, and i can now remove the finish and get into the art side of the project.

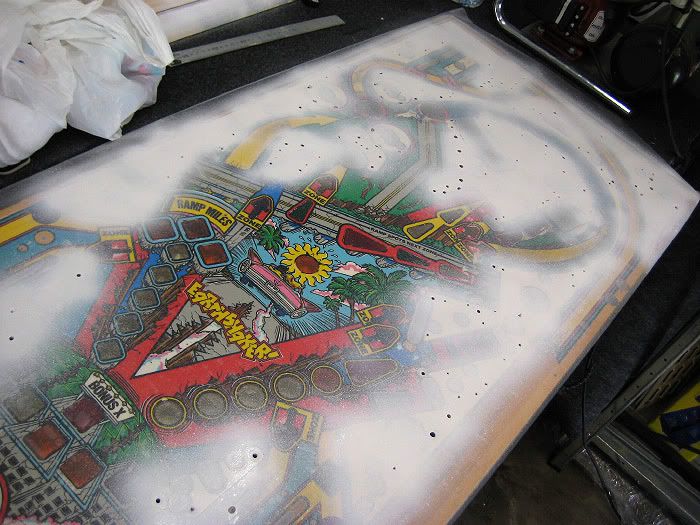
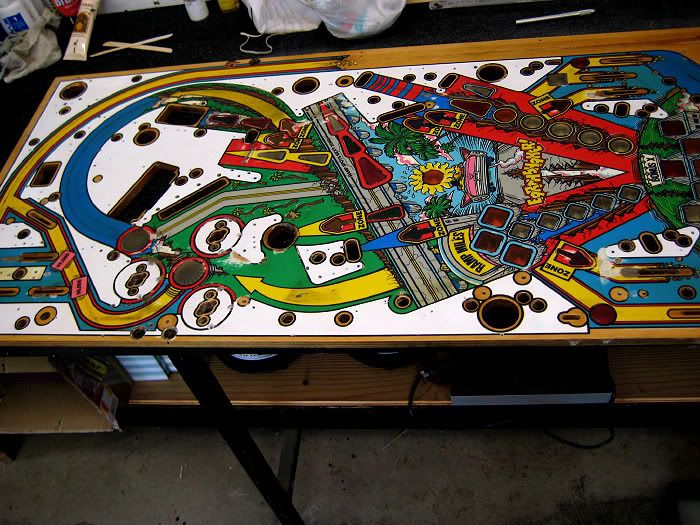
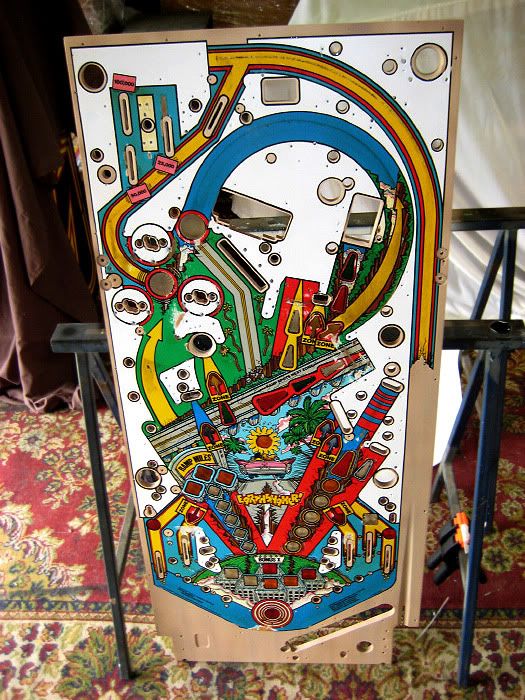
Here we see the playfield after it has been blocked out, with all gloss removed...
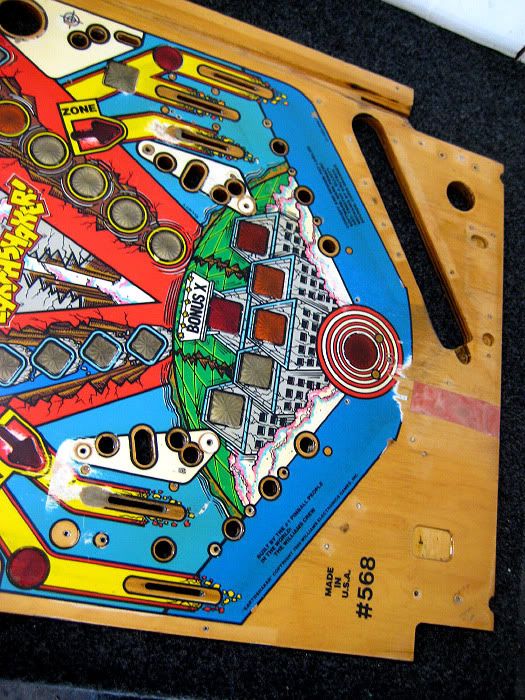
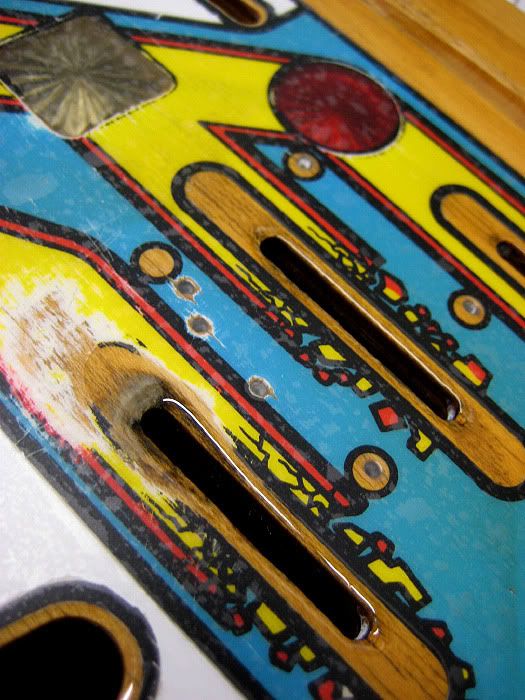
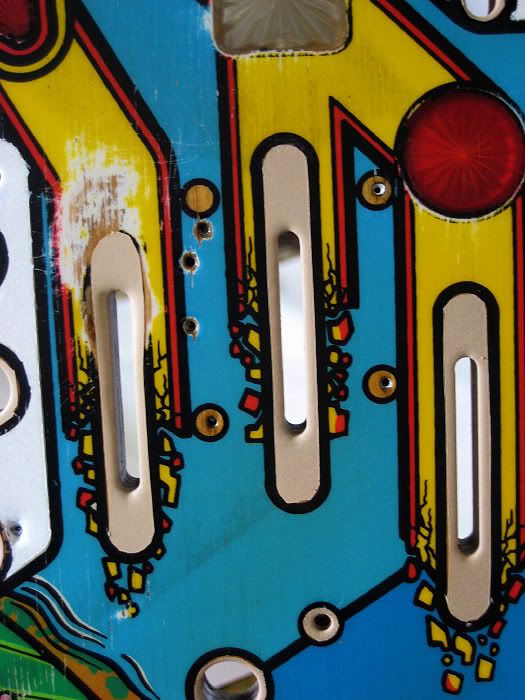
And a few closeups of the same thing... compare the white sections with the white under posts etc. This game has seen alot of smoke, and lots of dirt!
Whole
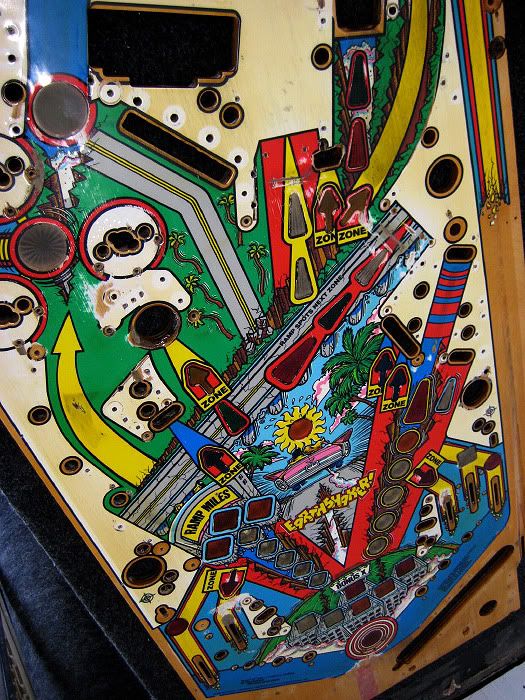
Upper...

Lower...
No rest for the wicked, first colour is down...
With the masking removed, the white is always the colour which REALLY makes the field look new again...
Nicer now...

With the white down, i wanted to get the rest of the 'frustrating' colours out of the way. Frustrating colours are the ones which generally hide under playfield plastics, and have lots of lamp holes etc to carefully stencil out. Lots of time spent here, as the timber lacquer had ended up as a really ugly bright gold/yellow. All timber was treated to a new tone, complete with a subtle grain. Putting down one colour for 'timber' isnt great, and just wouldnt satisfy the picky enthusiasts. I think its fine for smaller areas but when the whole field is in need of refinishing, I use three tones.
These are the problem areas, which need the most attention...

And here...
First tone down...

And the others put down too...(they are the subtle grains that are a darker)

Again...

The mask is left in place but is removed before the paint dries, so as to avoid getting a lifted edge around fresh colour.

Removed, and problem areas are much improved...
Shooter lane is very nice, and im wrapped with the reshaping work...

Minor details will be carried out later...

Lower area was crying out for a re-work. This area had lifting plys and had been attacked by some sort of glue. Much nicer now...
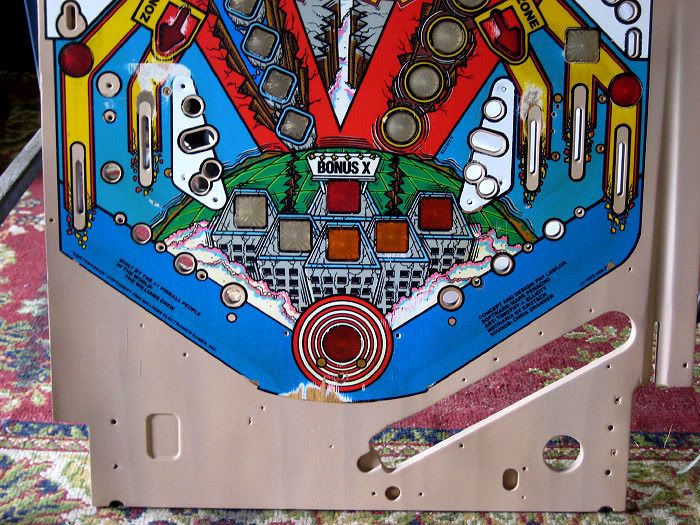
And here is an overview of the field to date. Not perfect yet, and not finished. But the client will be happier, particularly when comparing these images to those in the first post
Hope your enjoying the restoration, more updates soon

Timbo


