Time for a quick update. The main part of this update is the completion of the baseboard. As I've mentioned befoare - it looks complicated, but if each section is attended to in isolation, you can quickly move through and find problems as you clean and adjust. There are three "trip relays" on this machine. There's a large coil that resets each bank. These trip relays need to be cleaned and adjusted. A quick inspection, and within a few minutes, a couple of problems are blatantly obvious. Here's a couple of pictures I've taken, and you should see the problem here ;
What I've done is manually reset this trip relay ;
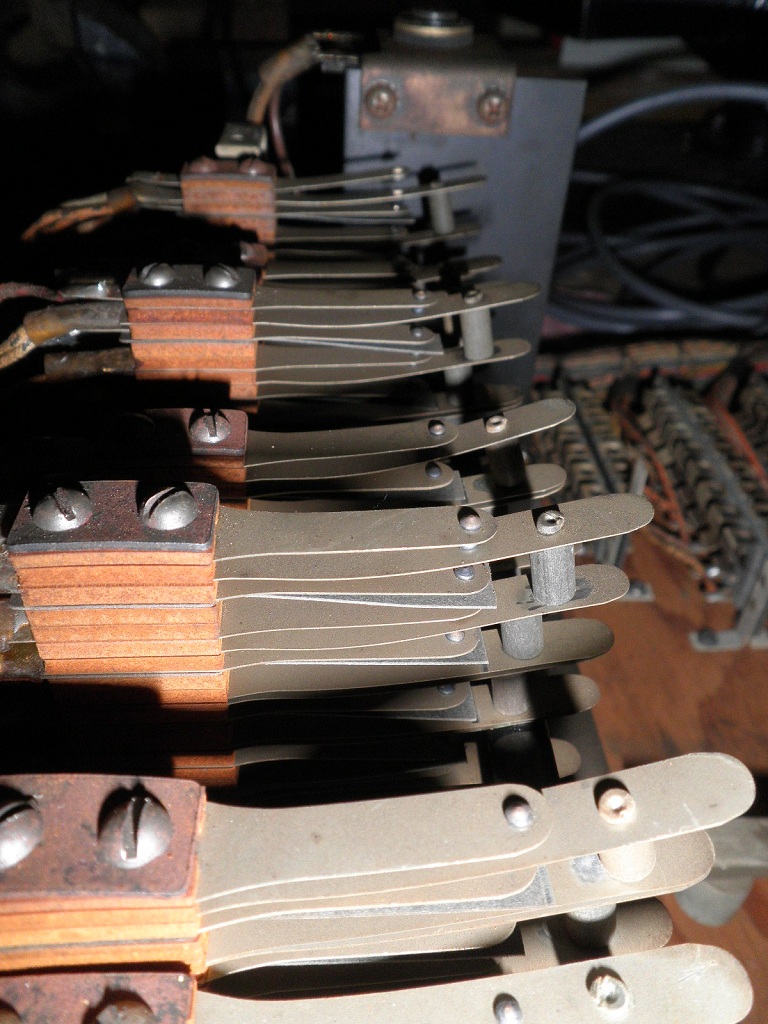
EM guys with their trained eye would spot it a mile away ;
That final switch stack (furtherest from the camera), is in the reset position, yet the top contact is still open - it should be closed !
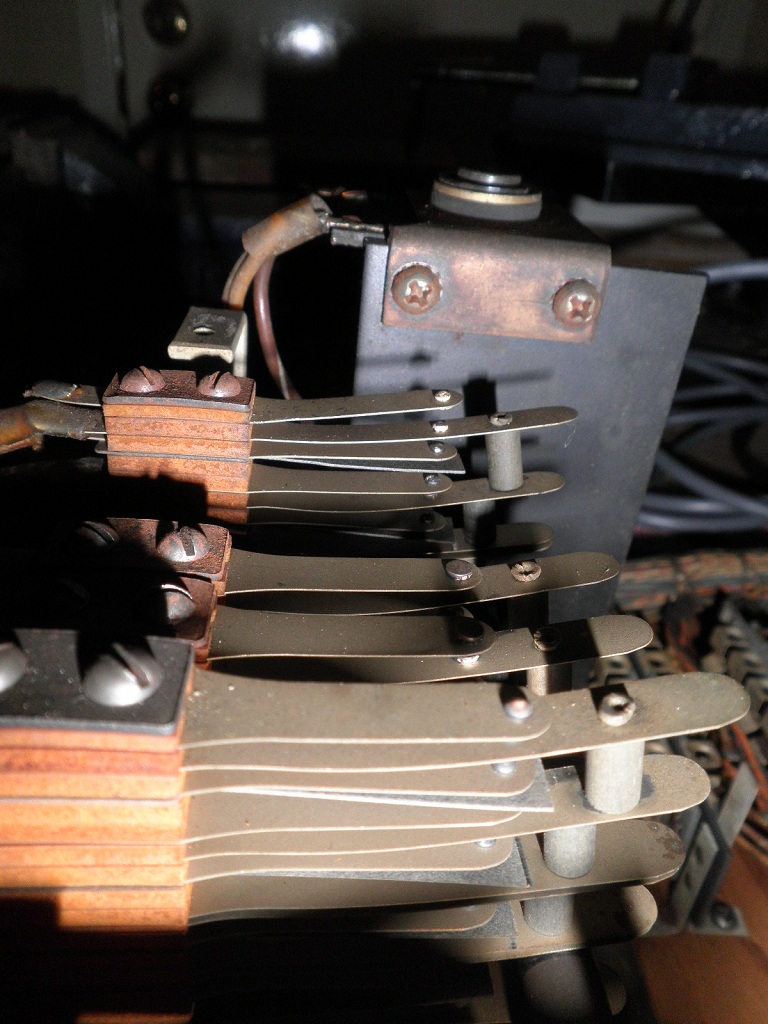
So the FIRST thing to do - and this step is important - is to test the tension on this stack - because that will tell us a lot about this machine. If it is nice and tight, then this machine will be easy to make adjustments, if it is loose (and more stacks are loose) then it means the game has seen a lot of moisture and the backerlite in the stacks will have shrunk over time. Luckily for me - it was tight - and I ensure I go through EVERY stack and tighten any loose screws ;
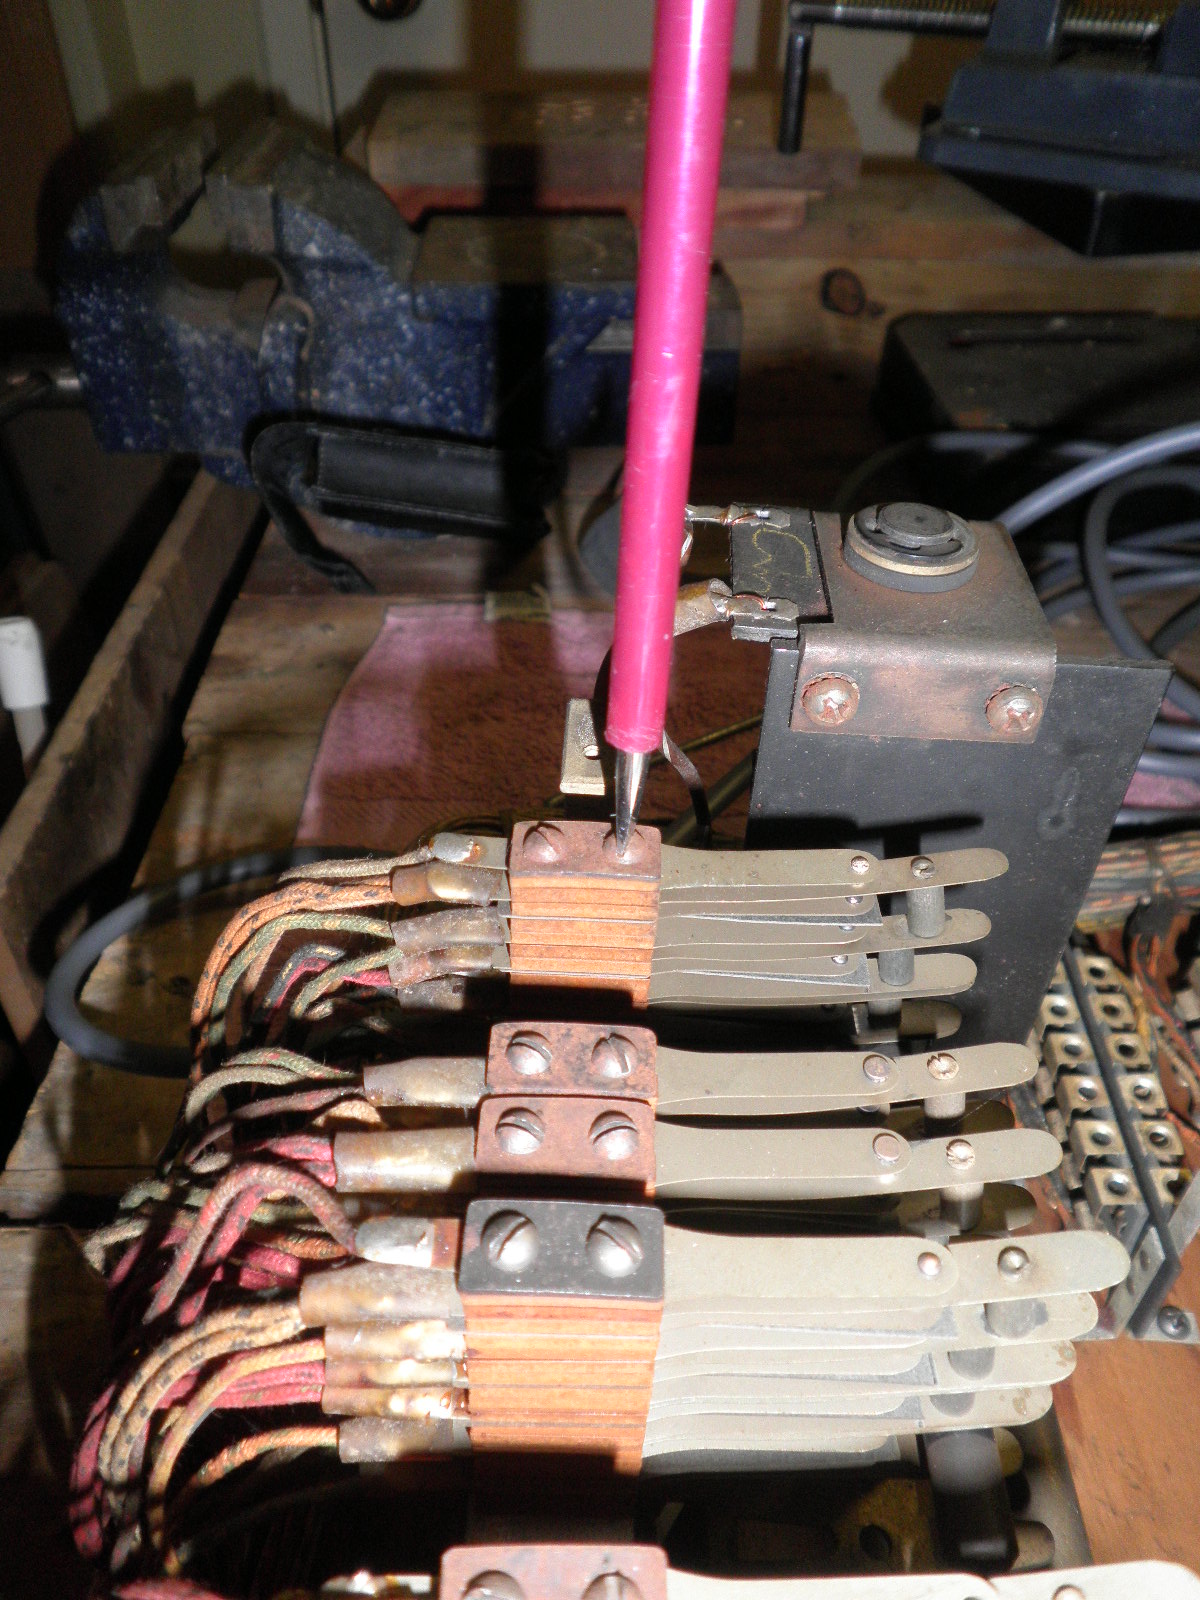
I can then adjust this switch stack
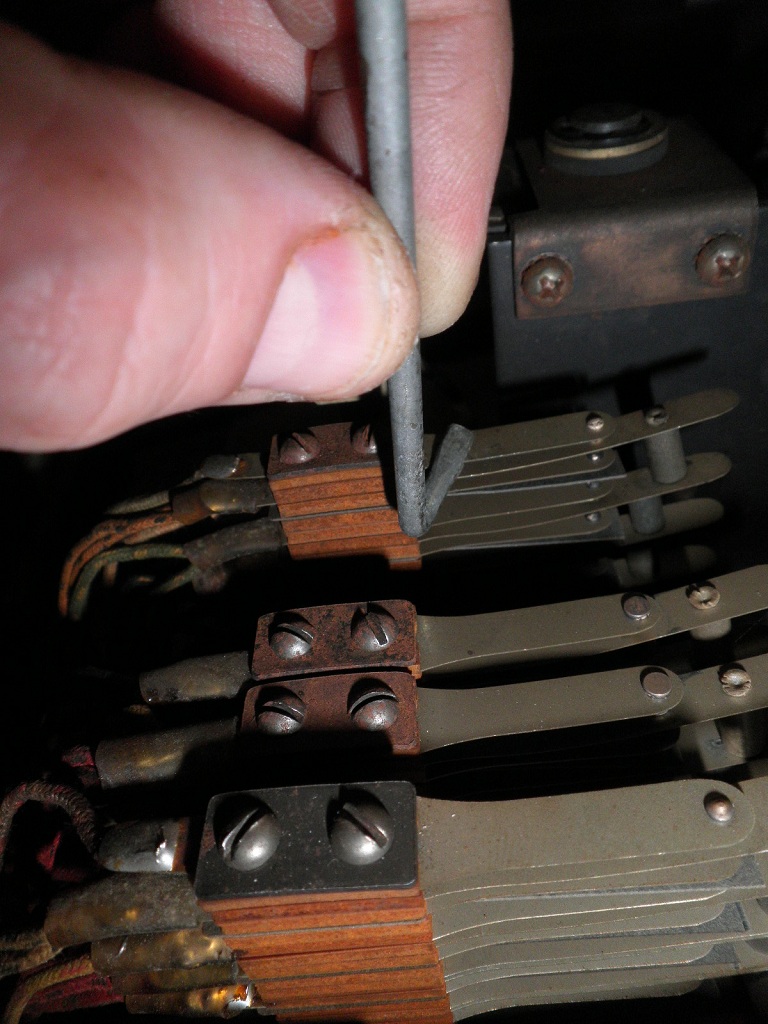
Then I test its action to make sure the contacts make a proper connection when reset, and open when that relay activates.
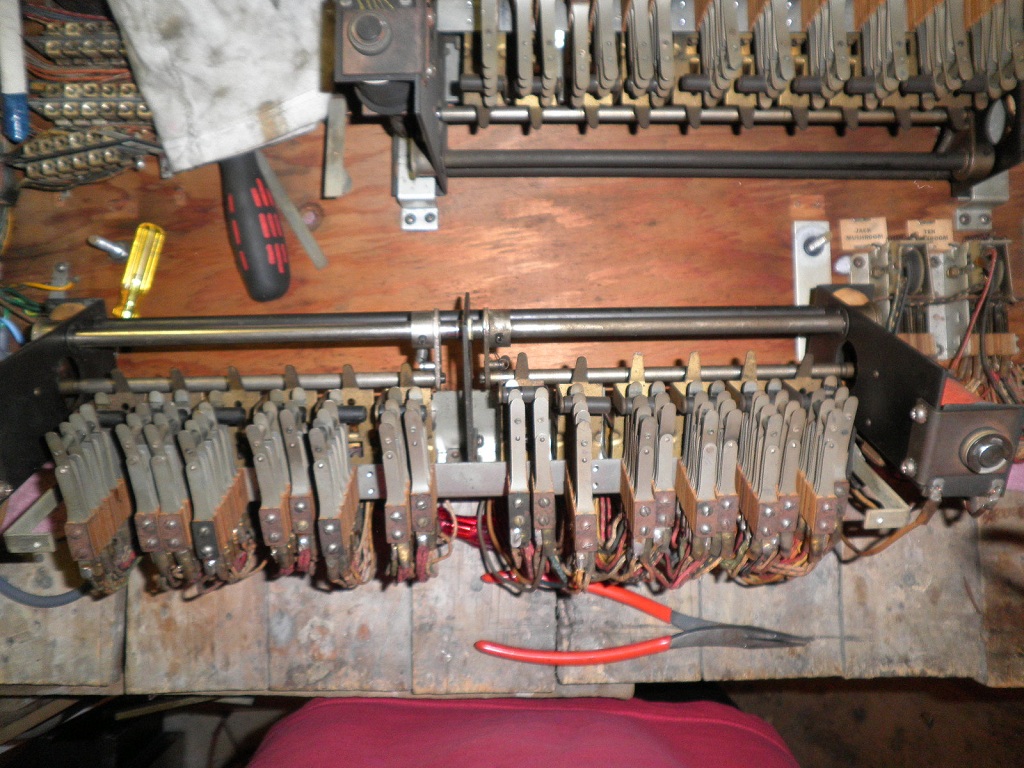
I've removed the dual trip relays. SIX relays per assembly, - they are seperate units, but mounted in the same frame. Next to my screwdriver is my flexstone file. I go through 2 - 3 of these per game. First I use compressed air (not too much pressure), and then a business card cut into strips. I go through EVERY set of contacts with the cut business card first, then I use the flextone file. I inspect that I can see a clean set of contacts, then I test the action of the trip relay to make sure everything is working correctly. At the same time, I clean the tie rods (horizontal bars), the rest arm and all other moving parts with alcohol.
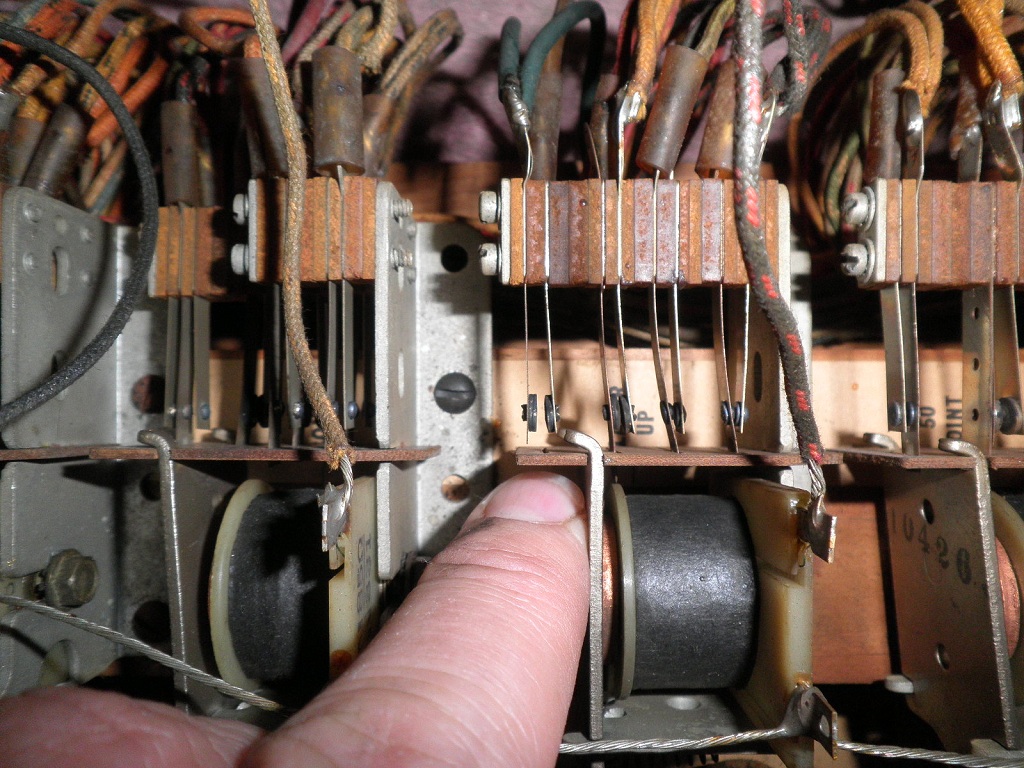
After I've completed all three trip relays, I move on to the other smaller relays, and I find this gem of a problem;
Where my finger is - there's a broken contact. I will replace this later, but it pays to visually check each unit for problems like this !
Next we move on to the Advance unit and this simply does not work at all !
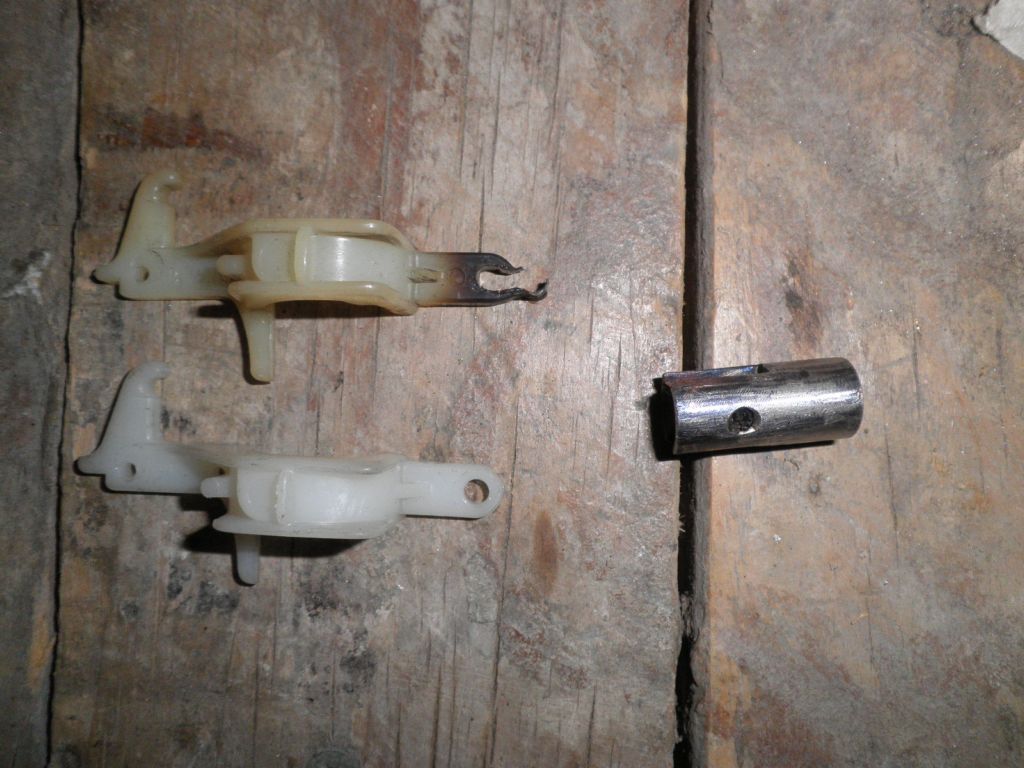
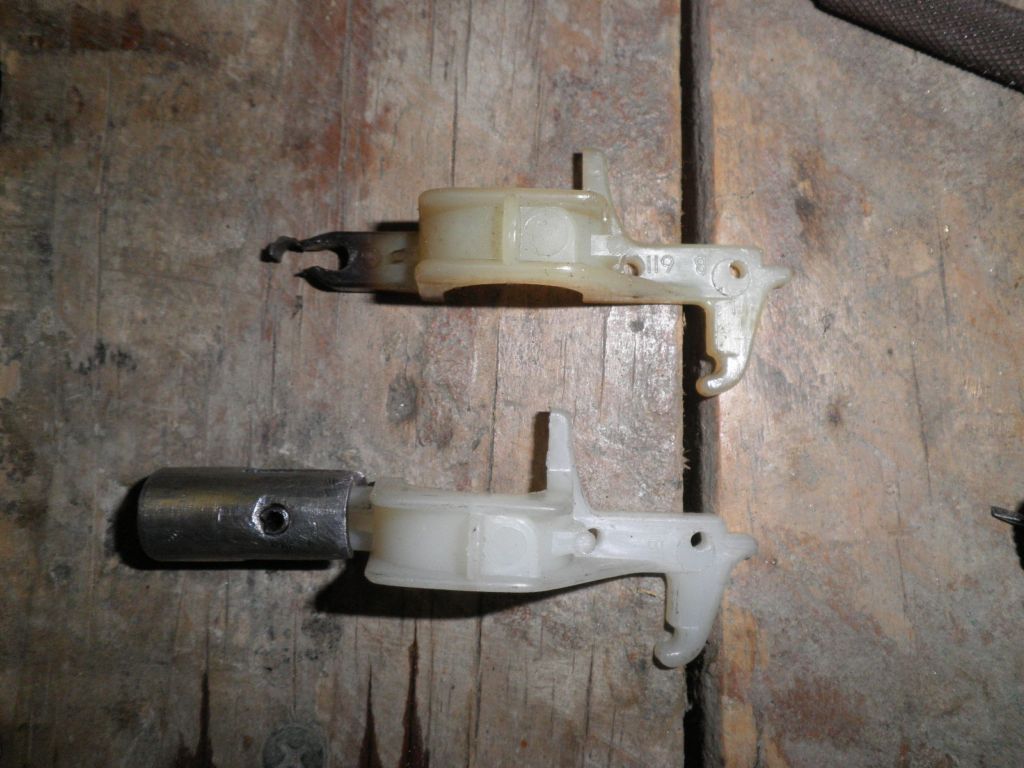
It has had a very hard life and the coil looks to be well and truly cooked, and it has melted the plastic plunger arm !
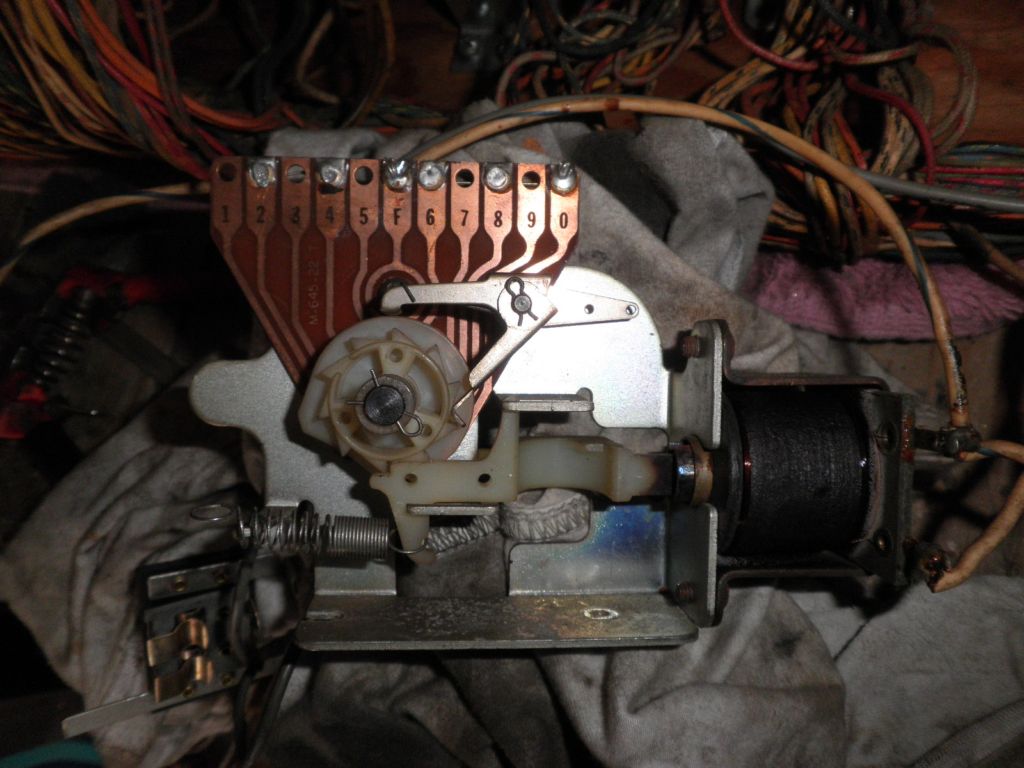
The unit is dismantled, and I can see the plastic plunger has melted ! Luckily, I had a box of hundreds of EM NOS parts, and as luckily, I had one EXACT replacement !
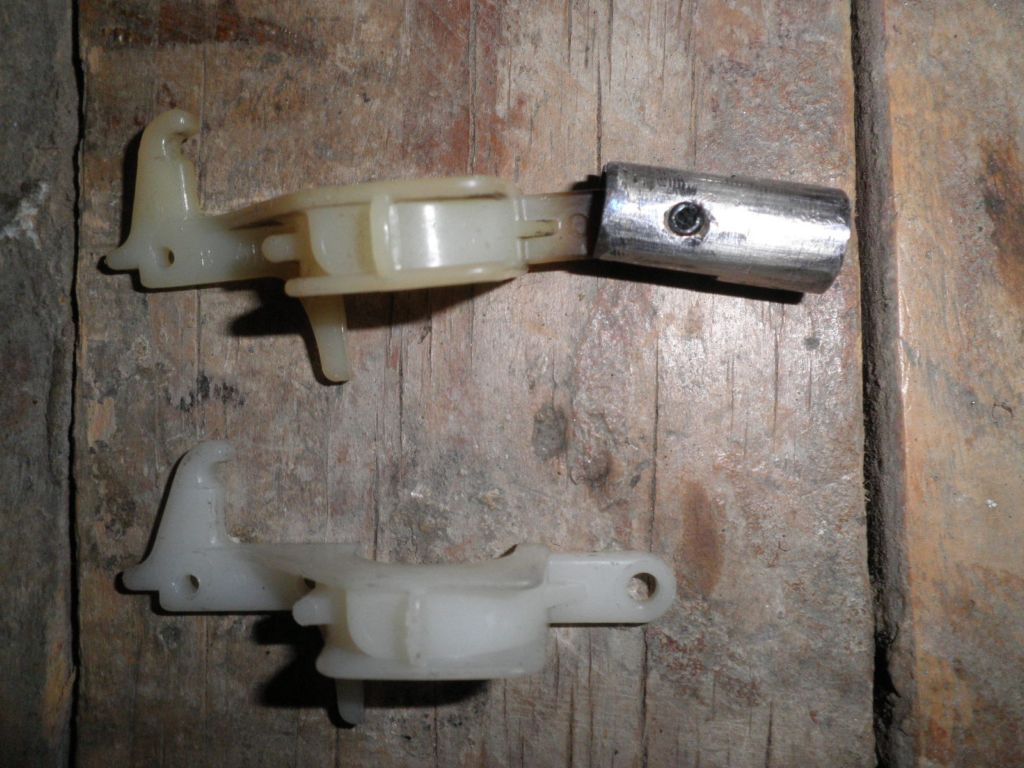

So I replaced it !
Next update will be the assembled Advance unit !