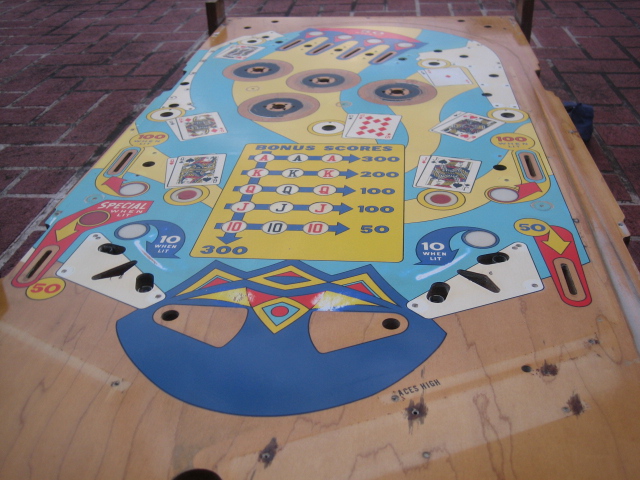
After the Novus 3 "clean and scrub", I used the Magic Eraser I bought in bulk from China. It is exactly the same as the Chux ME, but in larger blocks. It worked perfectly on this playfield - even to my surprise ! I then used the Treasurecove polishing kit to clean the playfield firther and finally to give it a really nice shine. Now pictures don't do it justice, this playfield looks simply stunning. It is a shame that there are wear marks, but my skills on touch ups are non existent. That will change in time - I hope !
Straight after the polish, a few snaps ;
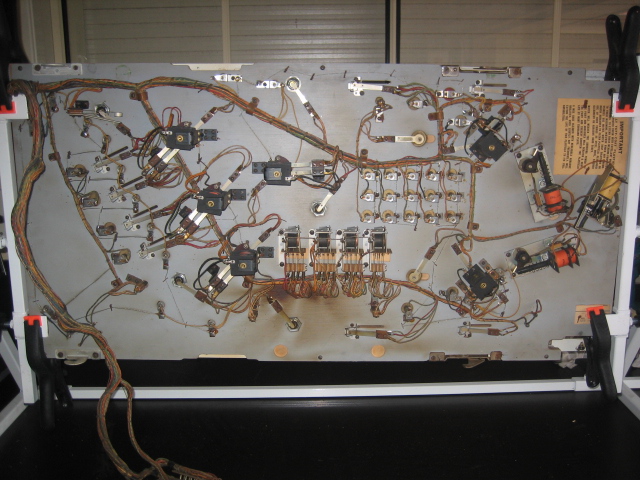
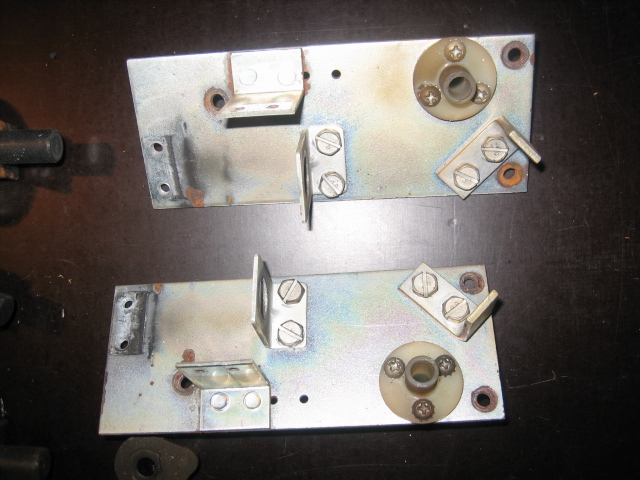
 Under the playfield
Lots to do here, but I was enthused by the condition of the mechanisms. Coils were all good. Everything just needs to be stripped, cleaned, painted or plated, replaced and rebuilt. First, I take some reference pictures ;
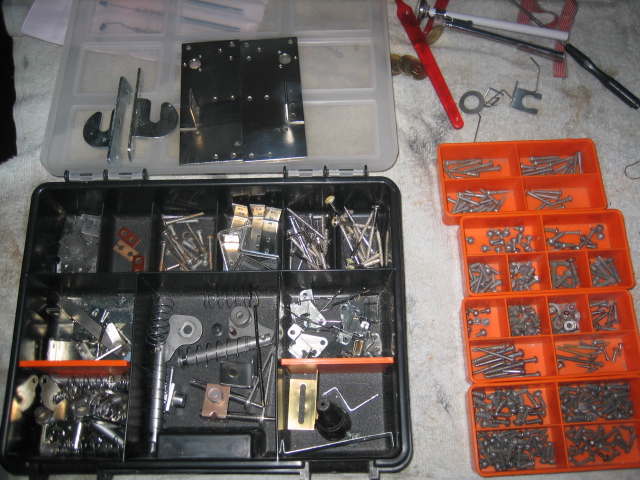
I organise the parts into sections. Parts that are to be replaced with new are placed in one container (to remind me to order them), parts for cleaning / polishing and parts for replating.
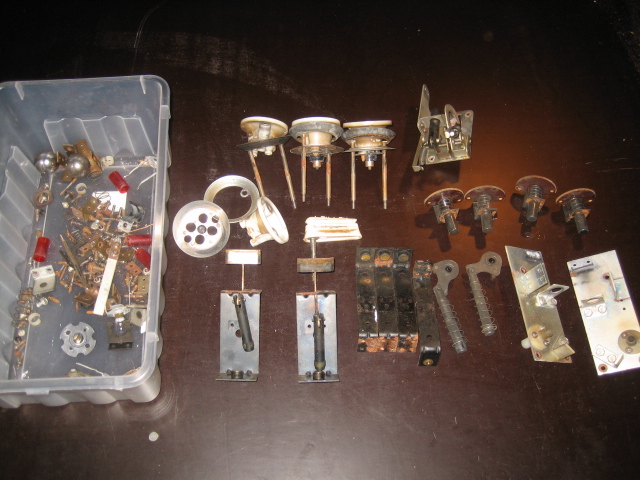
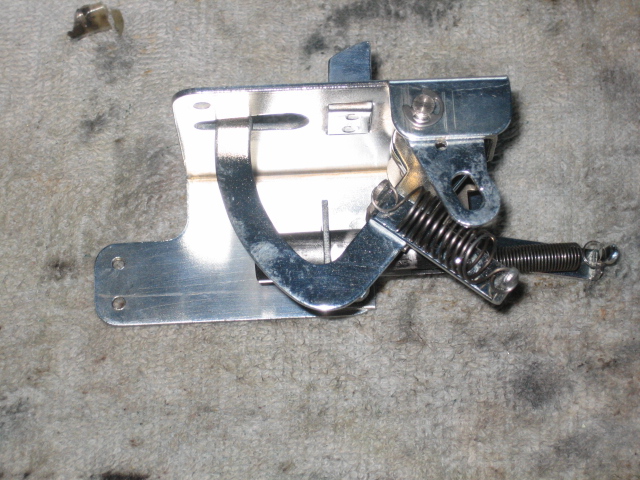
I'm going to replate these parts, to further gain experience and confidence in the process.
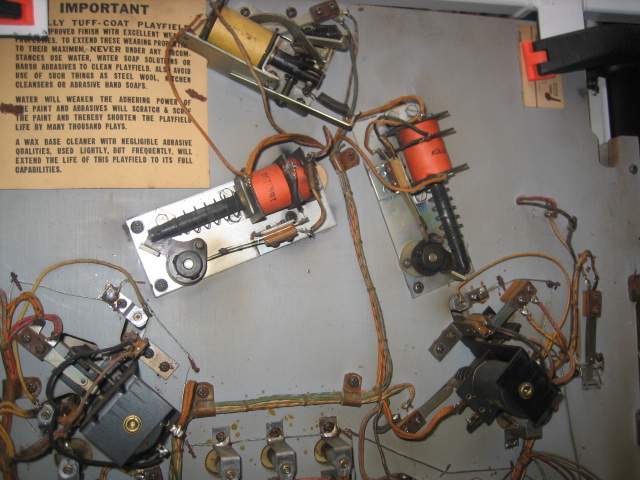
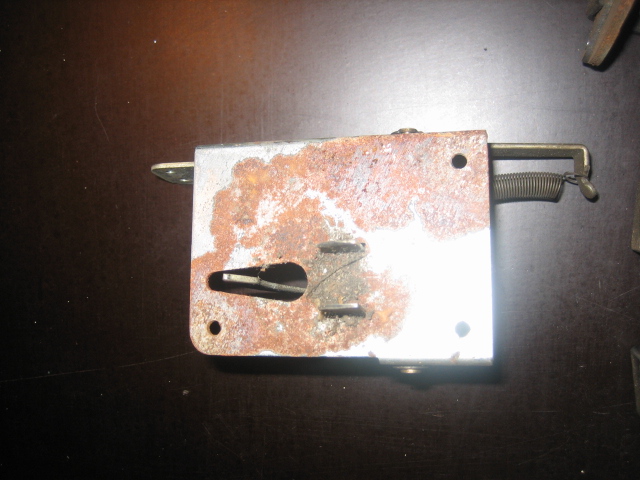
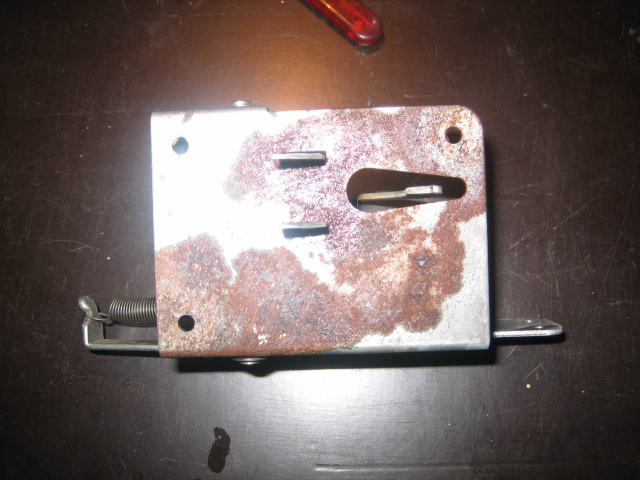
Now thats some serious corrosion. This has to be attended to. If I leave this unseen mech with the rust and corrosion, then it will slowly creep up on all the parts I clean / polish or replate. Plus - if you are going to do a proper job, don't take corners !
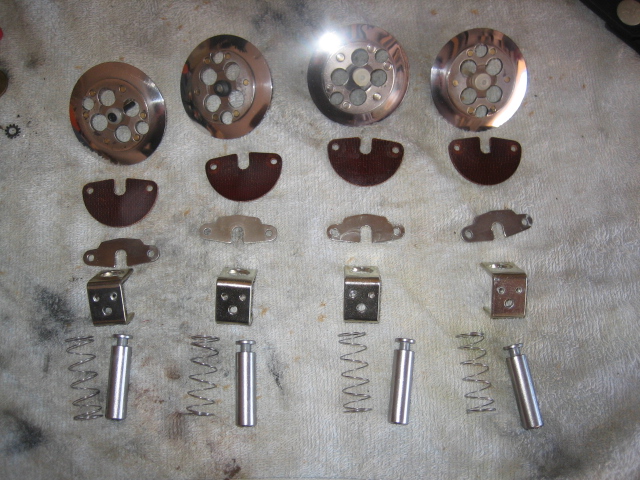
Fast Forward a couple of weeks. I've spent time cleaning all parts from under and on top of the playfield. Everything has been though "some" form of cleaning, bathing in Ranex, soaking in nifti, passed through the tumbler.. But most metal parts went through the Zinc plating process. Only some parts were nickel plated. When done, I seperate parts into seperate sections for reassembly
Notice the flipper plates !
I've started to reinstall the flipper rebuild kits on to the replated flipper plates. I start from one corner of the bottom of the playfield, and clean the entire section - wires, screws etc etc. So when a photo opportunity comes up, everything in the vicinity looks clean. The only new parts are the coil stop, EOS and bushing. This is typical of the results successful plating can provide. Spend the time learning the process, and these are the results
I only plated the brackets and the metal yoke. The skirts are metal and I polished these on the buffeing wheel. The plunger and spring have gone through the tumbler
This is ugly ;
This is treated and zinc plated
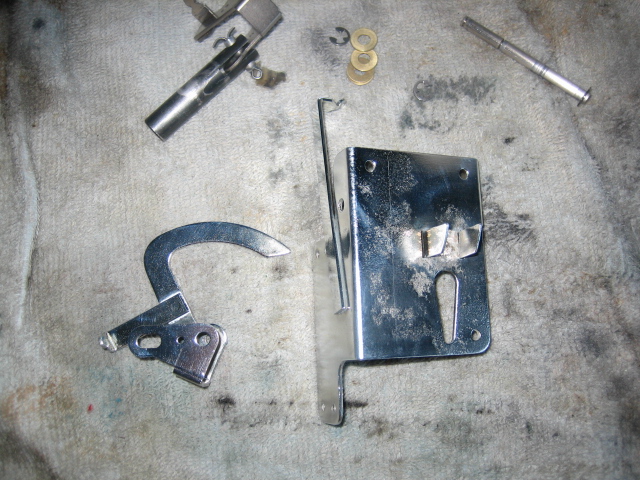
Big difference. But it takes HOURS of preperation to do a plating job. Like anything, you need to be organised and preparation is the key. The time involved means that this kind of specialised work should not be done if you are impatient, on a time constraint, or you don't like your garage to look like a chemical lab for a few hours ! Is it worth it ? You be the judge !
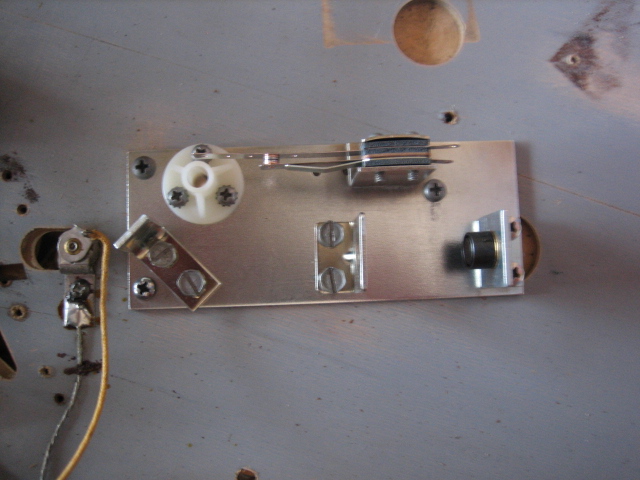
Here's a progress picture as I move around the playfield

Slowly but surely .. .. ..


