Major Update

I usually dont bother too much with the playfield side rails, as they are easy to work with - being wood. But not on these Ballys. They are metal and in bad shape. There are "spider webs" of corrosion creeping up the side of them and I have to arrest this problem. Te problem became worse as the paint was flaking off as I was cleaning them, so I decided to remove the old paint, treat the corrosion and repaint. I would have to remove the rivets holding the guides - which is no problem as I have a rivet press and I can refit !
This picture does not highlight the problem, but you can feel the texture is "not right".
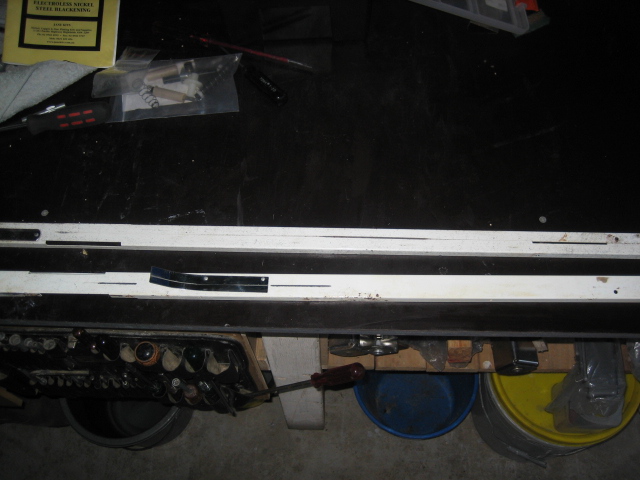
I use Citrus Strip from Bunnings. No smell and cleanup with water. Took 20 minutes to remove the paint.
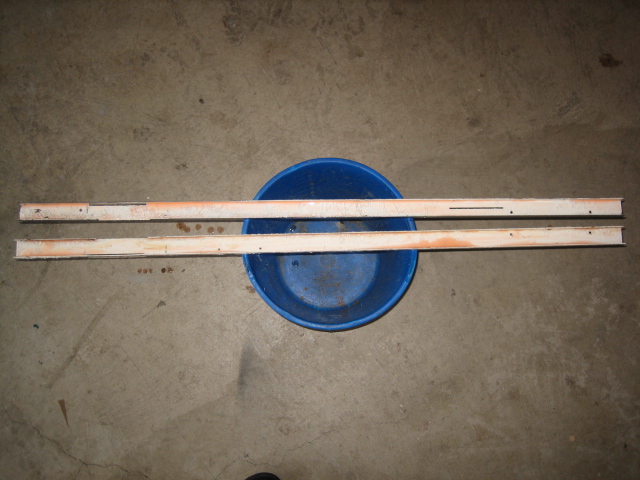
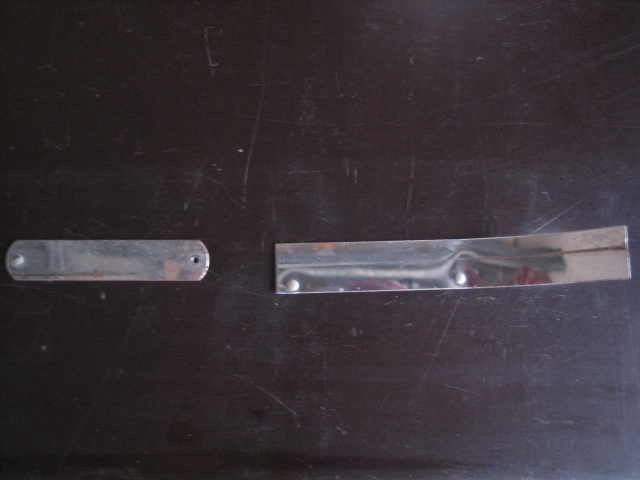
Metal parts removed for regraining, and the smaller piece will be polished as it is chrome plated.
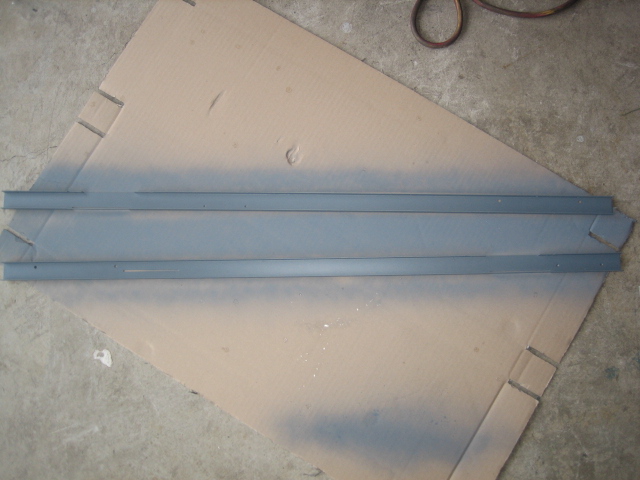
Two coats of metal primer / undercoat
Repaint. Two coats of white that closely matched the old paint - as best as I could find !
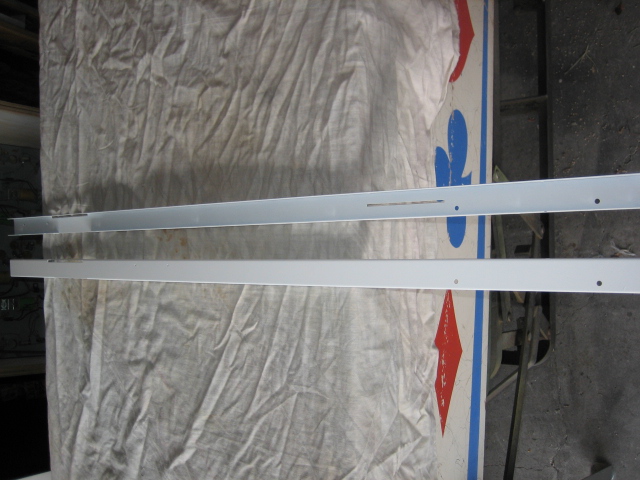
Some upper ball arch bling

These were chrome plated, so I simply polished them on the buffing wheel
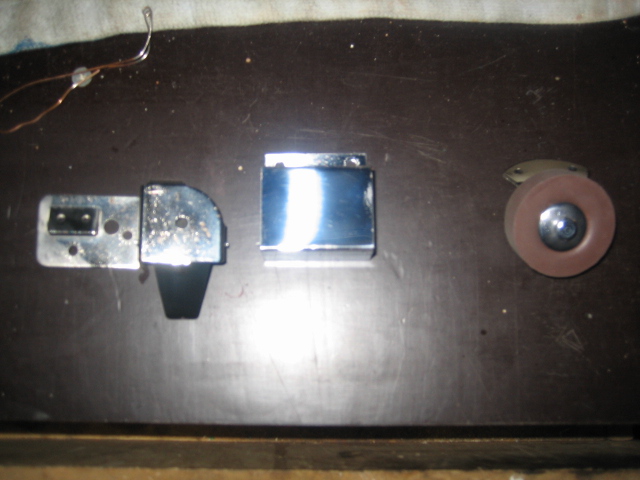
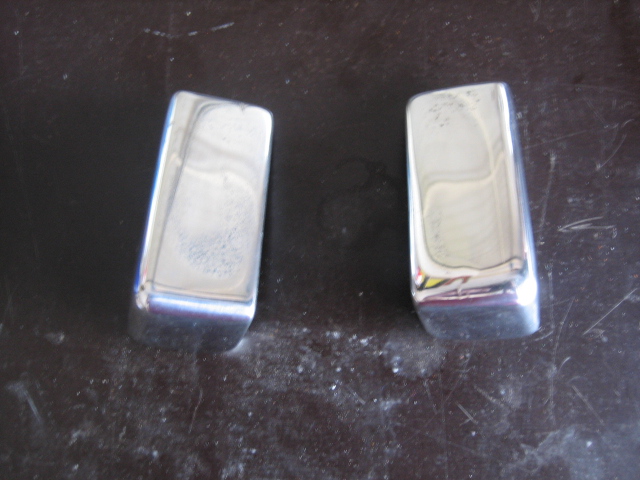
Rewind for a second to the lock down bar. I had a huge challenge with the corners. They were chrome plated (at a guess) and I cannot plate them. They have been "eaten away" and pitted in areas. Here the parts in the picture (below) ;
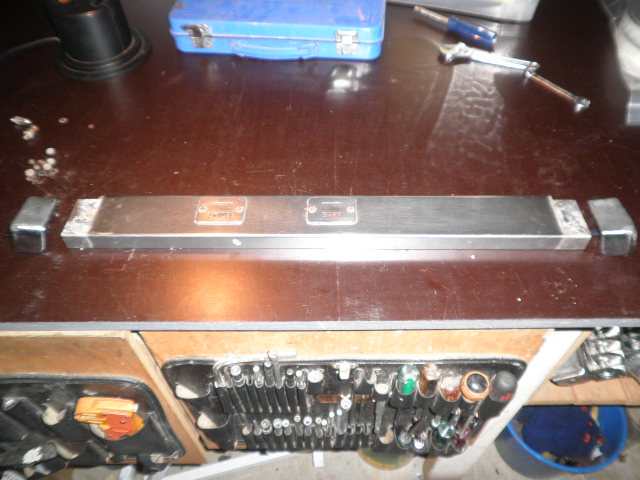
I TRIED to clean them with wire brushes etc and NOTHING worked. So I treid something "leftfield" - I GRINDED them on the grinder. Simply "attacked" them for a couple of hours and then tried buffing them. I had this result ;
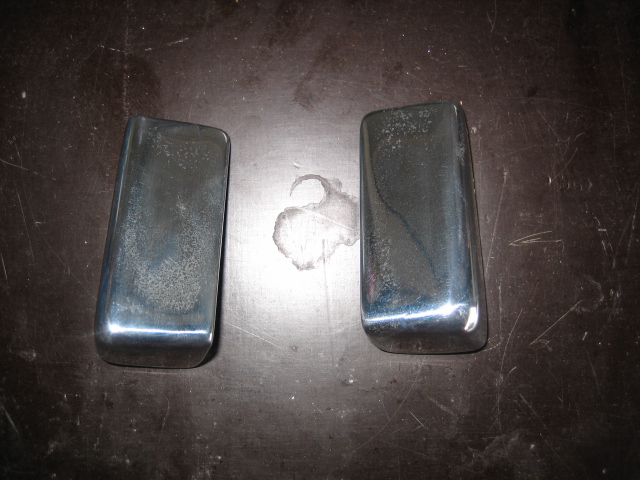
Not too bad - but I thought that if I spend more time.. .. .. .. .. The plan was to spend as much time as it needed to get them really shining. My persistence paid off. I grinded them further on my grinding wheel - effectively removing some of the metal. It was a little scary at first, but after removing the chrome plating and pitting, it was starting to look better. It took an hour or so on the grinder. I then took 180 Grit wet / Dry and started to improve the surface. Finally, using 800 Grit wet dry and windex, it looked 100 % better. The last step, was the buffing wheel.
HUGE Difference !
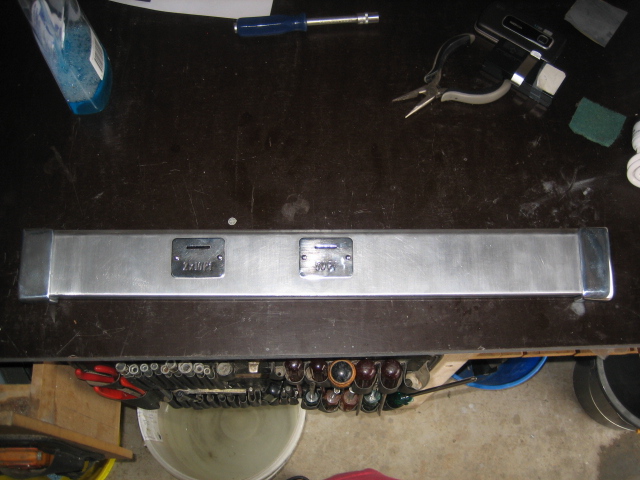
That's around THREE HOURS of work. Now the lockdown bar is complete and look much better !
 More Cabinet Bling !
While I was looking through boxes of NOS EM parts, I came across a pair of flipper buttons. The original buttons were worn and pitted. I tried polishing them, but they didn't meet the same standards as the rest of the game, so I was really pleased I found these ! I've given them a quick buff, just to see how they compare against the originals;
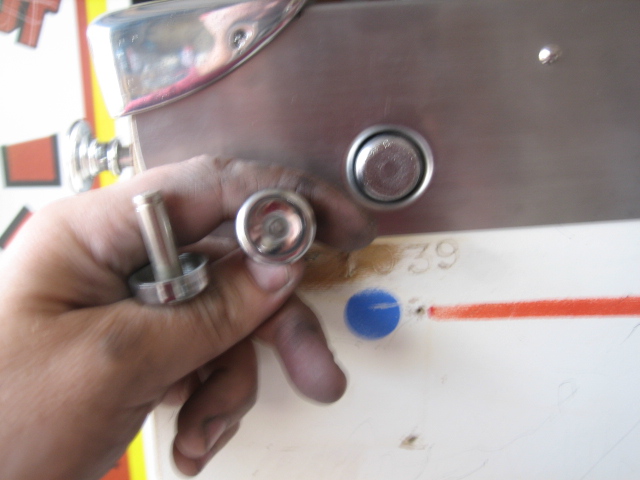
So, using the process that I had learnt with the lock down bar corners, I decided to grind the button faces down, sand with 180 grit wet/dry and windex, then 800 wet/dry and windex..
Here's the buttons after grinding them flat;
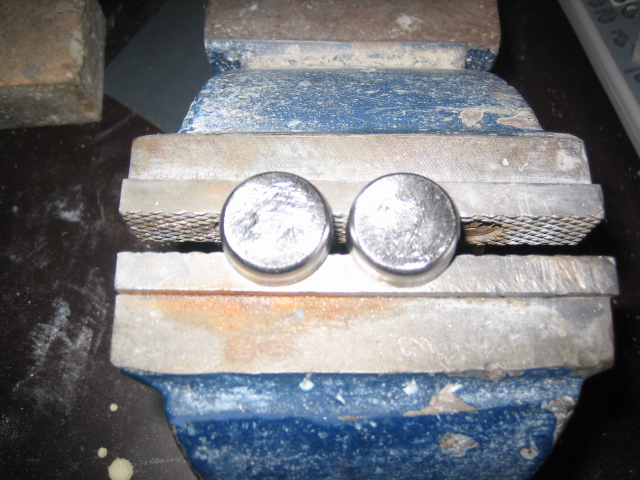
After the 800 Grit wet/dry
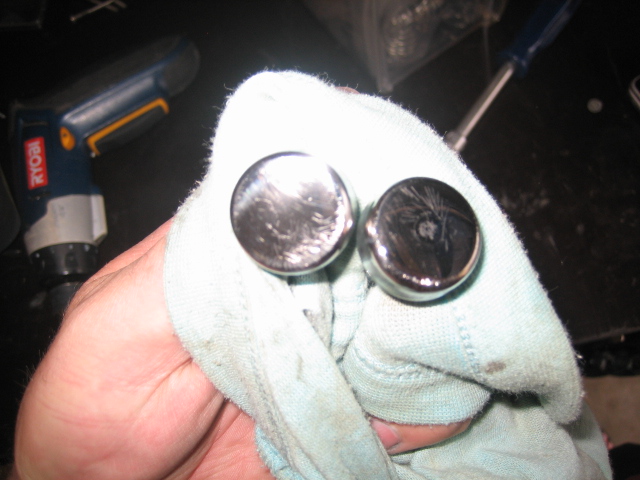
After Buffing
 Back to the Playfield
Before I dropped in the playfield, I installed the playfield side rails, after rivetting on the metal parts. I also installed other chrome playfield hardware. I still hace to airbrush the black rings around the pop bumper - more on that later.
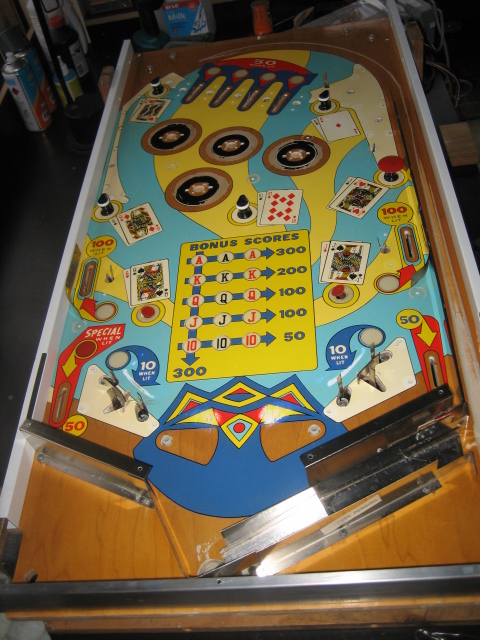
Need to clear some of this area ;
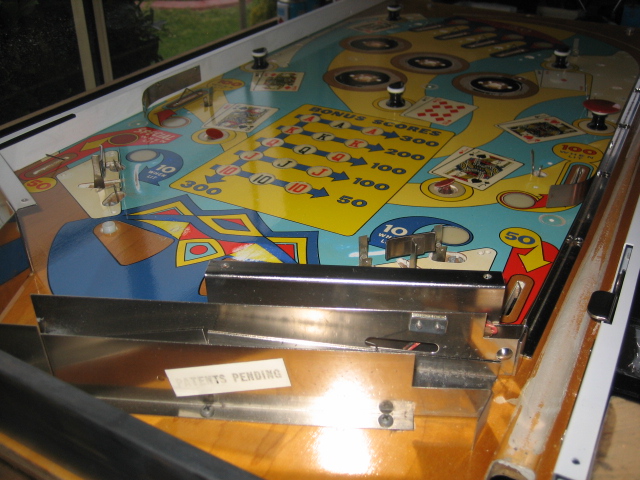
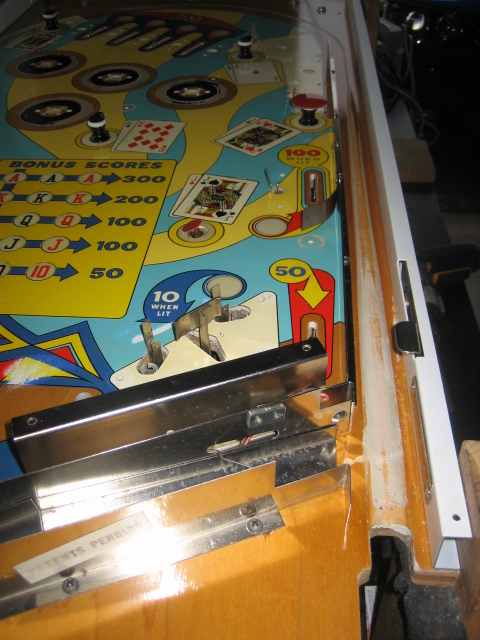
Other Pictures ;
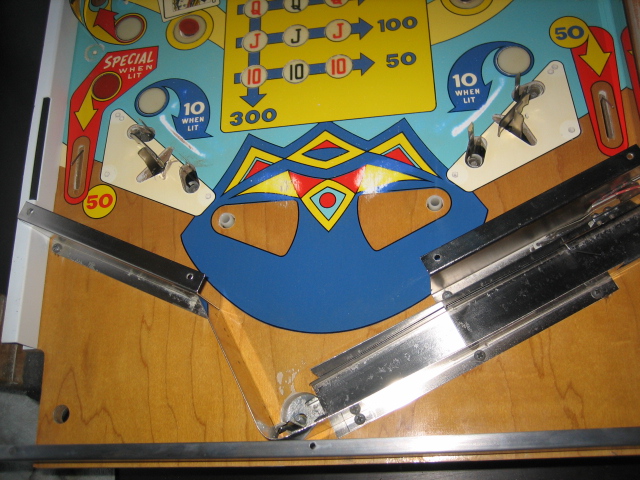
Each light socket is tested. All I do is connect a 5VDC power to the GI and test the GI globes. I do the same for feature lights
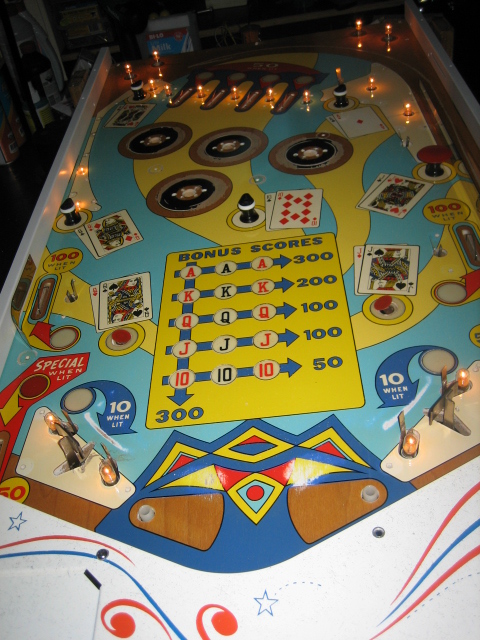
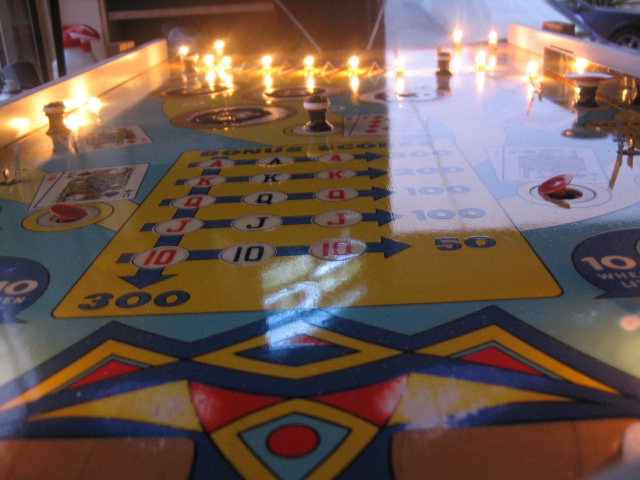
OK - The machine is almost done and I'm just waiting for some masks to turn up from Gavin to touch up the areas around the pop bumpers as well as an order from Pinball Resource to finish it off. Here are a couple of picture I took today of the machine in it's current form. I'm more than happy with it, although the amount of time I've spent is outrageous ! But I've enjoyed every minute !
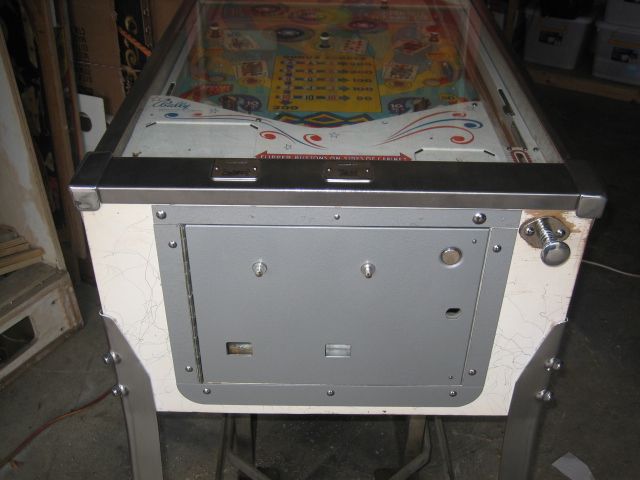
Not long to go now !!