OK - Now it is time to have a crack at the BLACK section. The masks are larger and overlap into the surrounding Bumpers, so I have to do this one bumper at a time. I figured I would have to test the application of the black mask and learn from the experience. I'm on a steep learning curve here !
The BLACK mask also incorporates the outer black ring, which really helps with the registration of the mask (clever guy that Gavin

). Here is the first bumper BLACK mask ;
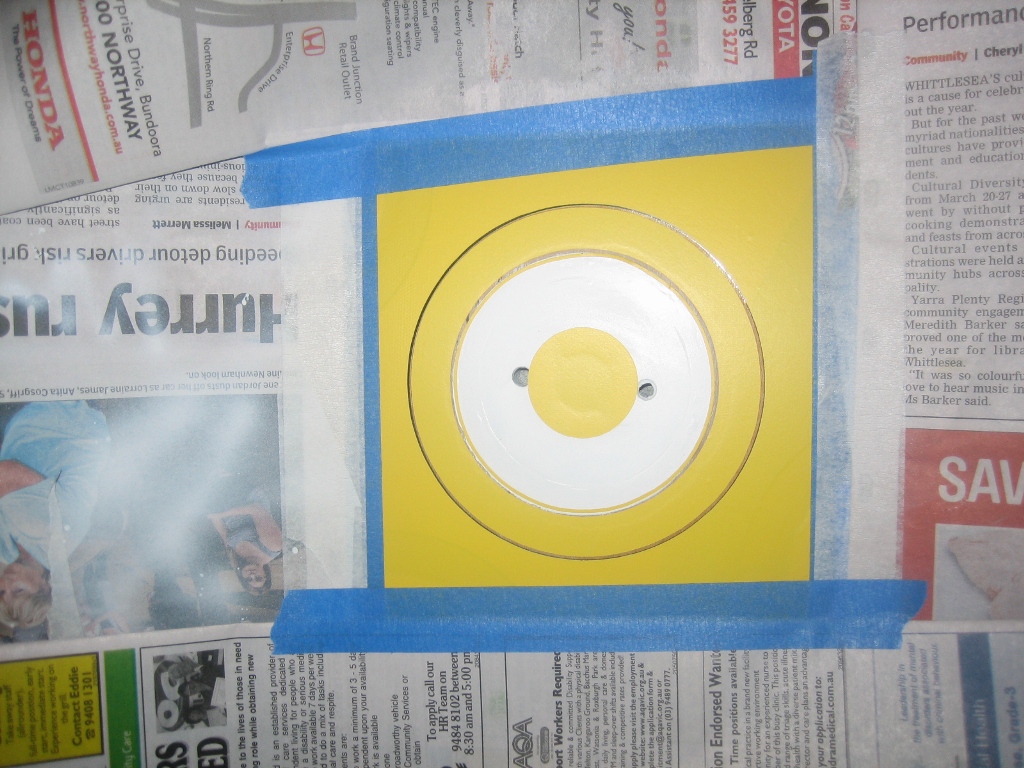
Getting ready to paint - The paint is thinned using the flom medium and the airbrush is set to 35 PSI. I test the flow on a piece of paper and then I'm ready to start (fingers crossed)
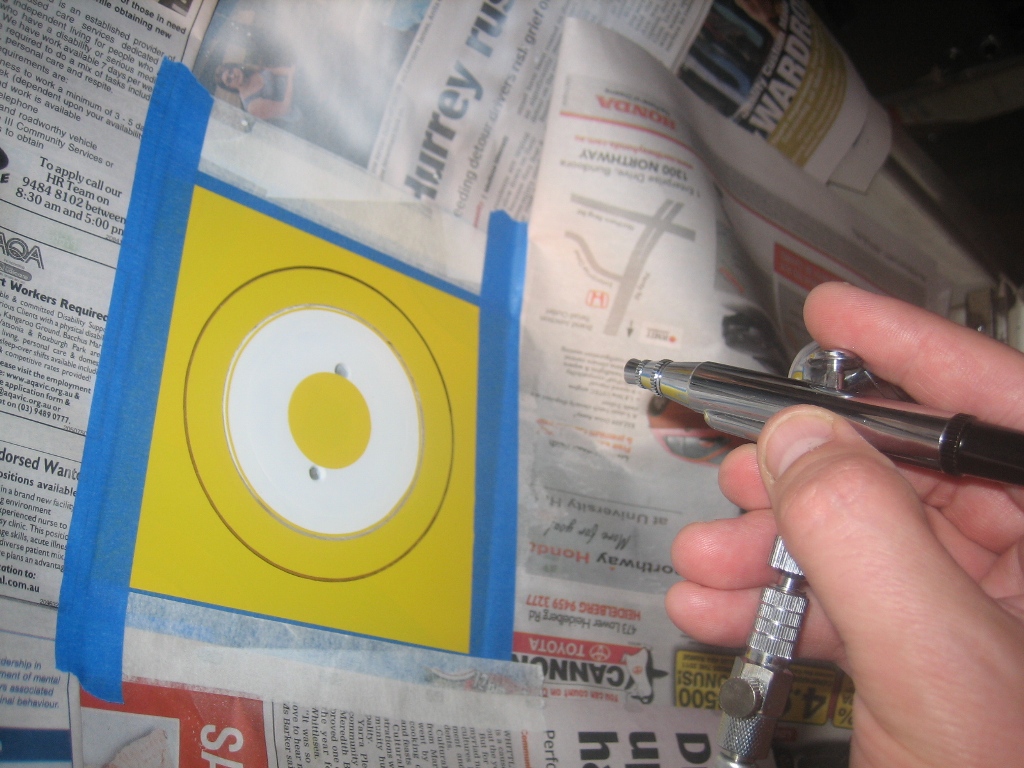
First coat - just a "mist" coat. Nothing heavy. Takes 10 seconds !
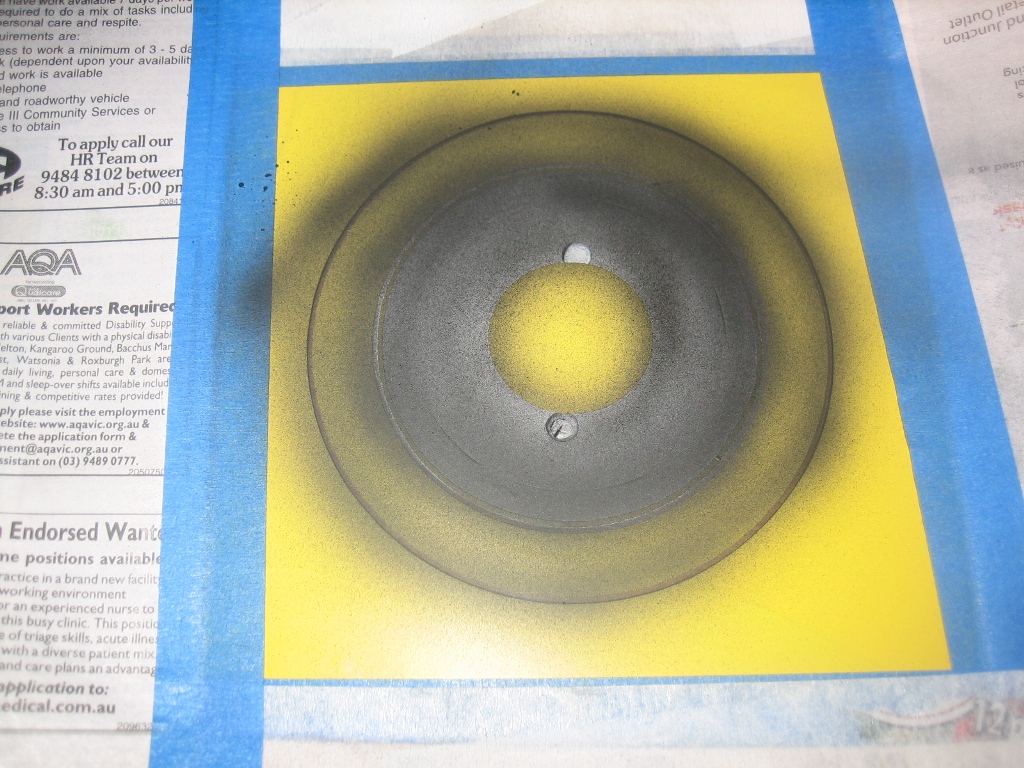
Gone heavier on the next pass, and then a final coat. All done in around a minute. Remove the playfield masking and we are left with the mask itself. Notice the mask (yellow) is covering the surrounding bumpers. This creates a problem for me that can be addressed NOW, rather than AFTER I've painted in the Black section..
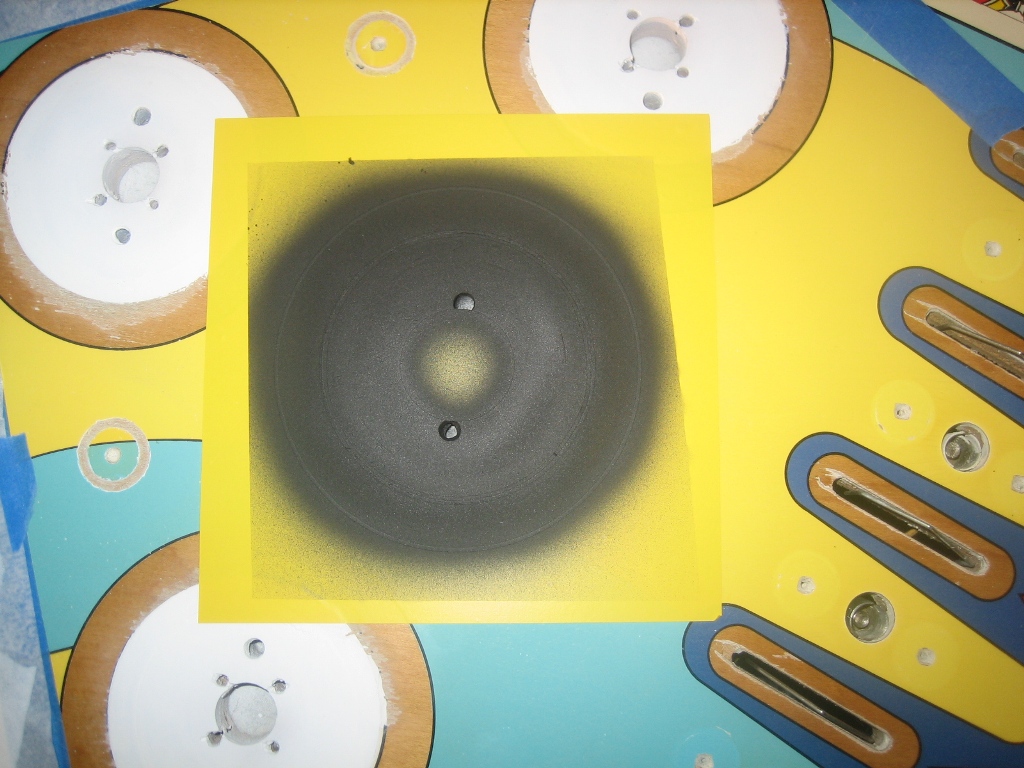
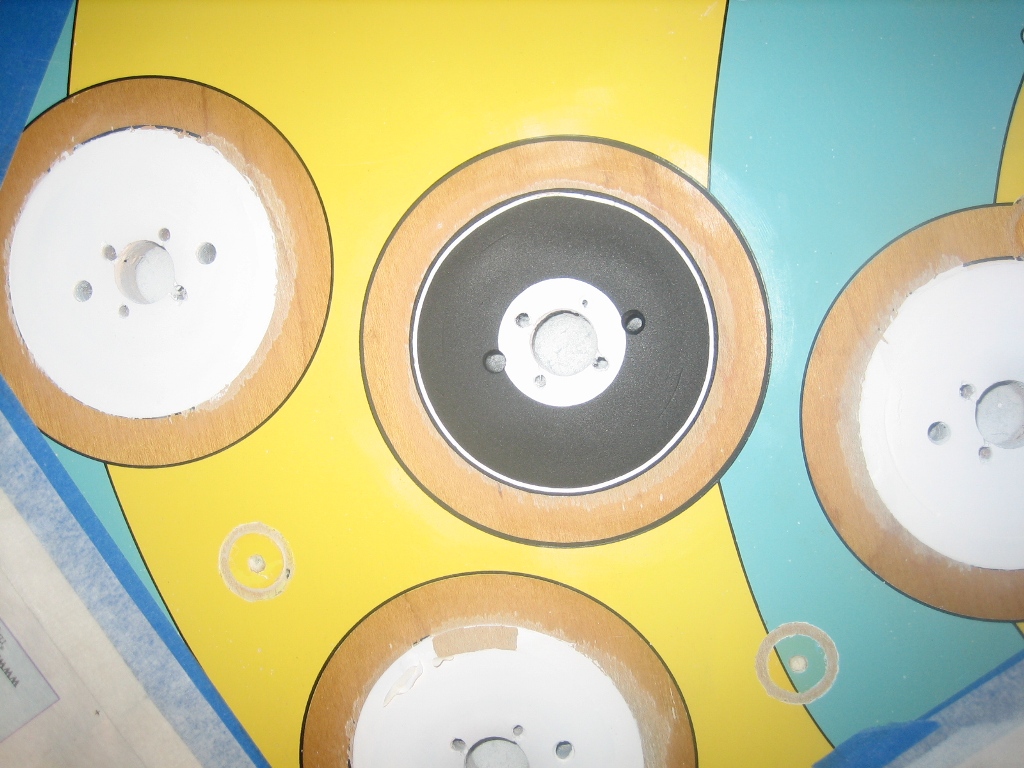
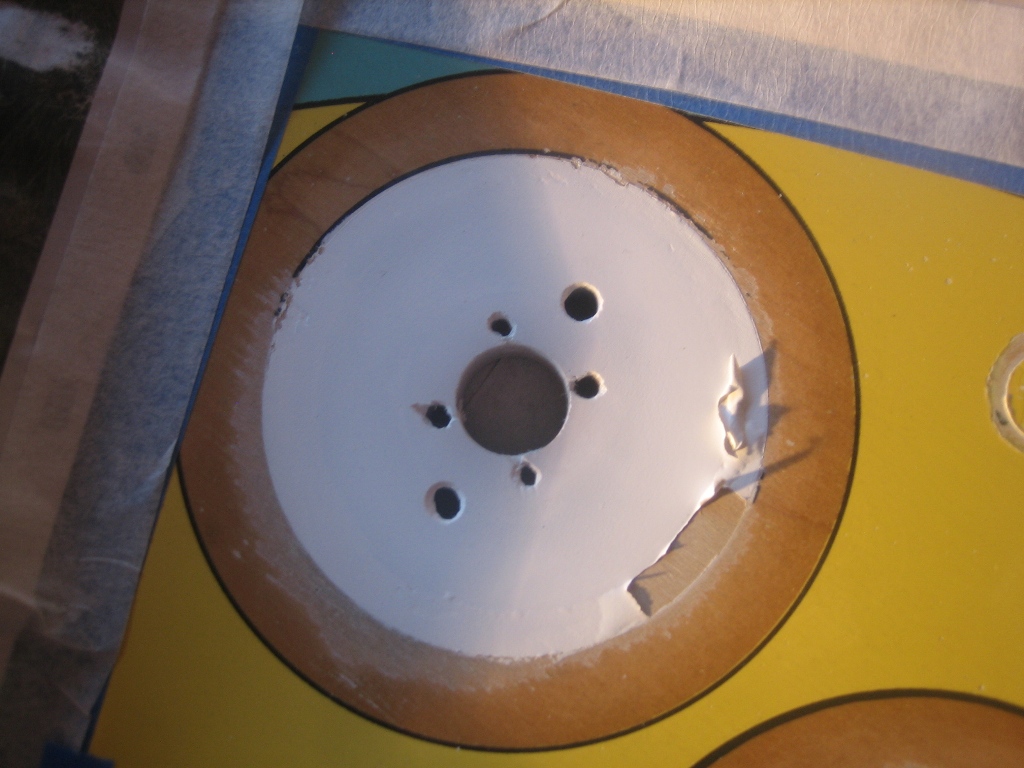
I removed the mask - and WOW - How good is that ! The BLACK is simply awesome. But removing the mask lifted the WHITE paint on the surrounding bumpers. This is something I was not expecting, but I think it is because I airbrushed the primer too heavy. Hopefully - one of the experts might be able to help out here ?
Here's a close-up of the lifted paint - pulled up the primer and white paint. Better now than after painting on the black !
But here is what I want to focus on - this is the achievement of HOURS of practice - Timbo's paints and Gavin's masks

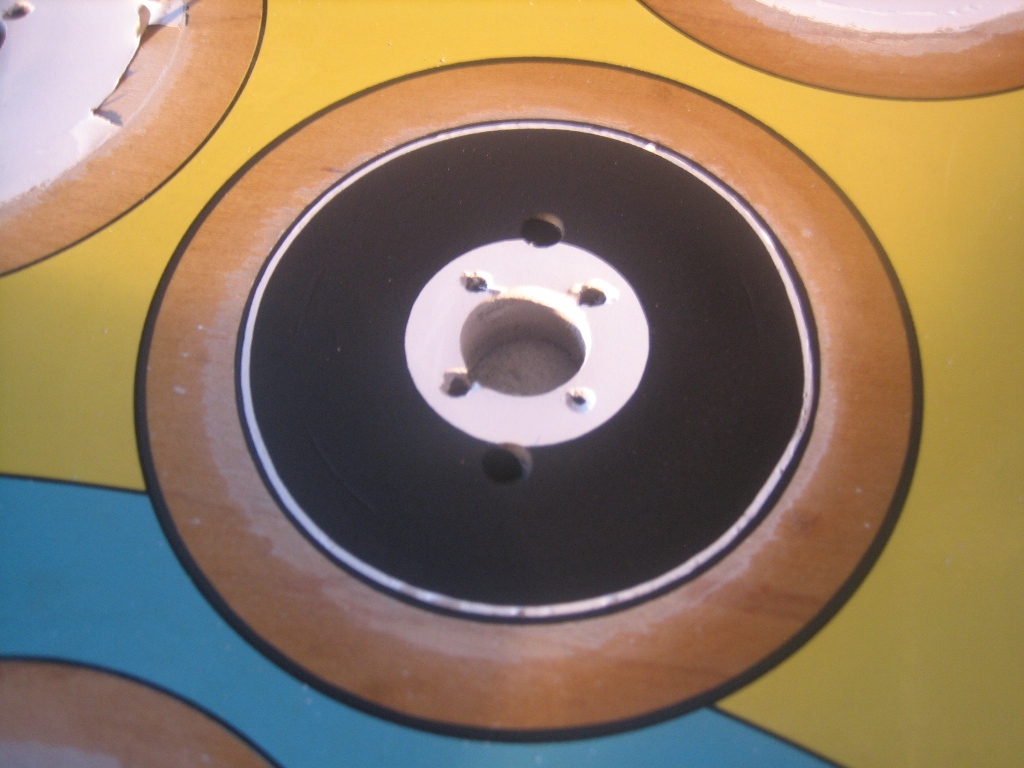
Now to fix the problems and then prepare for the clearcoat of the area !