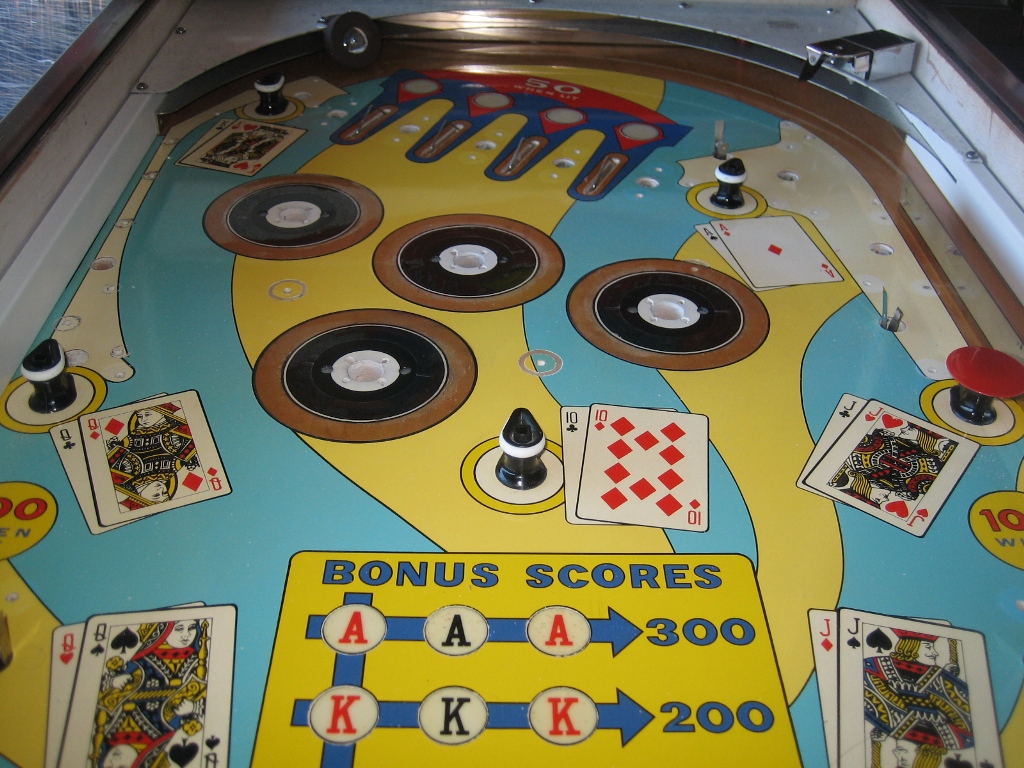
After slowly going "mad" with the pop bumper repaint, the end is near. The clearcoat settled really nice, and all I needed to do was apply the mylar rings. Here's the finished section with the mylar installed, the camera angle and flash shows the area protected;
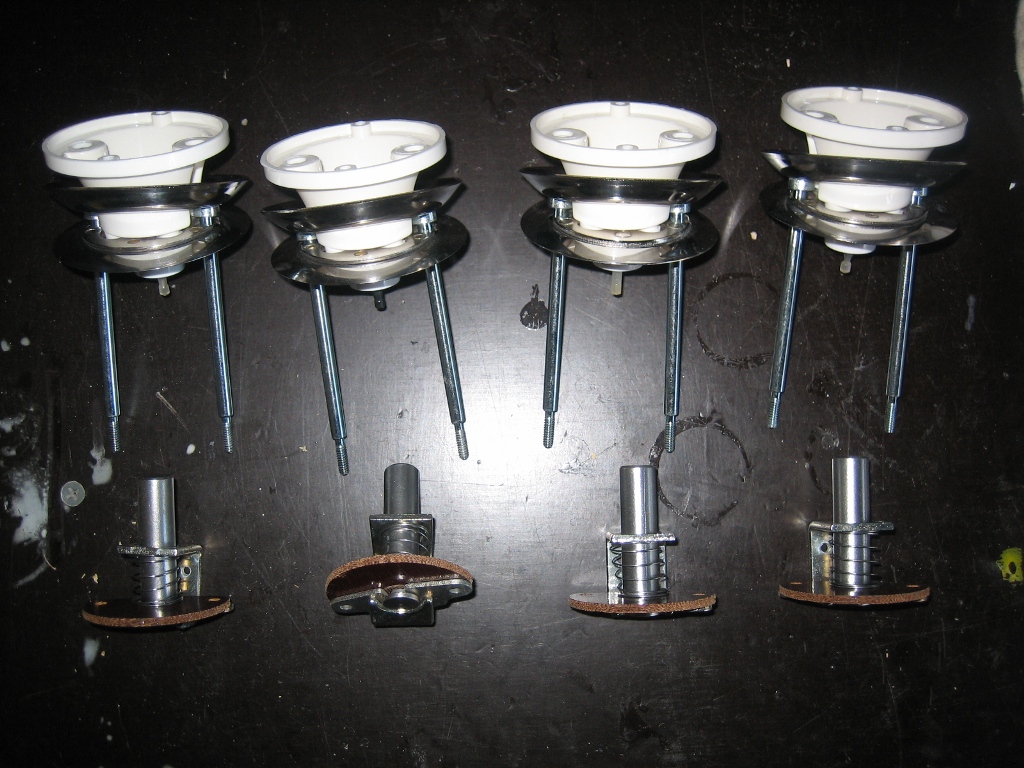
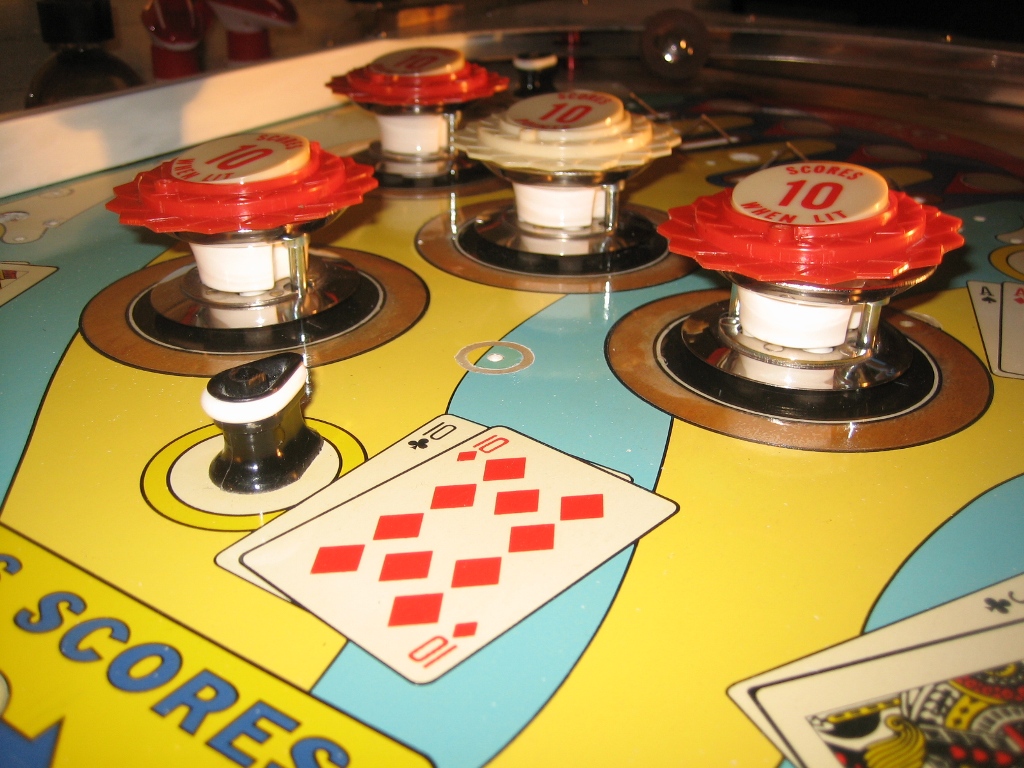
Now I can reassemble the pop bumpers on the top of the playfield and the underside. Notice the skirts are metal, and I polished them on the buffing wheel. Everything else (above the playfield) is NEW. The "below playfield" parts have been polished ot Nickel played - with the exception of the plunger itself.
Now it has taken AGES to get this this point, and I want to remind anyone following this restore of the state of the pop bumper rings BEFORE I started - here's a quick rewind..


Here's the finished section;
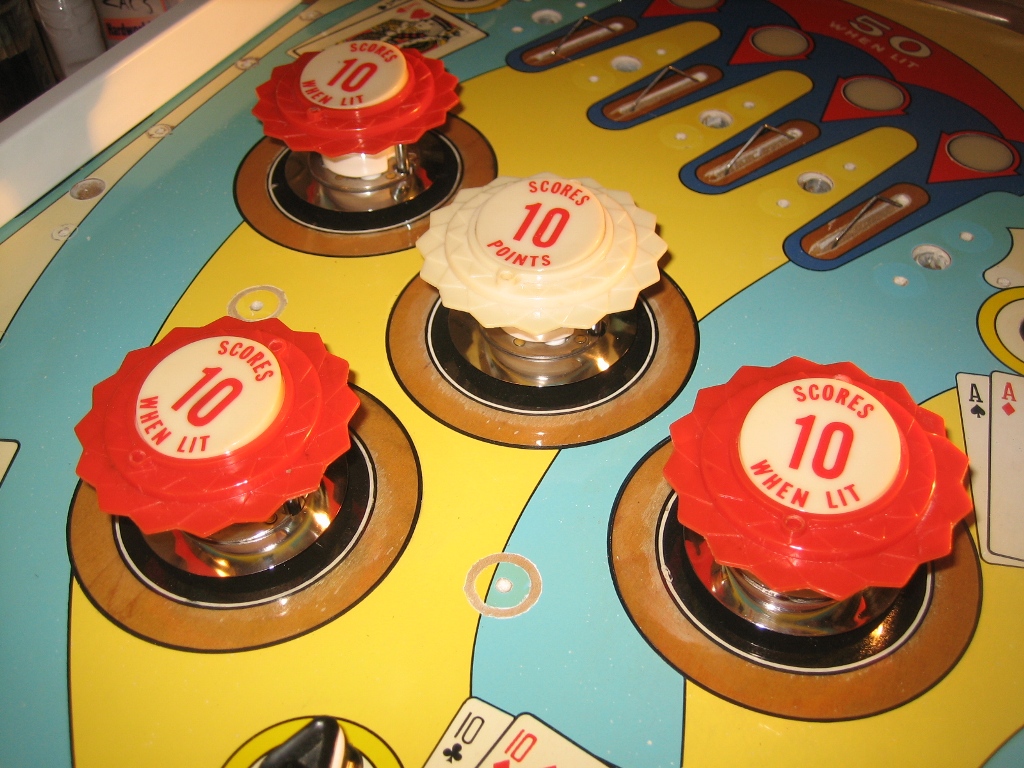
I'm pleasantly surprised and very pleased with the results. I've also learnt a few tricks along the way.


