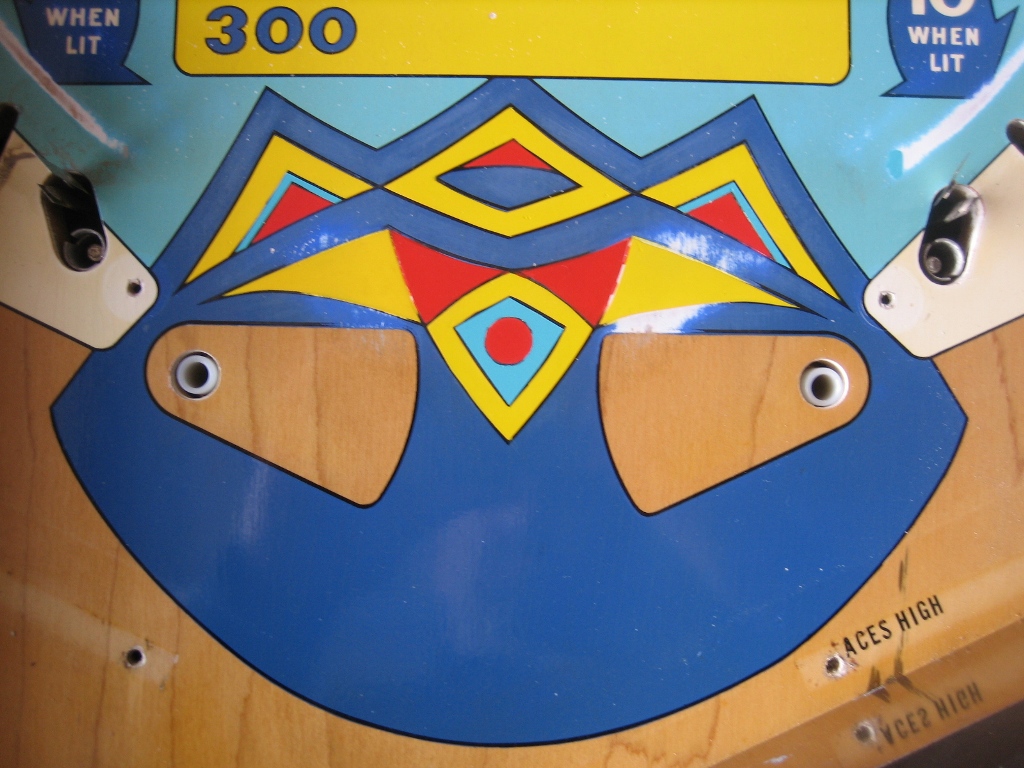
Time to do the BLUE - which I found difficult to match. I decided NOT to do the entire blue area, as there was no noticeable damage below the flippers, and I'm still learning clearcoating. So less is more in this case. I mixed enough paint to do the entire area, but I wanted to see how it looked.
Here's the area I want to repaint, a straight line from the top of the flipper section. I used frisket mask to cover the area and a scalpal to cut out the areas I want to paint.
Use the airbrush to lay the paint
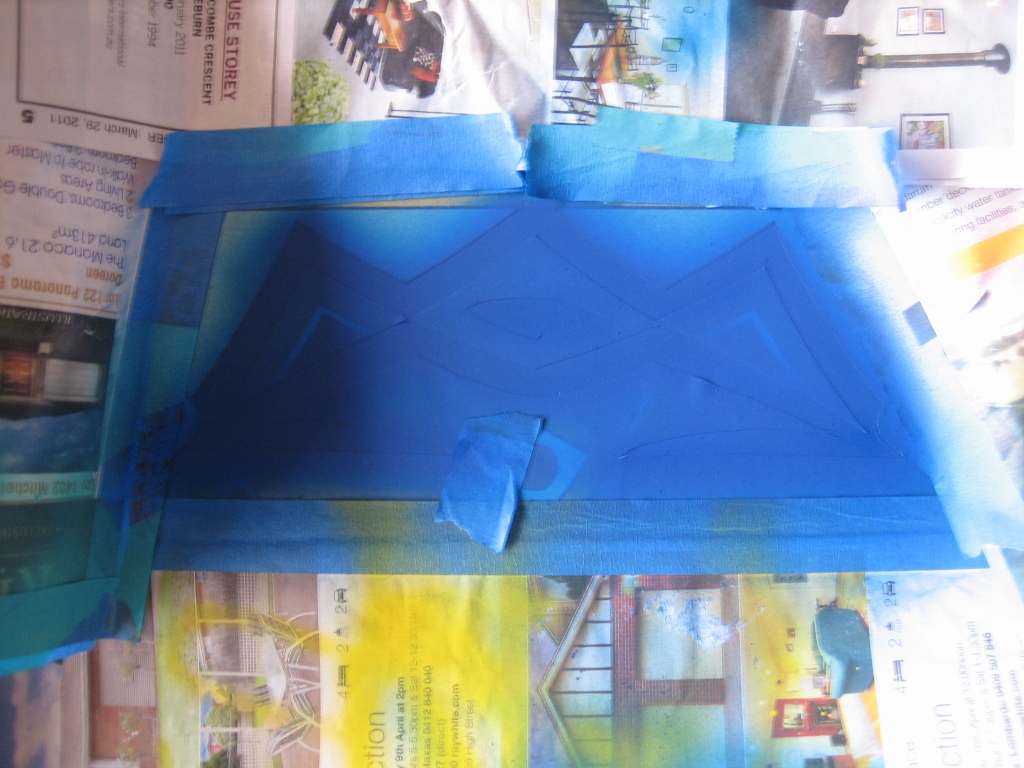
and the results. The camera does really show up the lack of skills I have in paint matching, but once the hardware is installed, it will be difficult to see the subtle difference. Anyway, it is 100 times better than before.

Next part of the repaint is the black lines.


