I checked all fuses and replaced the oversized one with the correct ratings plugged in an Australian plug and fired up.
Found a couple of switch matrix problems due to a couple of loose wires, a couple of other switch problems, GI plugs needed replacing and the board needed repining. But mostly ok.
Got all the little problems sorted and the pin working 100% then I had a look at the DMD
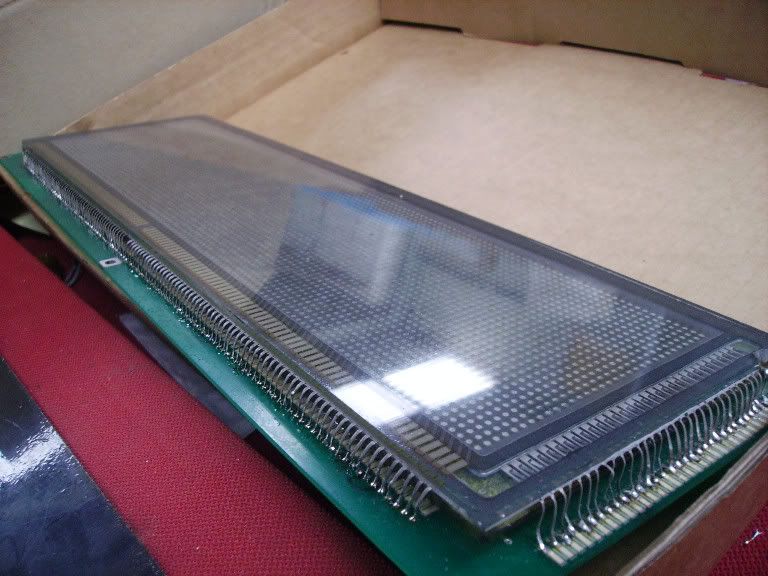
The one column and one row were missing I thought is have a go at resoldering the pins where they had come away from the glass. Managed to find the tiny little wire sticking out from the glass cleaned it up ready for solder stuck a blob of solder on the leg from the board applied pressure and heated the solder to re-connect.
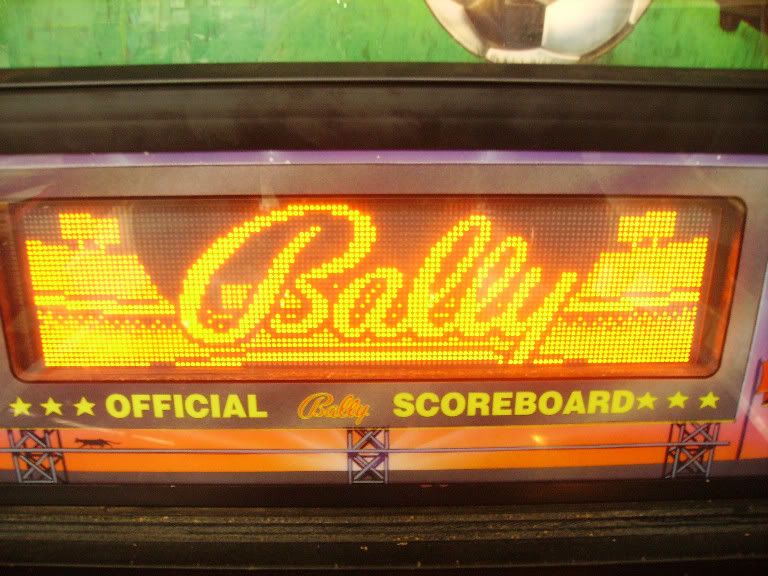
All good, bit of mucking around though, connected back to the game for a trial run, lit up nicely then pop, something fried in the circuit board that the dmd is mounted to. I am not 100% sure why, but because the board has high voltage going to it and I didnt fit it back into the speaker panel, just rested it upright in the general area, I think something may have shorted out. You live and learn

Expensive excersise though, I was kicking myself when I saw the cheapest DMD I could find was $212 from RTBB
My display was so nice and bright too, still had plenty of life left
Was kissed on the cock, when only a week later I saw Bumper had 3 almost dead DMDs on eBay.
I placed a bid and won them for 99c
I had pulled up a few schematics for the Babcock board that I had, but could not find the exact drawing that I needed for the particular model DMD, so I was hoping one of these would be the same and I could use some parts off it to fix my fried board.
No luck, the thought of spending $212 for my stuff up really irritated me, so I decided to borrow my dads soldering station, which has a vaccum de-solderer.
I desoldered all 160 pins...

Then heated up the board with a heat gun, the glue on those double sided foam mounts is unbelievably strong, then seperated the glass from the board.
The donor board was a Vishay-dale out of a stern game, luckly it had plated through holes that I could use to attach the glass legs to.
The holes were not quite in the correct places but I just bent the legs to suit.
for the 32 rows the board had pads where the previous ribbon cable attached, which I use to attach the row legs.
Took a few hours, but I placed in the game and success everything works nice and bright.
All fixed for 99c

I wont put in all the pics as I have already covered this in a previous thread, but for those who haven’t seen it…


