Huge Mega Update !
Firstly - the Cabinet work. Earlier on, I mentioned a gaping hole is present on the right hand side of the cabinet. There is also some damage to the rear section where the leg is mounted. I want to repair these areas - knowing it will take time, but I had to have the defects repaired.
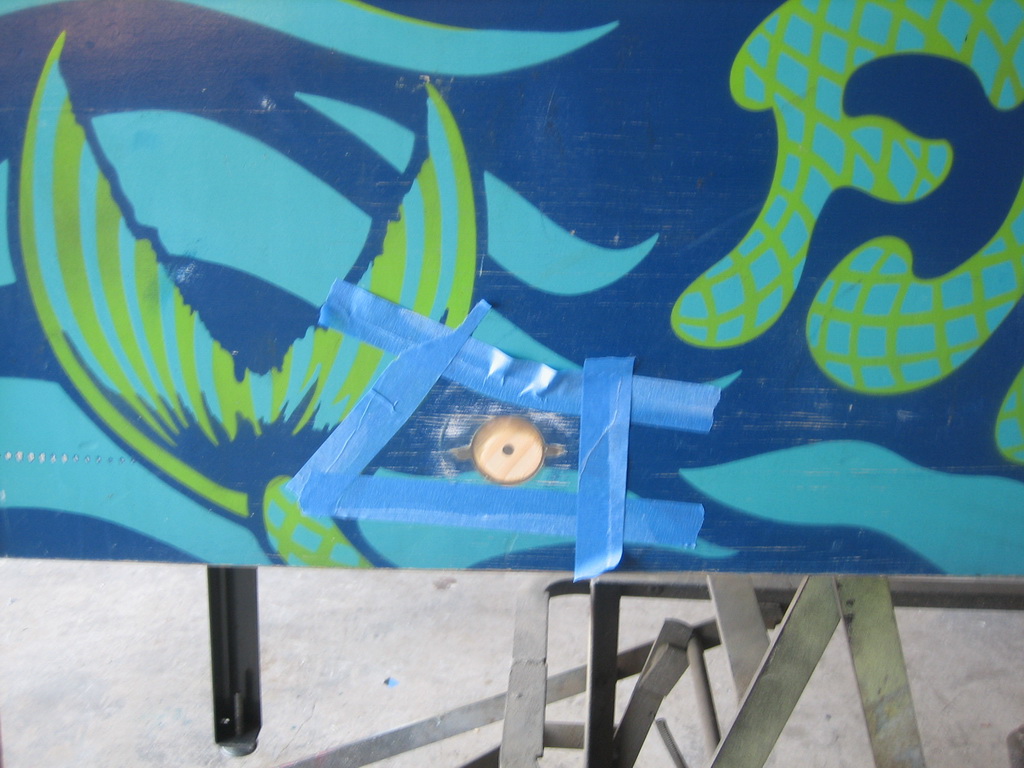
I've already plugged up the hole, sanded it flat and ready to apply the primer / undercoat
The rear section bogged and ready to sand and apply the primer ;

Primer applied


The dark blue is a close match, but ended up being too deep and dark after it dried. It was the same paint that I used for the playfield wood guides. I'd say the cabinet WAS this color originally, but it has faded since.
The light blue / green area was matched with the Jo Sonja paints I used for playfield restoration. I ended up masking the area with frisket, and then airbrushing the color. I then remove the mask and it is done !
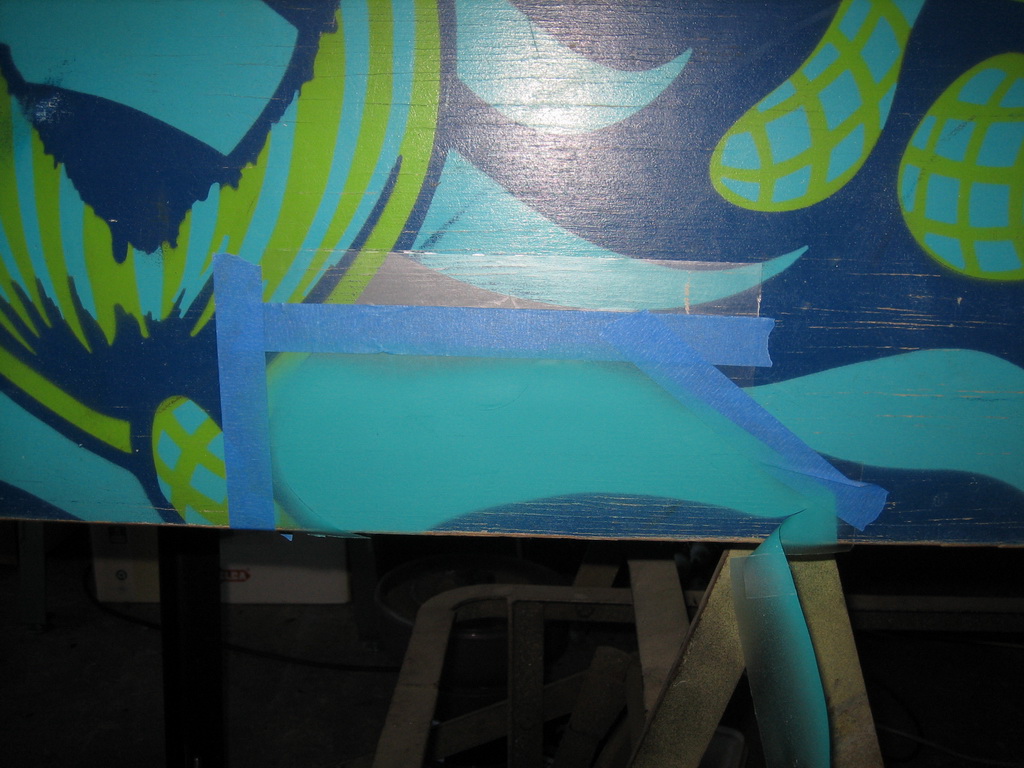
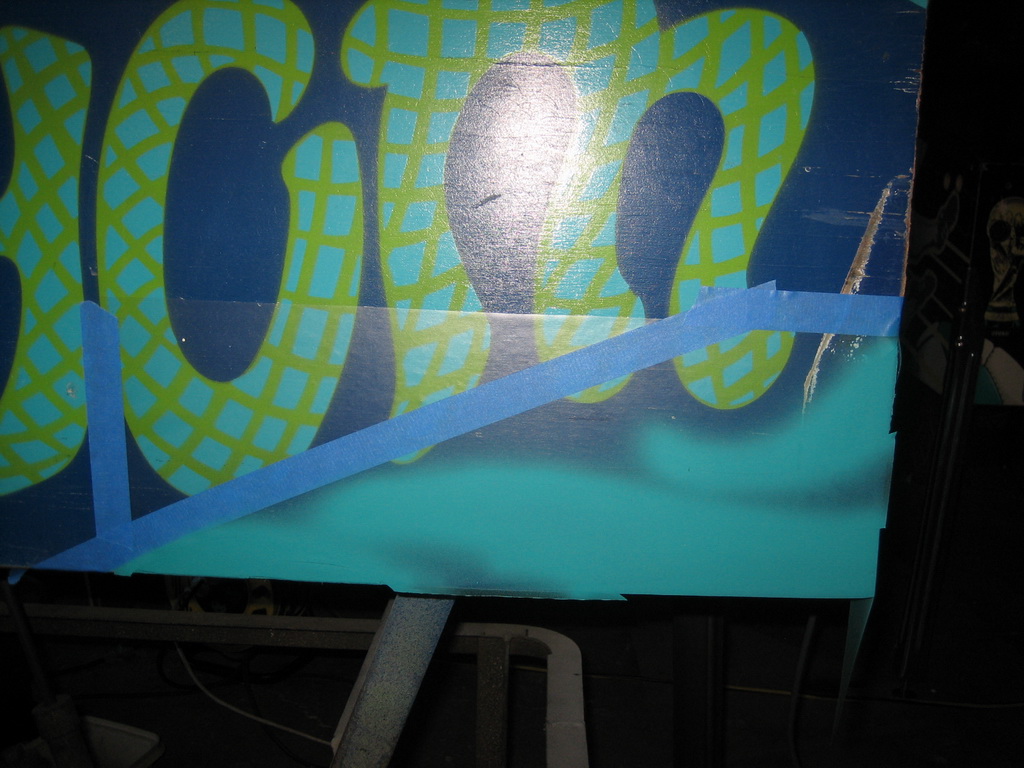
I then had to touch up the Blue area and lighten it slightly. After waiting for the paint to dry, I deliberately scratched the painted areas with a dental pick to match the reast of the "wear" on the cabinet. I had to do this so that it blended in better. Finally, I sprayed on some Carbothane clearcoat, which is a satin finish which is an absolutely perfect match for the "aged" cabinet. So here are the results !
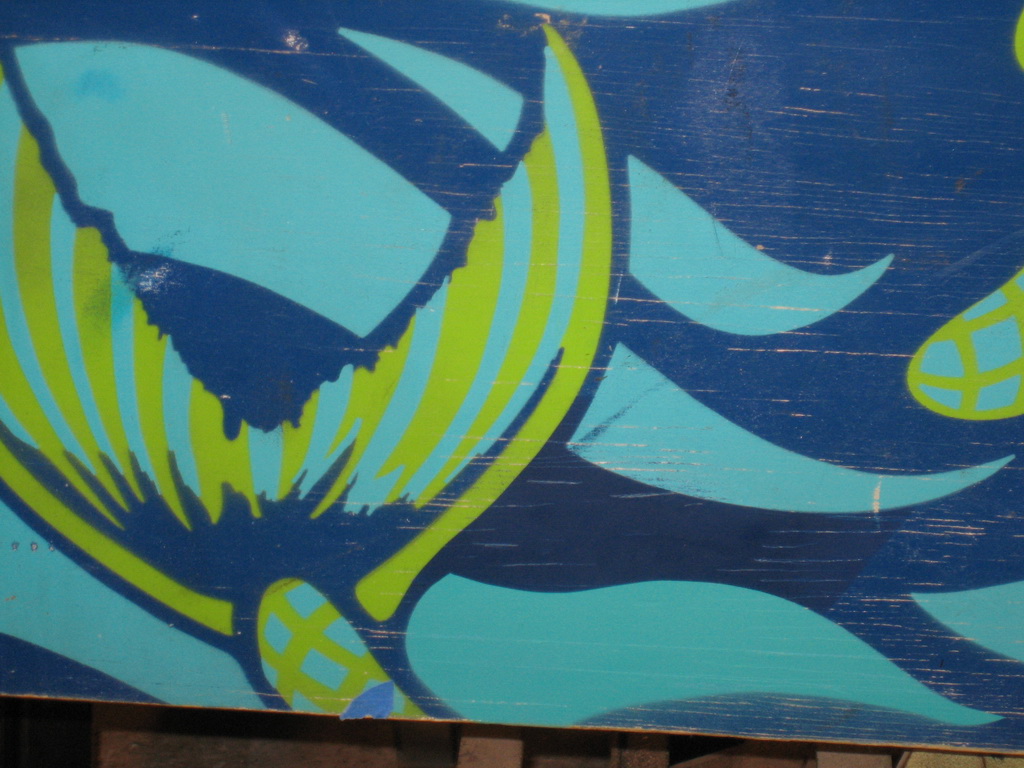
An improvement on the damaged cabinet


