This is a customer's machine that was brought to me for the full treatment. This is the second Fathom restoration in 12 months. After this is completed, I'll be starting a THIRD Fathom - My personal machine ! I think everyone knows how good this game is, both from the artwork and the gameplay. Highly collectible, and one of the most sought after titles. I think I'm very fortunate to be restoring three Fathoms, especially after searching for ONE game for almost 15 years !
The objective is to restore the game to NIB (Nearly In Box). Similar to the Eight Ball, which was a very involved machine. This game has a "head start" because the CPR playfield was already installed. I'll get to that a bit later on..
Condition ReportPlayfield - 10/10 - CPR playfield. Looks VERY nice. But under the playfield has had no work done at all.
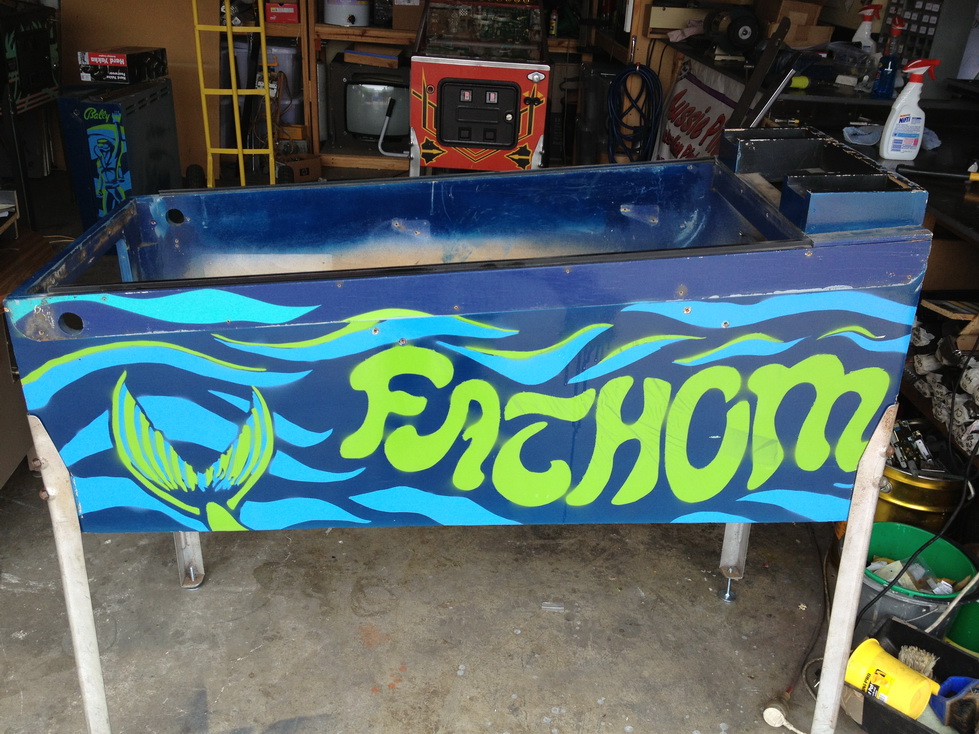
Cabinet - 5/10 - A shocker ! Repainted using the wrong colors, with the wrong finish. Looks like stencils were used. From a distance, it looks ok, but up close it is BAD. The cabinet is falling apart and will need repairs.
Electronics - 9/10 - All good. I believe Ken looked over the boards, so they will be fine, but we may look at an Altek MPU.
The Game is in working order, and it is complete. There are considerable challenges that will be covered during the restoration.
"Before" pictures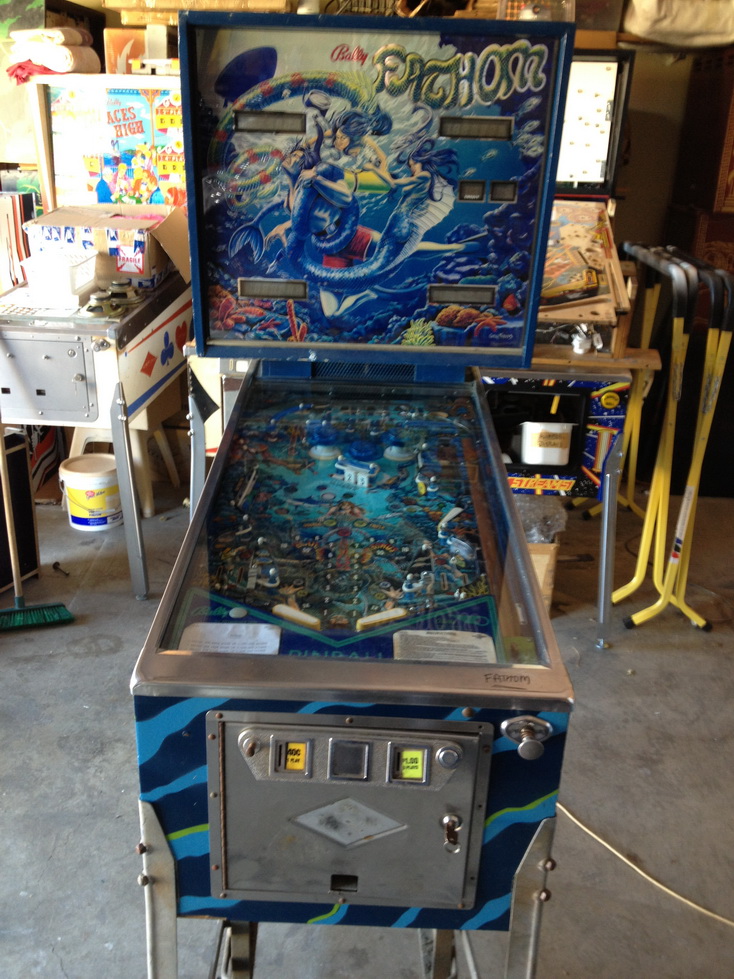
Custom paint job
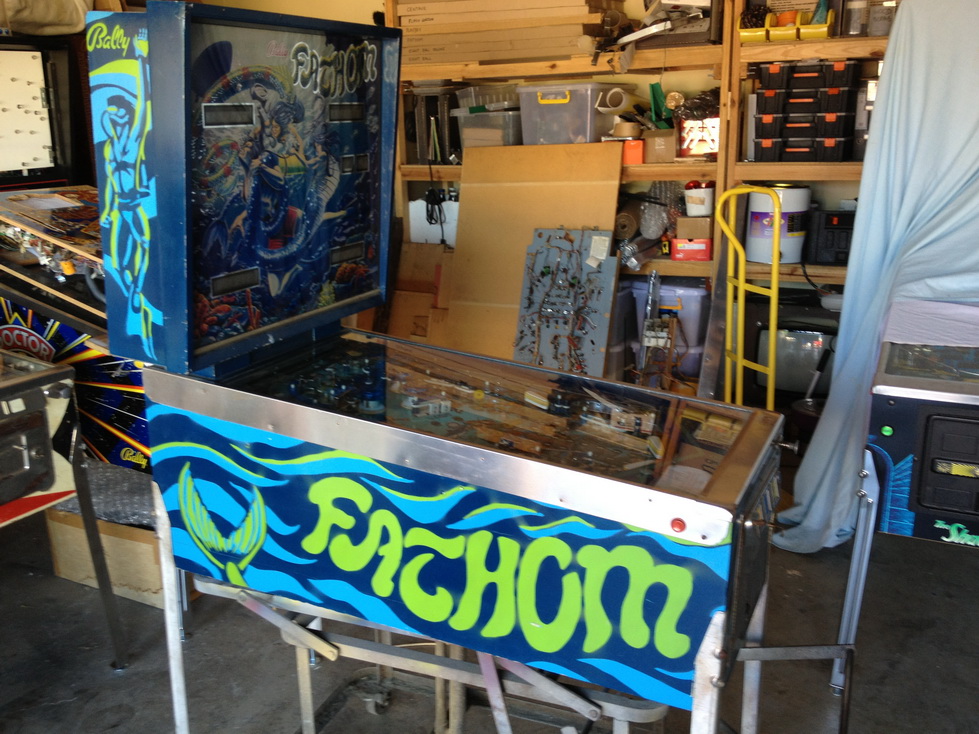
High gloss finish with the wrong colors. Probably a bunnings repaint ?
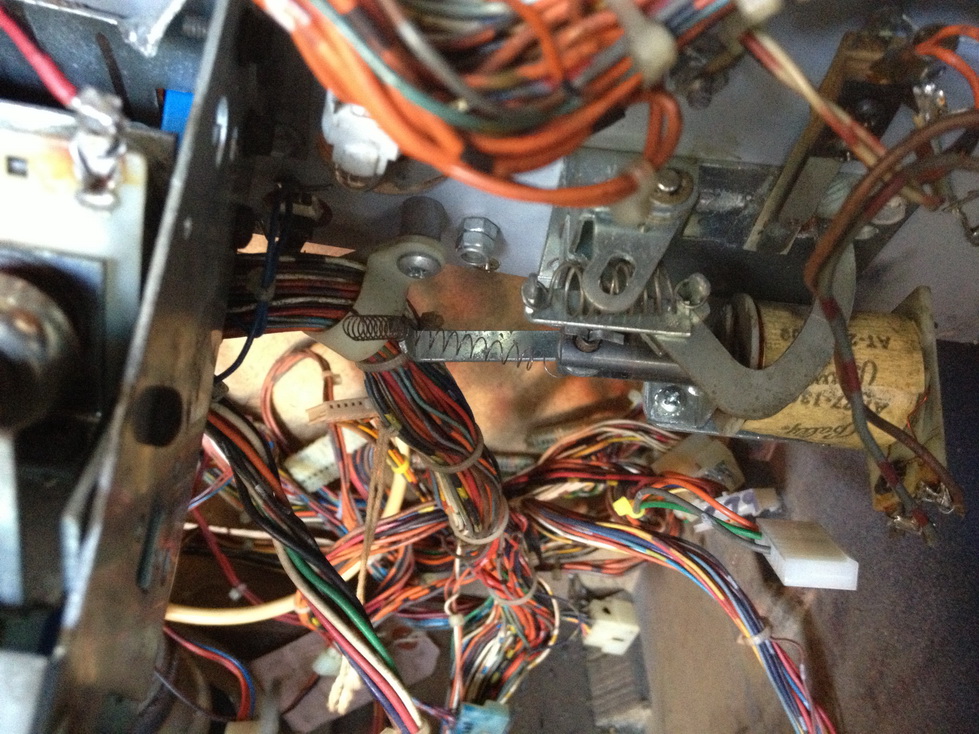
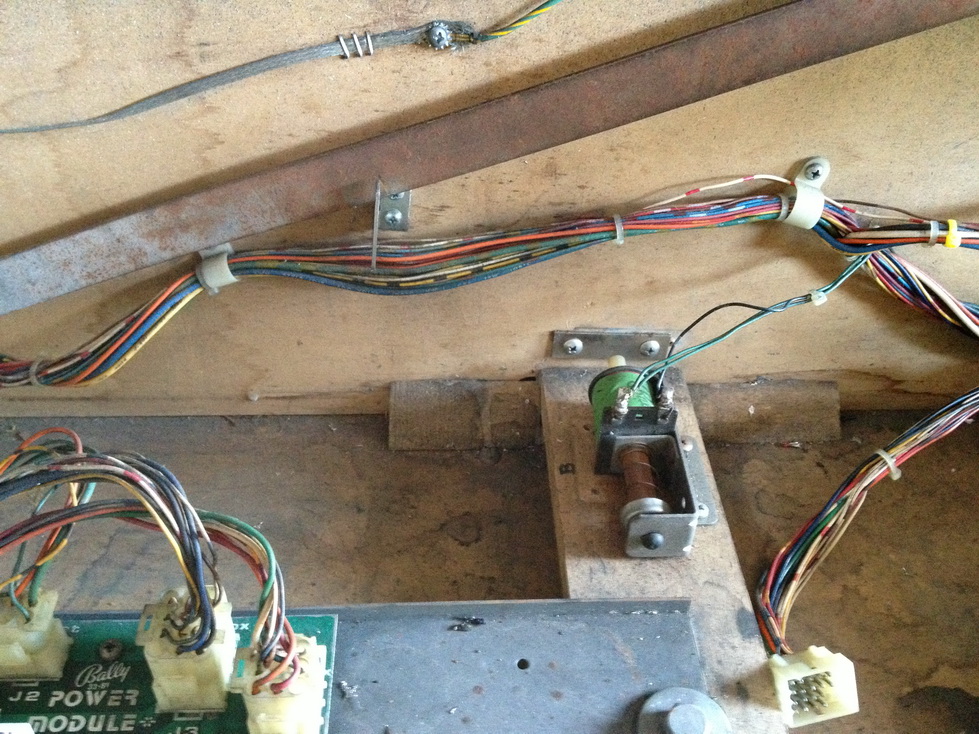
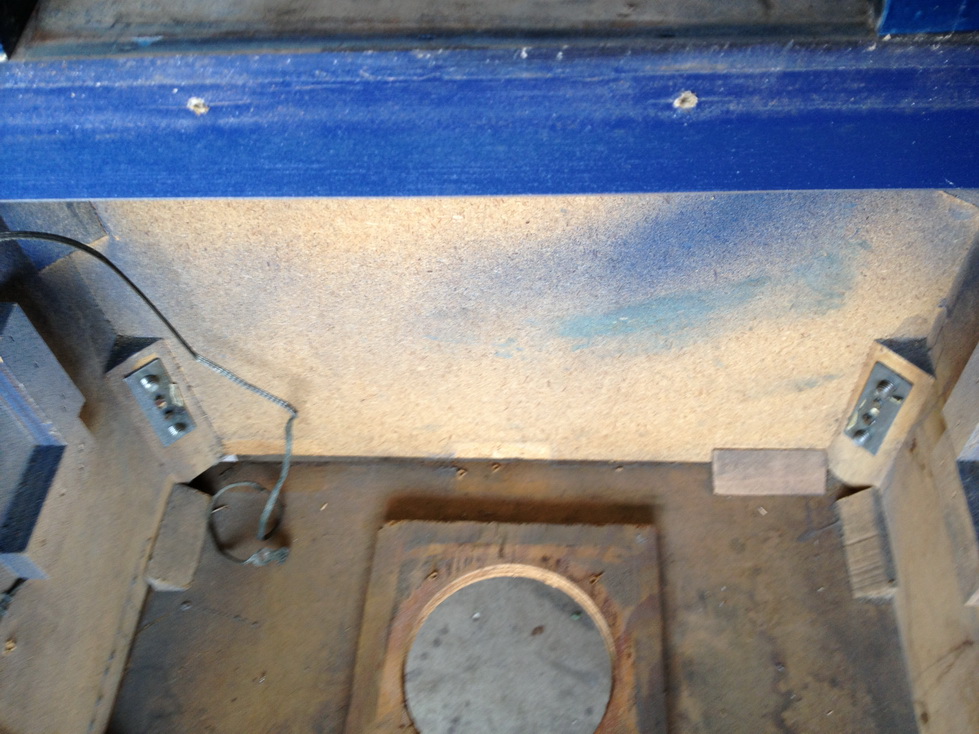
Under the playfield is simply a disaster zone. Seized mechanisms, GI return braid shorting out to assemblies - a real mess..
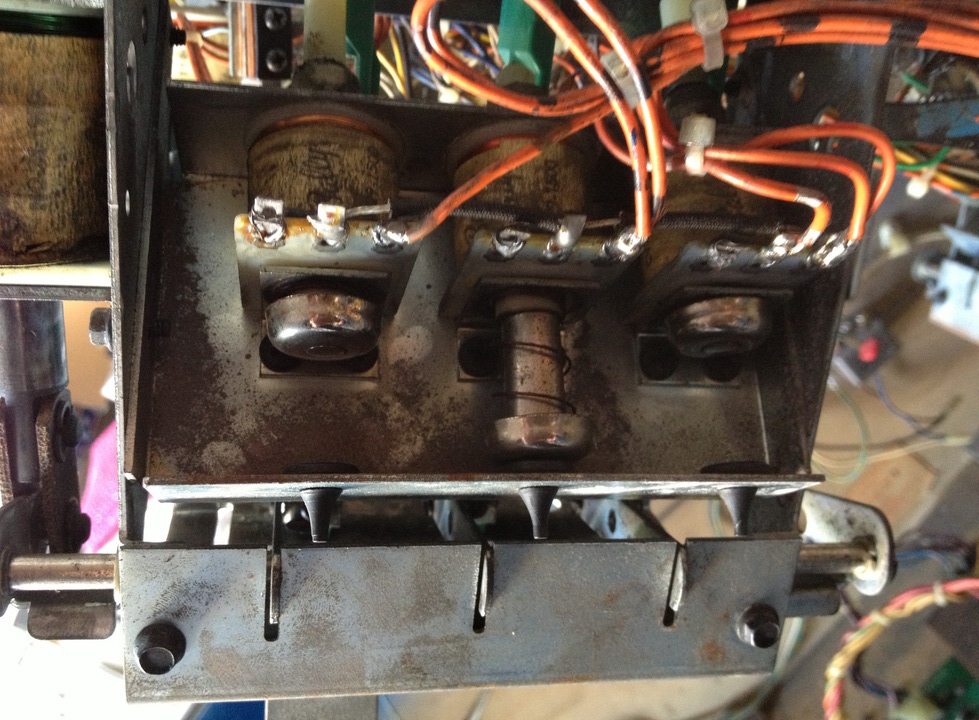
Just look at the return spring !
A rusted and crusted credit knocker. Not many free games paid on this machine ?
Here's my first challenge - the chrome metal glass panel has both tabs broken off. This might need some magic with the TIG welder and a rechrome ?
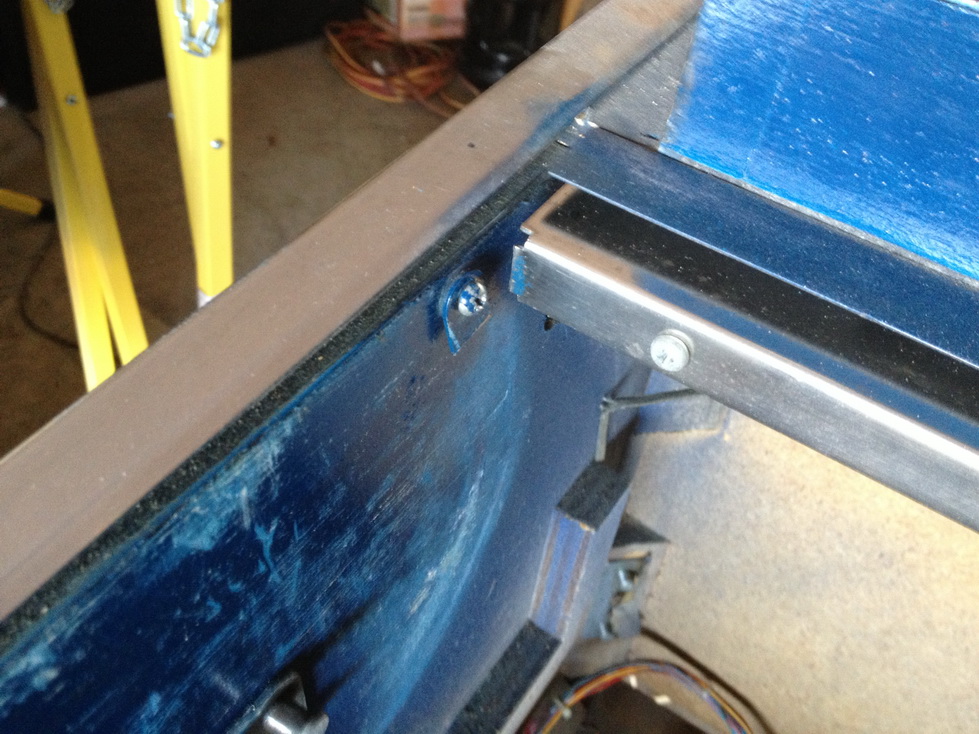
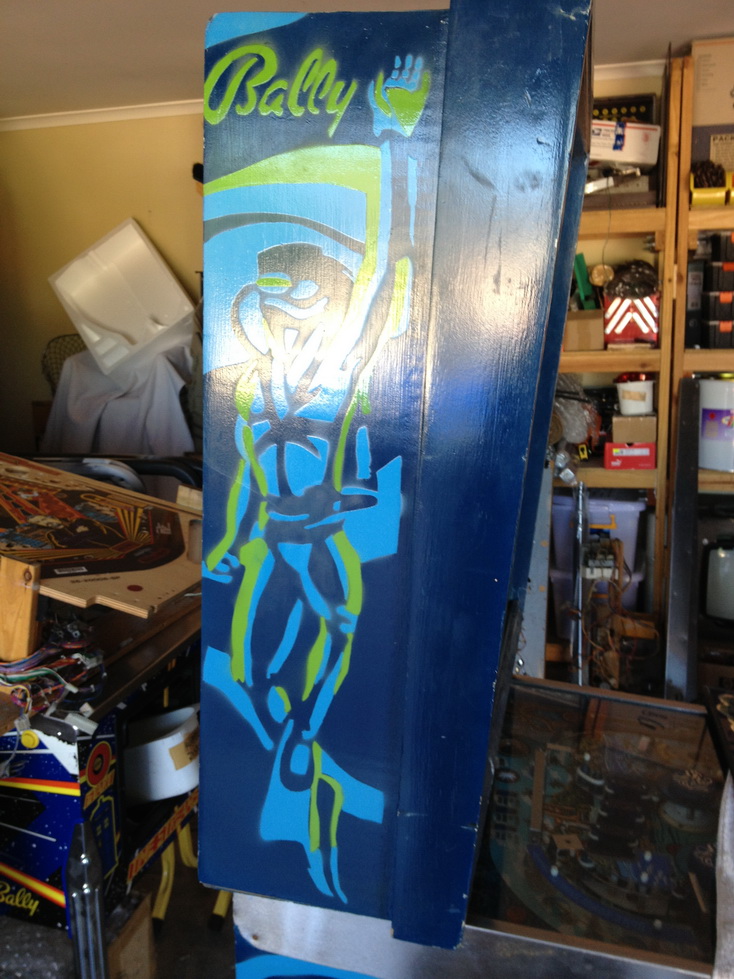
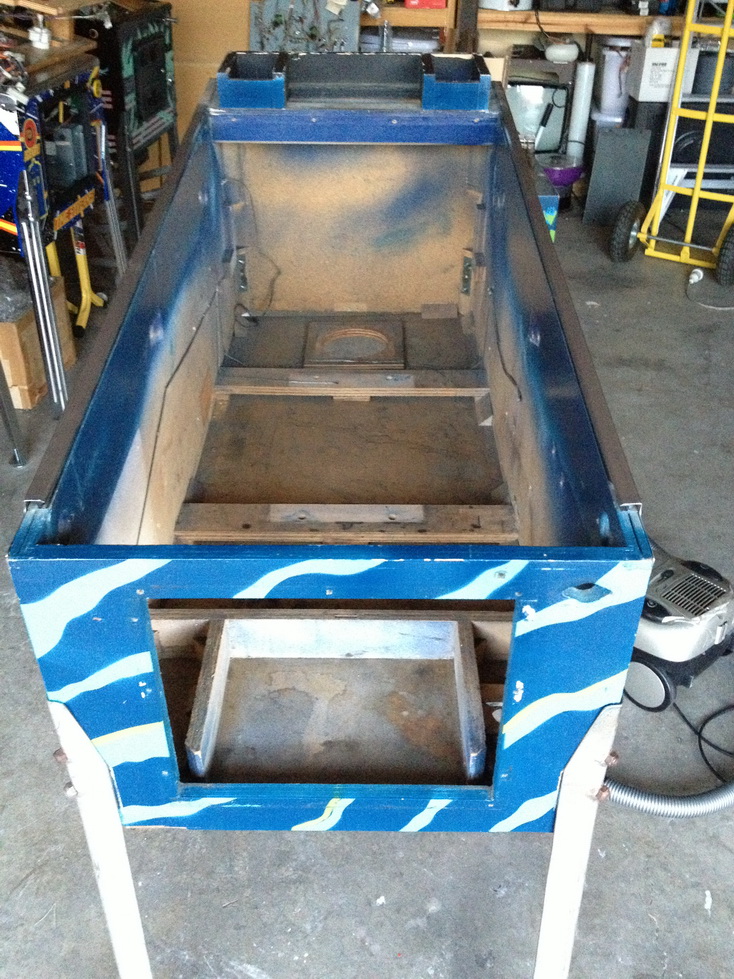
Stripped cabinet
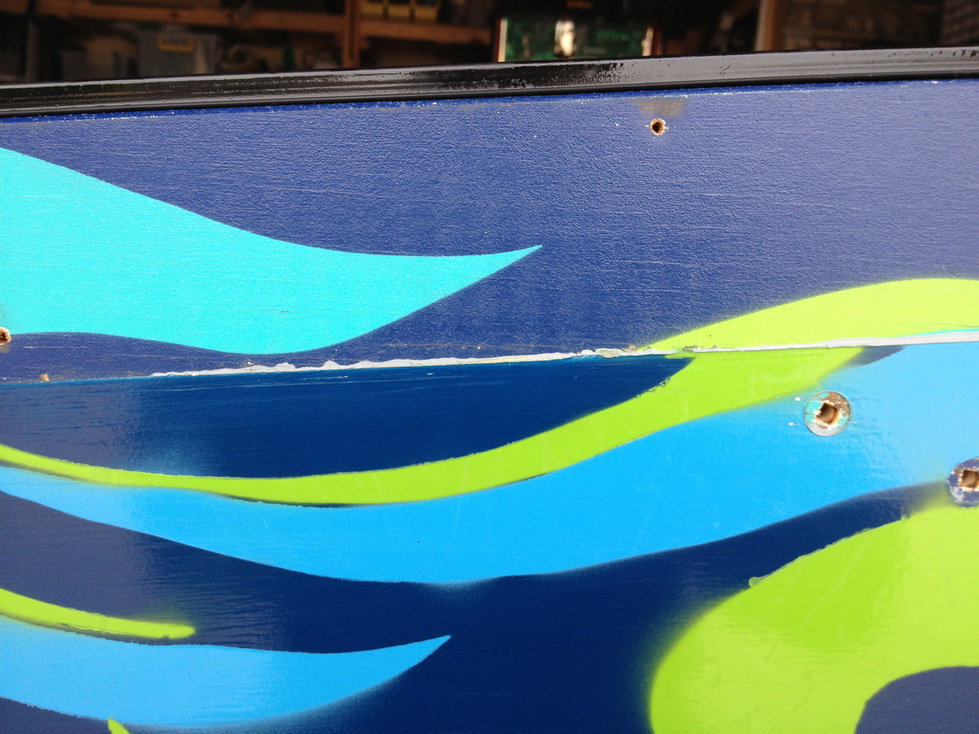
Here you can see the colors that were WAY off and the finish - which is also WAY off.
A close-up. Now I've matched the colors AND the finish, which is a FLAT base. Hardly any gloss at all. This game will be repainted to exactly the factory spec.
The back panel is swollen and will be replaced. A messy job, but it has to be done. I WISH someone reproduced these cabinets

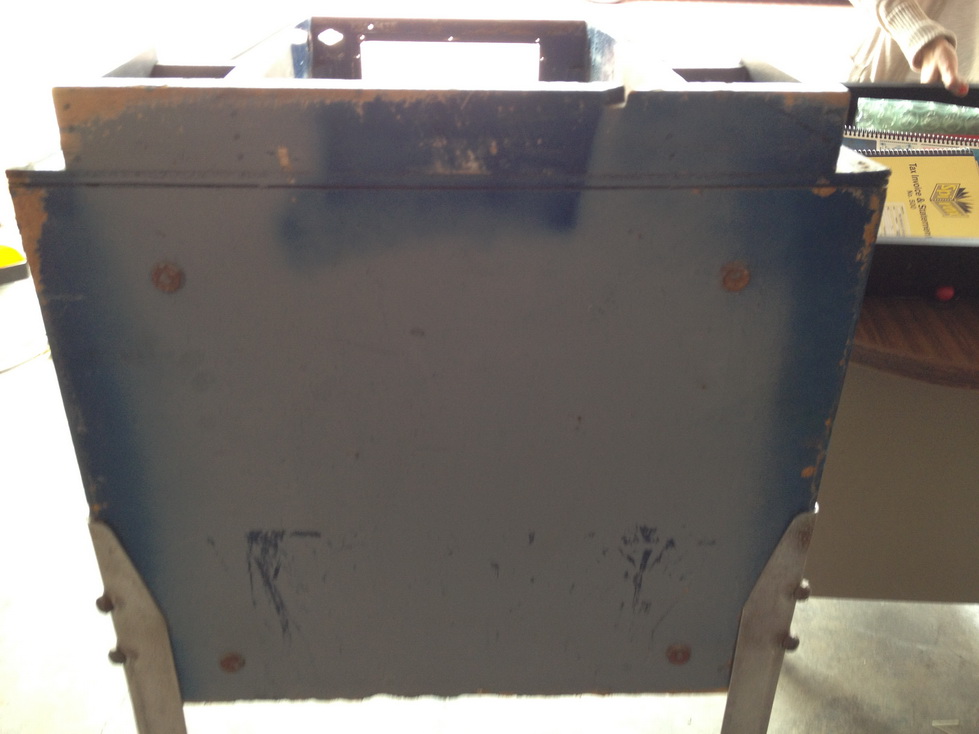
The bottom panel has fallen away !
After matching the paint, I can then strip the cabinet back to wood. Takes time, and it is a bit messy, but the time spent prepping and repairing the cabinet means the quality of finish will be good. This is where I spend a lot of time on these repaints.

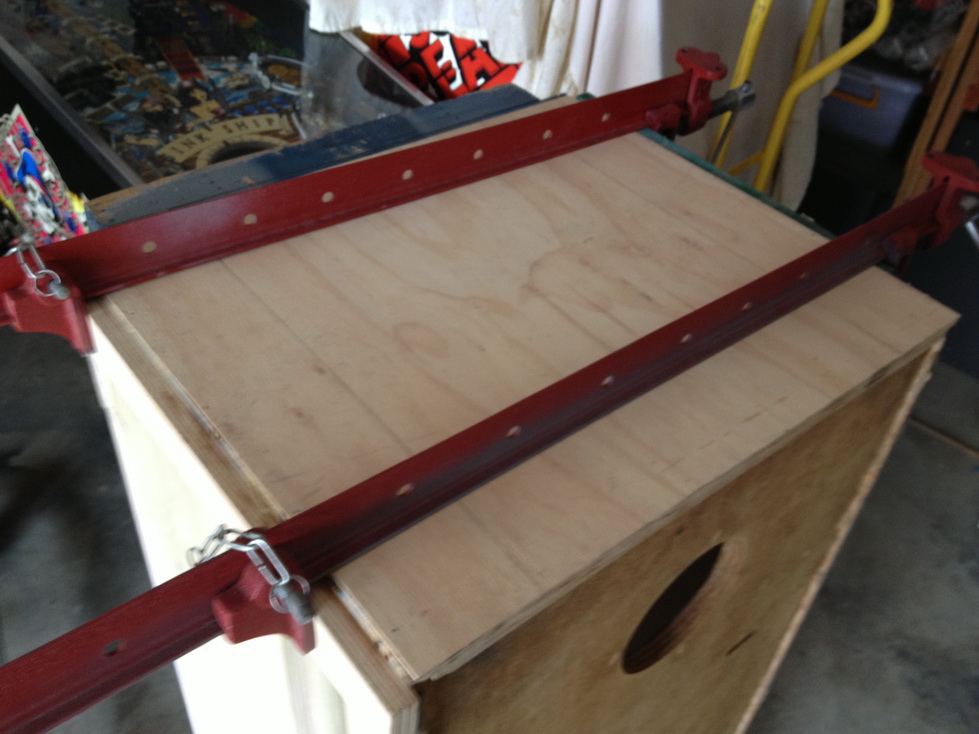
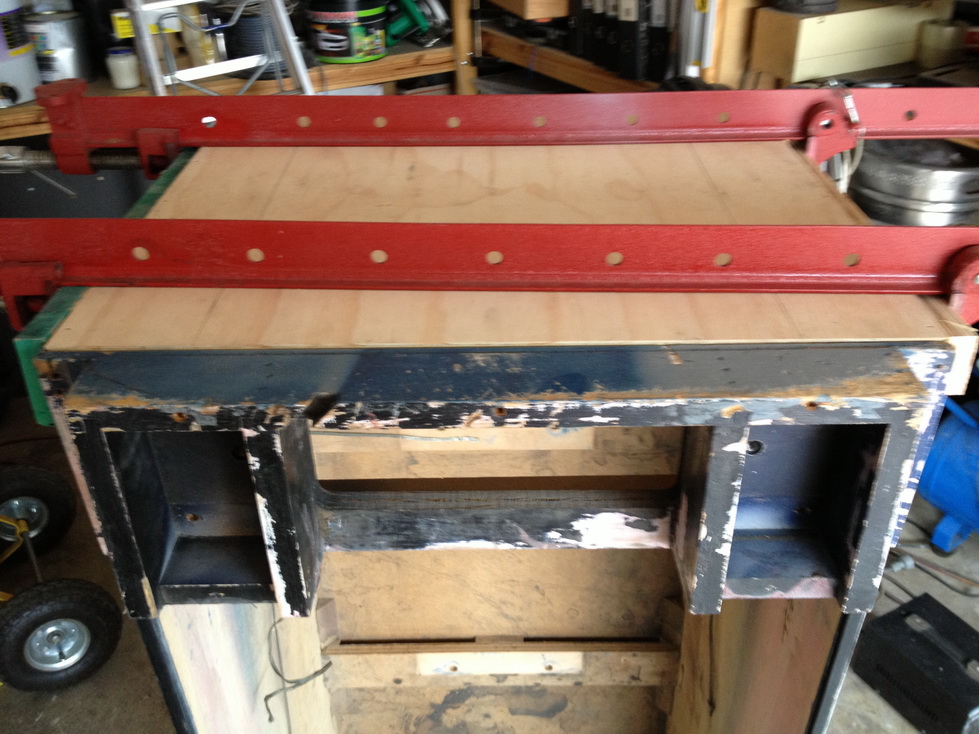
The rear panel is cut and rebated to it's original cut. It fits like a glove. I will glue and clamp the cabinet. Then nails are used from each side, and then I will use long staples (similar to original build) to hold the brackets in place. I use brackets the entire length of the inside height of the cabinet. Here is the lower cabinet after clamping.
Once this process is complete, I'll continue the repairs and then prep for repaint.


