This cabinet may be the second last or last gone "outside" in my garage. I've certainly saved the best until last.
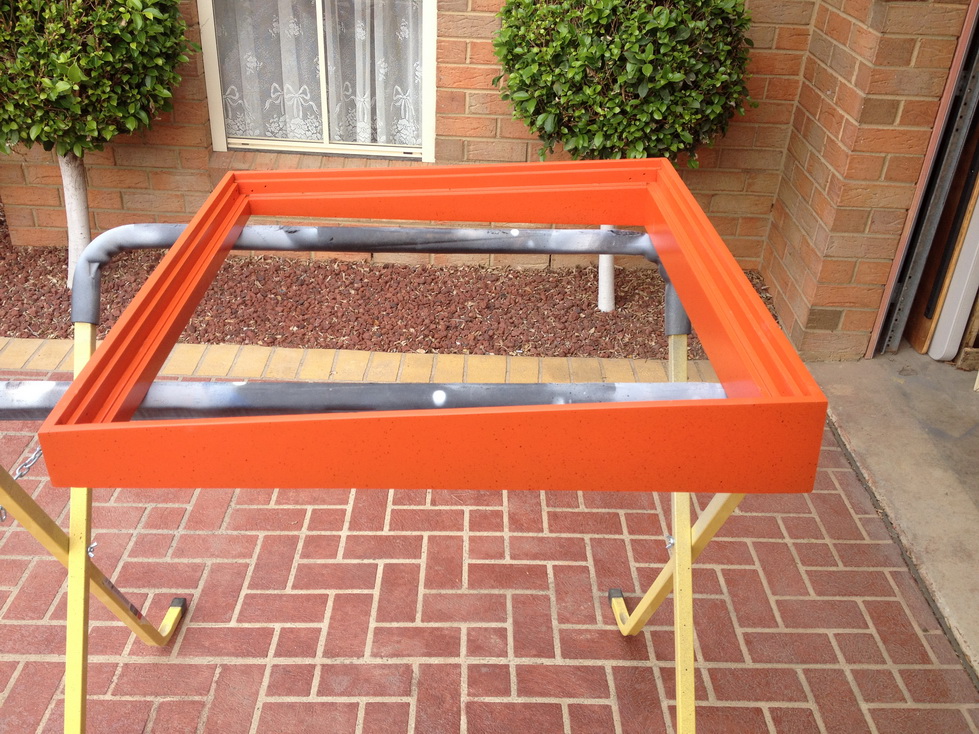
The headbox had some perfect original paint and finish so I had it matched. Turned out the "orange" backglass frame is exactly the same color as the "red" on the cabinet. Only a professional can pick this up. The frame had the paint sprayed directly on the timber. No base color. The red / orange on the cabinet was sprayed on the yellow base. This gave it a different look. So I only needed one color.
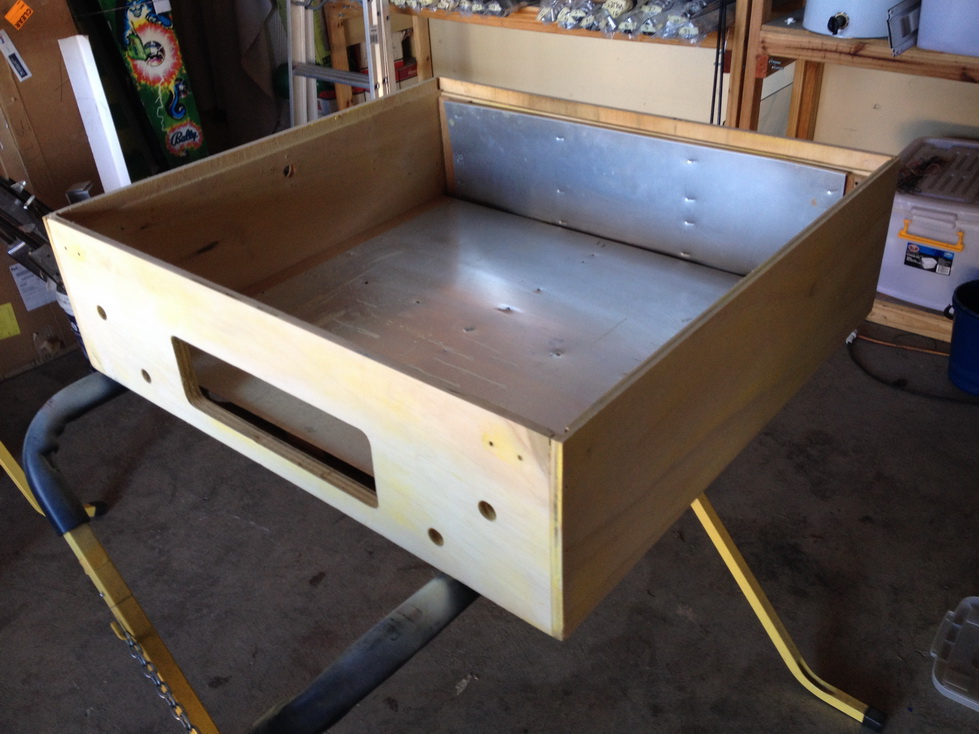
After purchasing the paint, I stripped the cabinet and spent time addressing the divots and names scratched into the side on the lower cabinet. I also re enforced the corners of the cabinet with some staples as per the original factory, but I went all the way up the brackets.
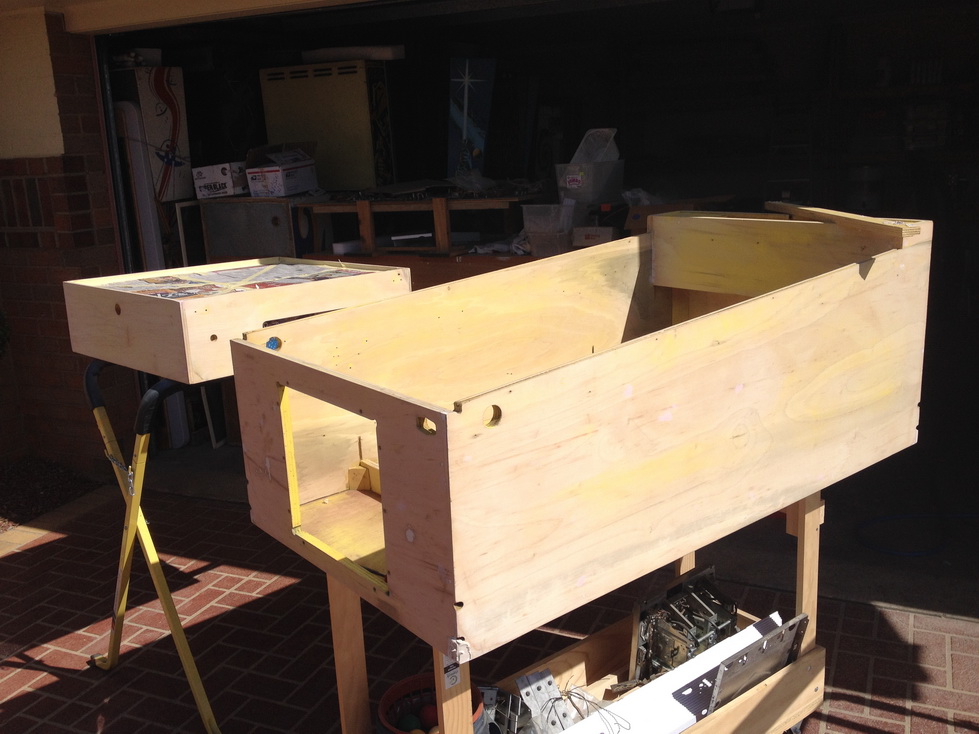
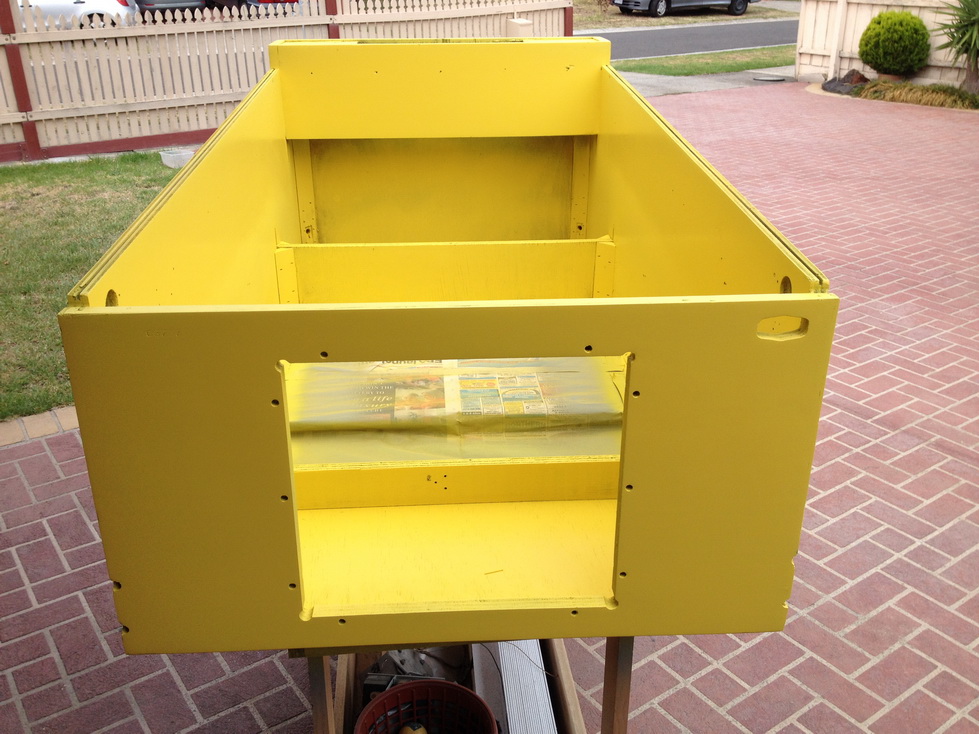
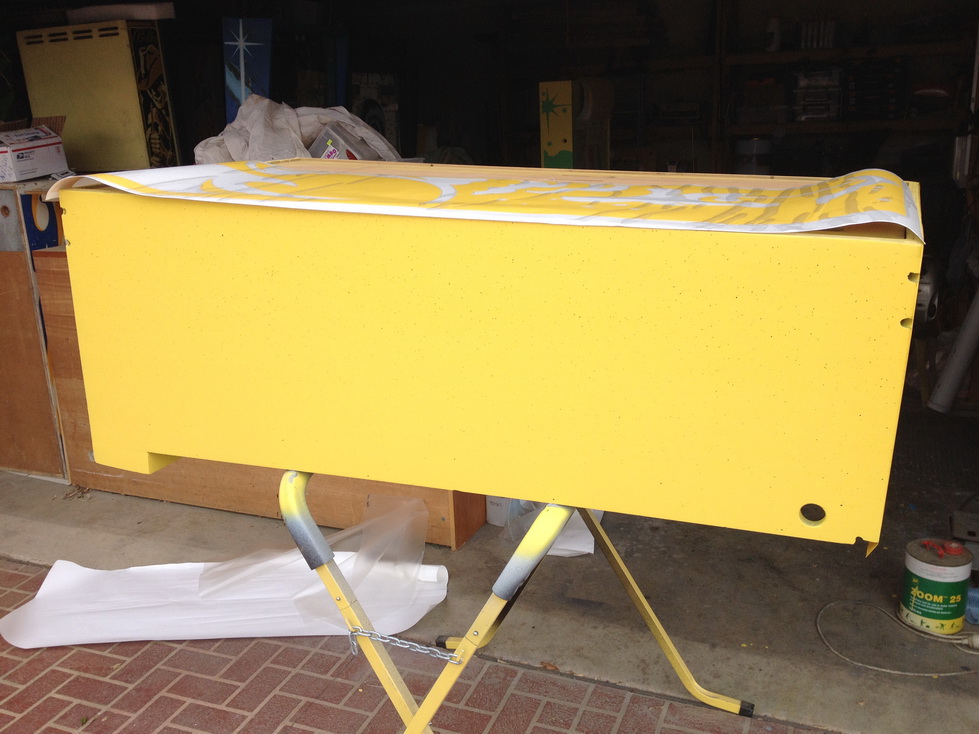
Here is the stripped and prepped cabinet. More time goes into this process than the painting ;
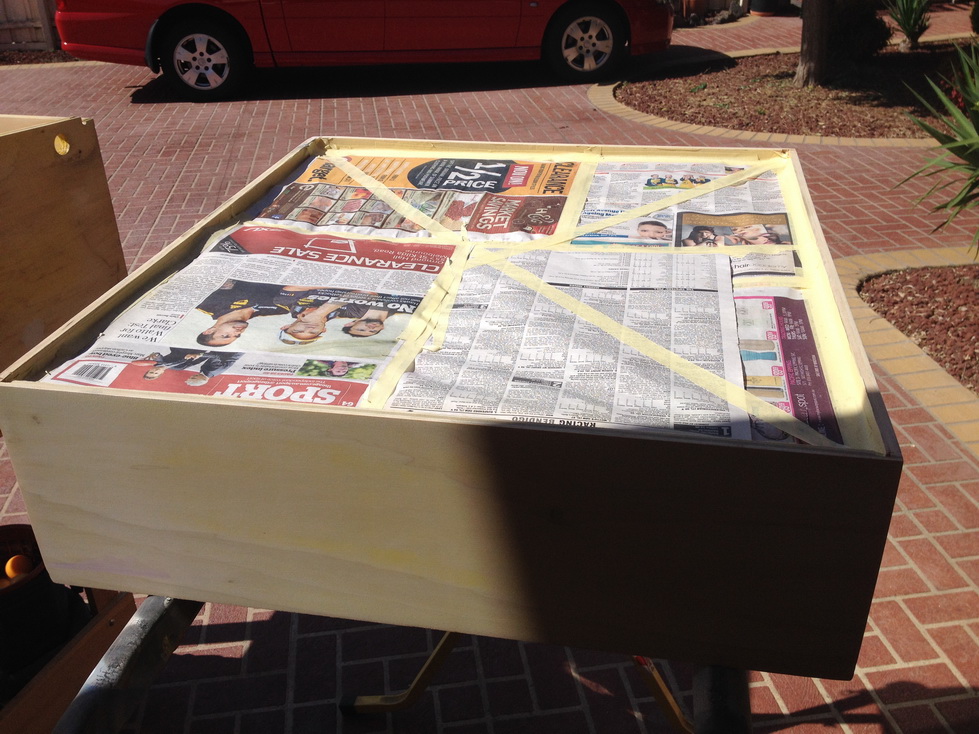
I mask off everything that shouldn't be painted !
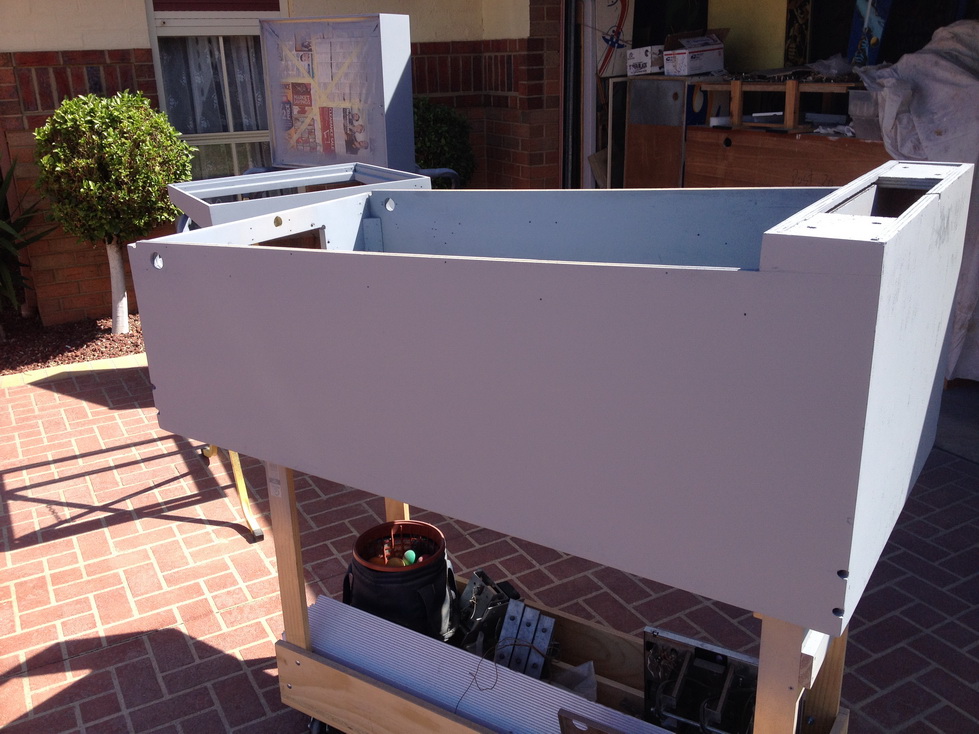
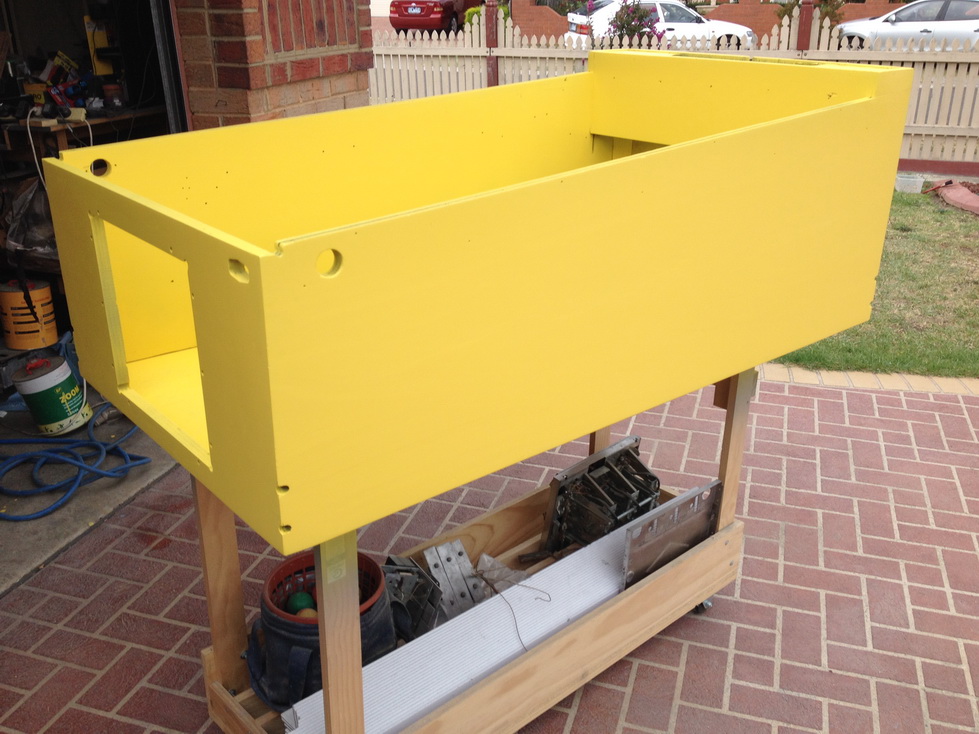
Here's the primer / undercoat. I'll leave this dry and then sand it smooth. if there are any imperfections, I will attend to them before the basecoat.
The basecoat goes on thin for the first pass, and then 2-3 heavier passes. This gives it good coverage and a consistent finish. I painted the inside before the outside, so I don't smudge the outside.
I paint in the shade and quickly move the head into the sun. The paint is dry to touch in 2-3 minutes.
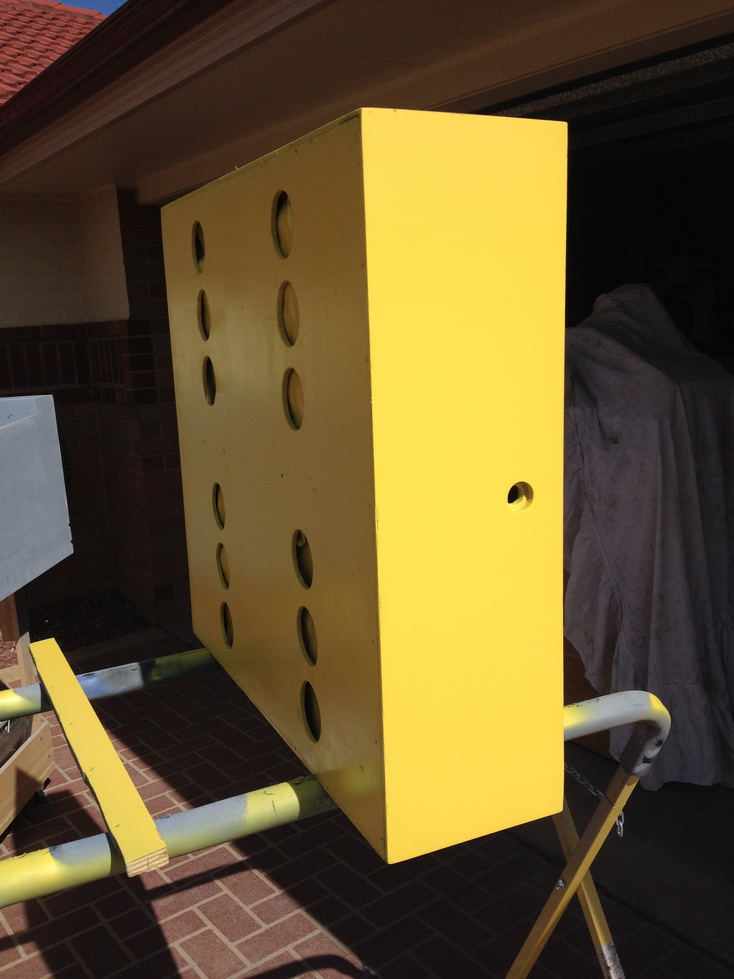
Within an hour, the paint has dried enough to pick the cabinet up and move it. I try not to handle the cabinet at all until the next day, when I give it a quick wipedown and then plan the first colour stencil from Flipperescue (Gav). I've used his stencils a few times, and they are easily the best on the market and the most accurate. Ironically, I'm spending 203 days doing something that took minutes in the factory assembly line !
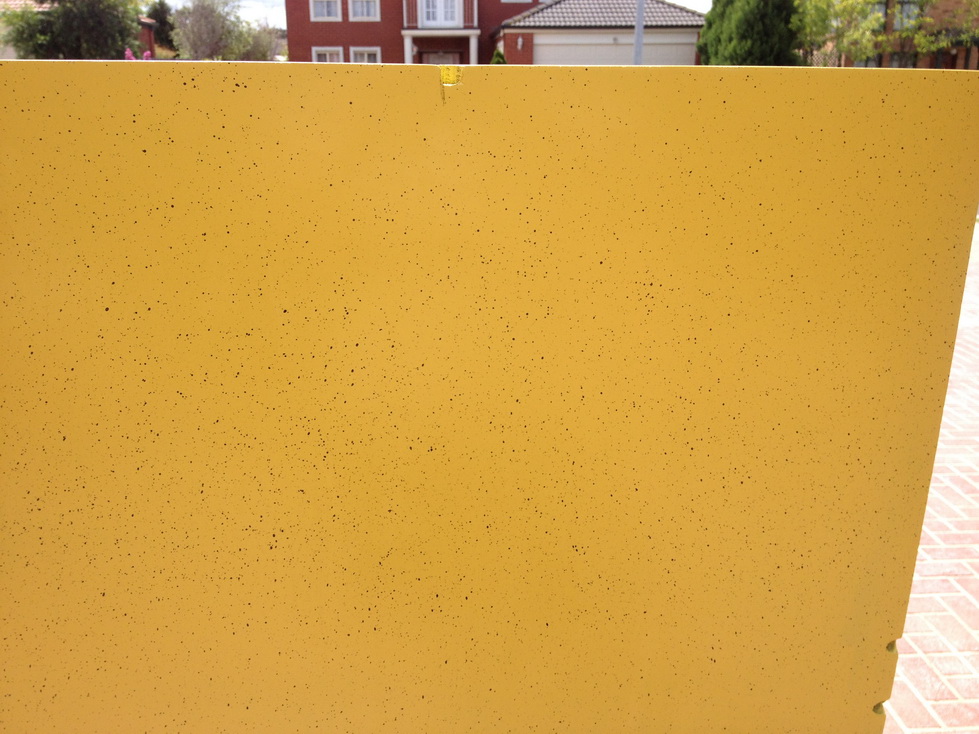
Here's the "splatter" effect on the cabinet. This has to be done before the first stencil color is applied.
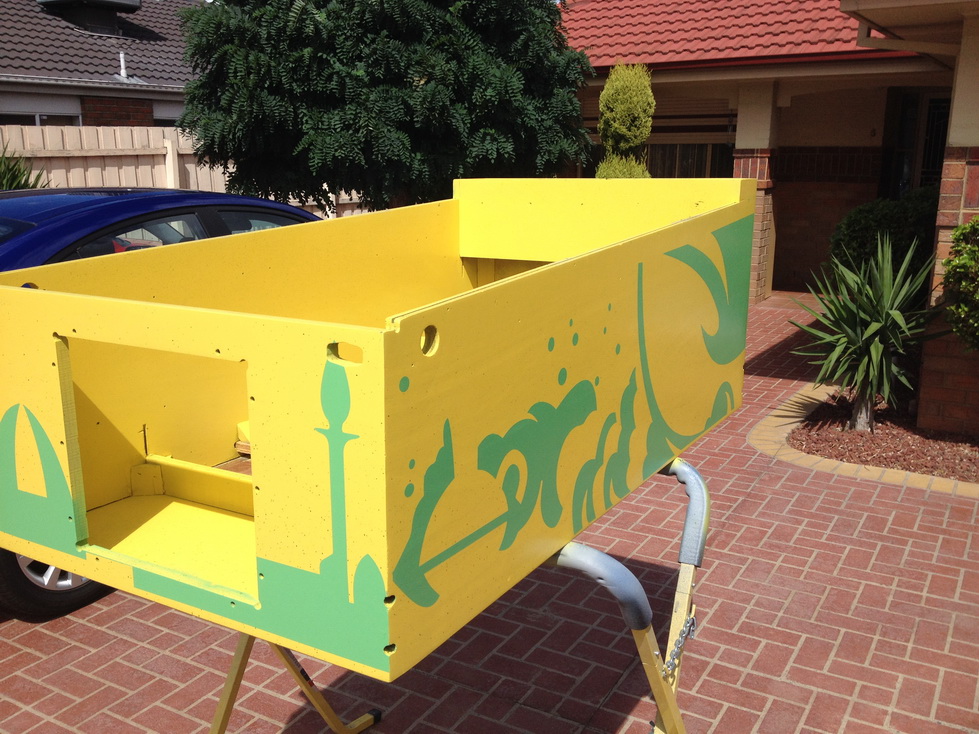
The Genie stencil for the sides needs to be hung from the bottom edge, as there is a parallel line in both colored stencils. So hanging from the top is not going to work. The first colour is green. Here's a picture of the game "upside down" and the stencil on top of the game as I tackle it. The front is already in place.
A thin layer of paint, just enough to obtain an even color and finish. Maybe two or three thin coats. As soon as i see uniform color, I stop.

Front and side done ;
Within 10 minutes, I rub any edges off the painted areas to prevent bleed from the next color, and also to get rid of any "ridge". But the paint is so thin, you can't feel the edge.
The next day, the Orange / Red is applied. This is the hard part. You have to line up any features from the previous colour. Rushing this will cause big problems.
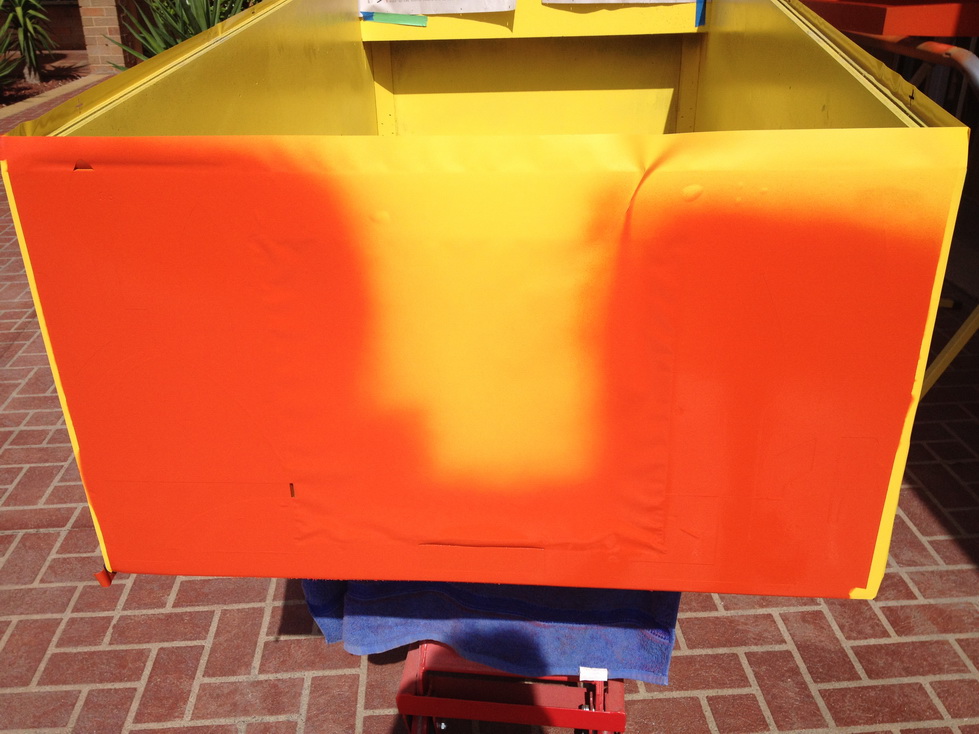
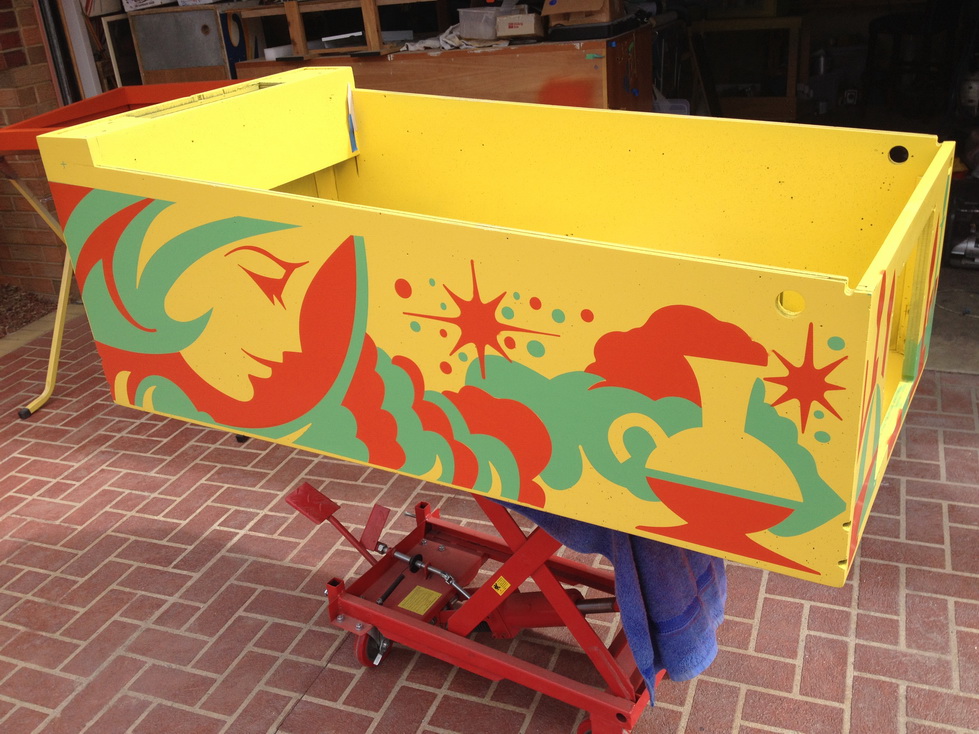
Finished red / orange. This had to go on slightly thicker to cover the green areas or it would be too dark. This is a very fine line as if I go too thick with the red / orange, it will cause an edge to appear, or far worse, lift some of the green area. Enough coverage to have an even color - even though this was not achieved in the factory.
In between coats, the frame needs to be done, and the finish IS different. It does look like a slightly darker color.
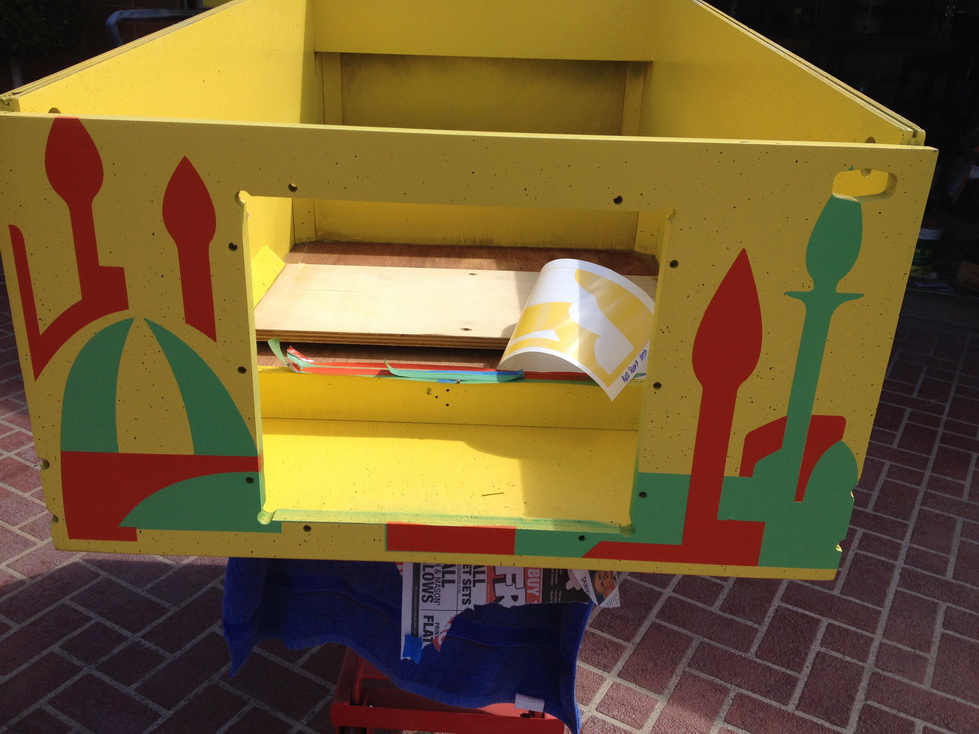
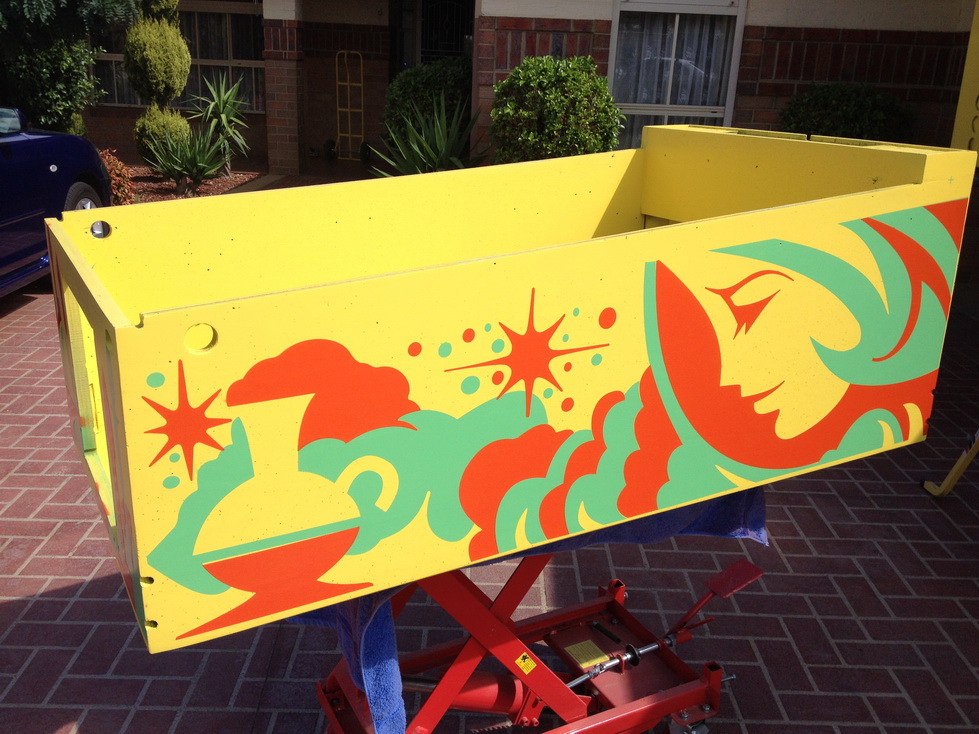
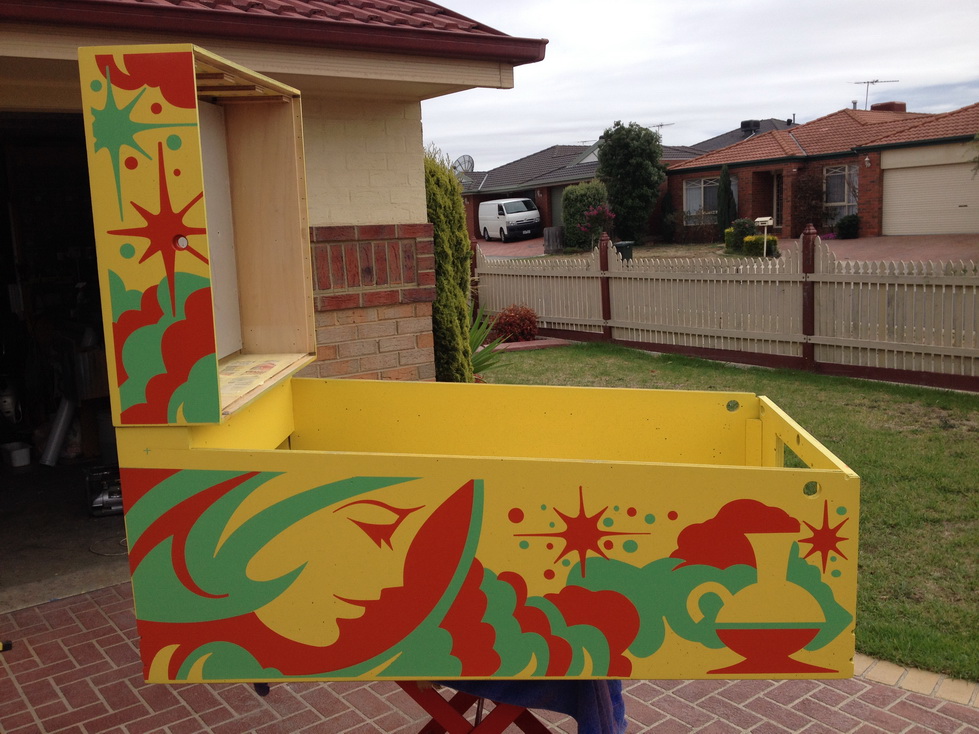
Red / Orange is done on the sides. I'm REALLY pleased at this stage !
Note the bottom line is 100% parallel with the bottom edge.
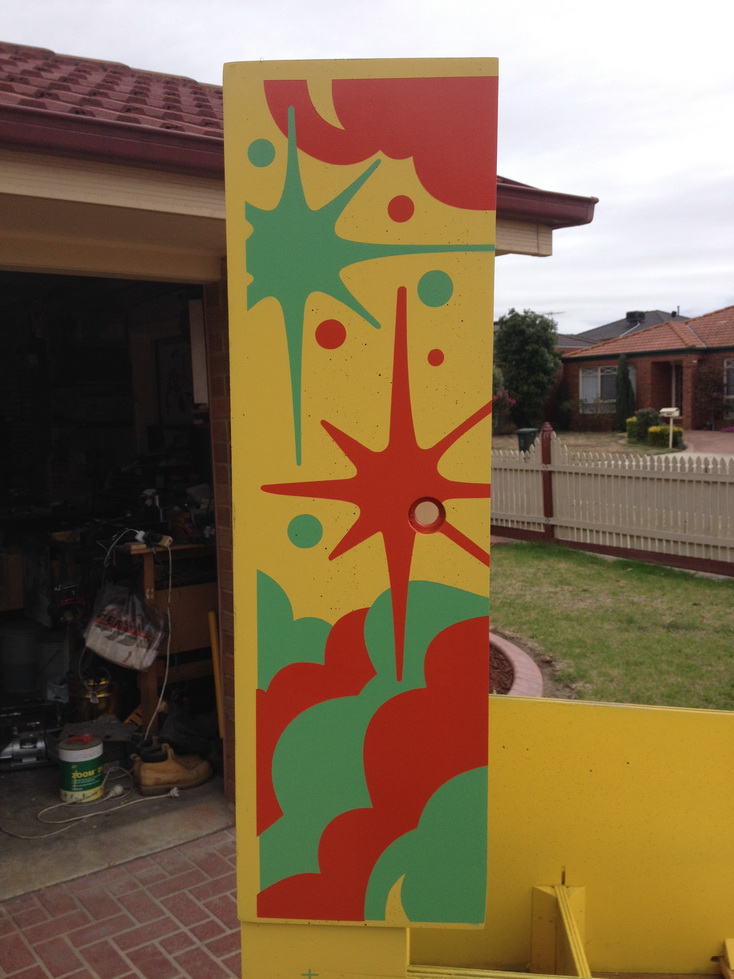
Head detail
Completed cabinet. VERY pleased with the result. But the real achievement is the even coverage and texture.
Next - The playfield !


