You missed 4 t-nuts :)
Great game, looking forward to watching this. I've got one in my queue as well.
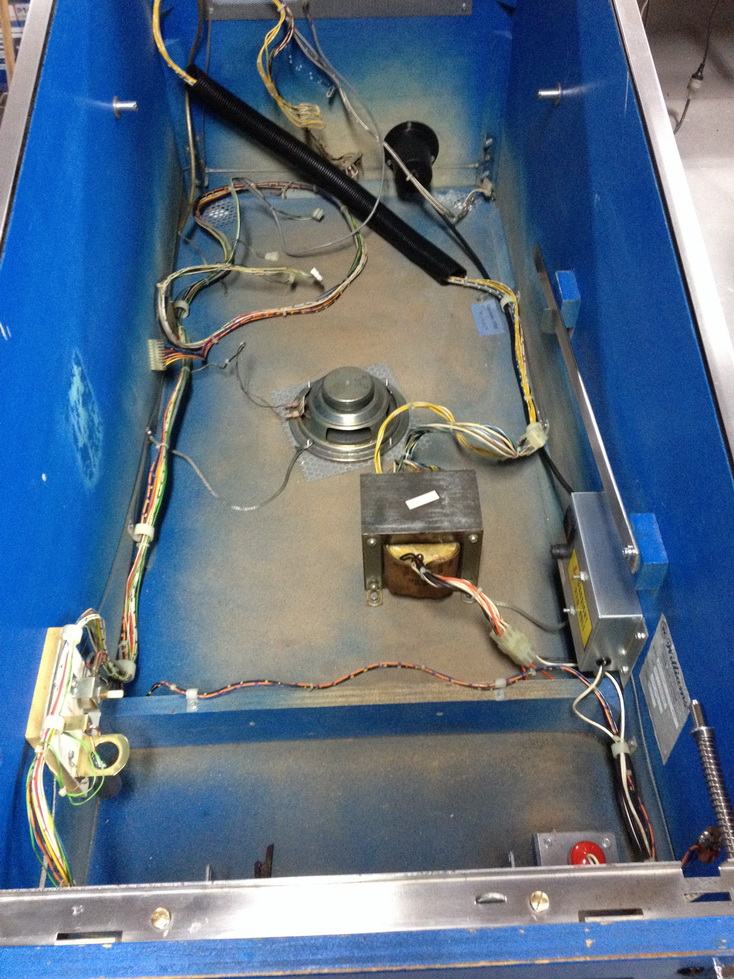
 Cabinet Repairs
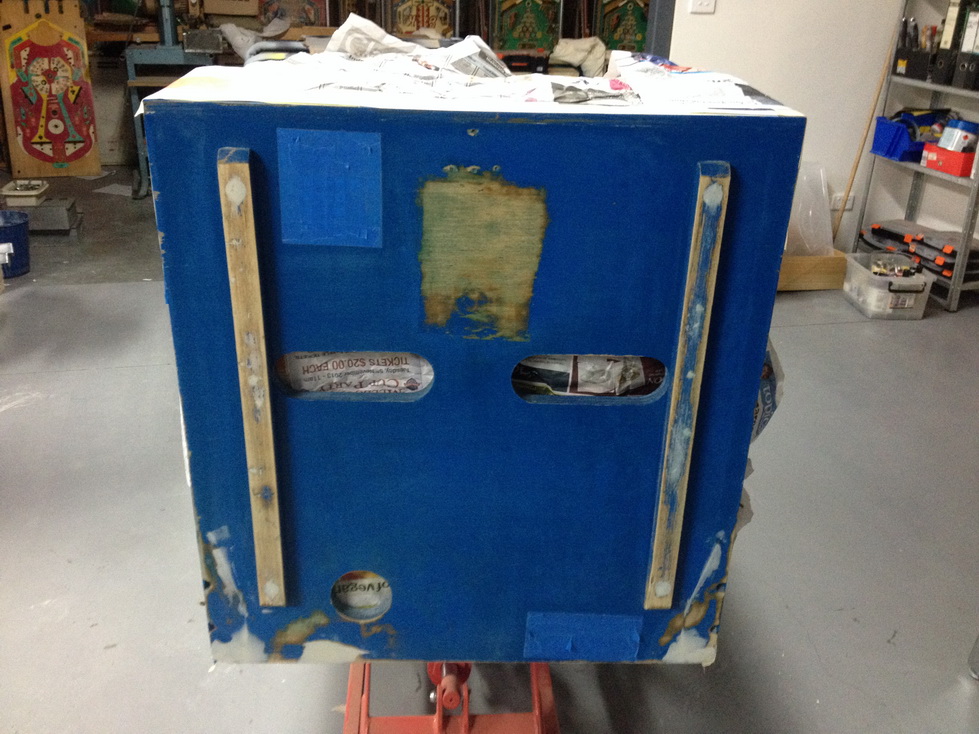
The rear of the cabinet had some problems. The major problem was near the rear leg mounts as it looked like the wrong legs were installed and they dug into the cabinet. There was also a lot of scrapes and scratches. I sanded and repaired the rear panell. Even though it is not seen, it is best to rectify these problems.
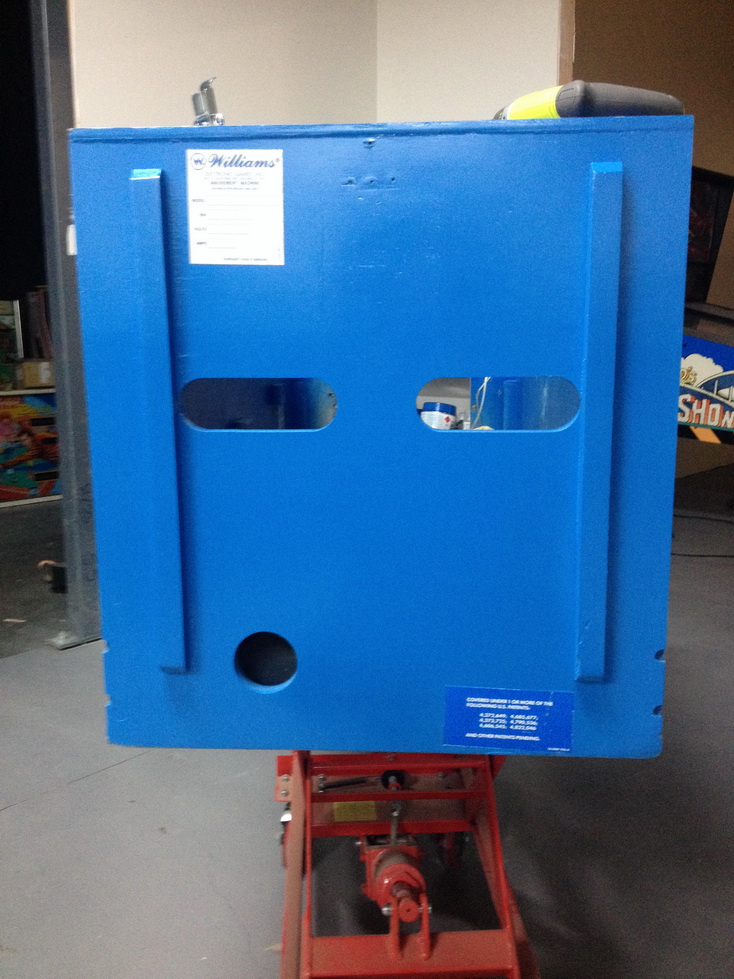
The paint match was close. It is not seen, so it will not be a problem. Looks better after repairs and repaint.
The lower cabinet is completely stripped and cleaned. The metal parts are tumbled or polished.
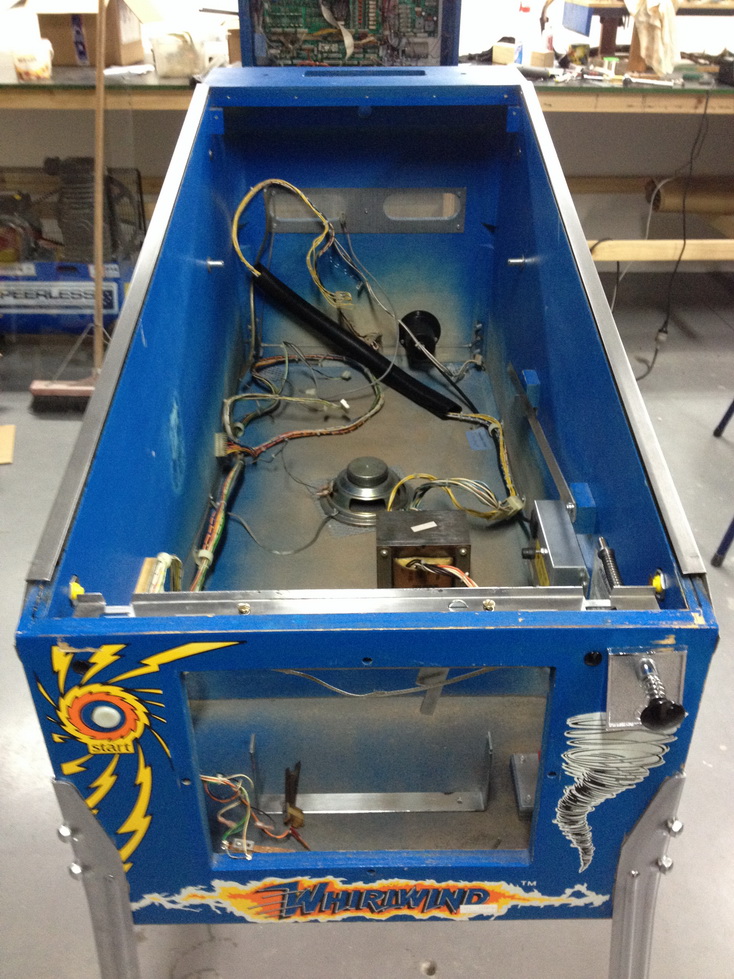
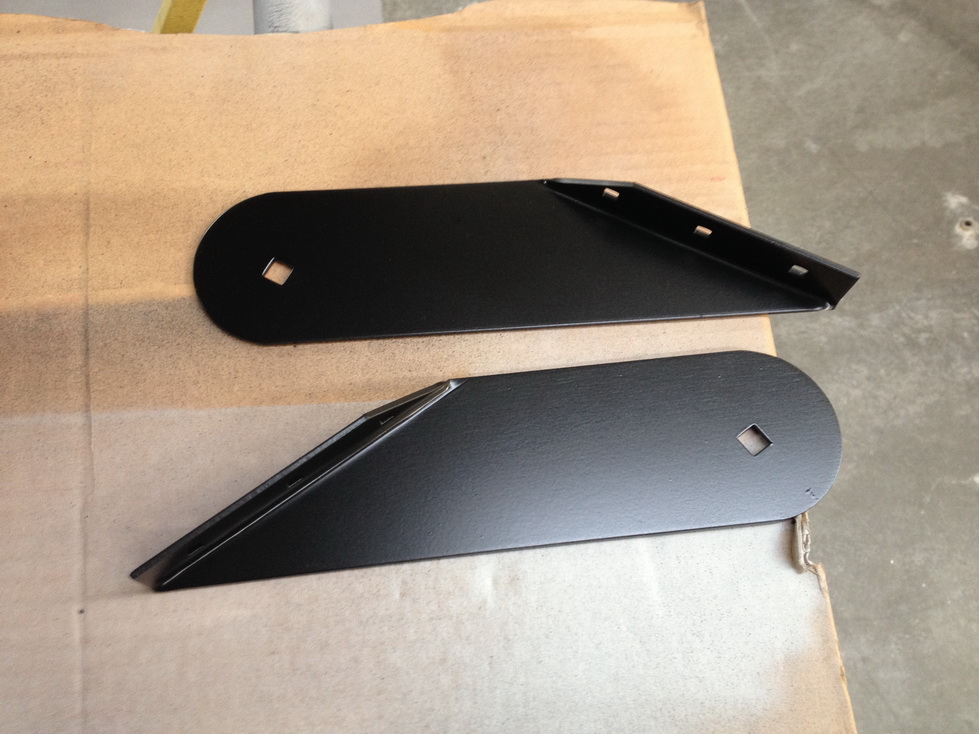
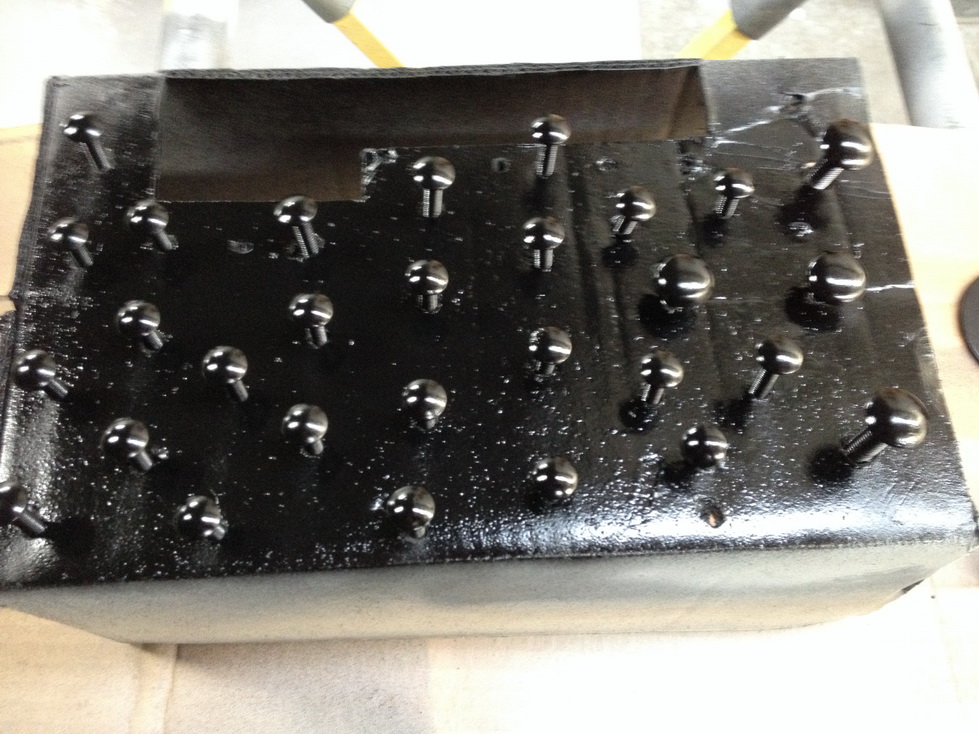
Cabinet hardware was repainted. The bolts are cleared after painting.
After the headbox is stripped, cleaned and re assembled, all the boards are removed, checked for faults and repaired and then I resolder all the connectors.

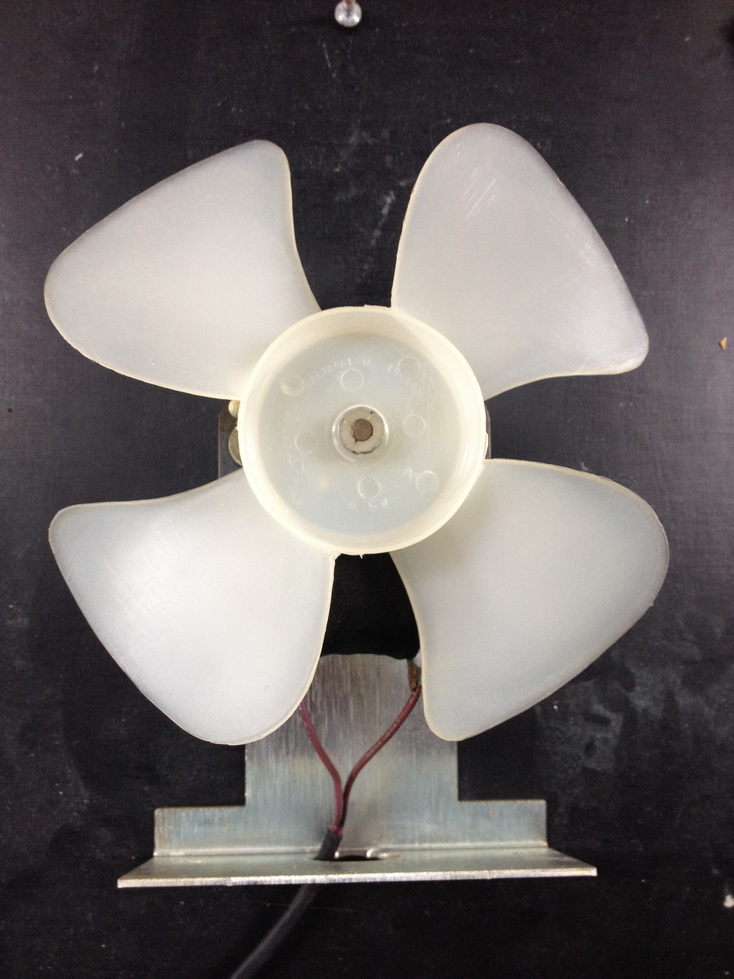
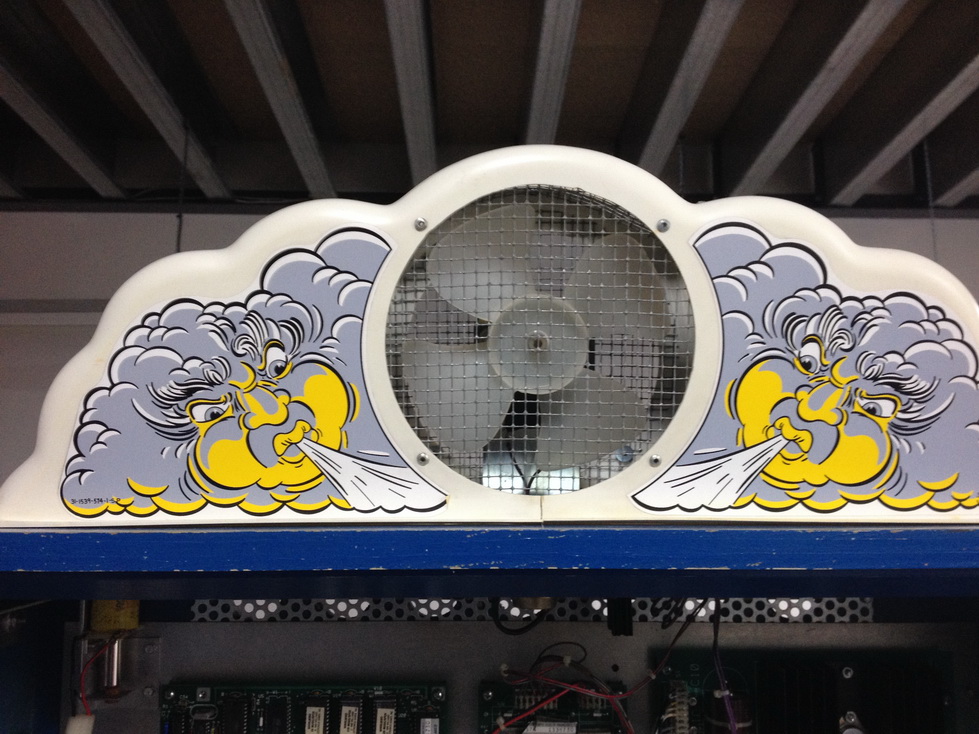
The fan is checked and cleaned
The topper is cleaned
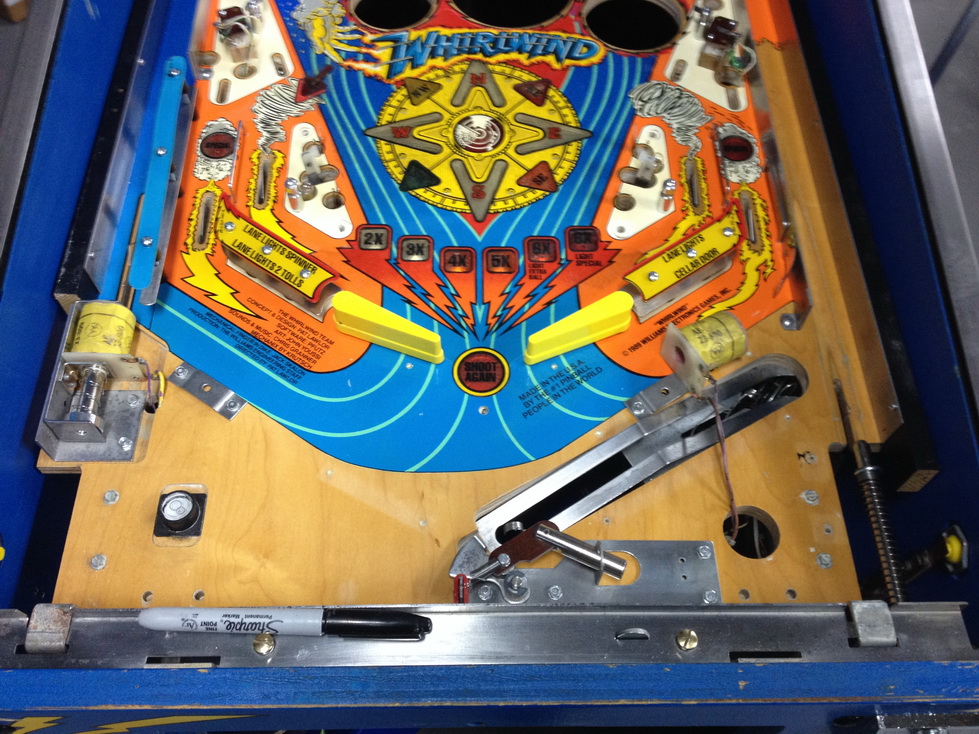
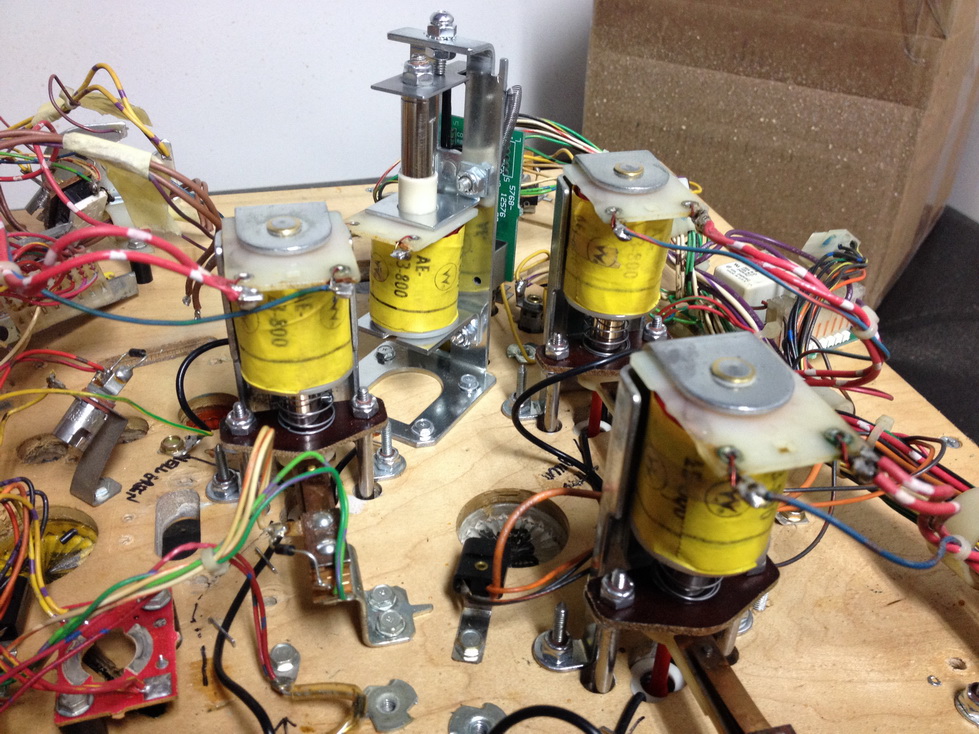
While that was happening, the underside of the playfield was completed. ALL mechs are stripped, cleaned, polished and the coil sleeves are replaced
The spinner assembly is rebuilt and new decals installed

The playfield is dropped back into the game and I can continue with the top of the playfield