This restoration and I have a "love / hate" relationship. I love looking at the restored cabinet, and I hate that it is still HERE and not in it's new home.
A decision was made to remove the mylar, and the job of restoring the playfield would be undertaken (earlier updates). The playfield has had it's first clear to lock in the work done and ensure no further deterioration. I can now work with a blank canvas and attack each section in isolation. If you look at the entire job, it becomes too difficult. so I break it down. There will be "sealing clearcoats" as I did with Genie. That way, the hours of work are locked it, and if i make a mistake later on, I can just remove that work.
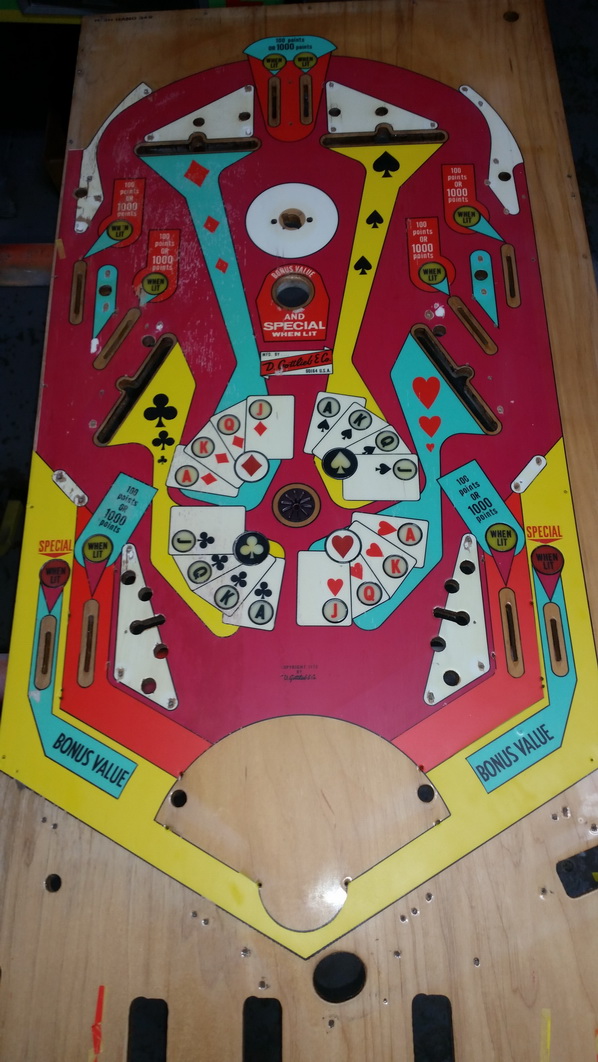
Looking at the playfield, I chose to start with red. It is easy, and will help me get back into the groove quickly.
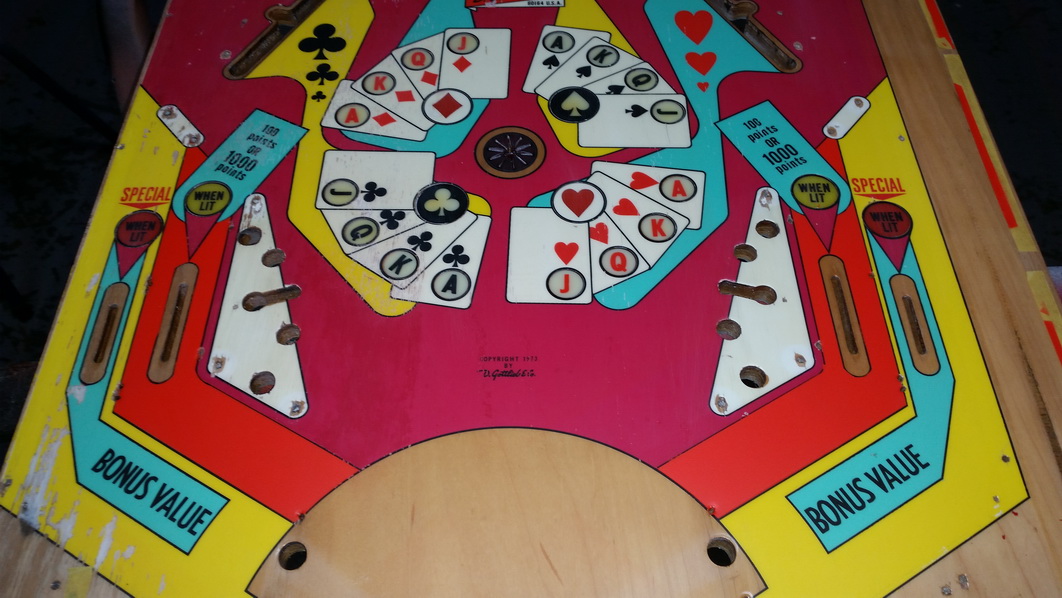
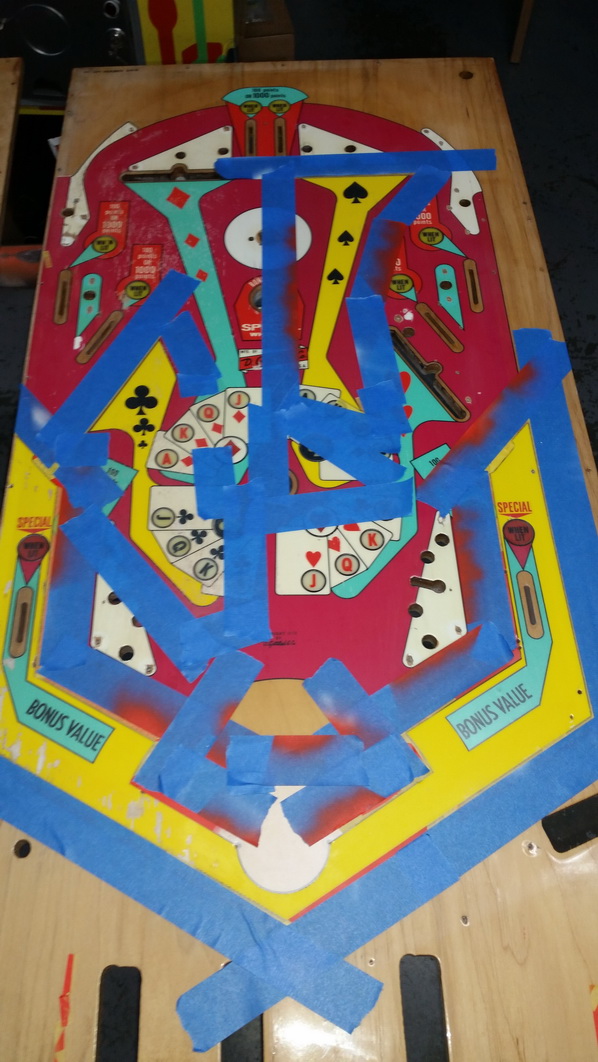
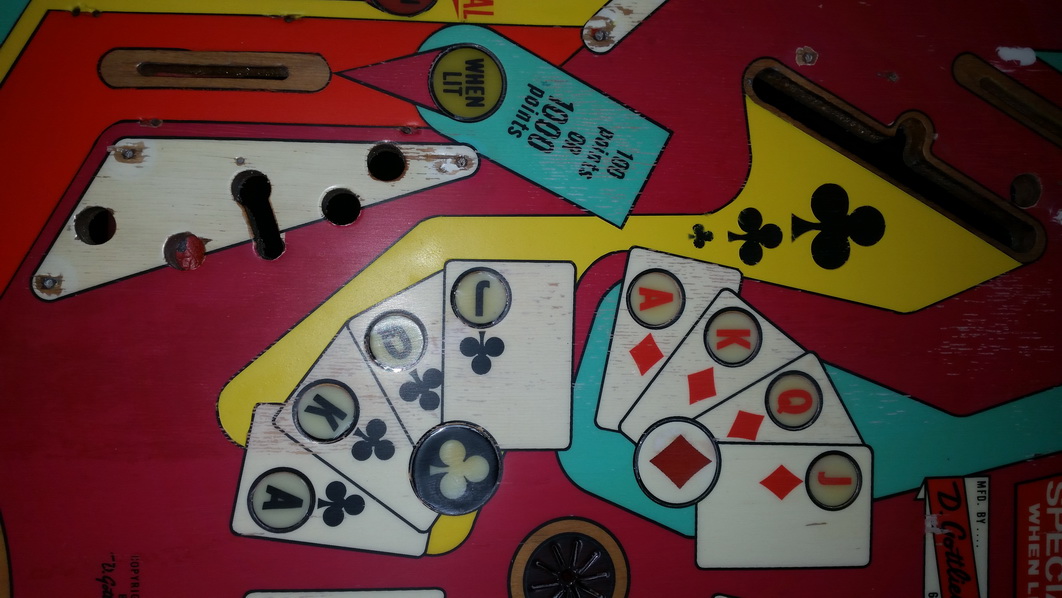
Here's the starting point ;
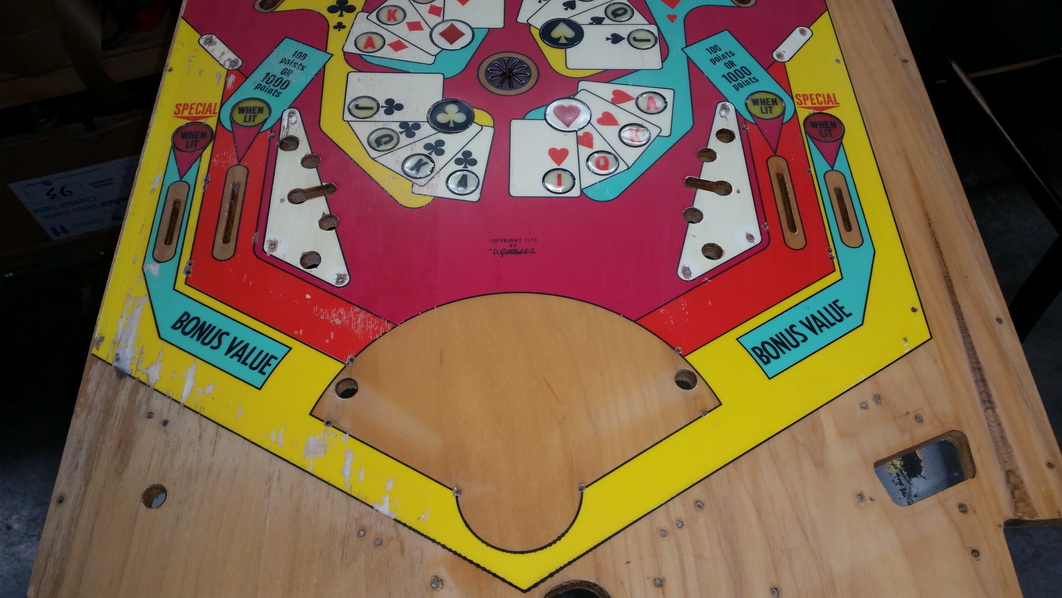
The left side of the lower playfield is where the planking is out of control. The clear has locked in the playfield.
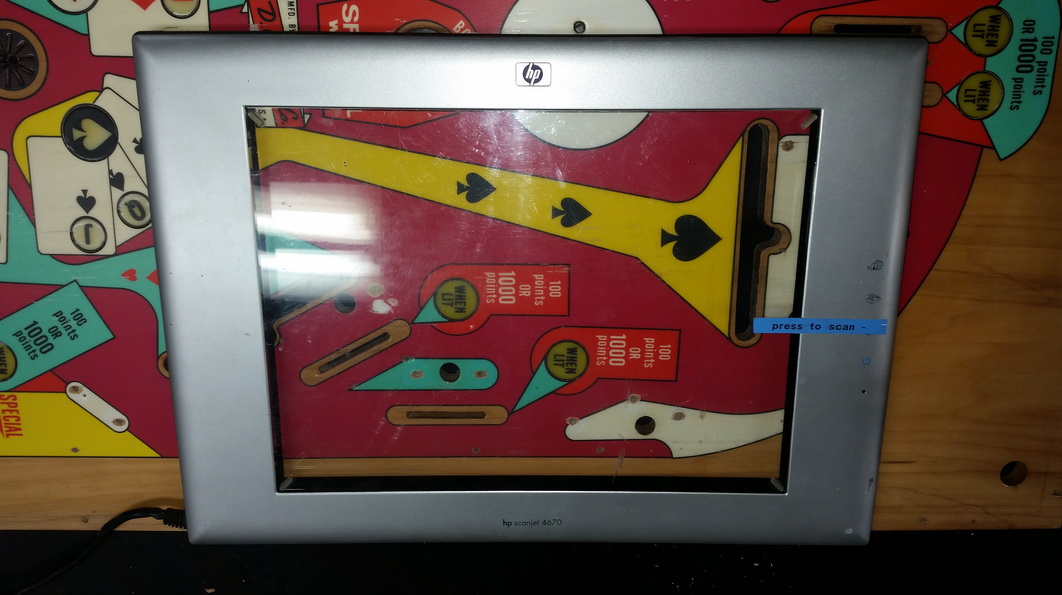
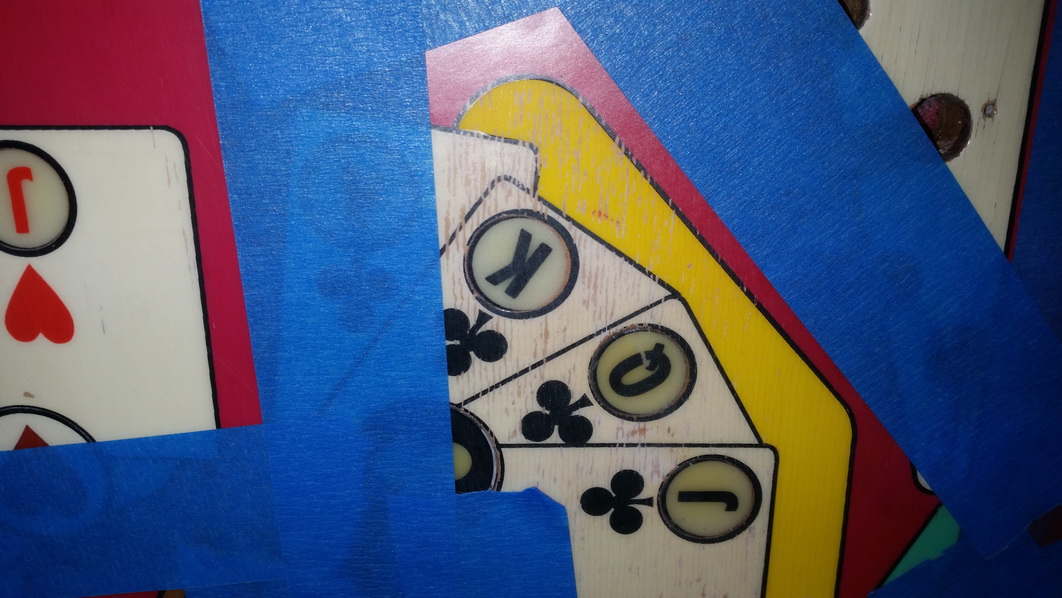
Before I start, I scan areas I will need to go back to later on. I might have Gavin make some lettering stencils for these areas.
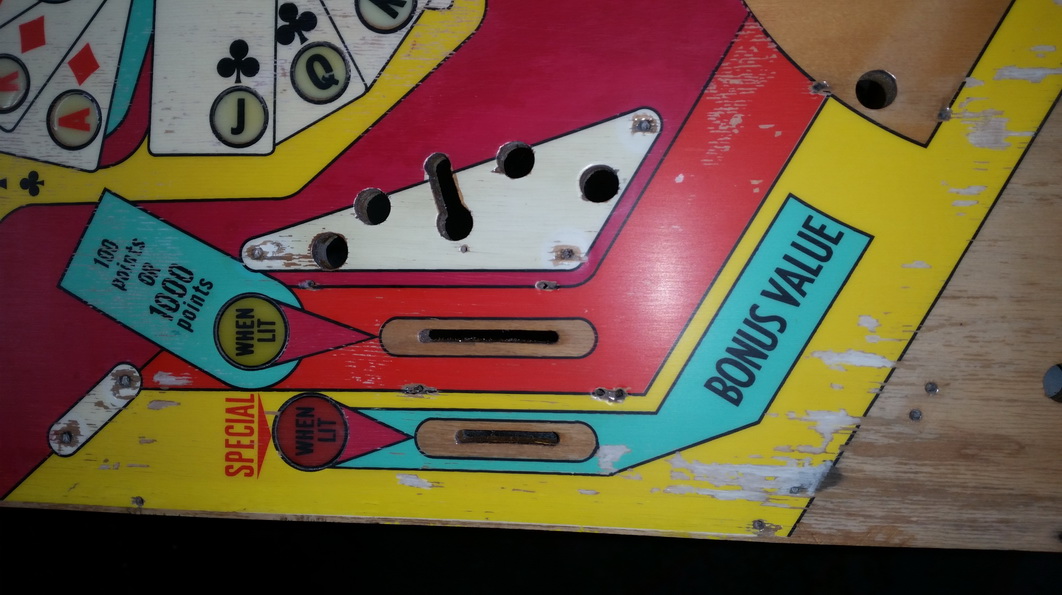
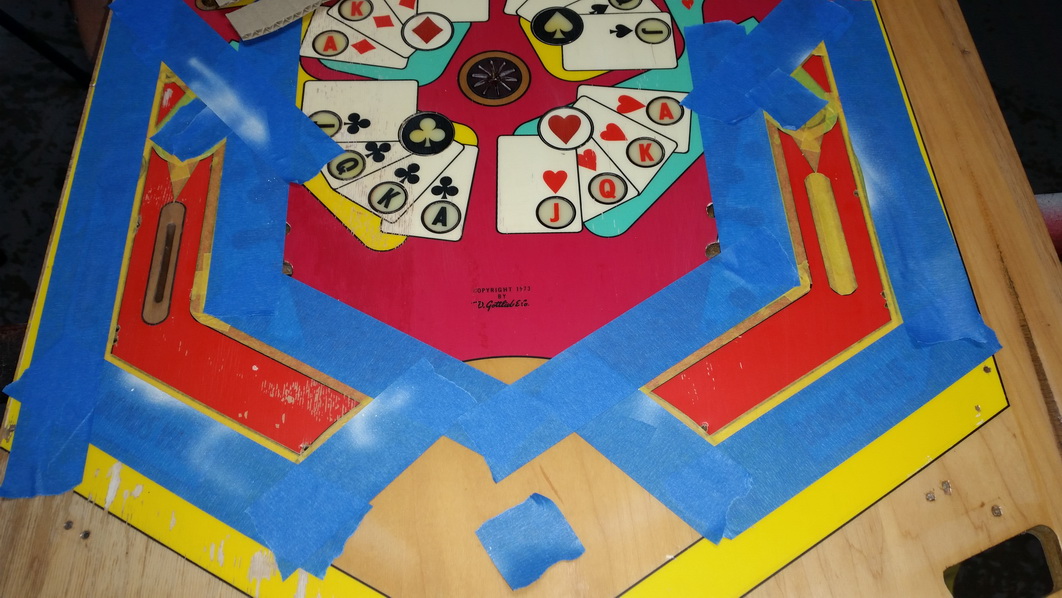
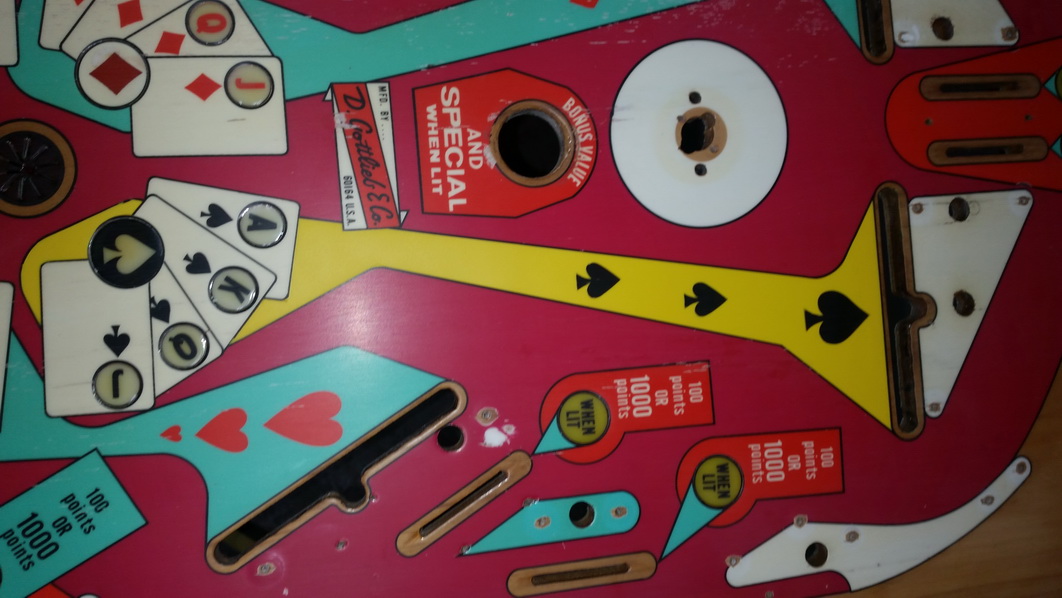
I'm going to do both inlanes. In fact, 90% of this playfield will be repainted. So here is the starting point ;

I use Tamiya modelling tape and frisket. Tape off the areas I don't want to paint. Then with light coats of thin paint, I airbrush the areas ;
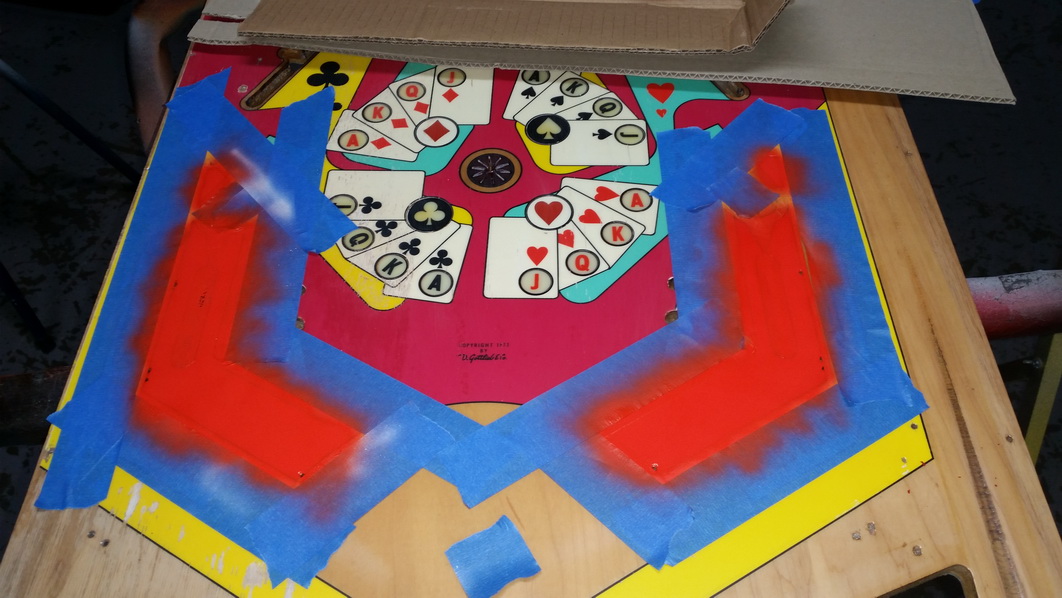
Remove the masking, and the area is completed (except the lines which will be done after a clearcoat
Moving on to the Yellow sections. Again, an easy colour on the playfield. I masked out some of the artwork. My wife matched the yellow, as I'm completely useless at colour matching.
The lower damage ;
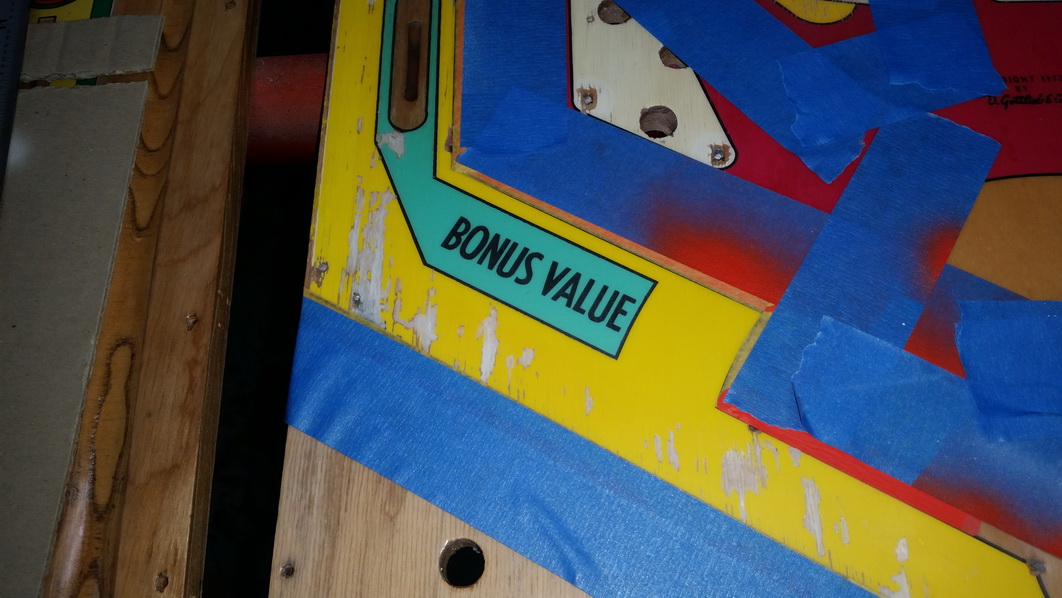
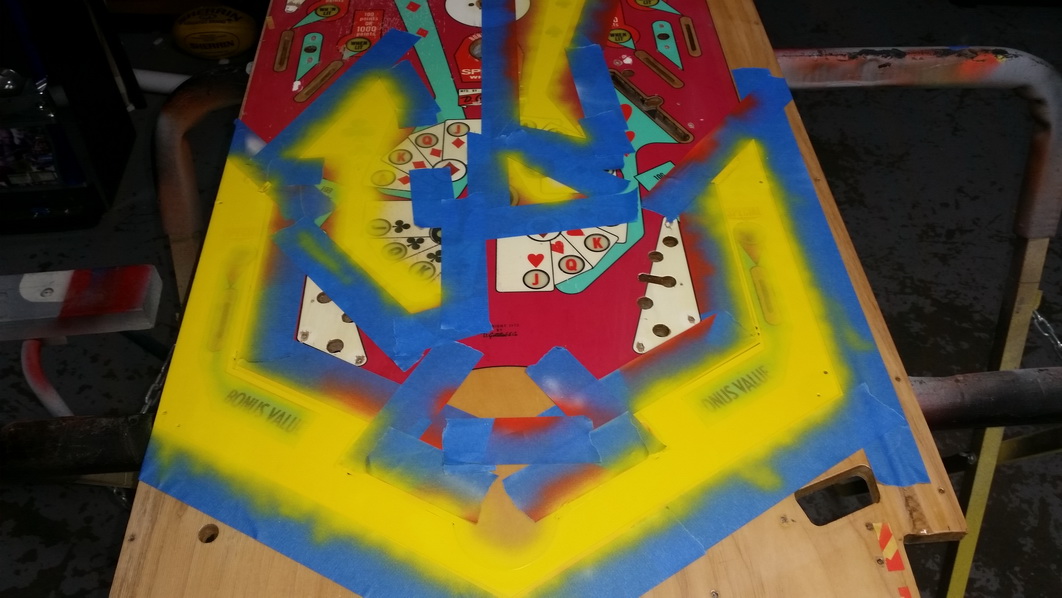
Masked and ready to airbrush the new paint
Paint applied. Had to go 3 coats in damaged areas. All thin coats - don't go overboard !

Masking removed. That's an improvement !
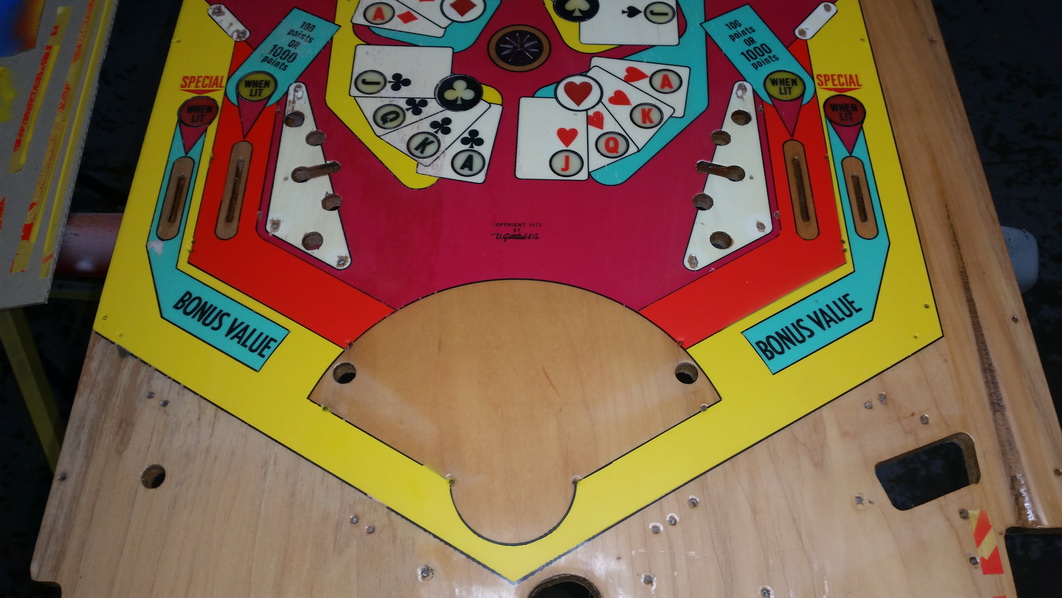
Happy with the improvement. Next - Cyan !