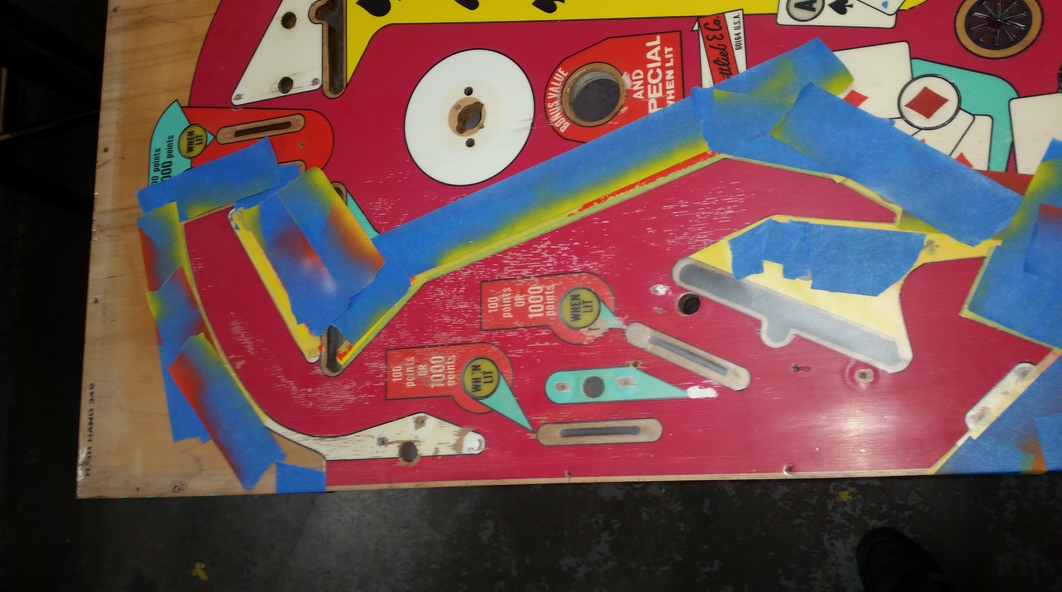
Moving on to the large maroon section. I was going to do the Cyan areas, but I thought I'd go the larger section. This was a tedious and long process to mask the areas, so I did it in four sections across 2 days. Three light coats. The key is not to rush the areas.
Mask the badly planked area on the LHS (sealed with a Clearcoat previously).
You can see the top section is already drying after the second (heavier) coat. You can tell were I've gone a bit heavier in the dried area (still wet). This all blends in - but it should dry uniform.
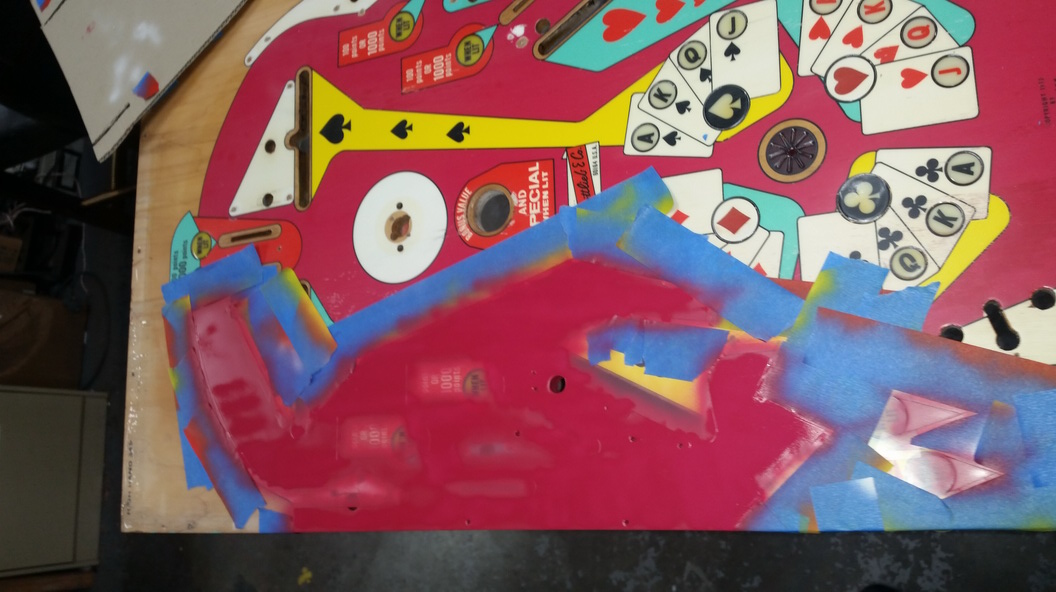
The RHS ;
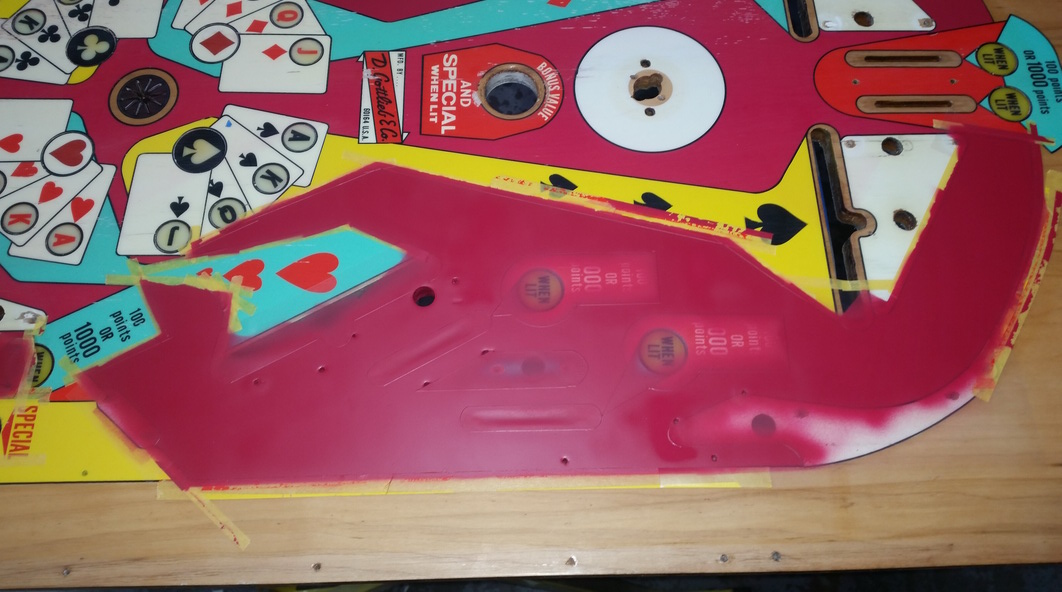
The original maroon colour was under the ball guide, and slightly darker than the playfield which had faded over time. So the top LHS and RHS are the correct "darker" colour.

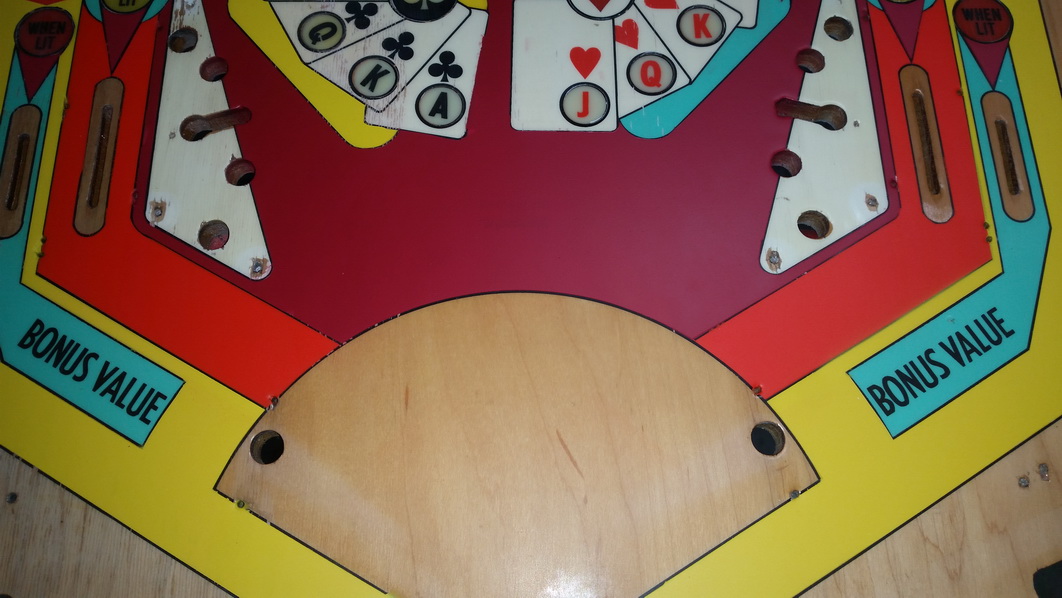
Central and lower section are done a day later. I allow at least 24 hours as I need to mask over painted areas and I don't want any paint lifting.
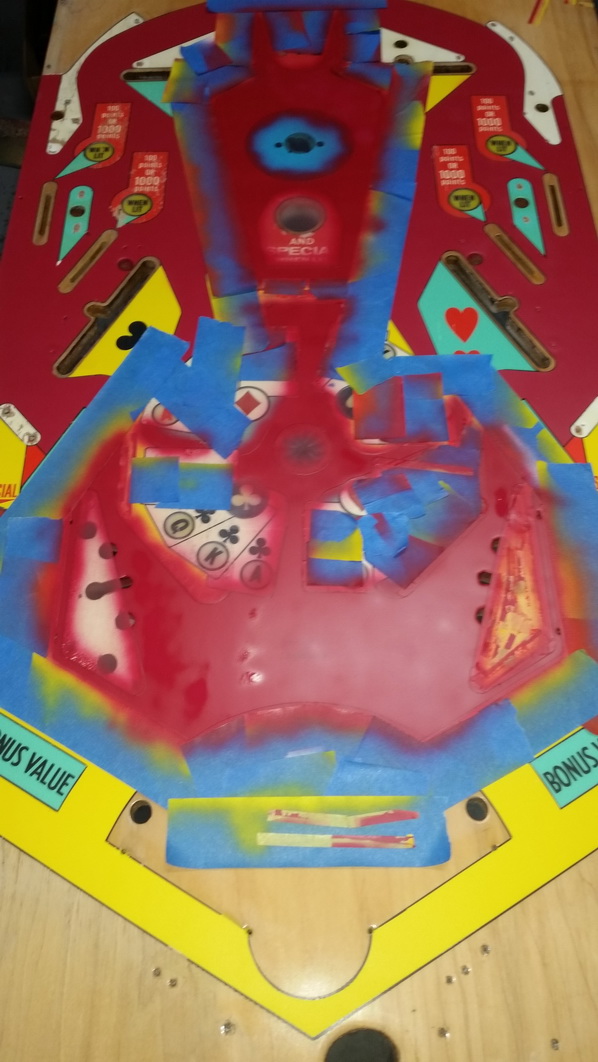
Main areas completed.
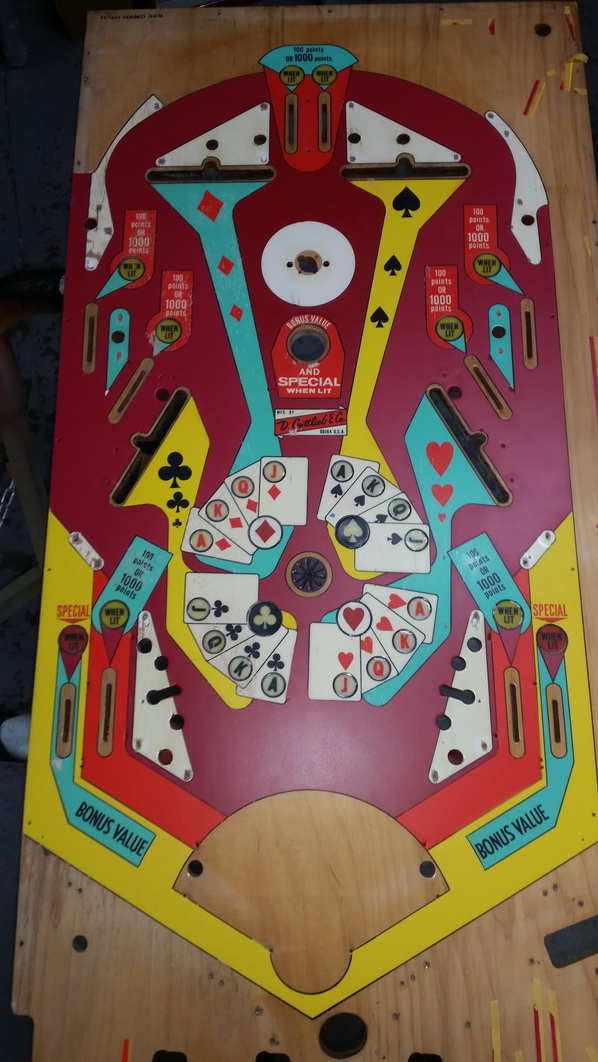
The only downside is that the "Gottlieb" logo is painted over. I don't like waterslide decals, so it will be left as is. A huge improvement from what it was.
I will let the playfield settle and revisit it with a view to either leaving it for it's next clear, or possibly doing some of the white areas (not the cards yet). Linework is always left until last.


