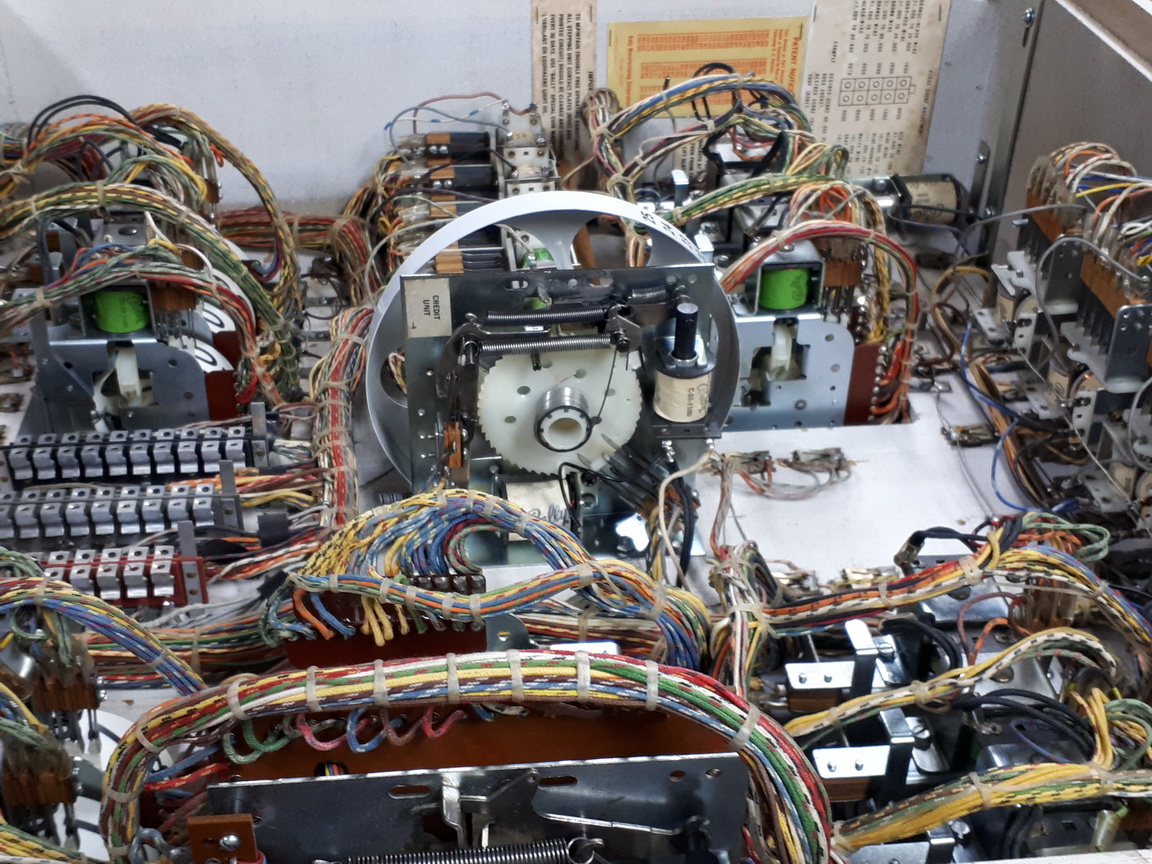
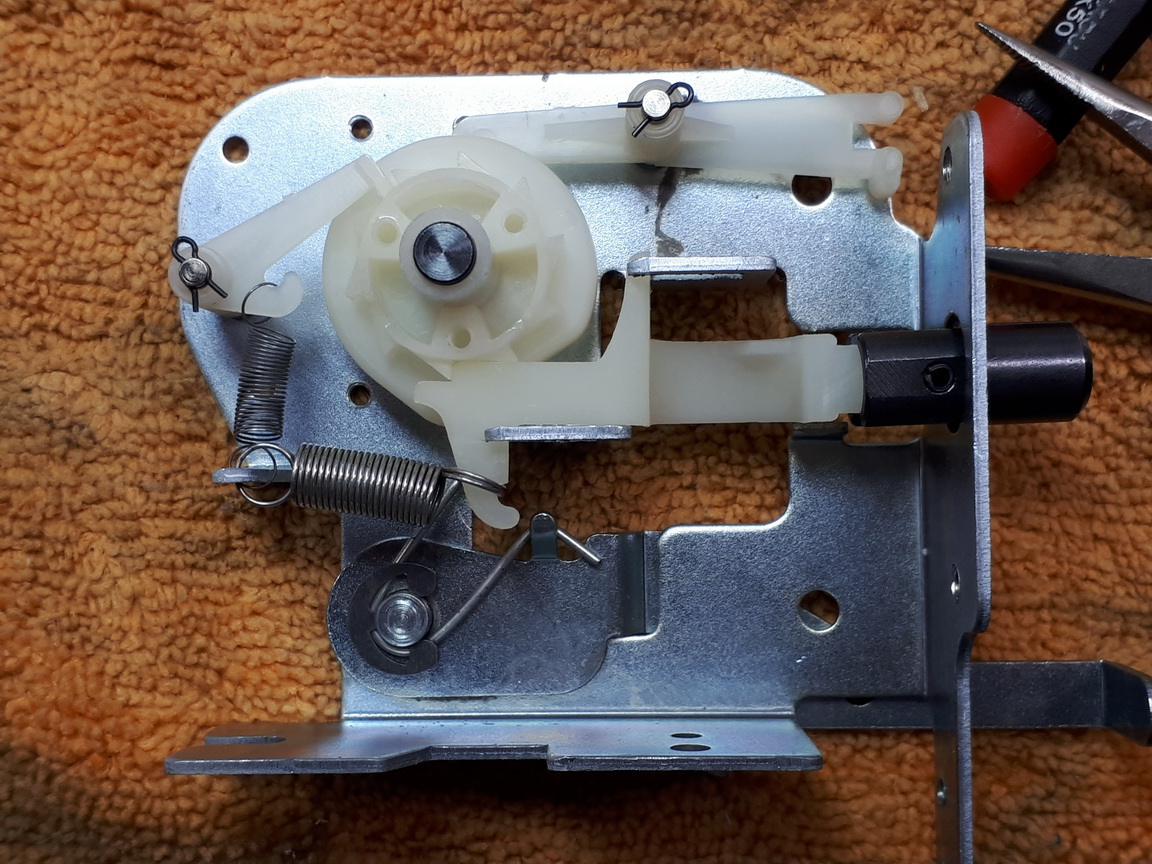
Next step is the headbox mechanics, and this is where a lot of time is spent cleaning and replacing coils sleeves, springs etc. This machine's mechanical steppers etc were VERY clean for a game of this vintage, but there are no short cuts, as I want this game to work as soon as I plug it in for the first time.
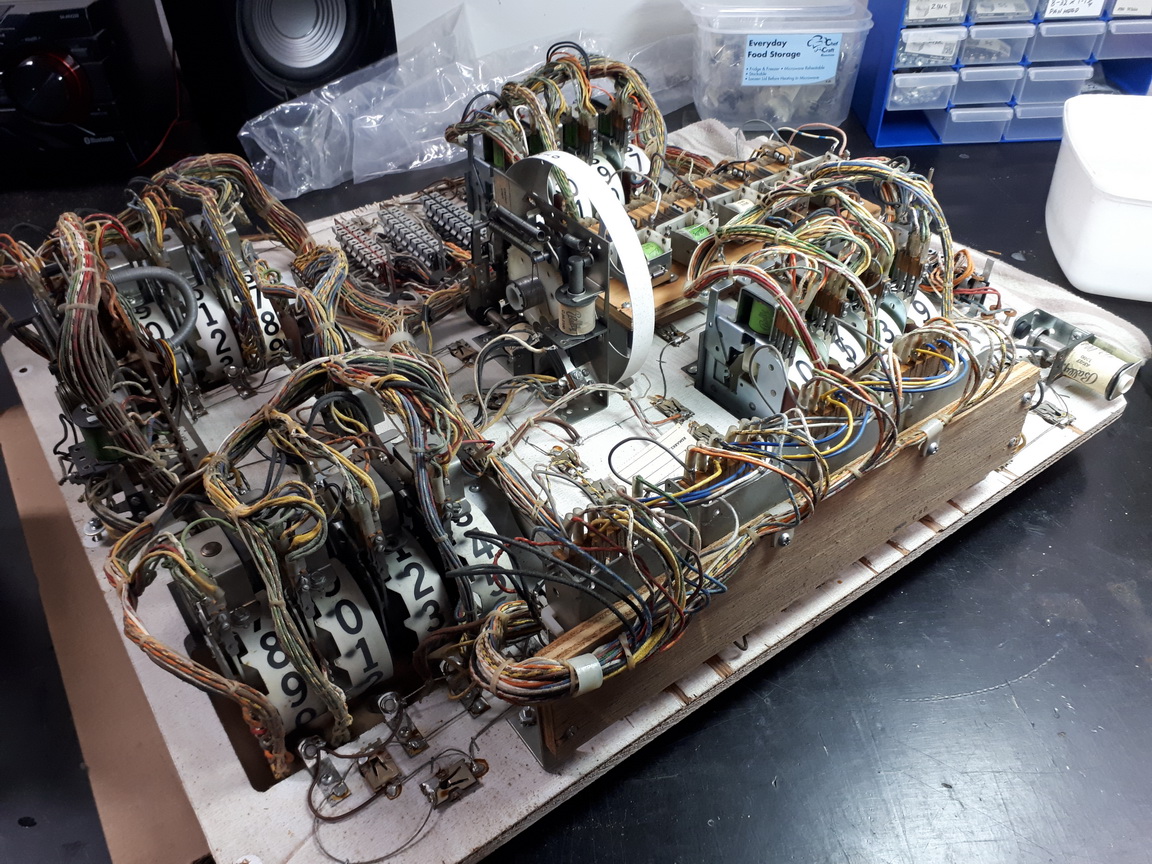
Here's what I'm starting out ;
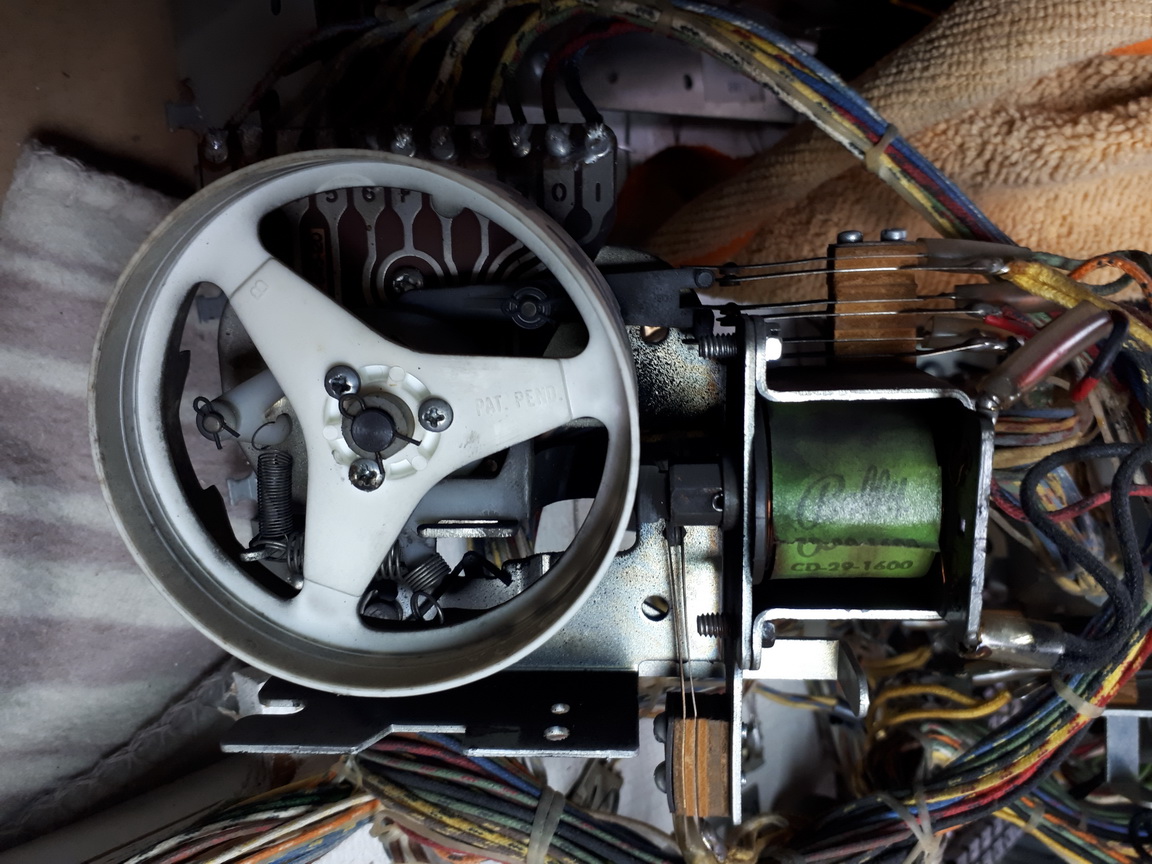
This was the dirtiest score reel. The process is straight forward, but it does take time.
Parts are degreased in a water based degreaser which I will post a picture of at the end as it is far better than the other degreasers I've used over the journey. I then wash each part with Simple Green (orange concentrate) and dry with the air compressor.
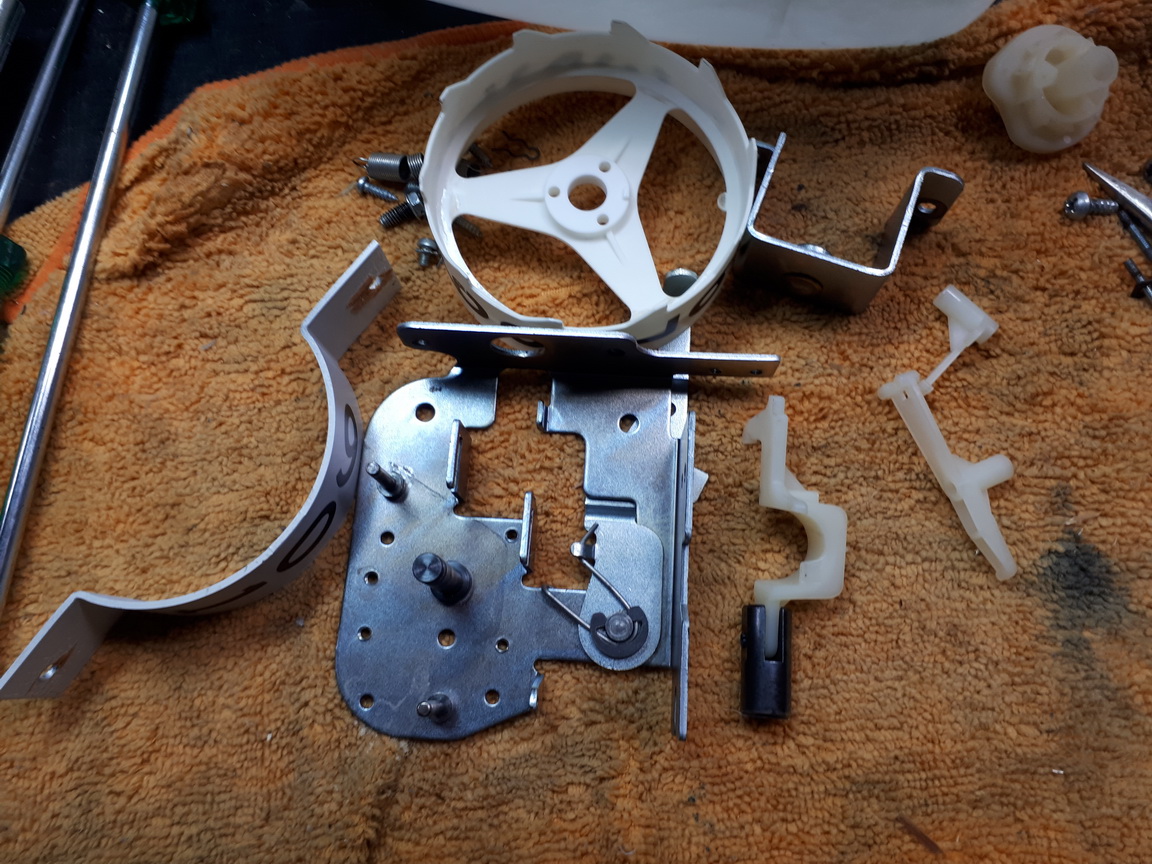
Reassembly ;
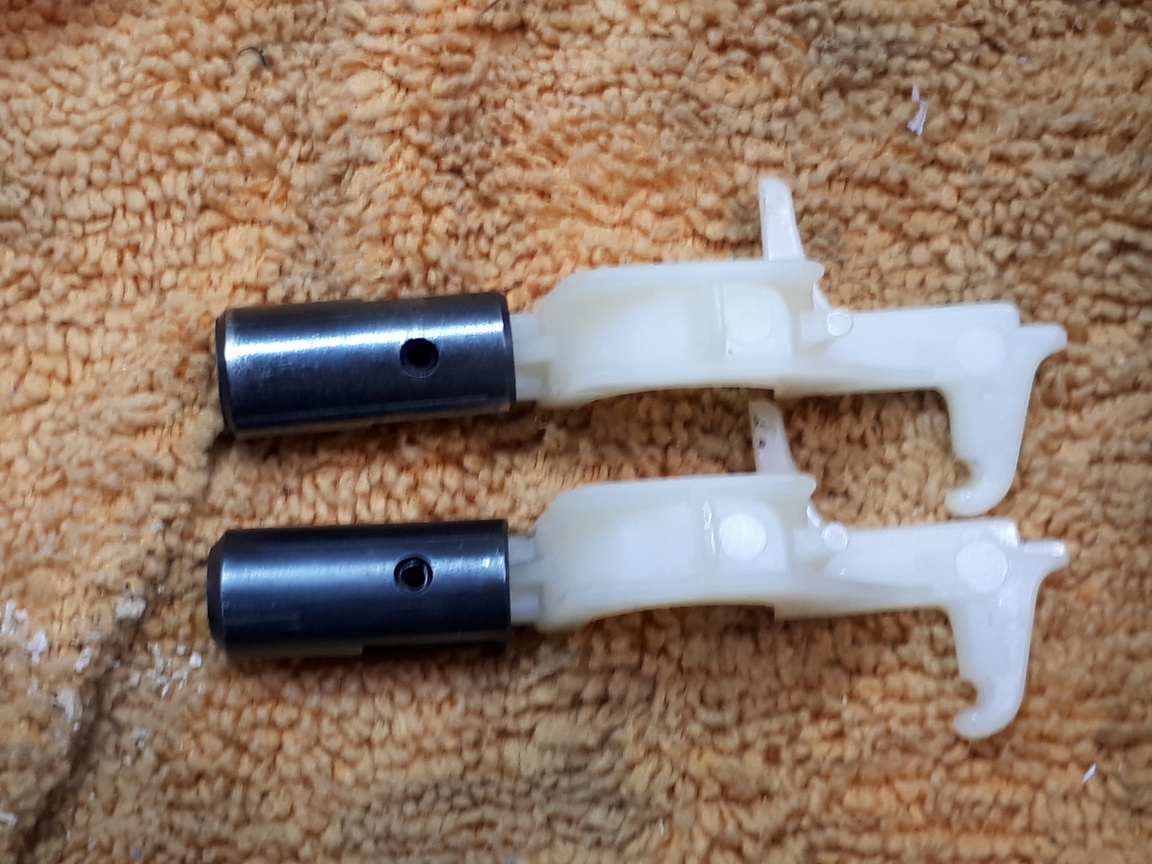
Why go to all this trouble ? Here's two score reel plungers. One is worn and will cause issues. So I replaced it with a NOS plunger and Coil Stop and the score reel will work perfectly.
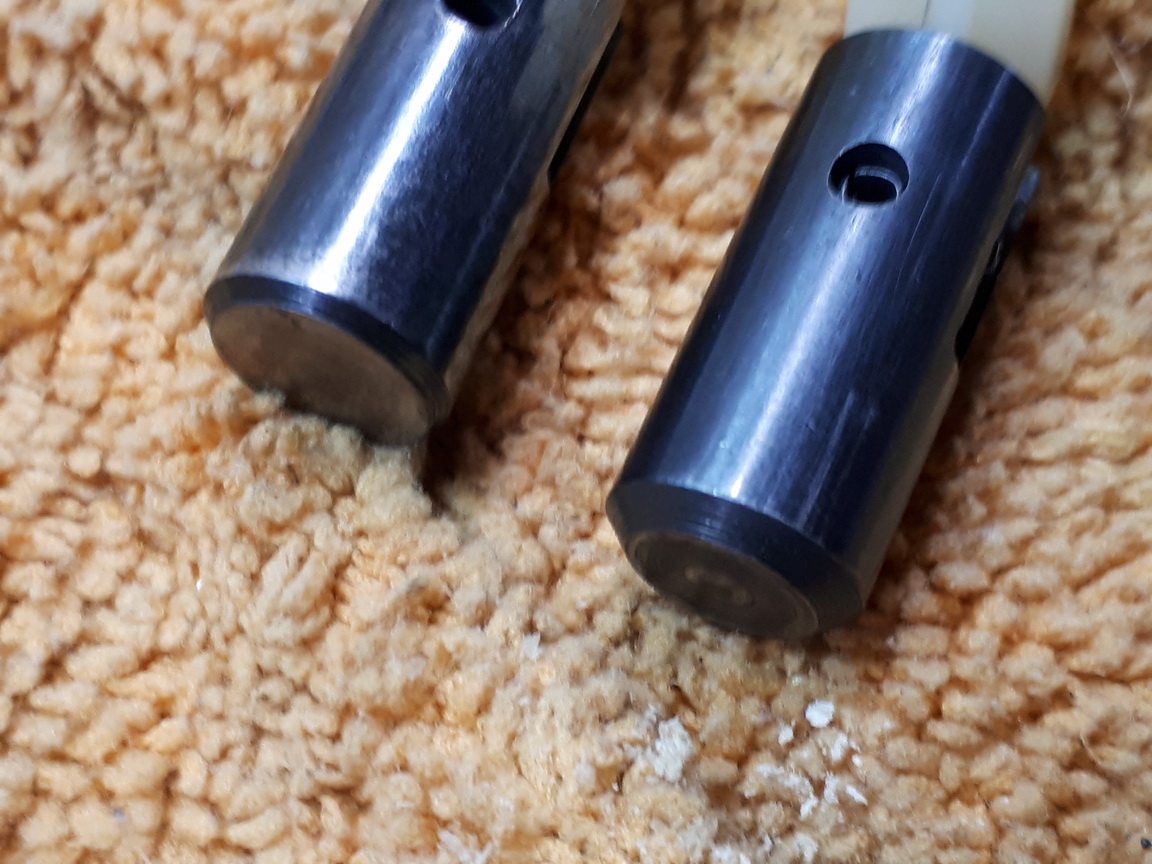
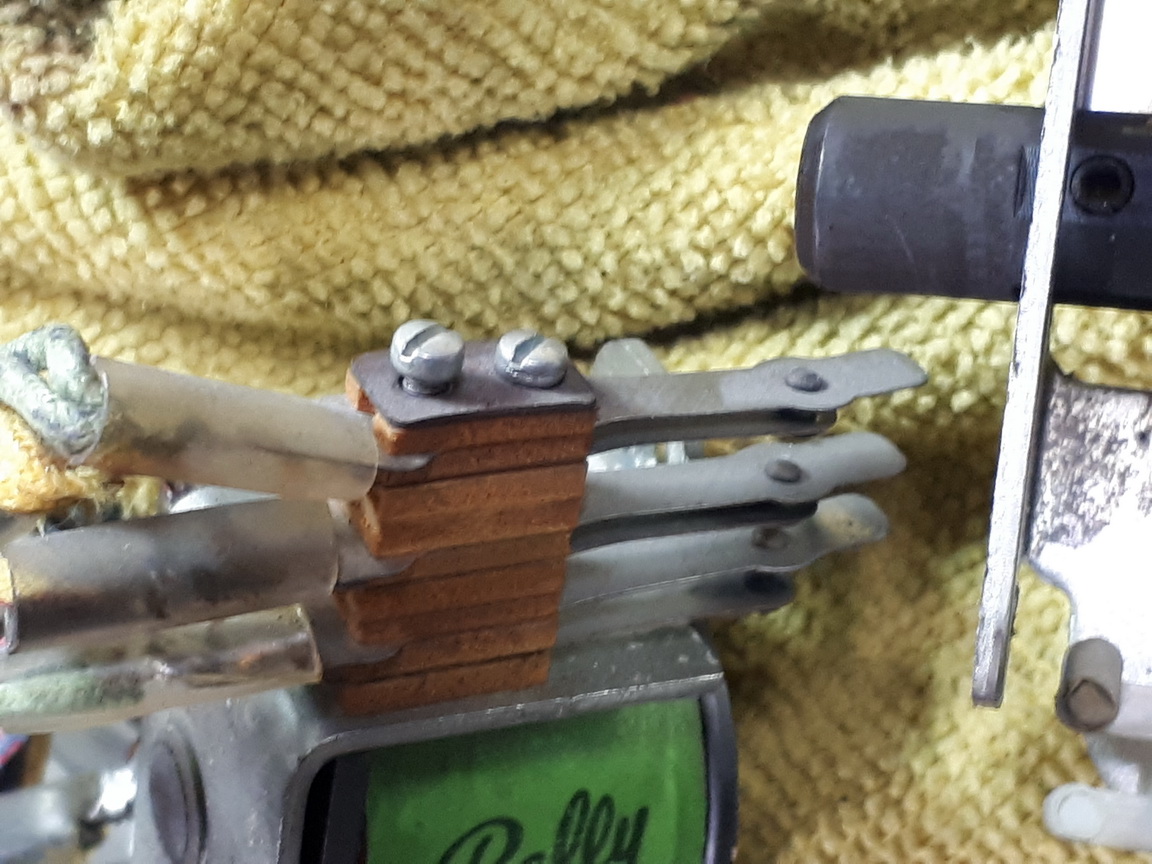
Why go to all this trouble (Part 2)..
There's a switch stack out of adjustment (badly). There were a handful of these that were adjusted on re assembly.
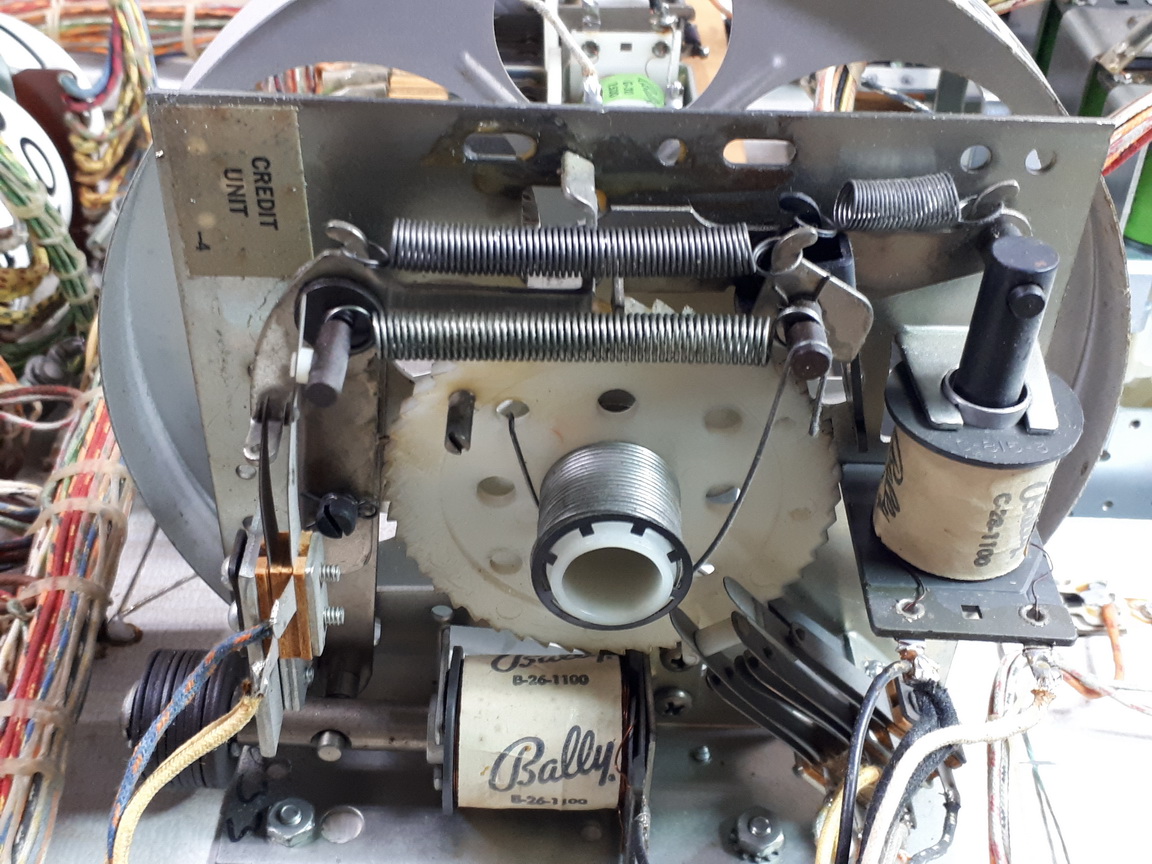
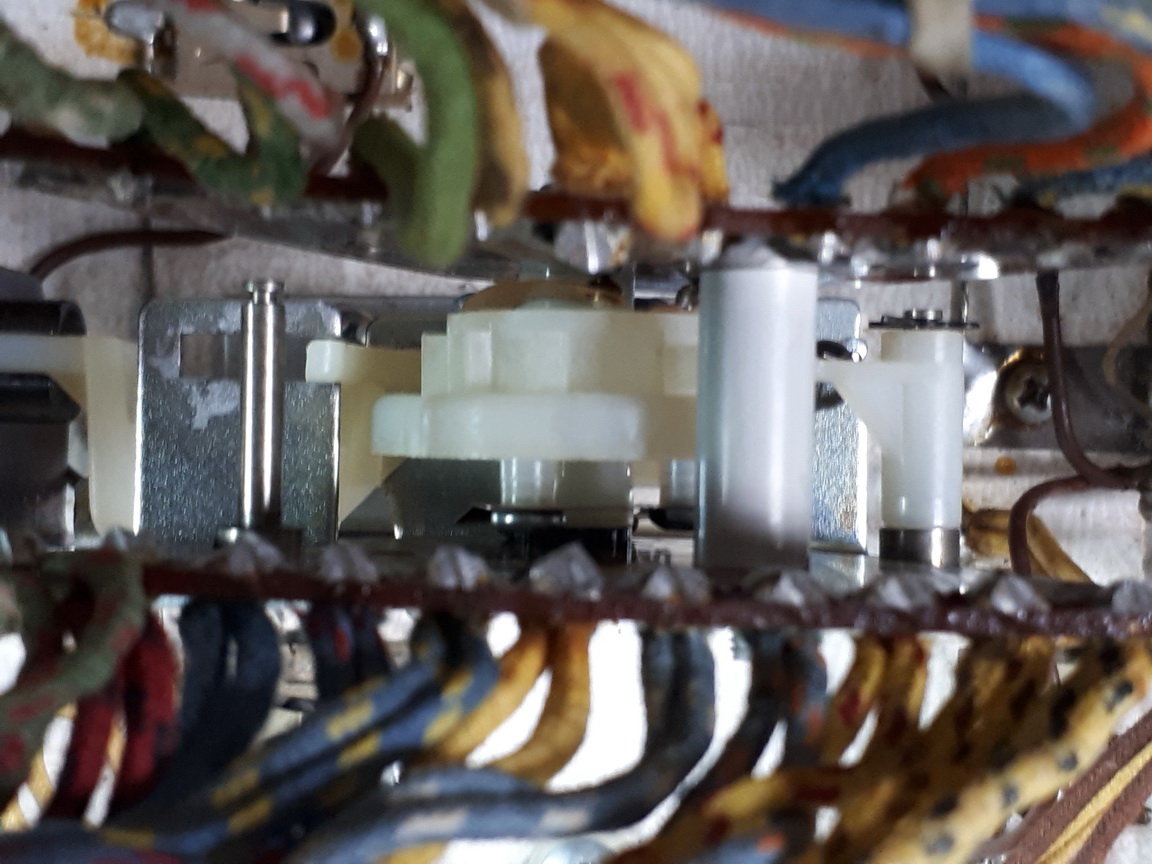
Credit Stepper Before ;
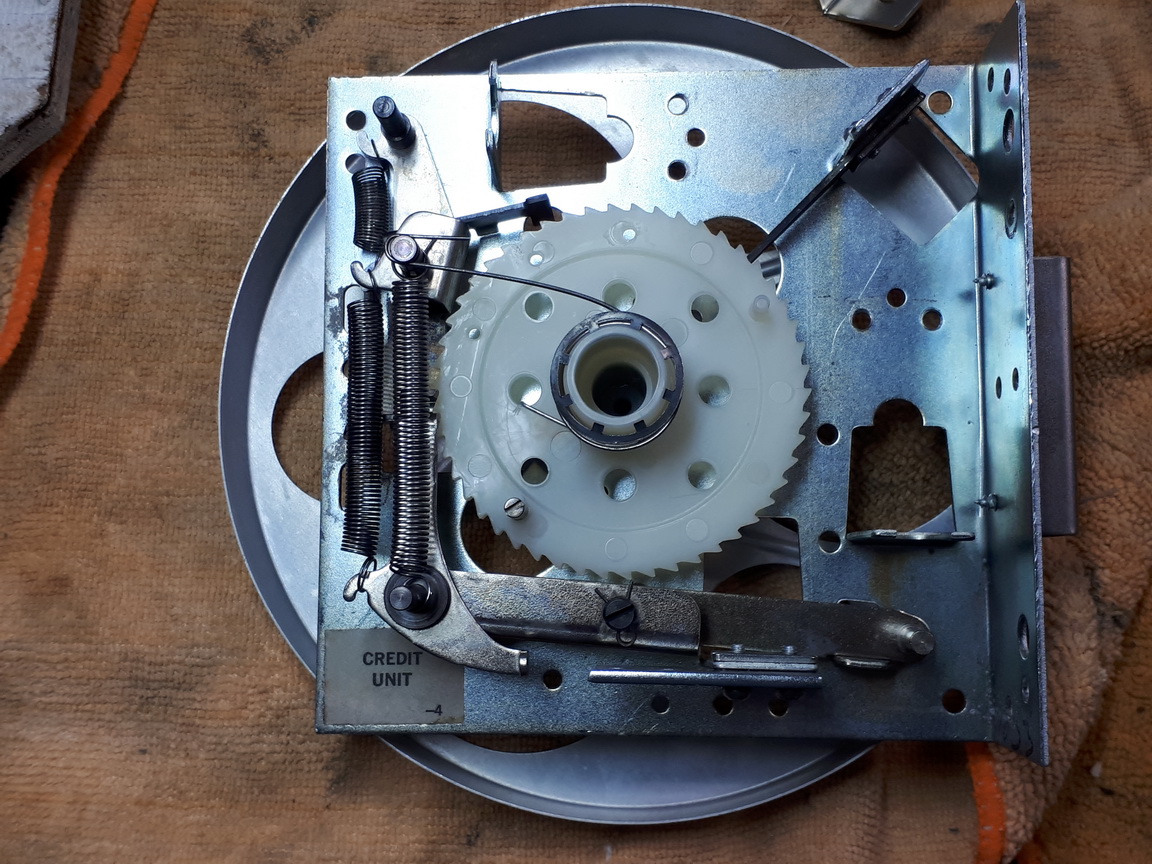
Re assembled ;
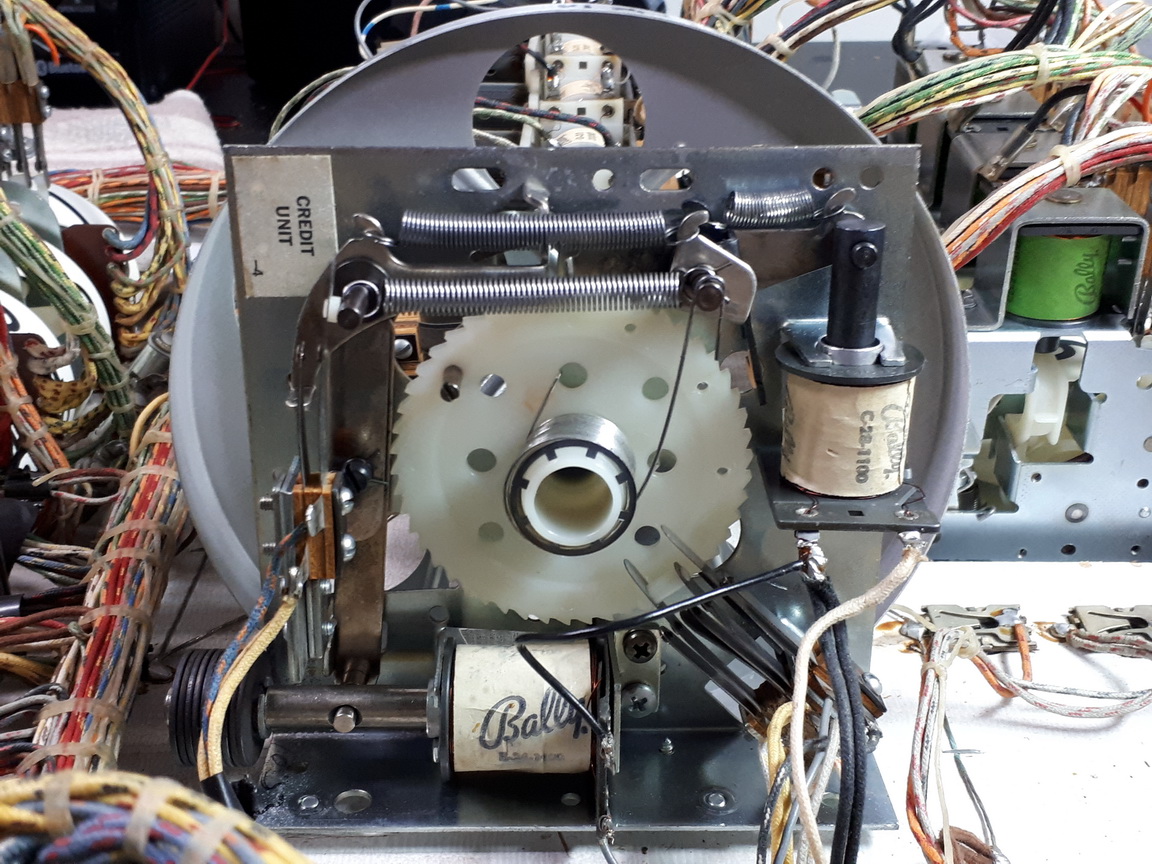
Installed ;
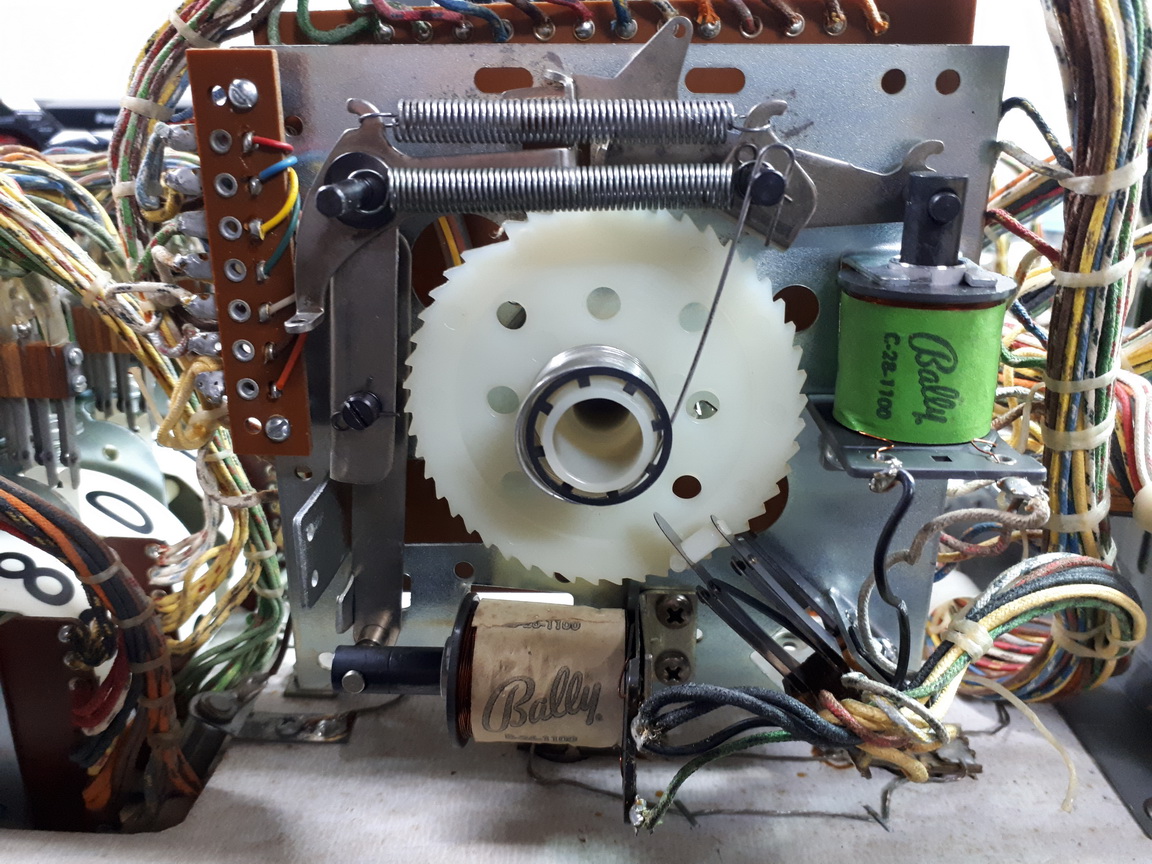
Player Unit Completed ;

00-90 or Match Unit Before ;
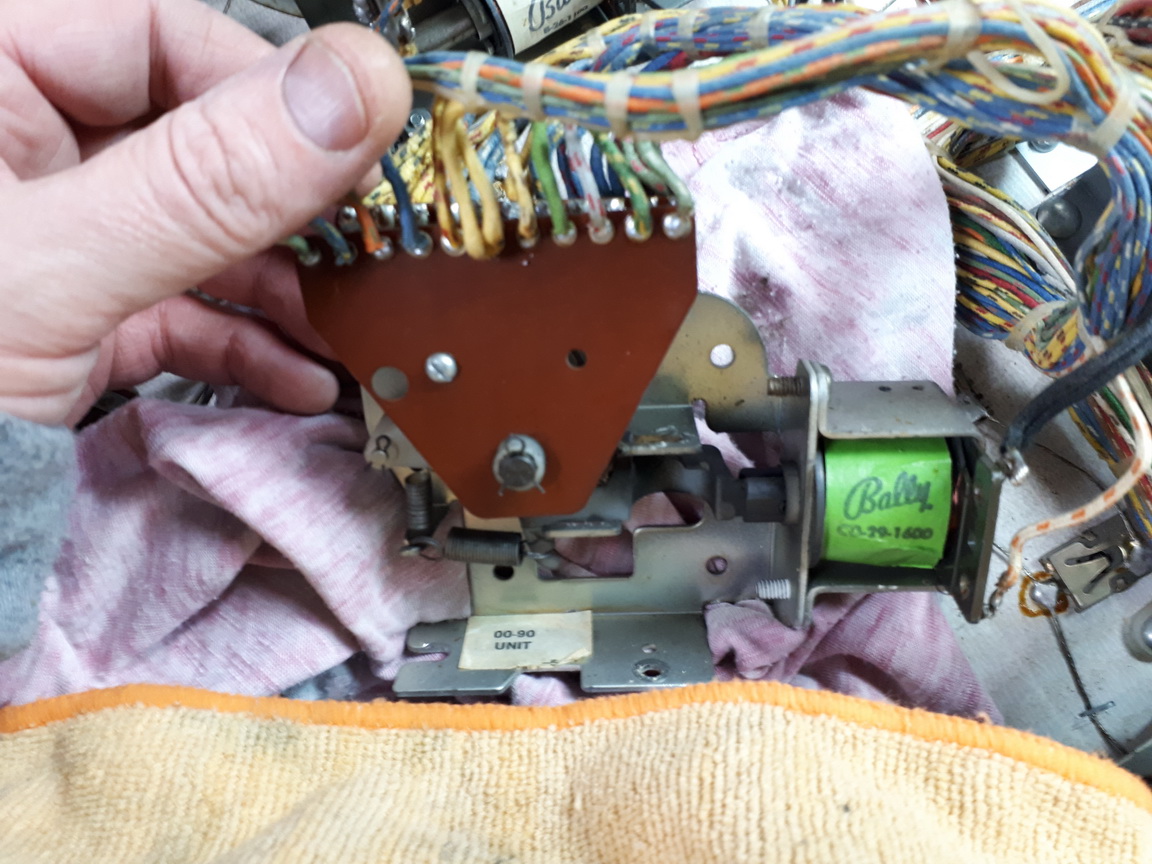
After rebuild ;

After all that work, I'm done !