A LOT of work has gone into the cabinet, with success after several issues. These issues were new to me, but were done during production, and only became a big problem after I started stripping the cabinet.
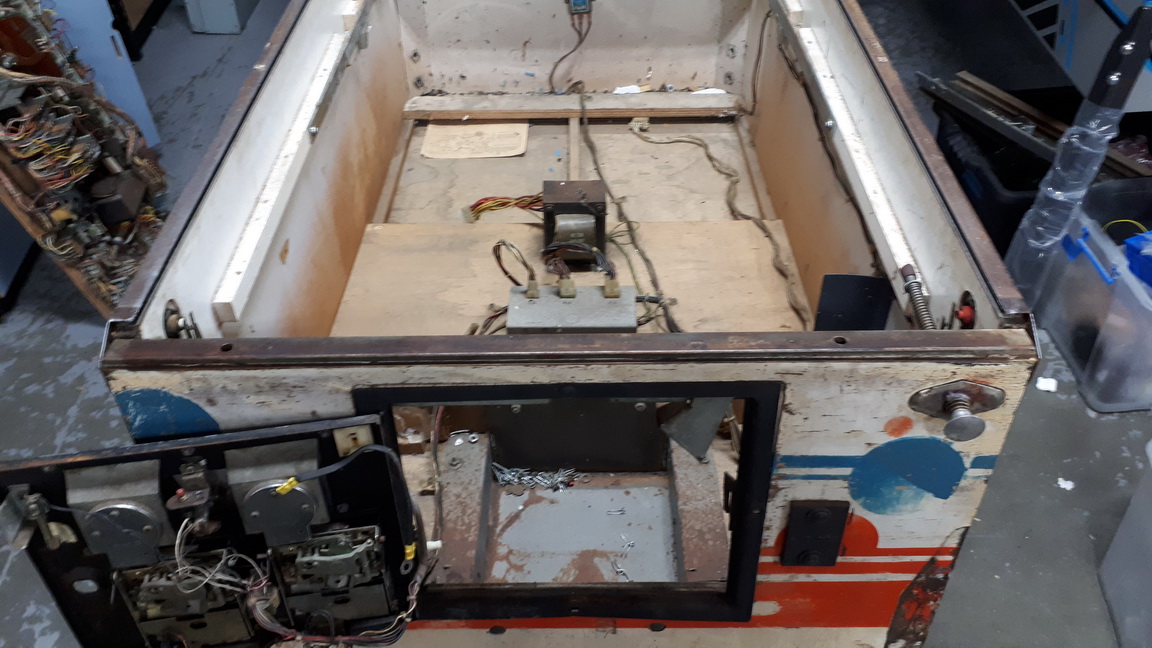
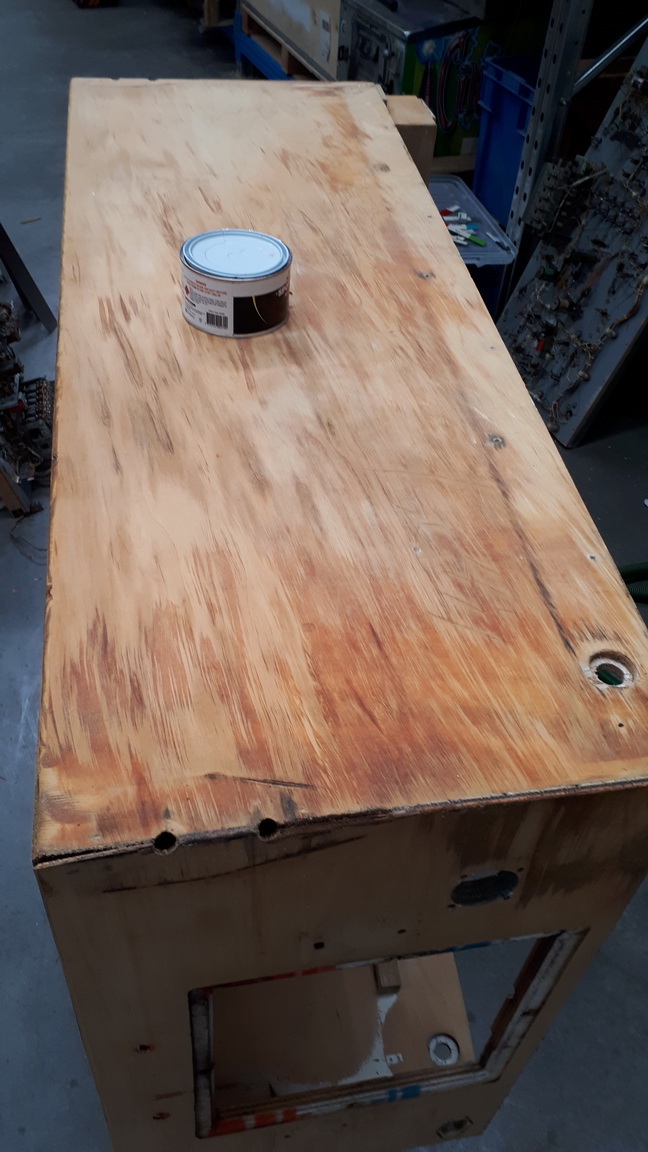
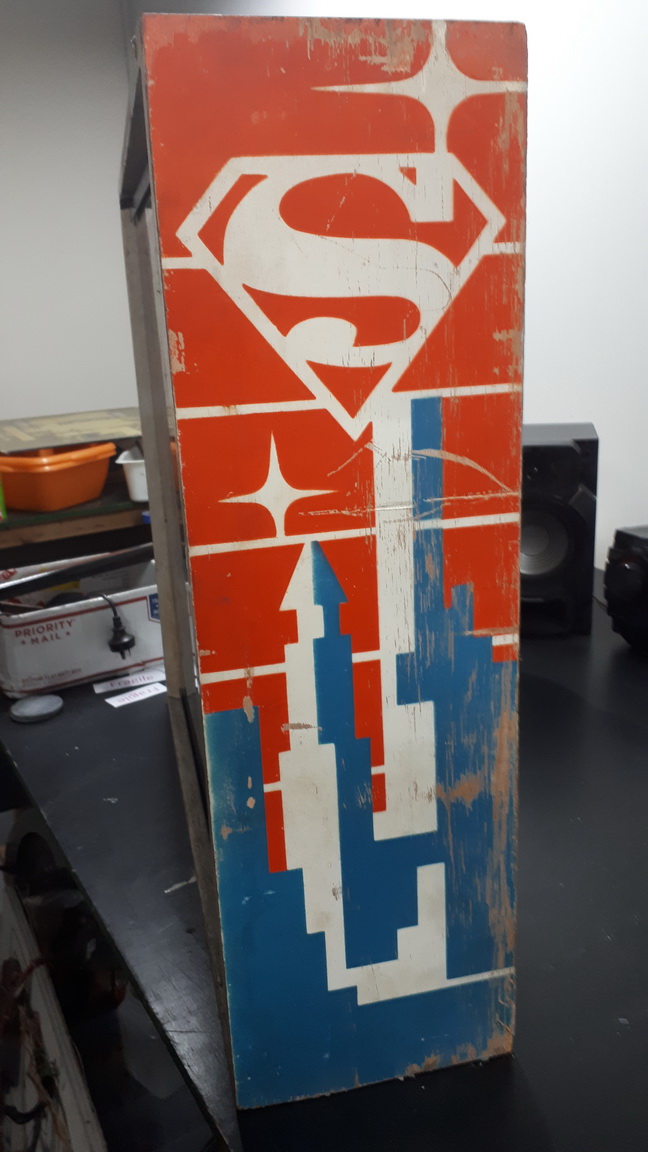
Simple stuff first - Here is the cabinet as presented ;

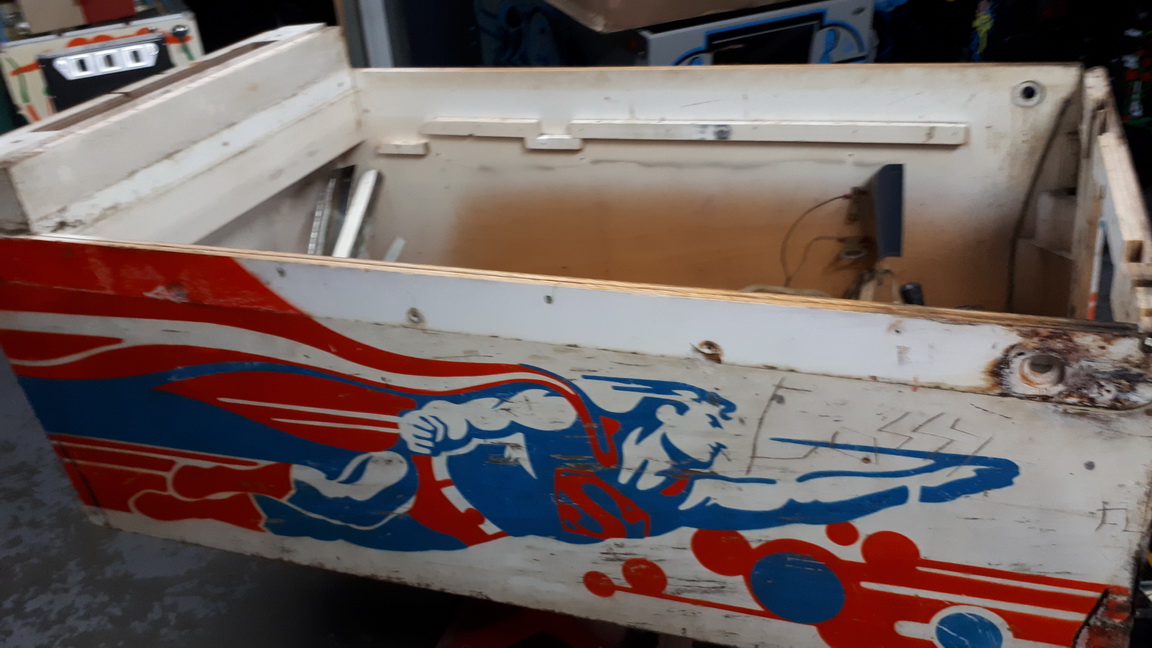
This is after a vacuum..

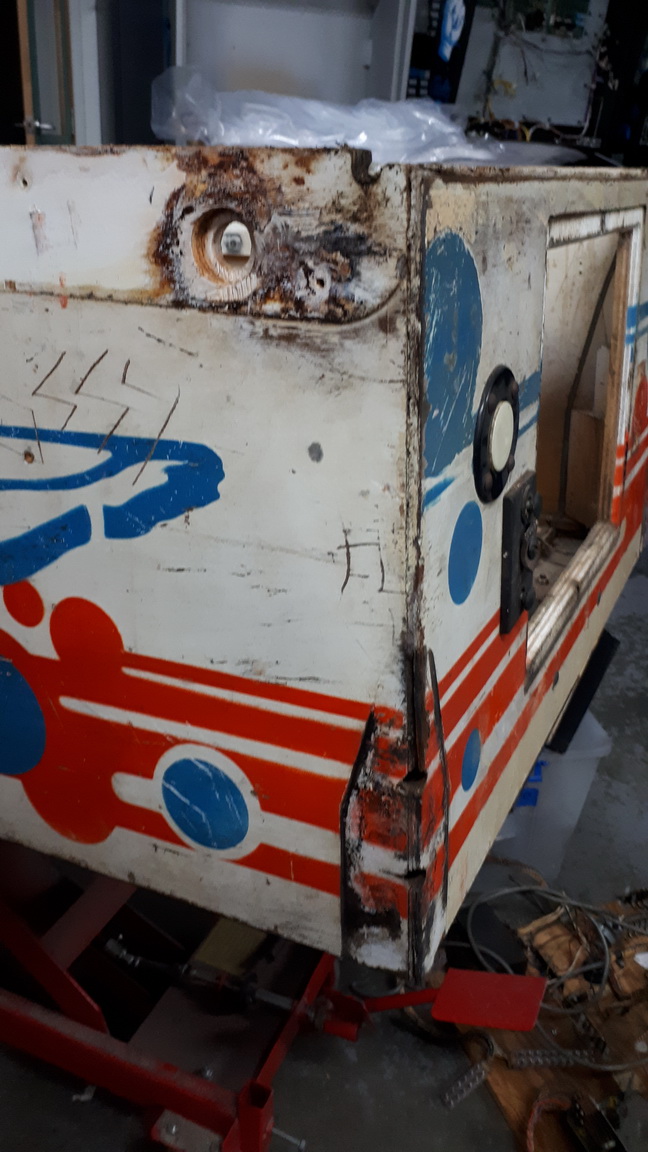
Left side of the cabinet - Here is where you find the exact colours - under the fittings such as doors and siderails. The lazy approach is always to match the cabinet with the faded colours, but under the factory installed trim - there's the original colour !
NASTY !
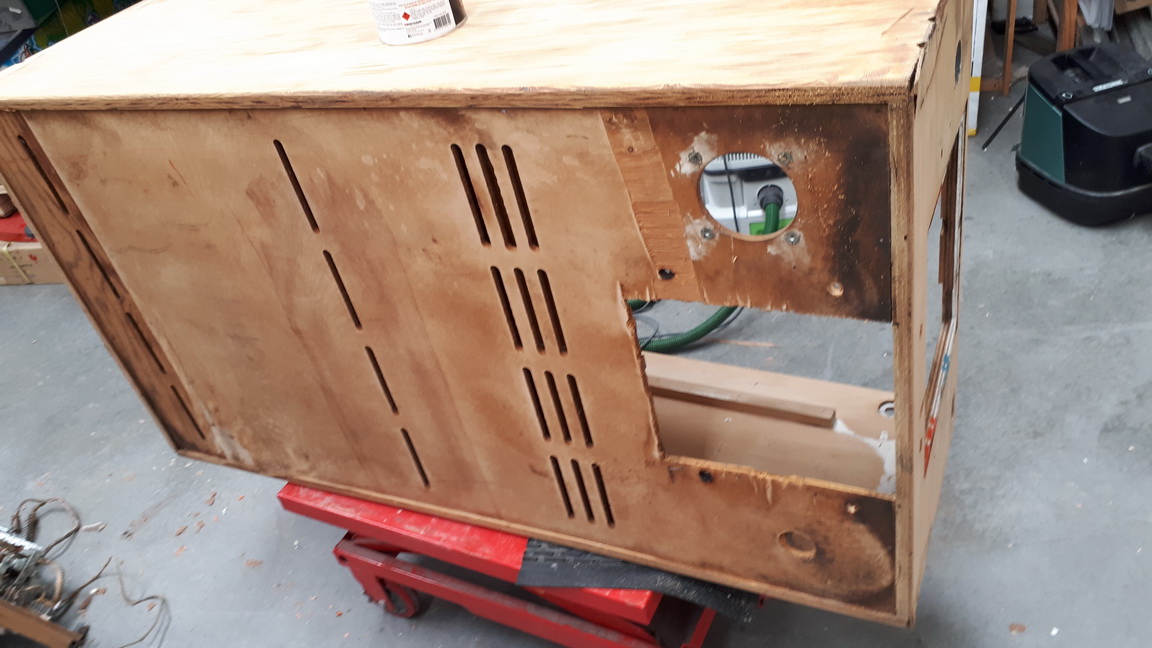
Here's the benefit of using professional equipments. The Festool setup made light work of stripping the paint. Here's a clue to some of the major issues I'm about to face..
There's something seriously wrong here. The dark areas are "wet" and "sticky".. What's going on here ?
More sanding. More sanding..
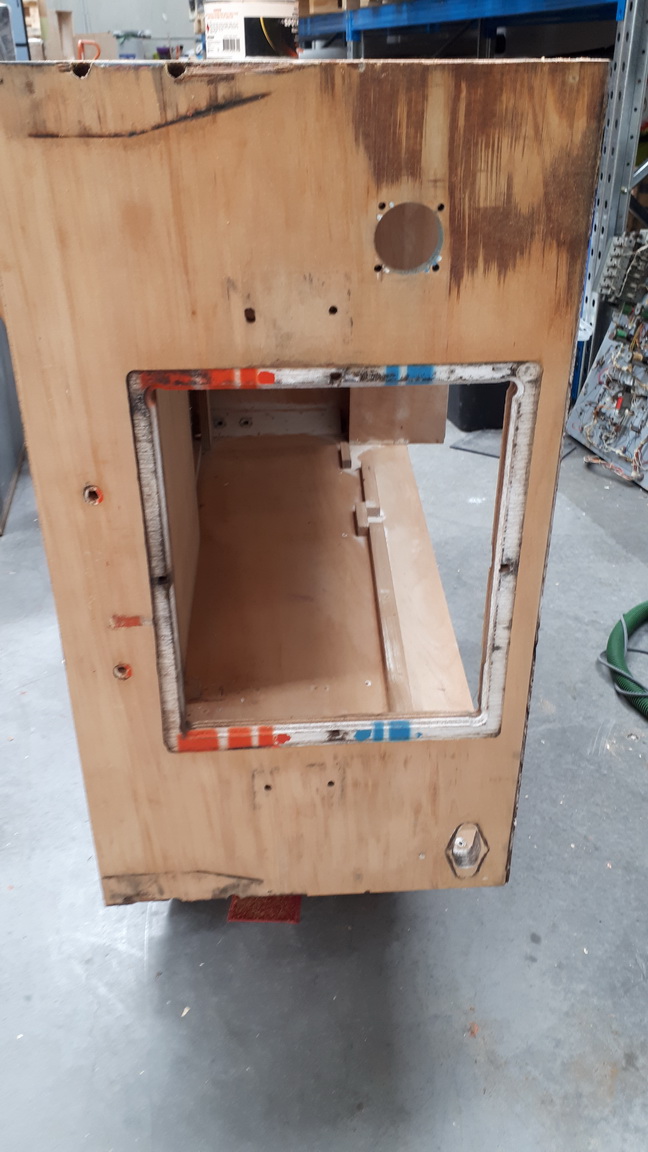
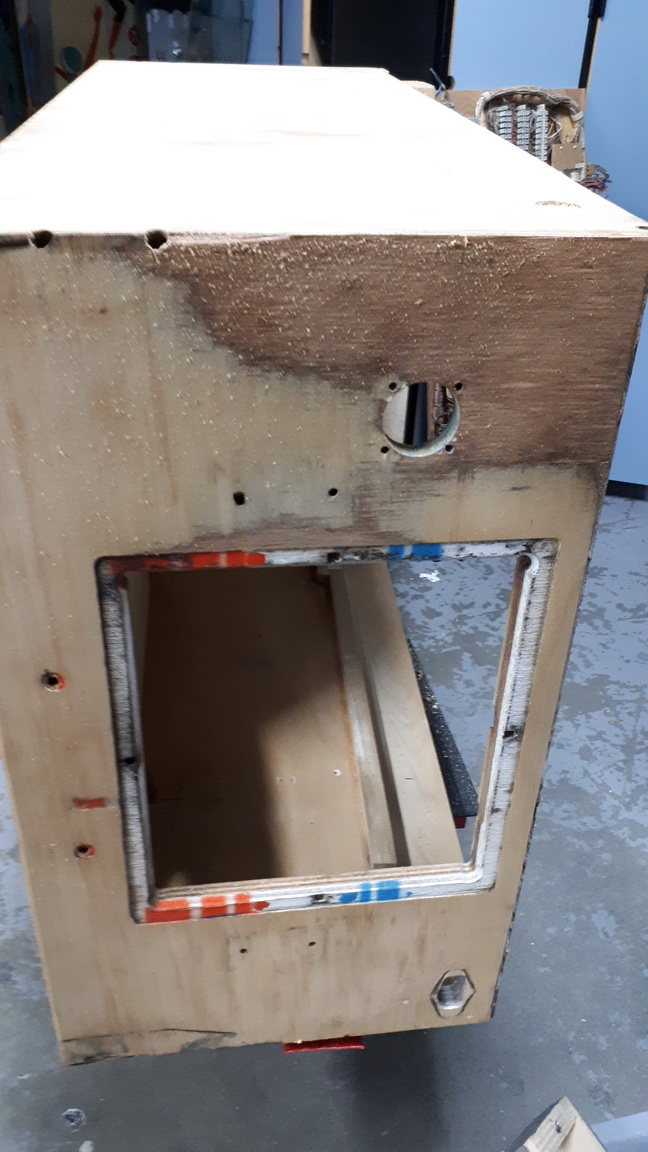
Time to look under the cabinet. Rear section os good. Front section will be replaced.
It's getting dark now. Sanding. More Sanding. Going through lots of sanding disks..

More sanding. More sanding. What is going on here ?
Time for the first pass of Primer / Undercoat. Something different than sanding..
Looking much better !

OK - Looks ok ?
Nope. A day after the Primer coat, the paint peeled off in the darker areas. A real mess. Nothing would stick. Not even spot filler. I had a timber expert have a look and the "wet" areas are in fact moisture and glue that is inbetween the layers of plywood. The moisture was trapped due to the wood not drying and being prepped during the assembly of the game. That explains the "wet" areas under the siderails that was sticky. The ONLY way to deal with this was to place the cabinet in the sun for 3-5 days, and then sand it gradually. Then in light coats, build it up until the wood "takes" the undercoat. BUT - even after this process, the Topcoat may react. Even though the undercoat is dry and sealed the wood, it takes several coats and drying time in the sun to properly prep the timber. If the topcoat reaction is not severe, it needs to build up and lightly sanded. Then keep the light coats and drying time continuous until the section is 100%.
Eventually, it worked out ;
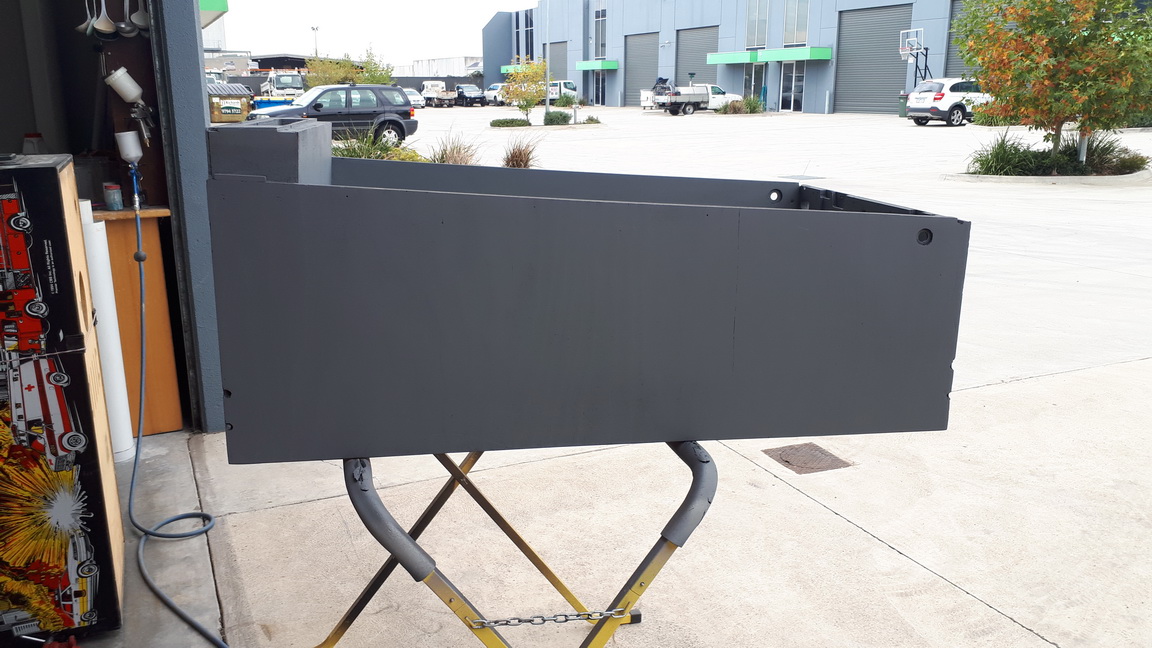
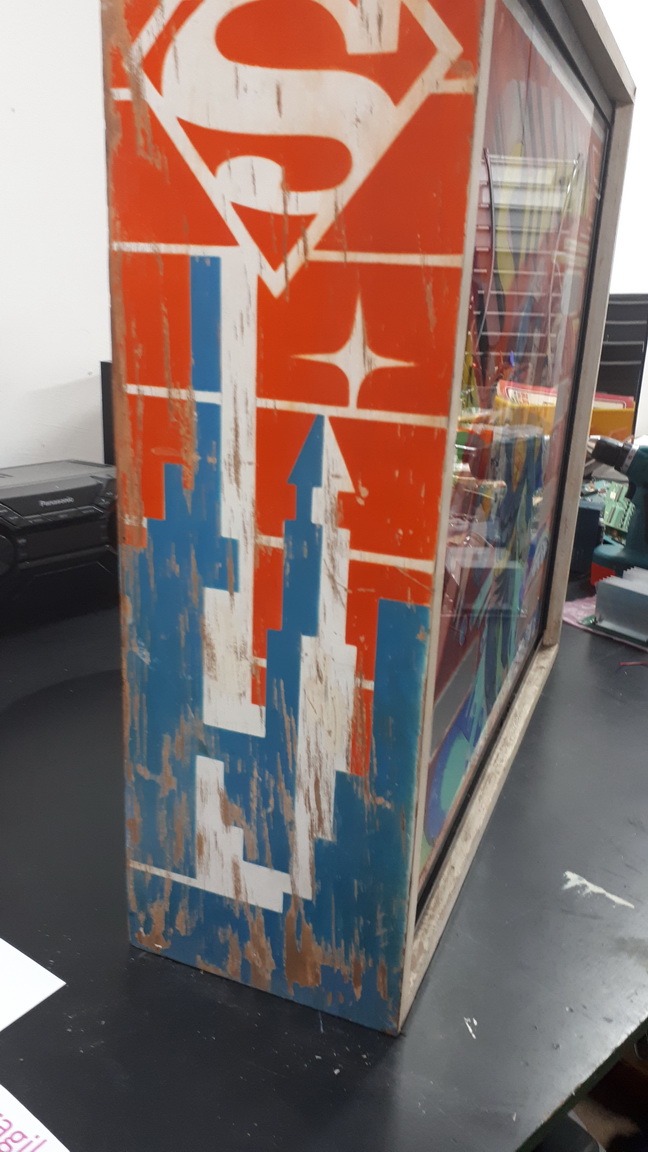
Time to move on the the headbox ;
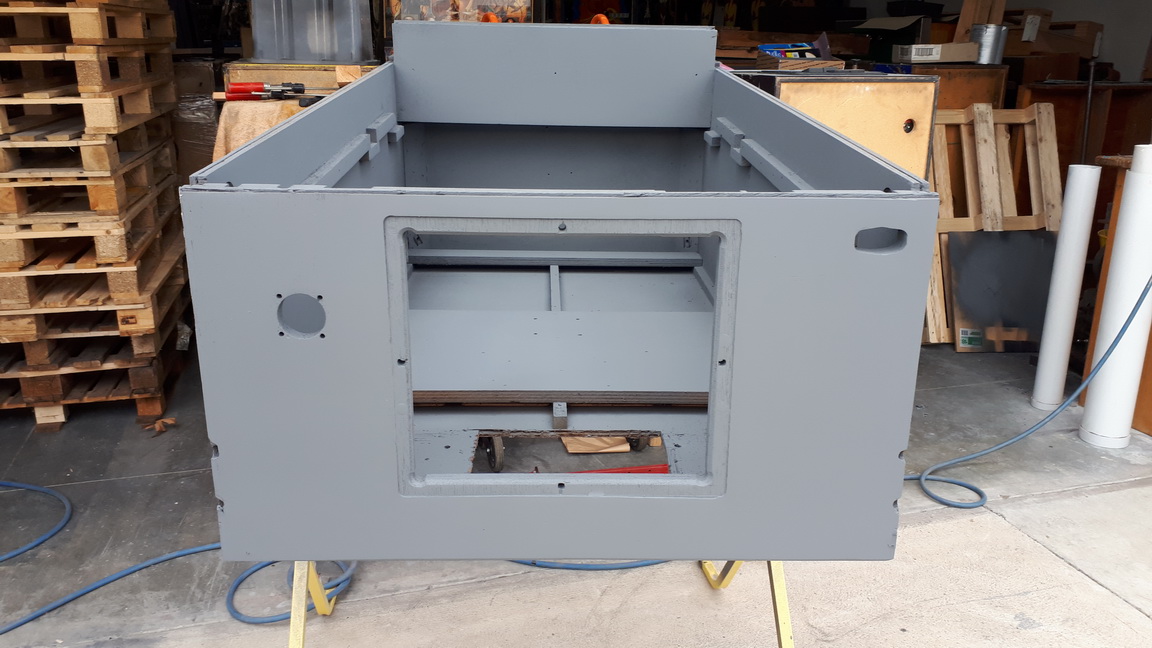
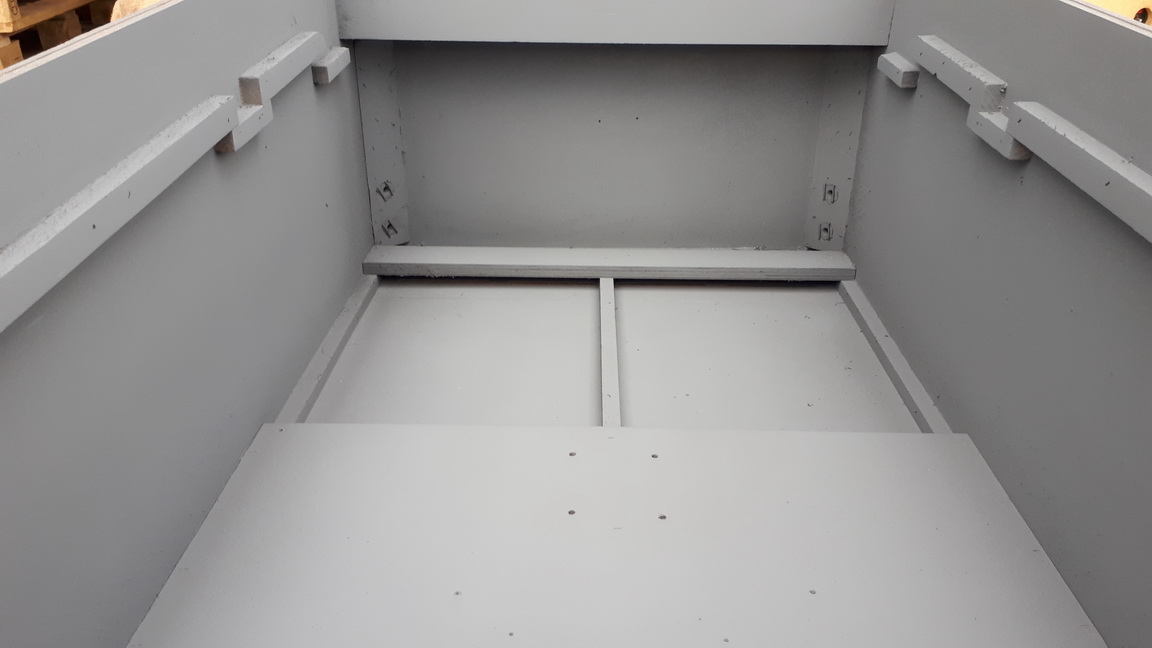
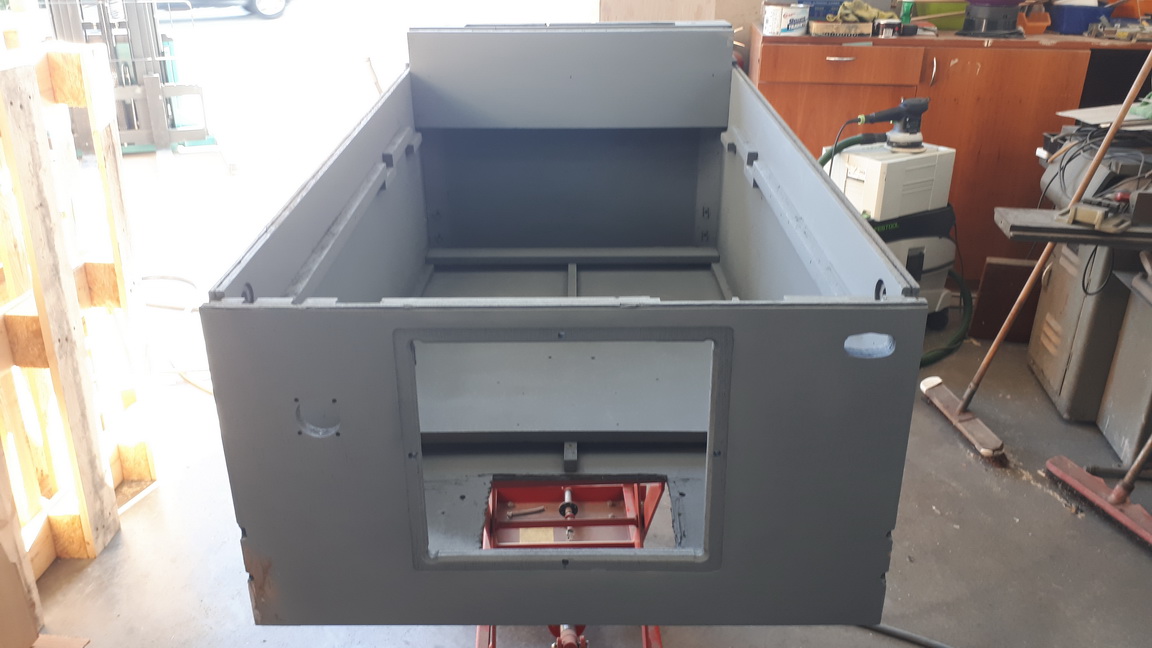
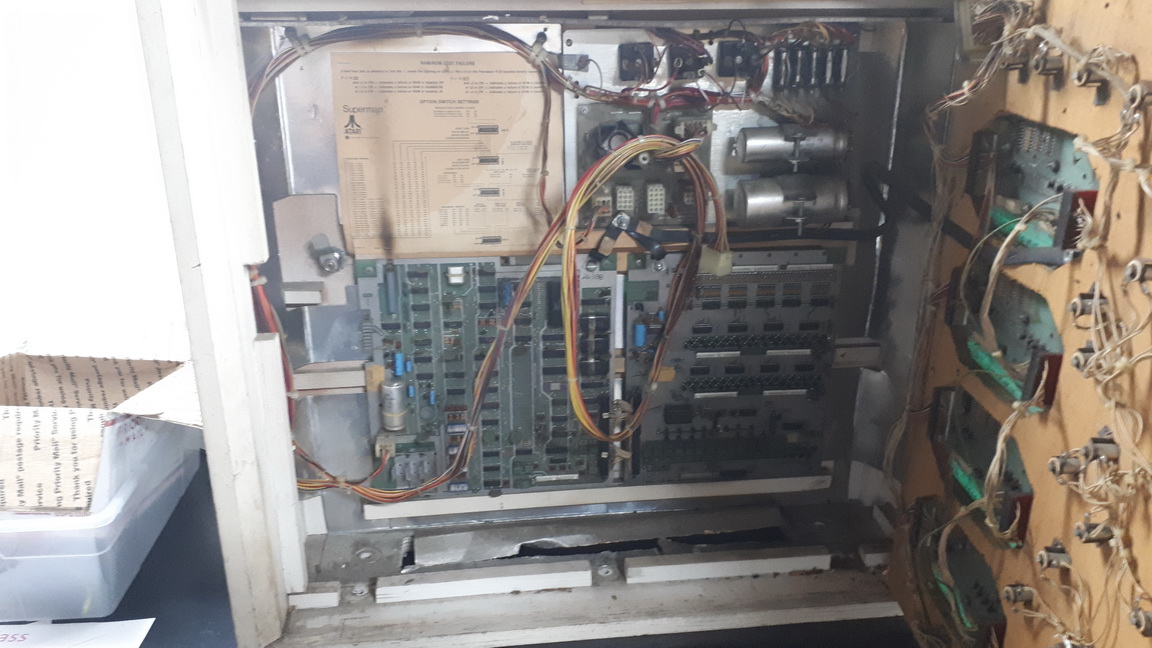
The Boards are in really good shape ;
Headbox is ready for sanding and prep.
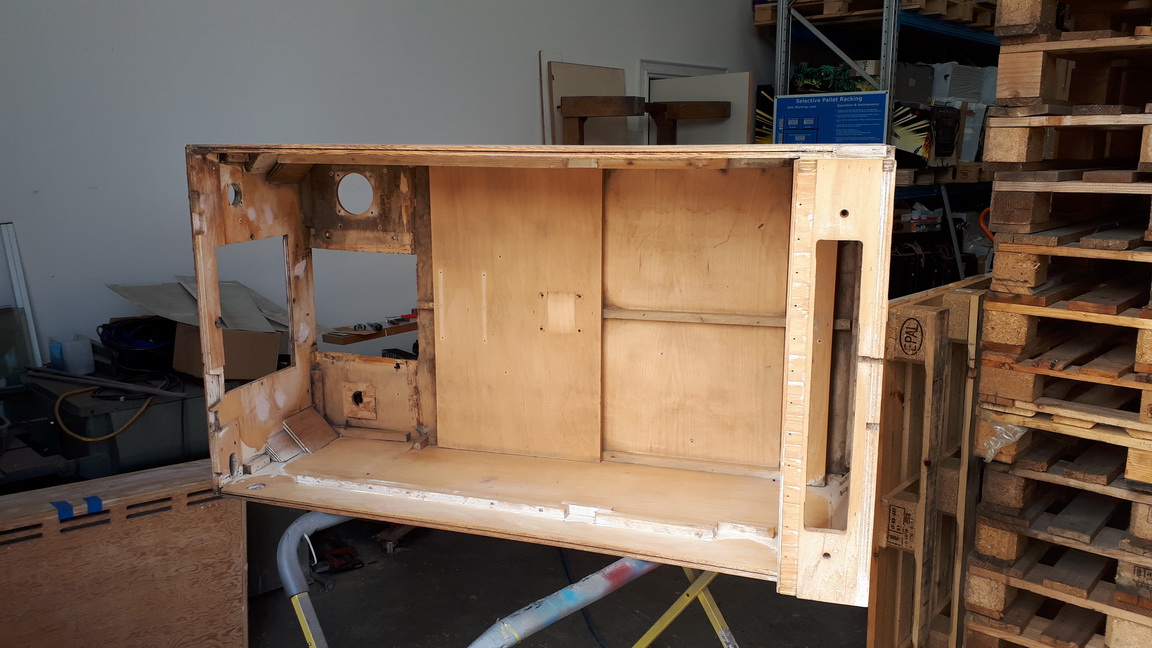
The cabinet is VERY well constructed. Stronger than most Wide bodies - on par with system 80s like Haunted House. The empty headbox is VERY heavy.
There's a long way to go on this restoration, but there is significant progress. Next update will be a repainted cabinet !


