The cabinet repainting was a long saga, that finally, was completed after a long delay. I don't like to badmouth suppliers, but there are stencil providers that you simply should not go near. I won't mention their name, as you cannot get ripped off by them any longer. They company is USA based. How I miss Gavin's stencils. so easy to use and always worked out. Anyway, I'll try and point out the issues along the way, but lets start with something positive.
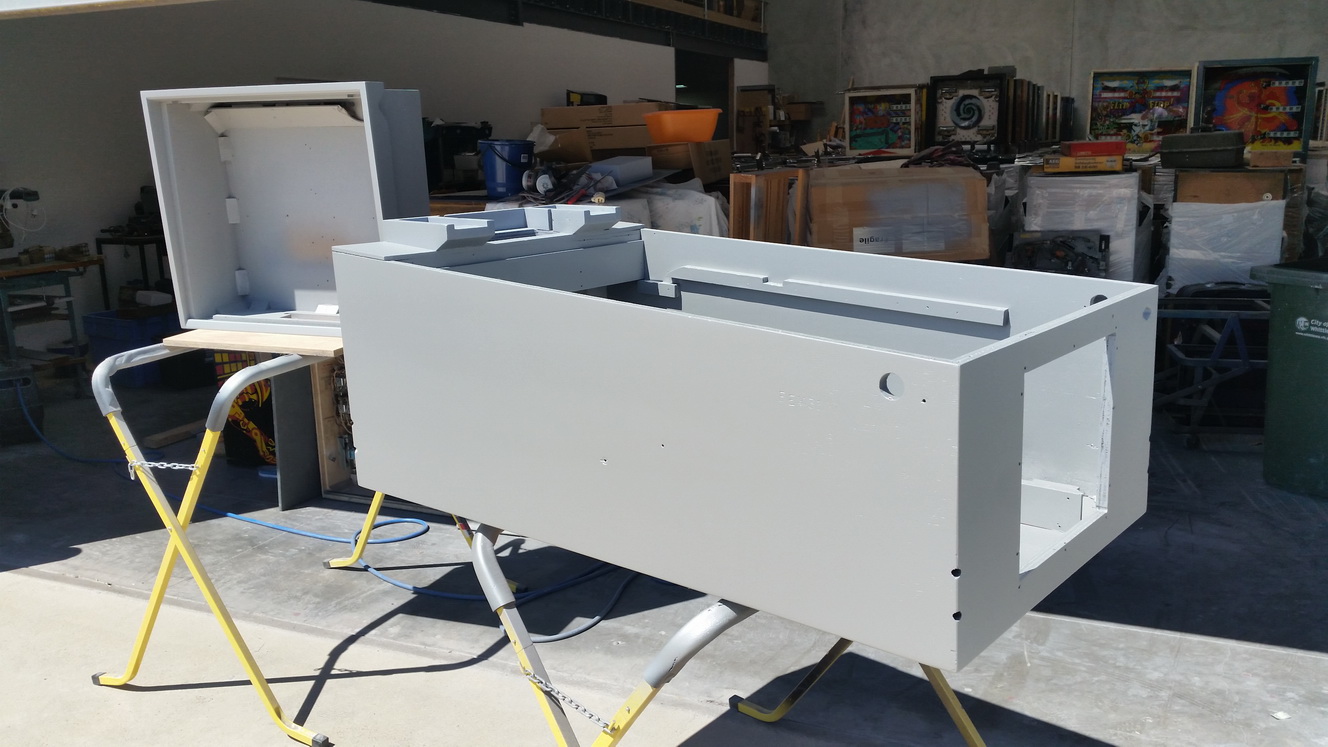
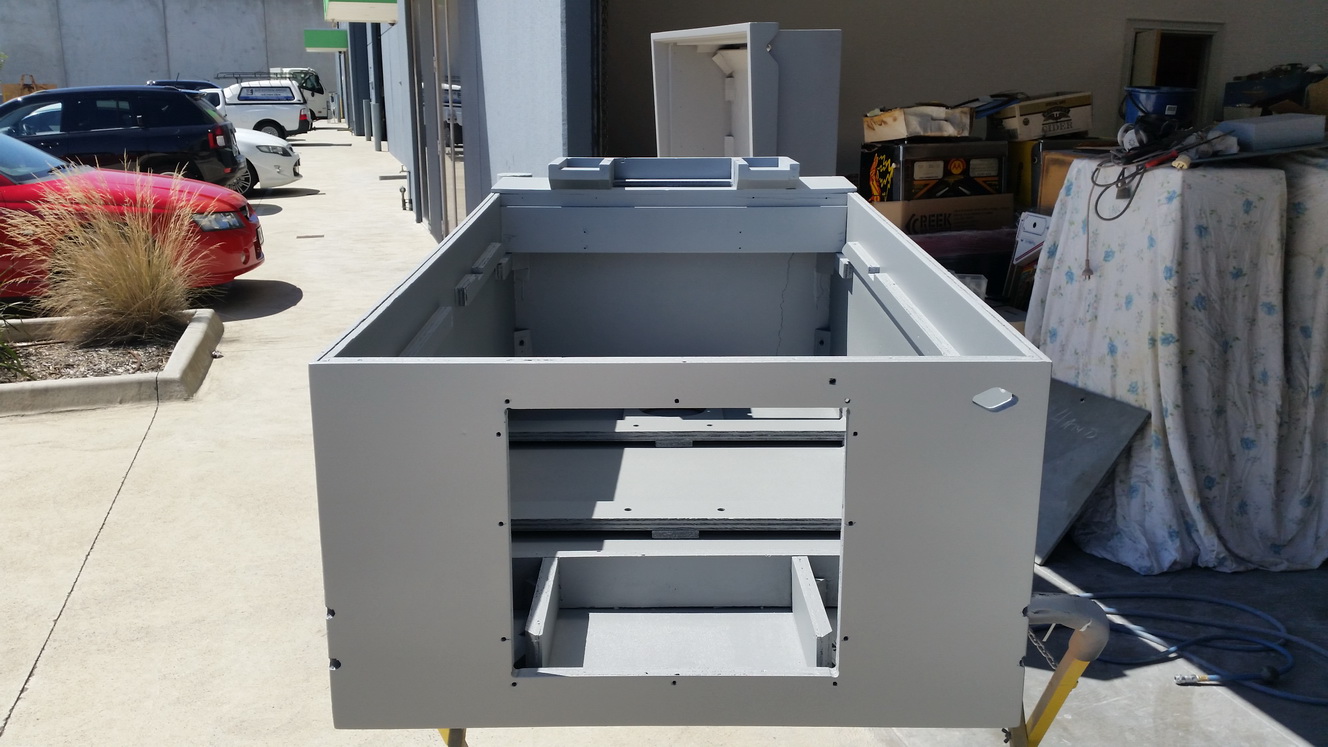
I took the cabinet to my paint supplier and he matched the colours and the finish perfectly. There were a lot of repairs to this cabinet, particularly under the cabinet, which needed new wood trim. That was several sessions of repairs. Next the undercoat, and I had to do more coats than usual, as the timber was thirsty ! I don't like the "plastic" or "glass" look of other paints, I like a bit roughness - it is timber, not plastic. So I go authentic.
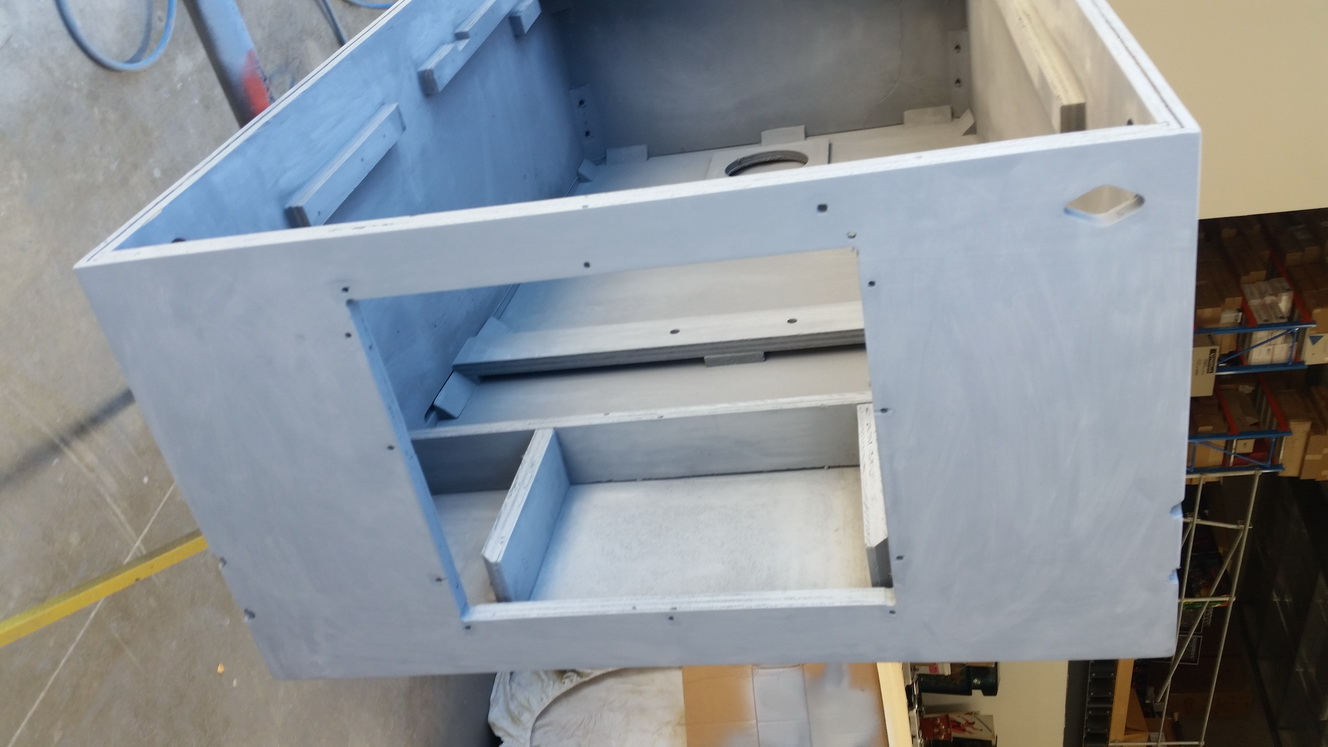
Here's the undercoat after the last sanding session ;

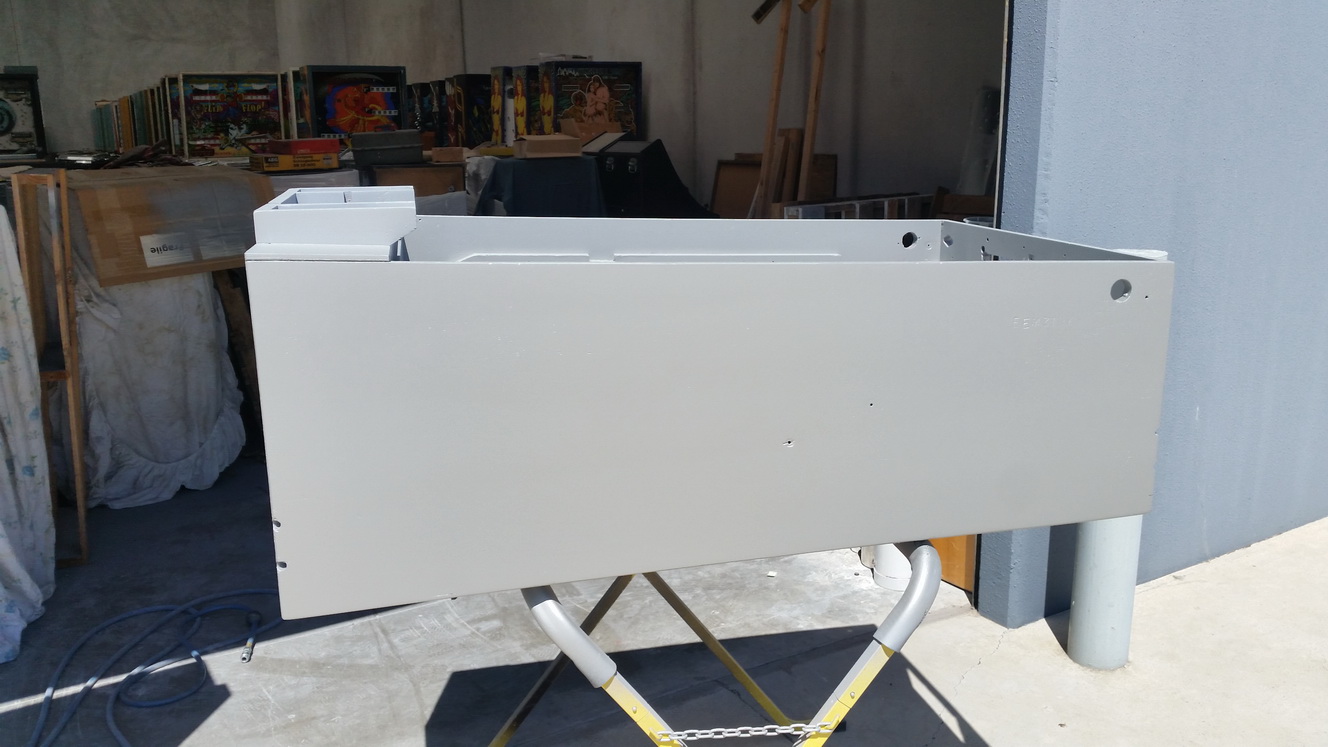
The base coat is applied, and is left in the sun to dry. This paint is touch dry in 5 minutes, ans after 2 hours in the sun, you can start stencil work. I don't risk doing that - I wait until the next day.
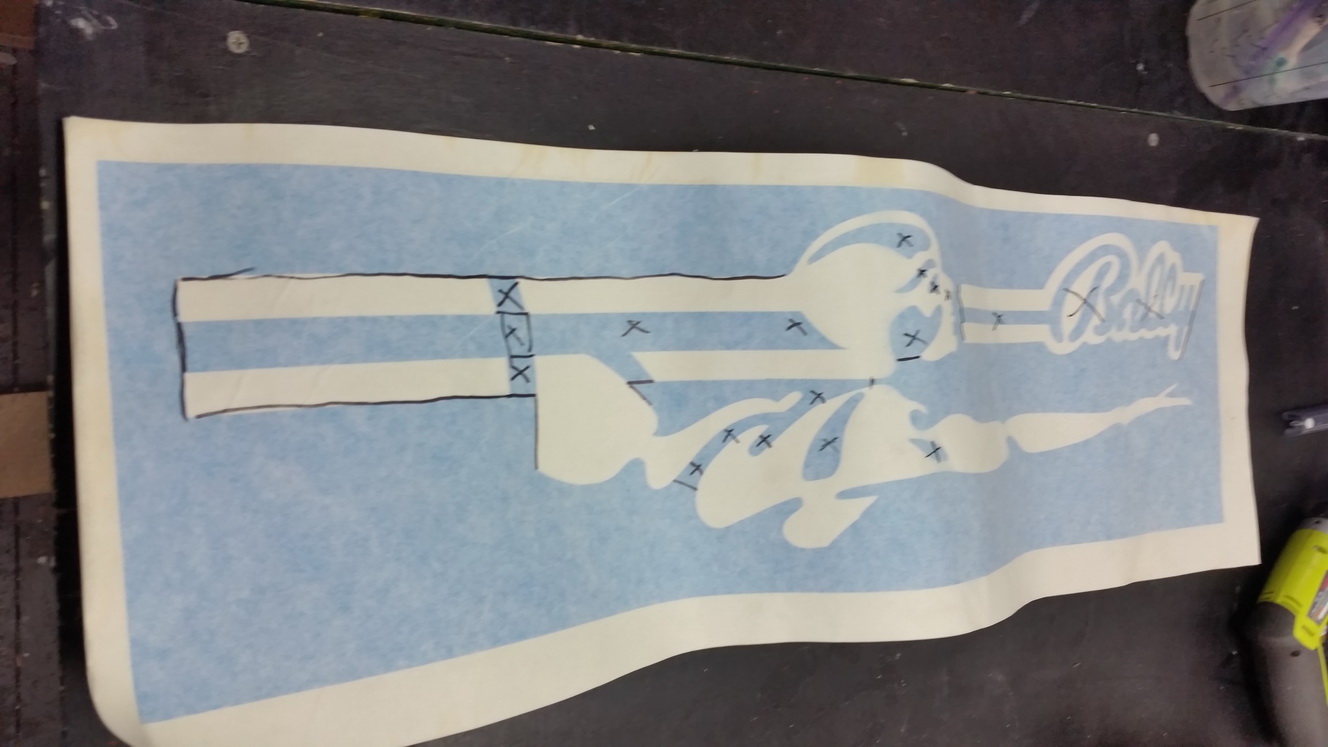
OK - So look away if you don't want to see a disaster in the making. I tried a test on the blue section of the headbox. I was not too concerned, and then the next day, I tried to align the black stencil, and no matter what I did, it was never going to line up as the "artist" drew the artwork with NO overlap at all. Making matters worse, the size was incorrect. This stencil is going to need work as it is also drawn incorrectly. So after spending time with tracing paper and doing a test run without paint, I had to modify the black stencil in several areas - denoted in texta below !
Lets apply the black stencil. Whoops - it does not stick !
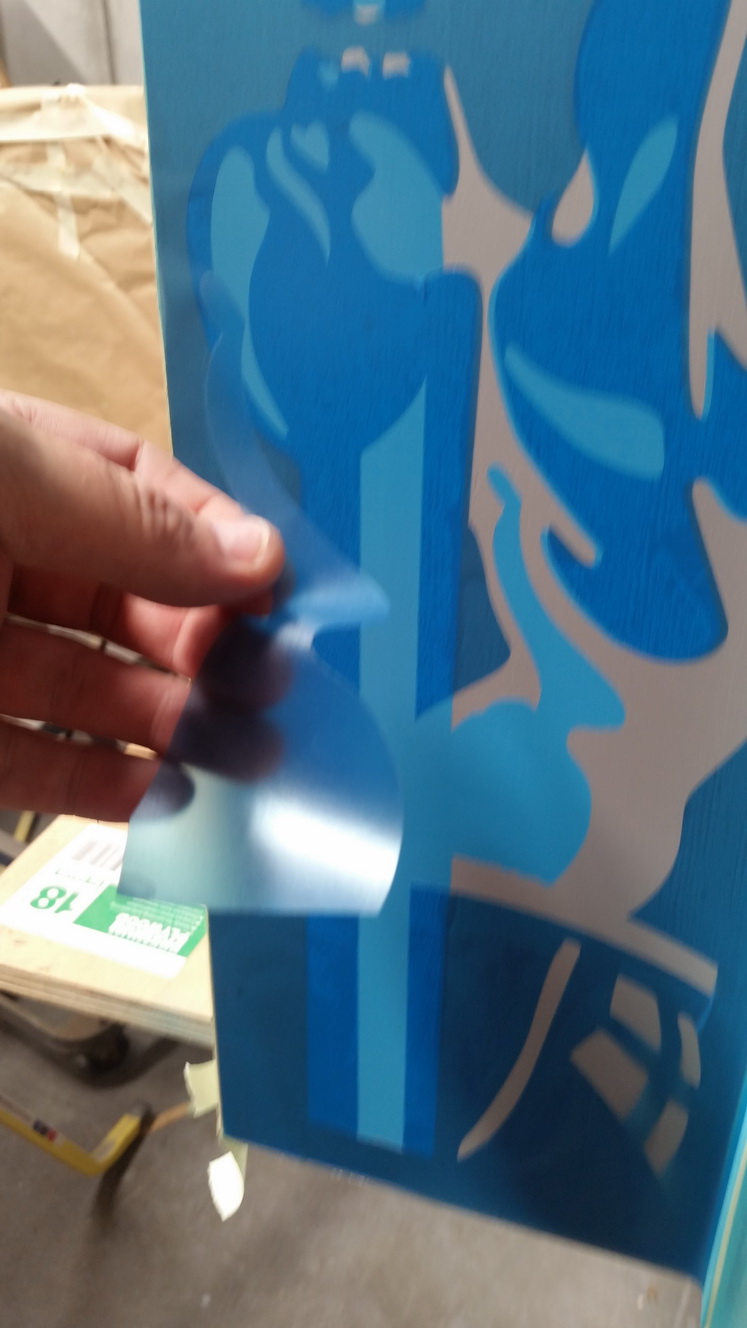
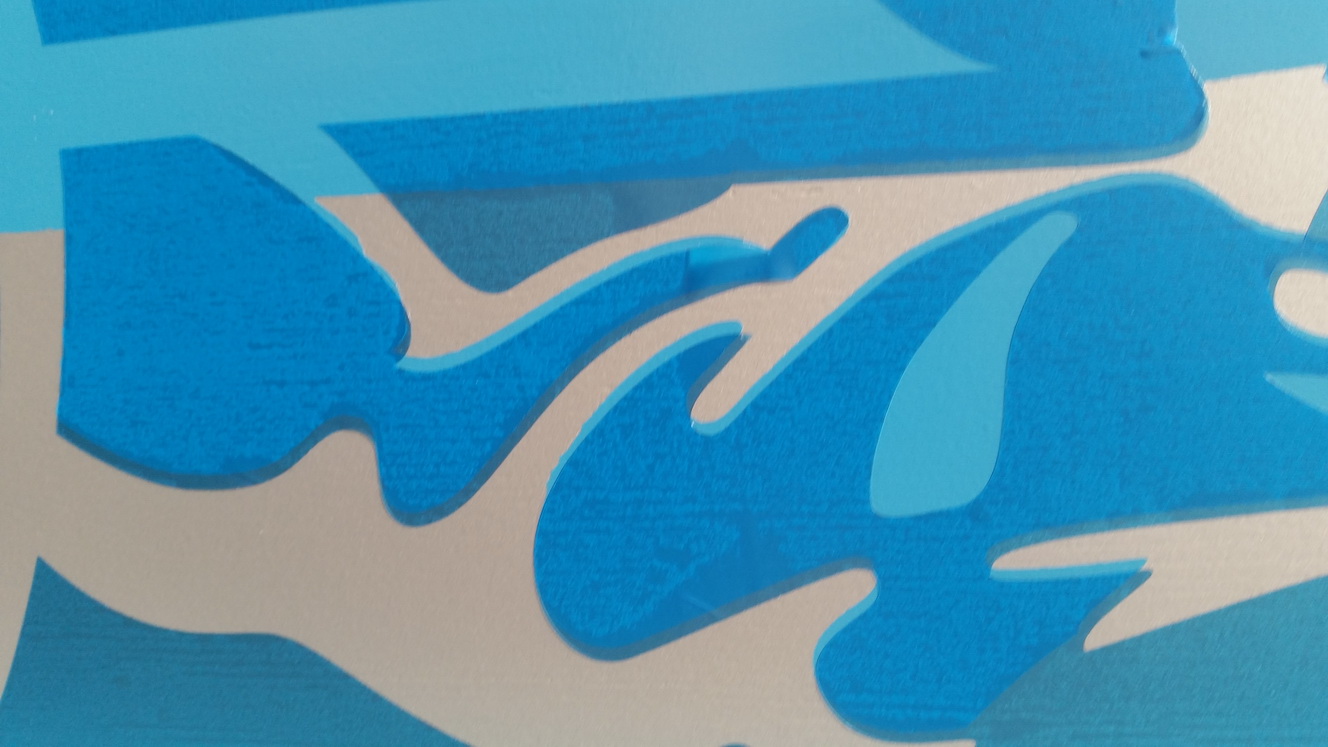
Lets just keep going. Spend more time masking up the continual "tears" (and tears by this stage). Problems lining up..
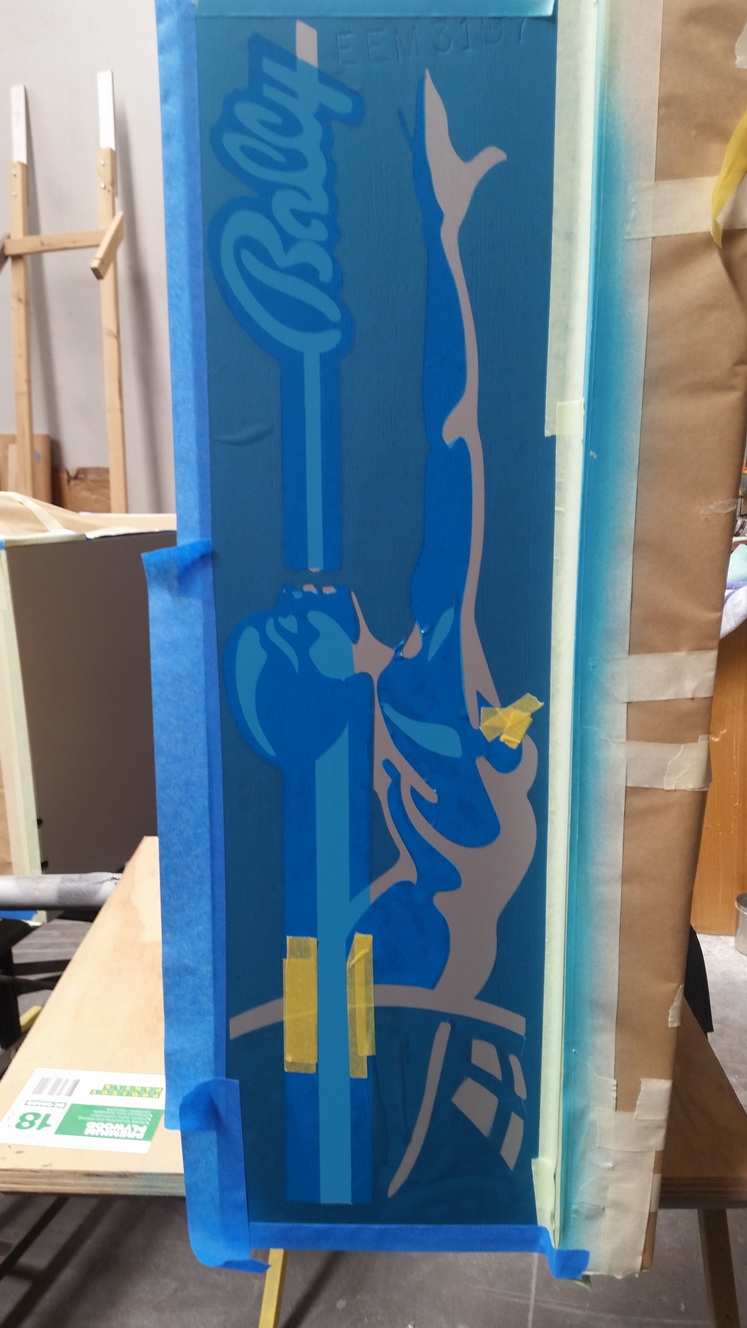
Lets paint ! Remove the stencil.. Faaaaaaaaaark

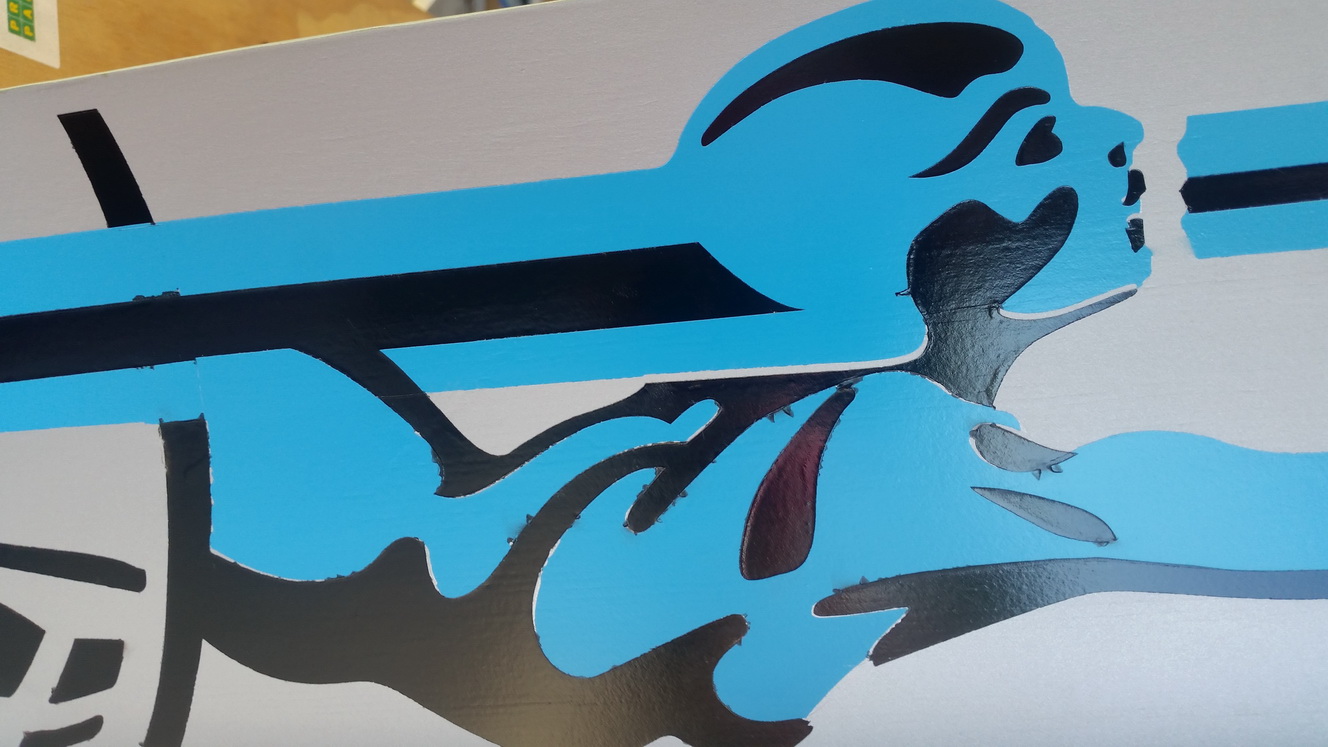
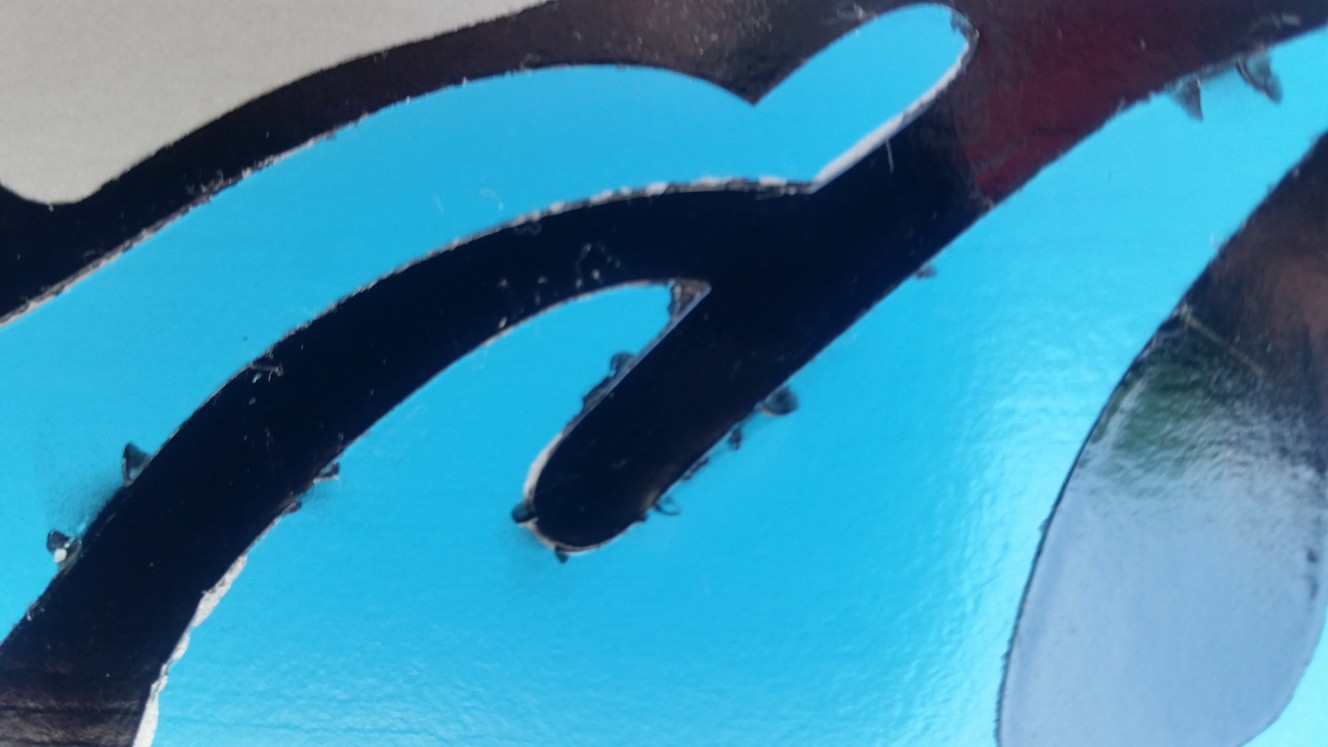
How could anything turn up so F%^&ing Twisted ?


