After hitting the panic button several times, and reading other such horror stories, I felt a little bit better. I emailed Jeff "Pinball Pimp" in the USA, and he was happy to make a set for me, as long as I could scan the artwork. Lucky for me, my personal Embryon is not yet sanded, so I scanned all the artwork, and sent the scans to Jeff. He took a while, but he sent me the stencils, and I was eager to try out his stencils. Originally, I was not happy with the stencils, and through trial and error, I worked out how to use the stencils with my method of painting. These stencils are designed more for Enamels and rattle cans. The thinners of Acrylic Lacquers eat away at the stencil if you don't apply thin coats. So rather than 2-3 coats, you have to move faster so that the paint has no time to bite into the stencil material. By the end of the painting process, it was working out perfectly for me.
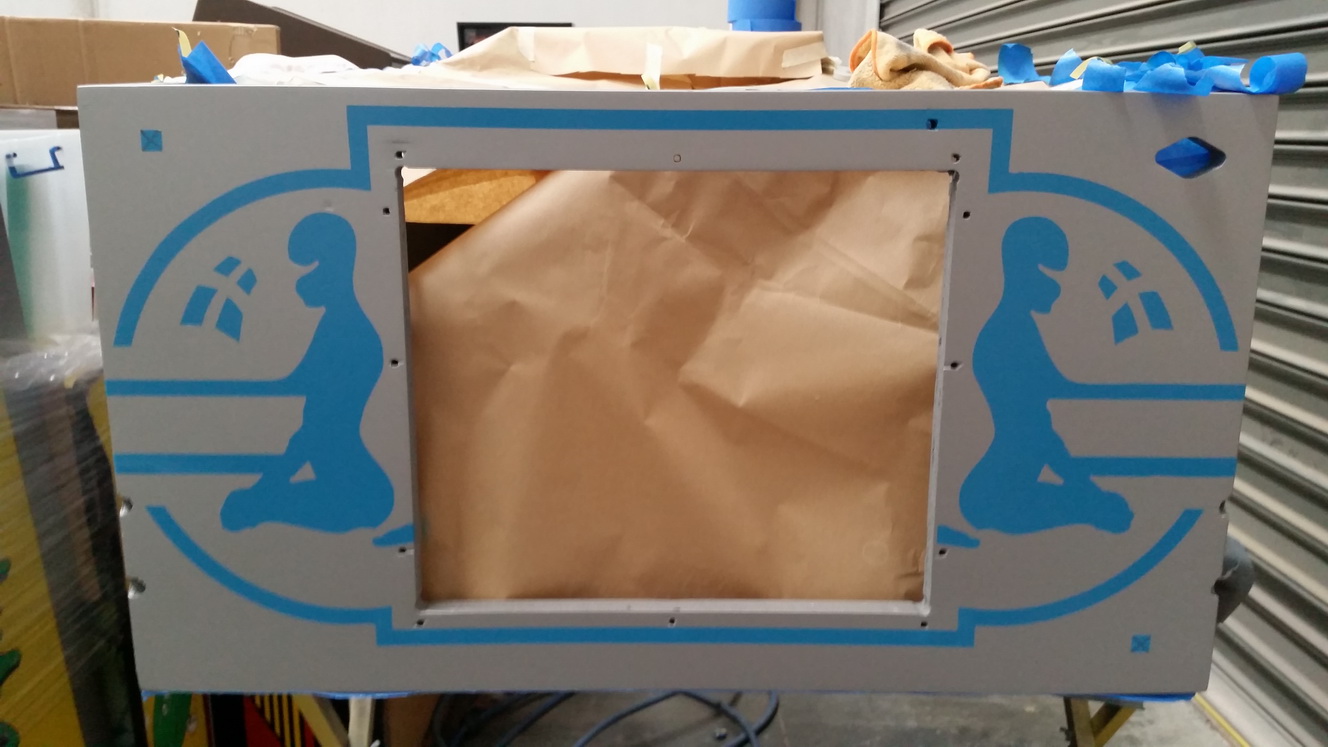
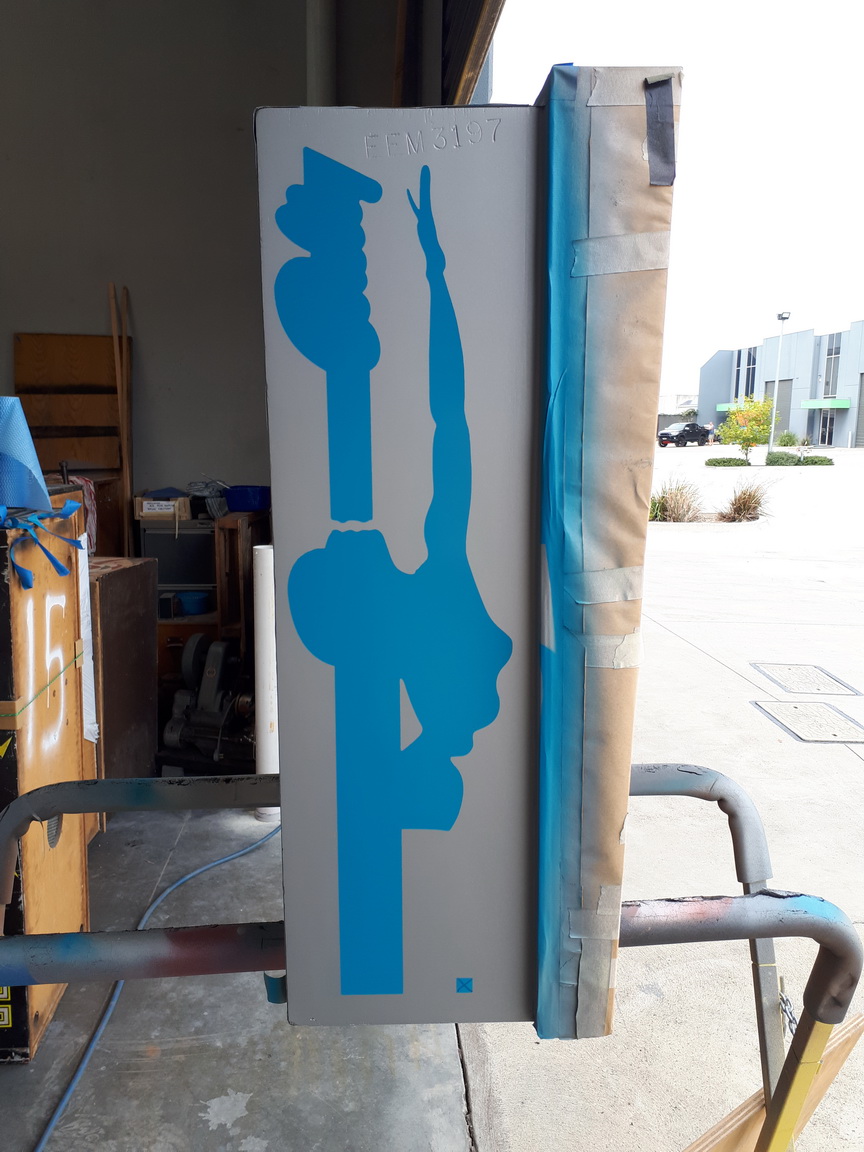
Here we go with the blue on the front of the cabinet ;
Good start !
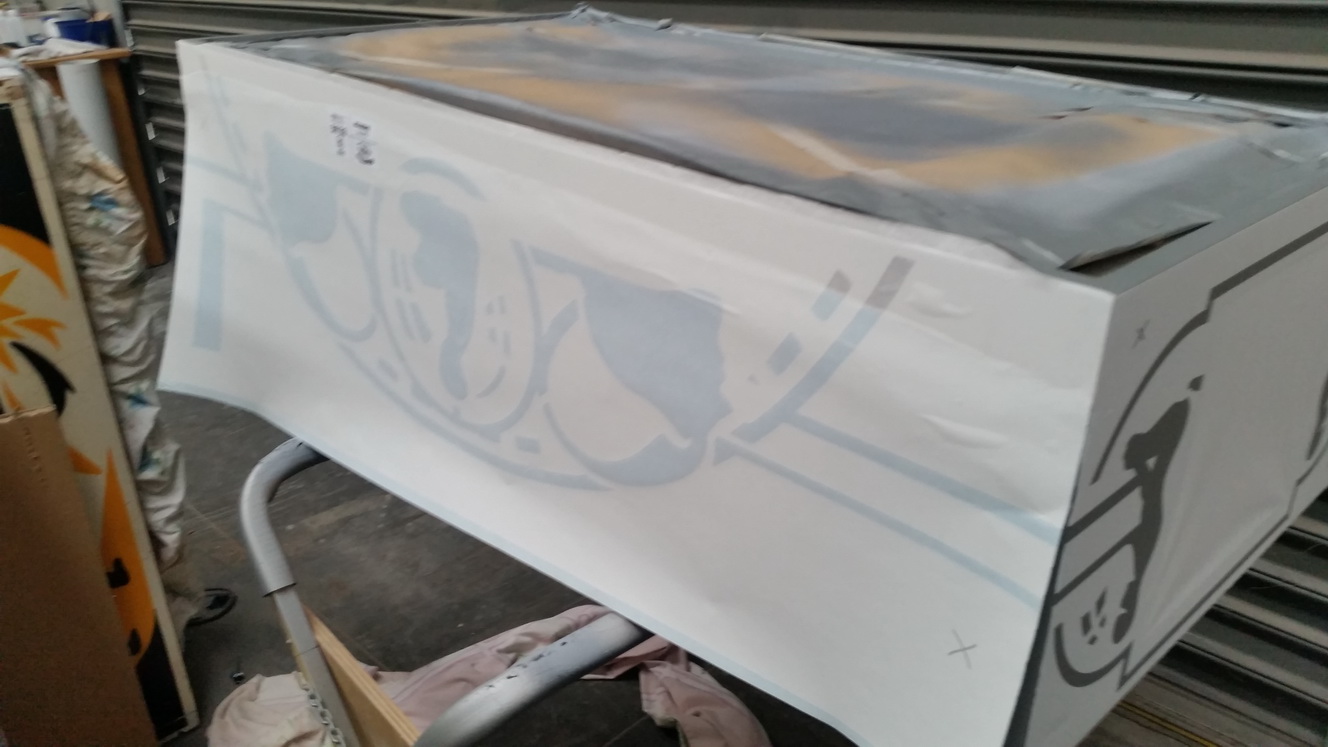
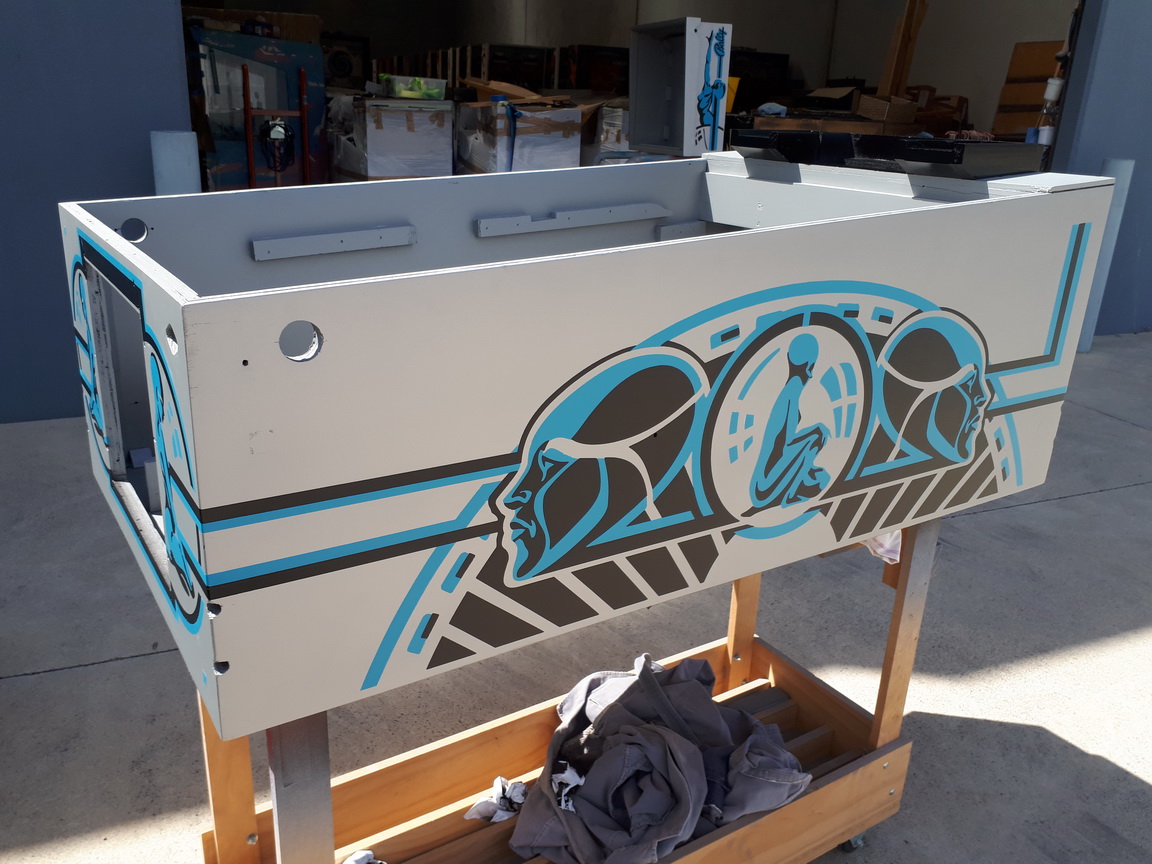
Now we start the sides ;
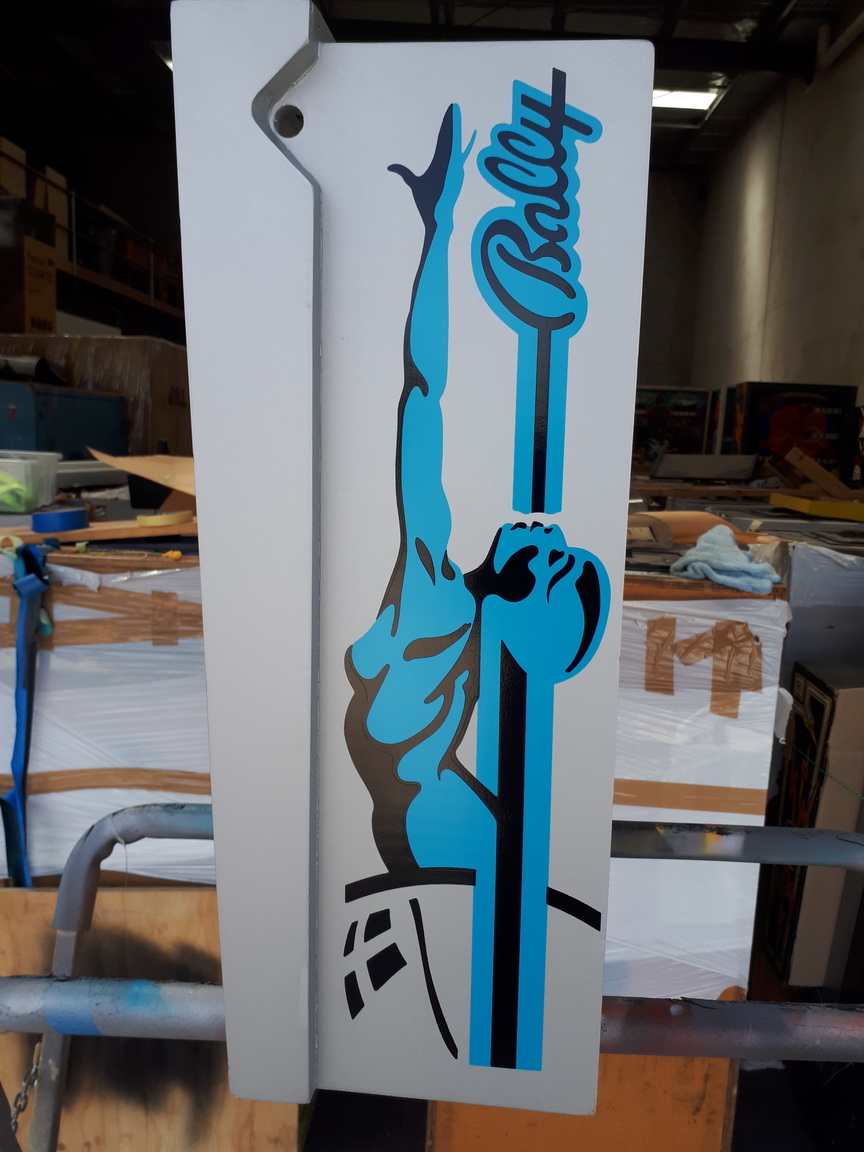
Here is the black lining up perfectly.
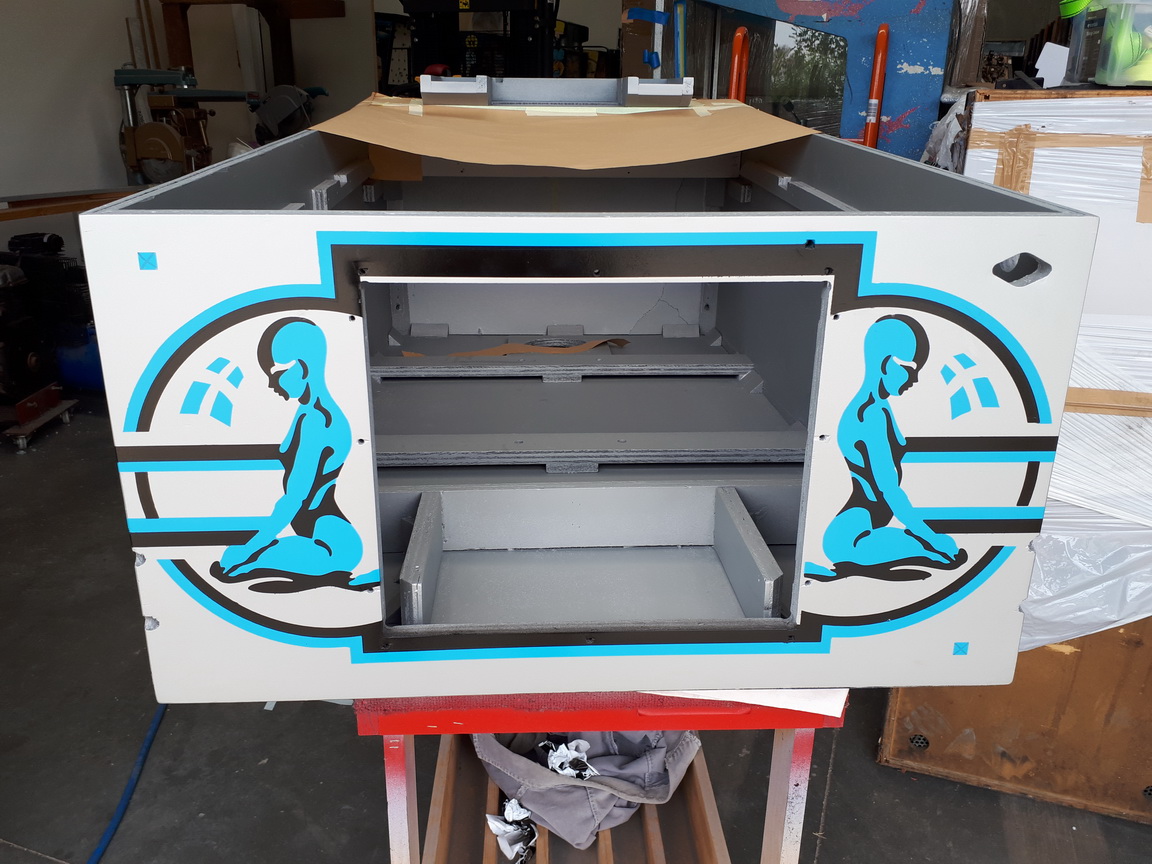
You can already tell that Jeff's stencils are hugely superior to the rubbish I was using before ;
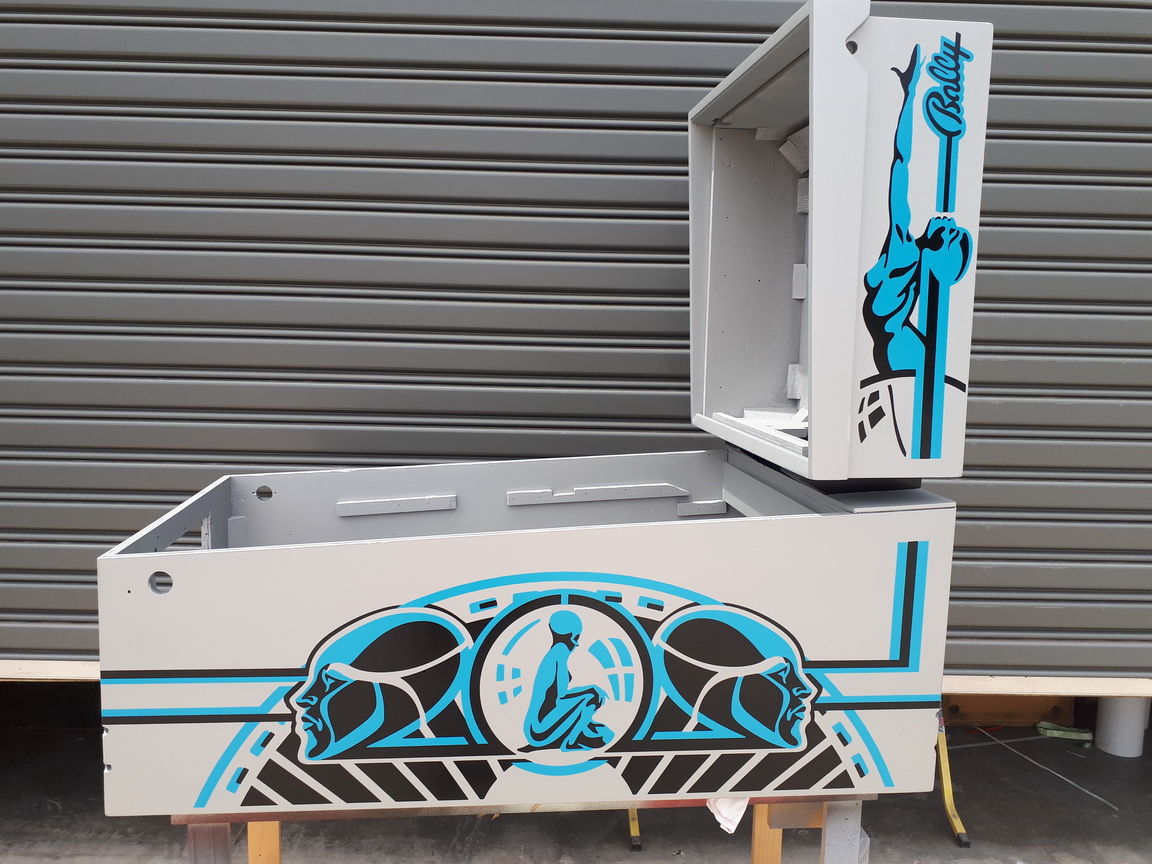
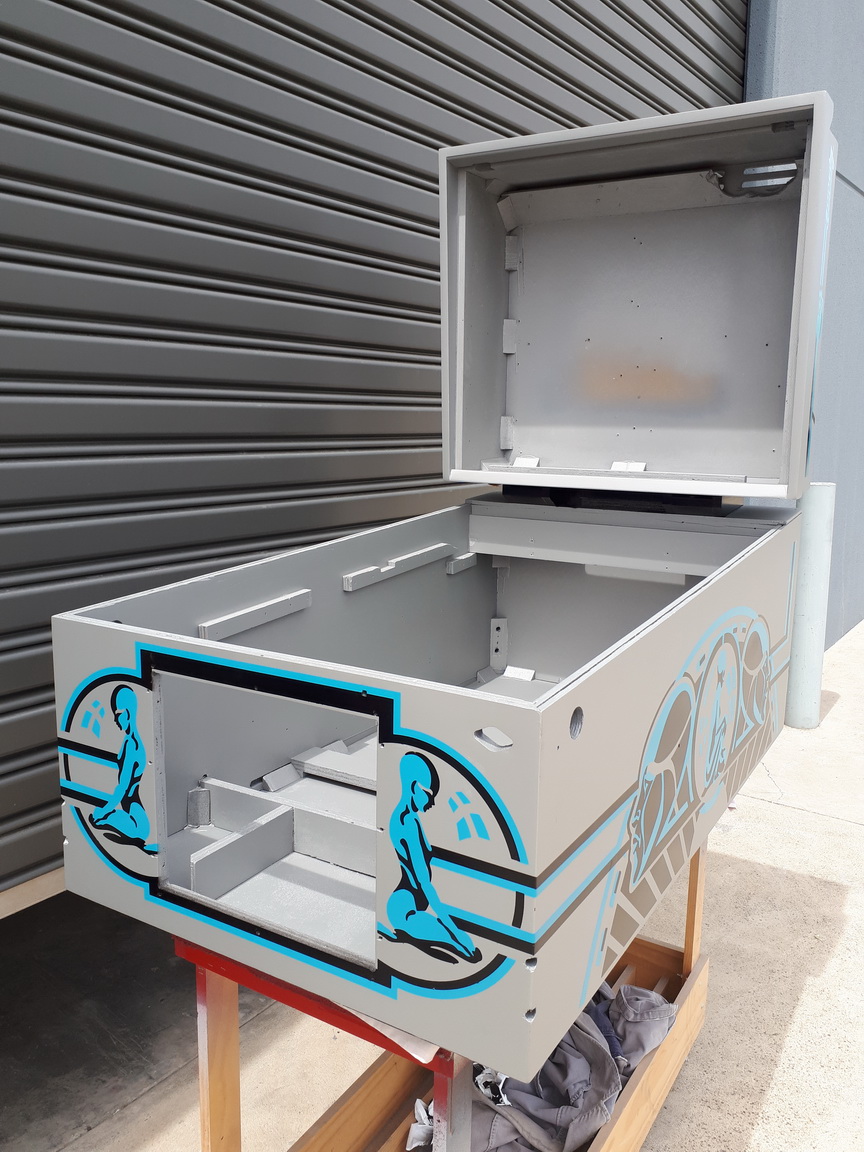
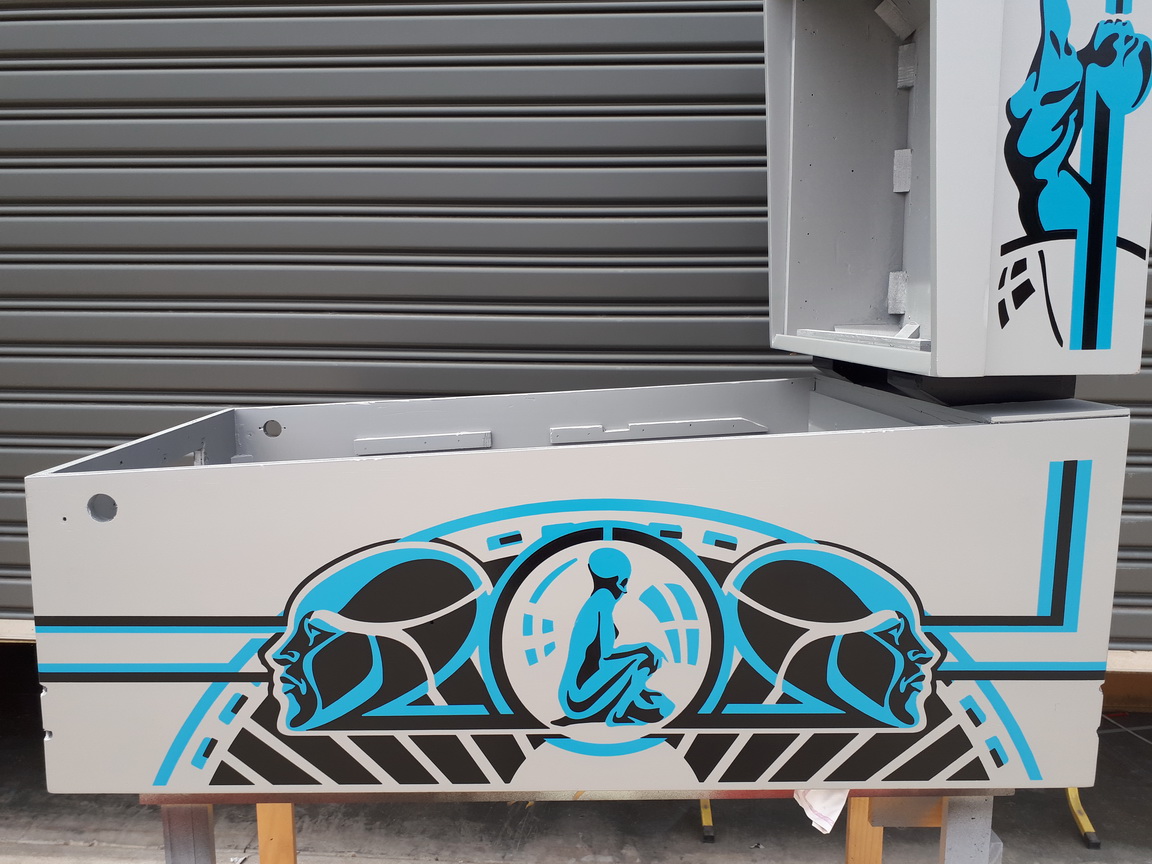
Painting of the cabinet is completed !
Now I added the new sideraisl from the other Jeff (railways), and original legs from PBR ;
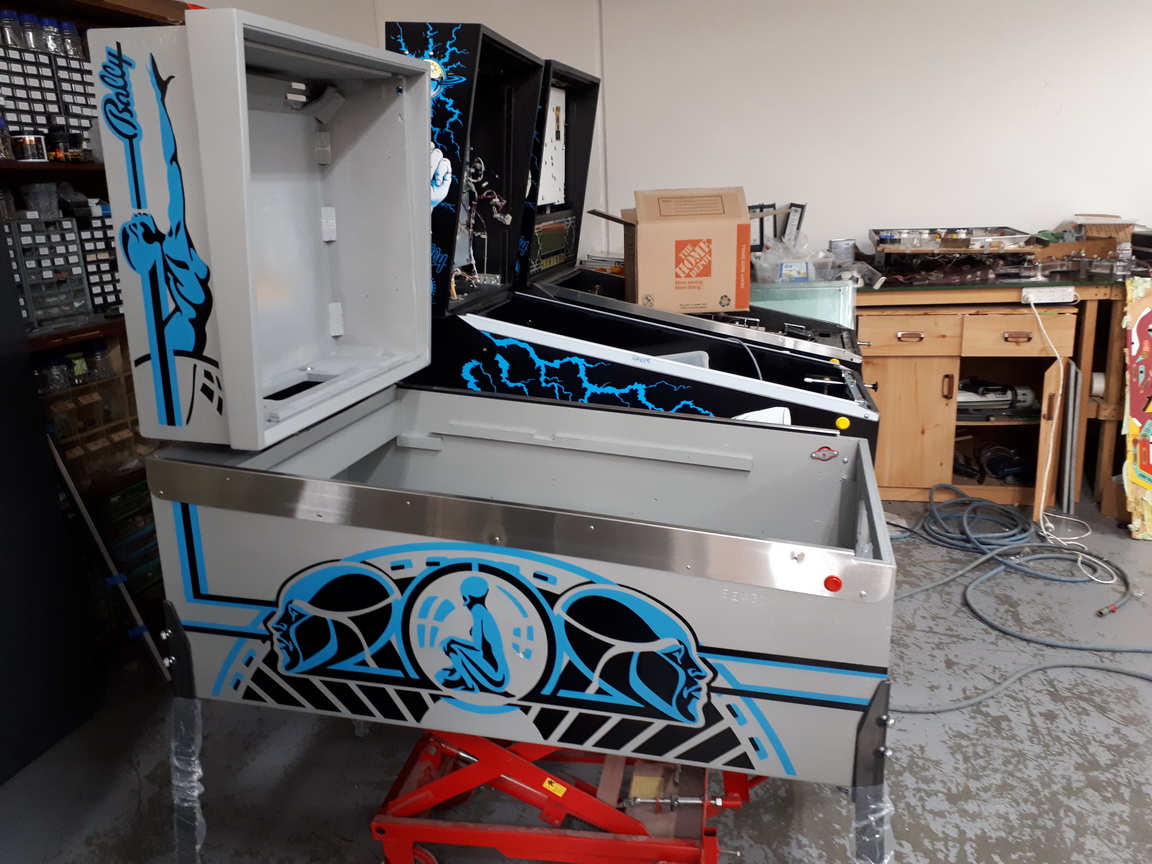
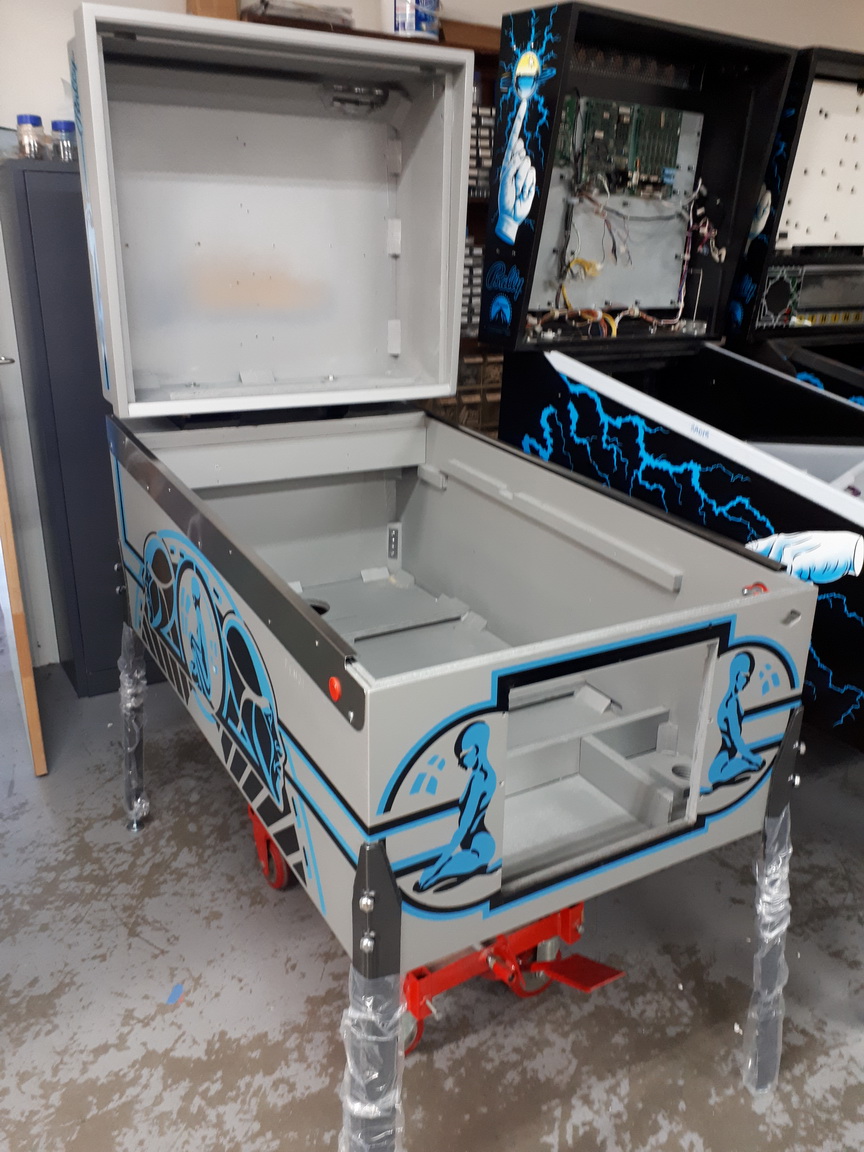
It took a LONG time, but we got there !


