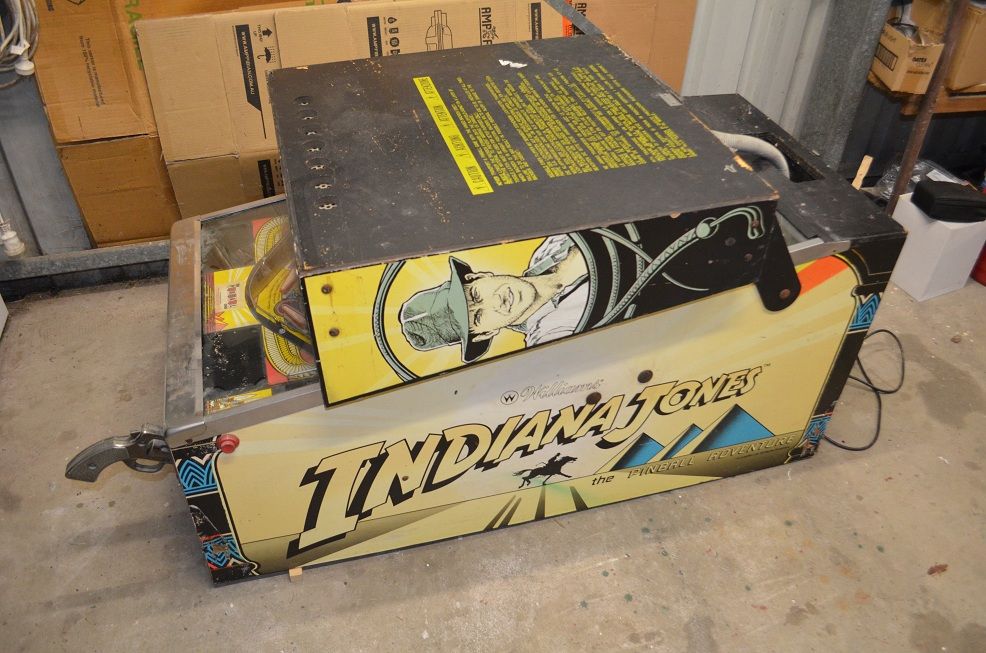
After many years of waiting I have finally started my grail pin restore. This has been sitting in the shed for a few years now waiting for the right time to start. I have mainly been building up my confidence with other machine restores during that time.
A bit of background on this machine - This is actually the final project machine in a trilogy of pins I acquired due to the floods in QLD around 5? years ago. This machines as well as the others had water lines that looked to go about half way up the cab, completely destroying the lower cab and leaving the pf hardware and components in a terrible mess.
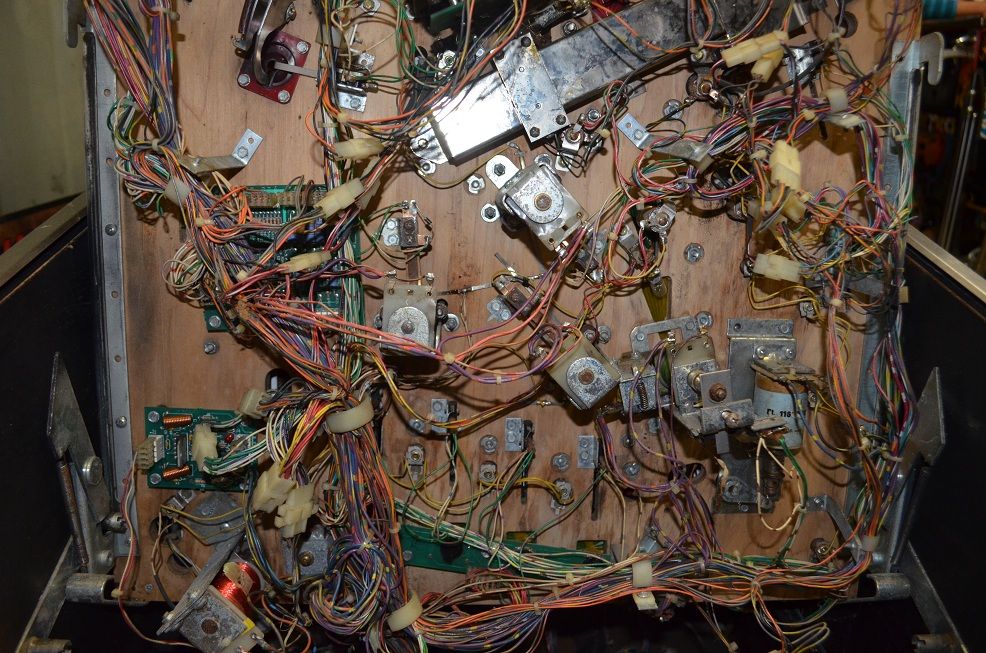
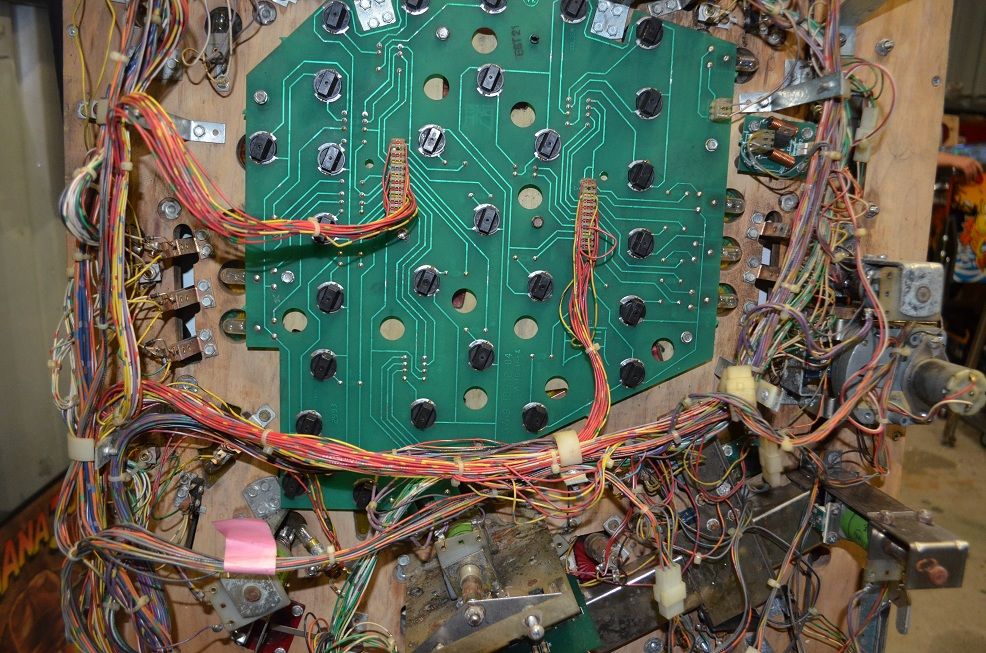
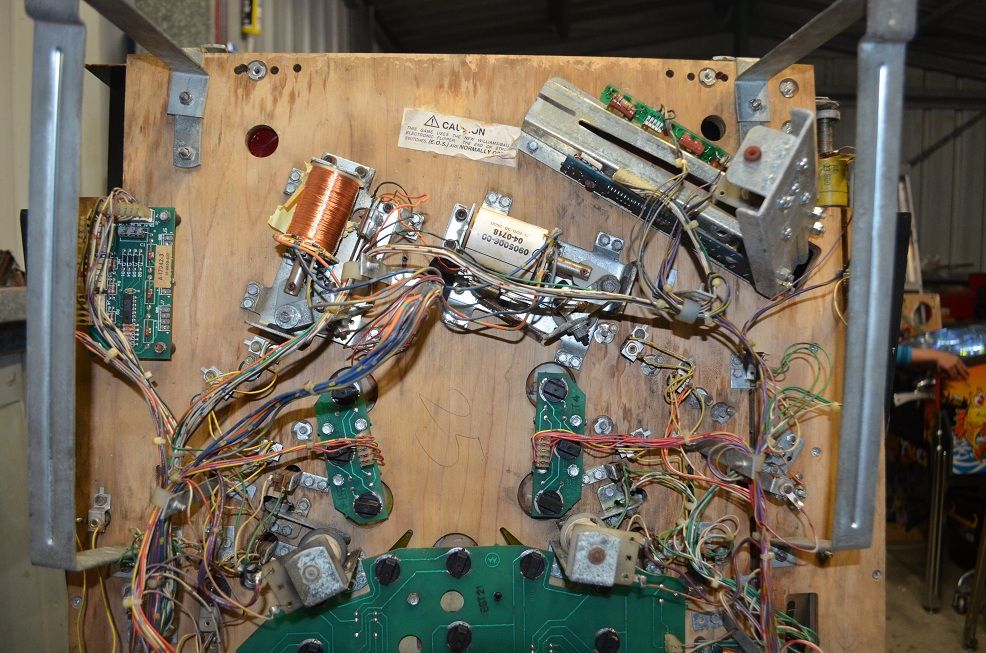
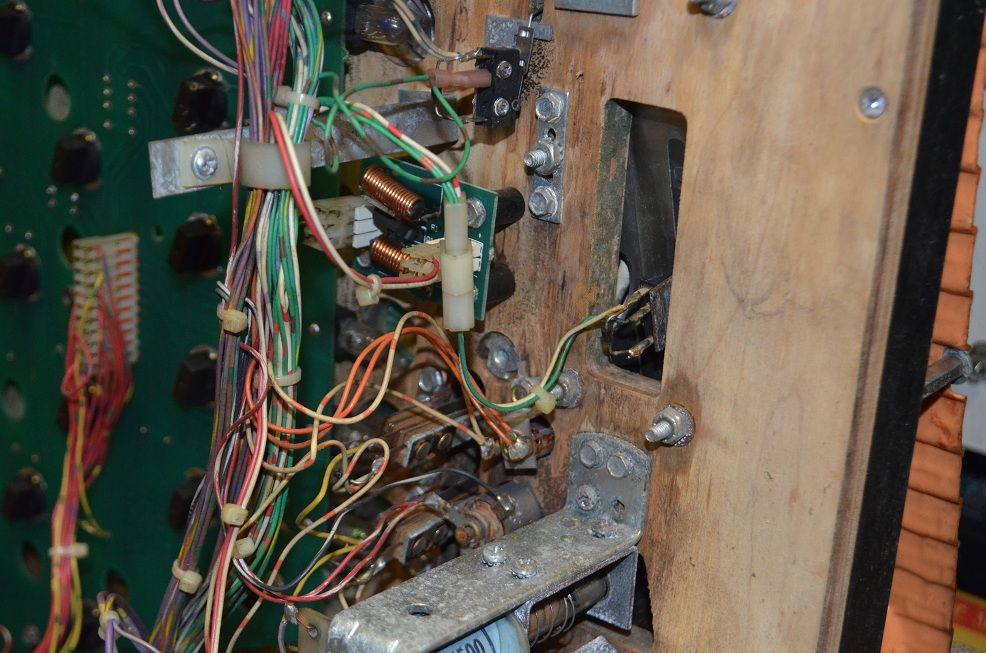
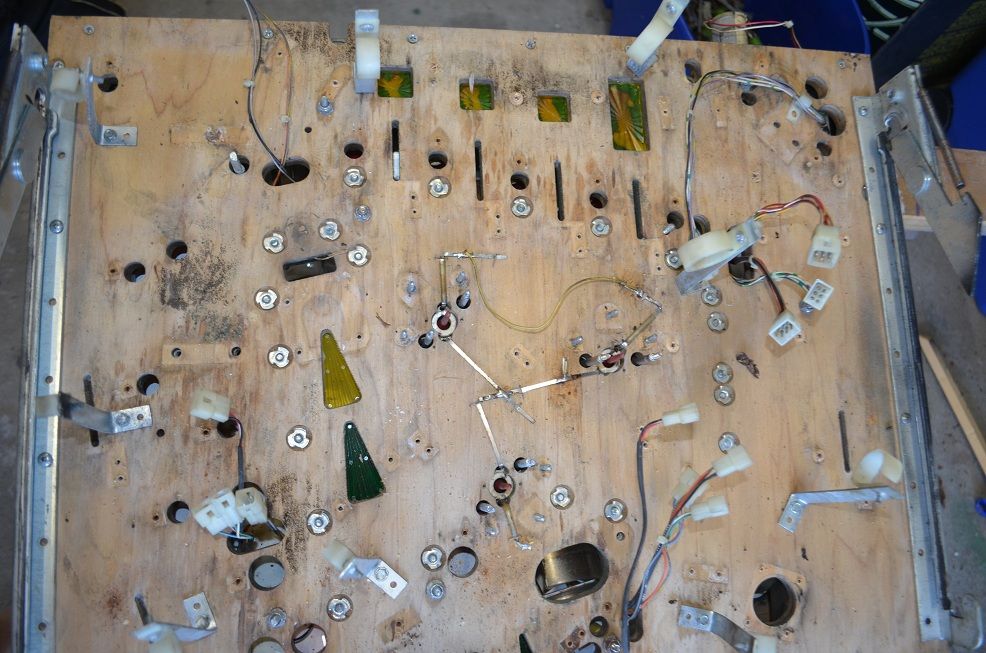
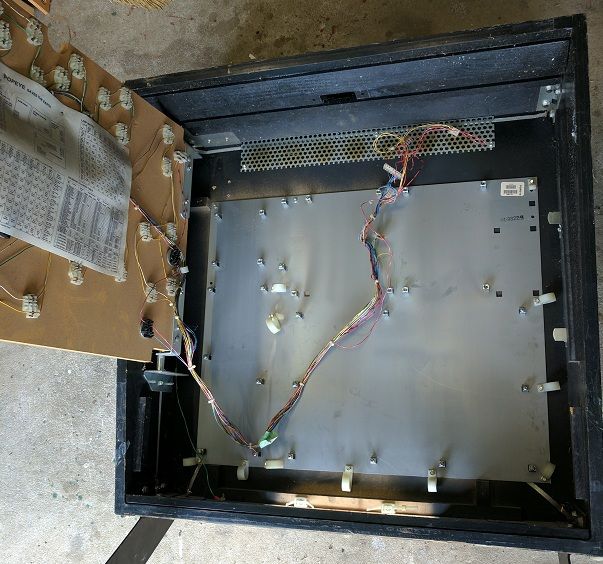
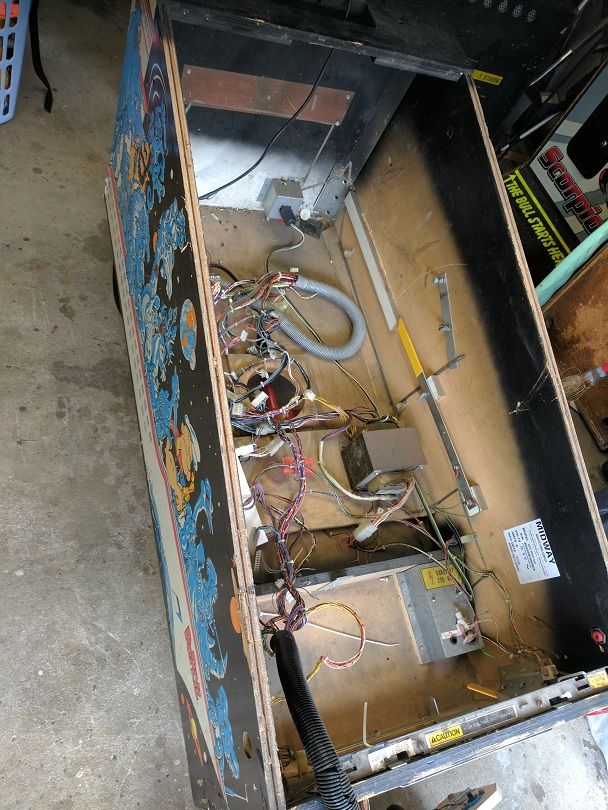
The water presence is noticeable with the pics taken under the pf, with major corrosion on all mechanisms and light sockets.

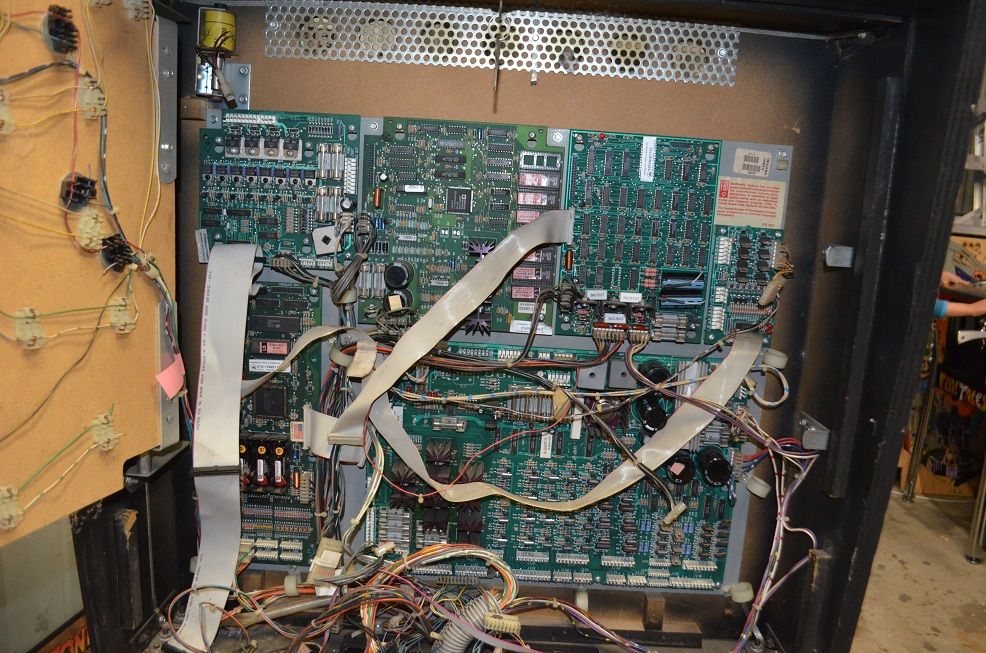
HOLLY CRAP! Rookie error on leaving the batteries in when I stored it them years ago! No damage on board though *few*..
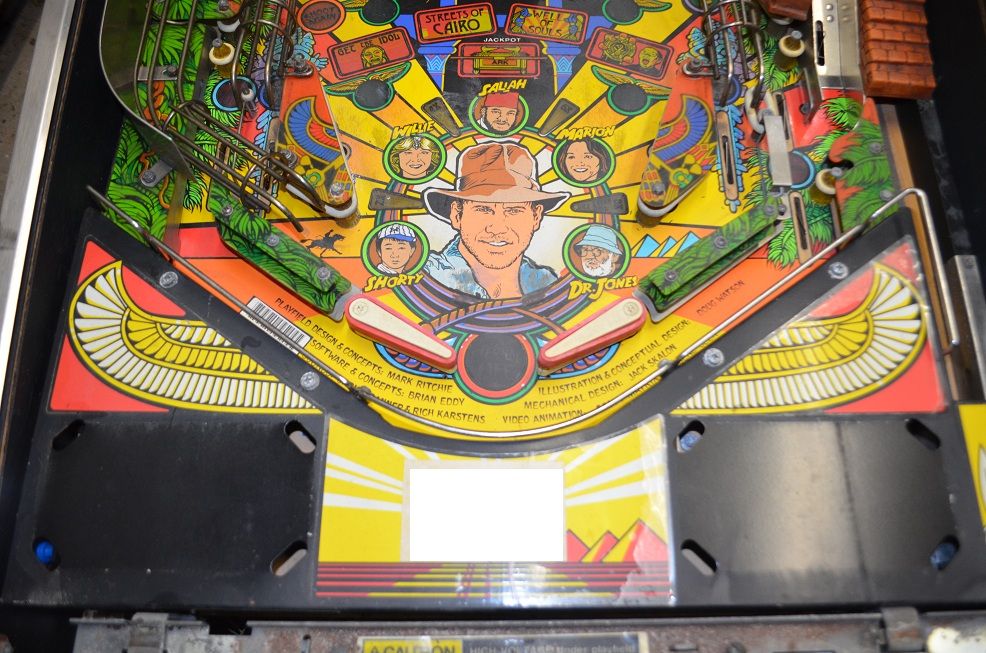
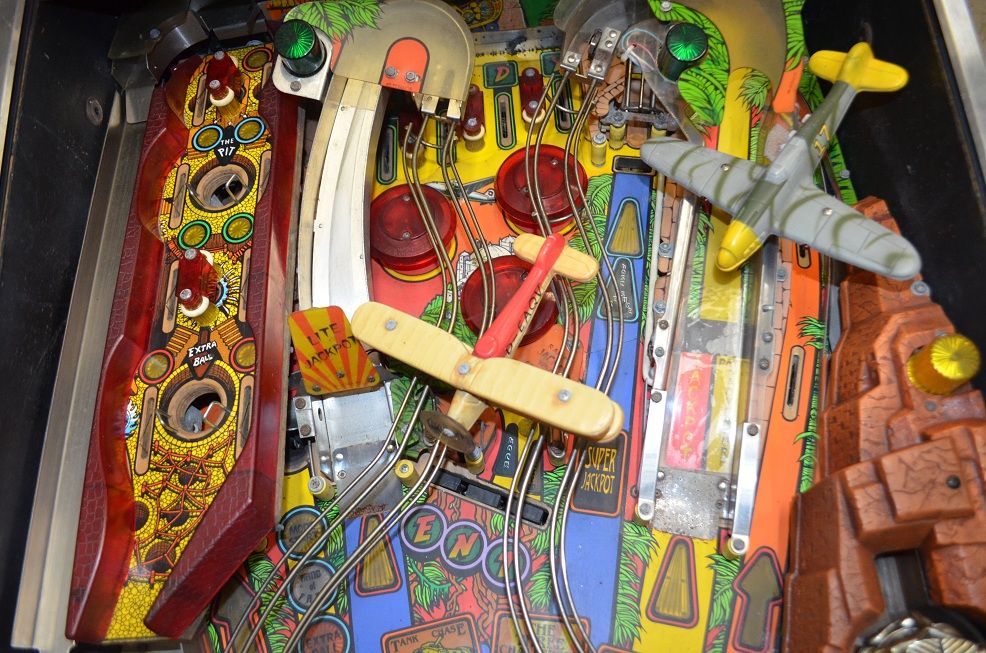
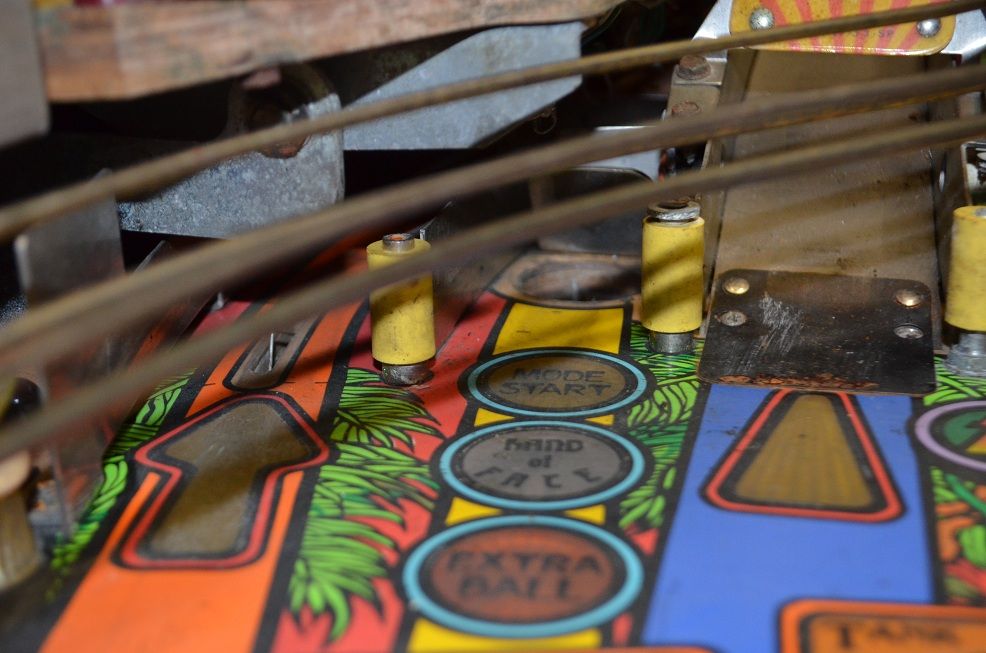
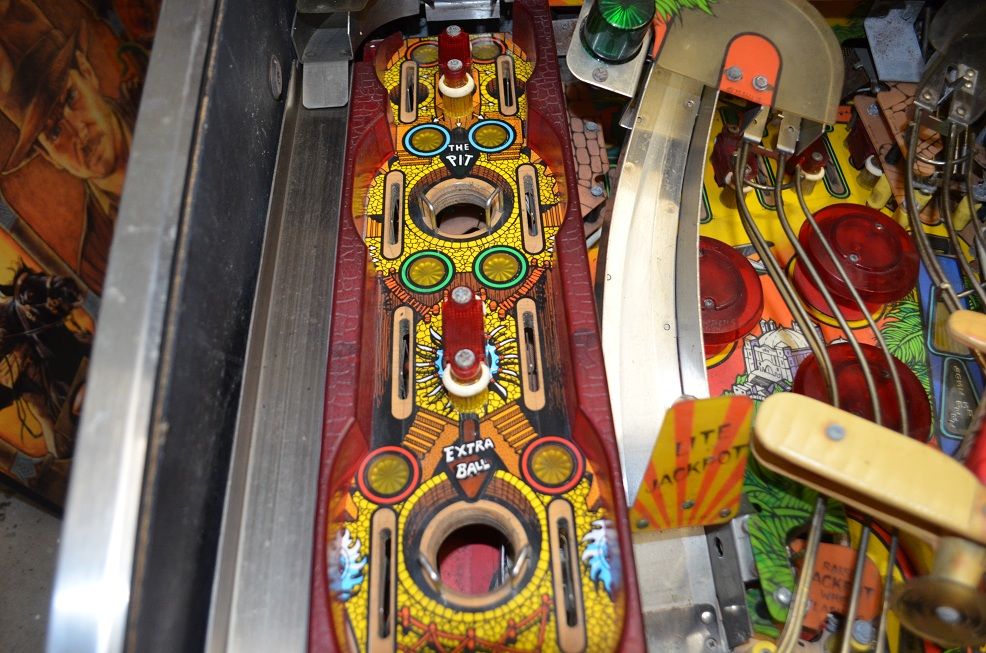
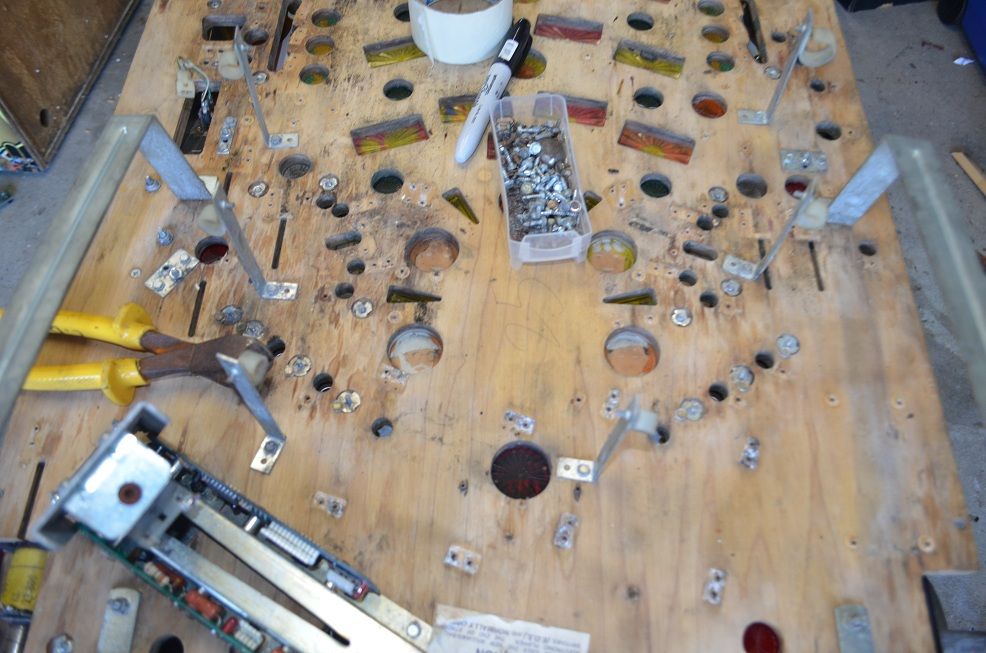
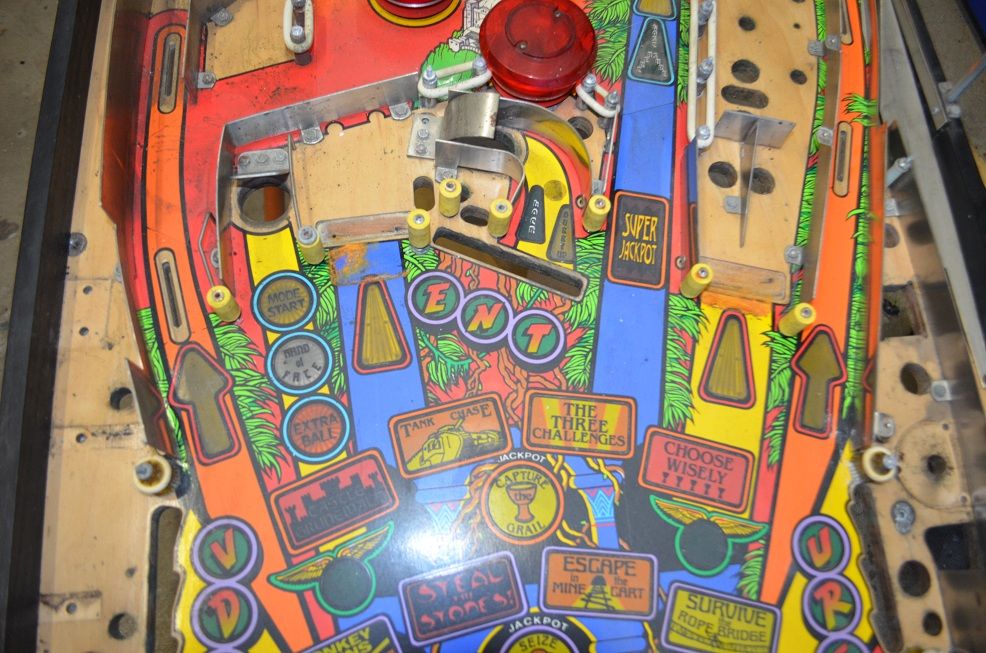
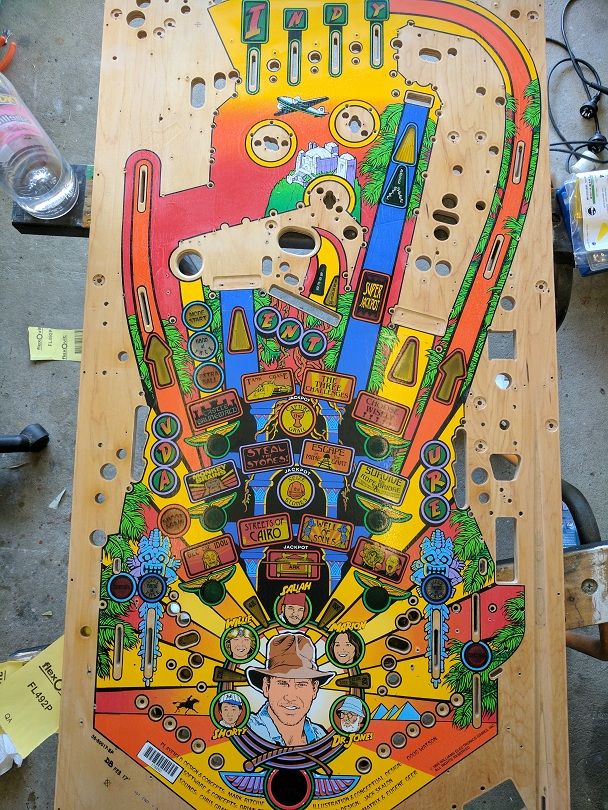
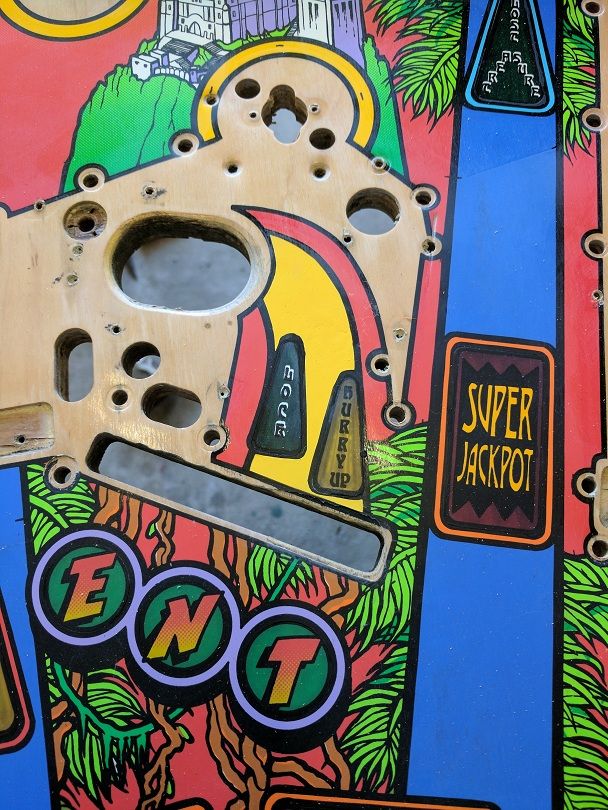
Early observed problem areas on PF
My main concern when checking the pf is the high traffic area’s (return lanes, wireform ball drop areas, kickout holes and around the flippers). Overall first impression is that it is not too bad at all, but I will save my final evaluation until I have it all stripped (lessons learned ;) )..

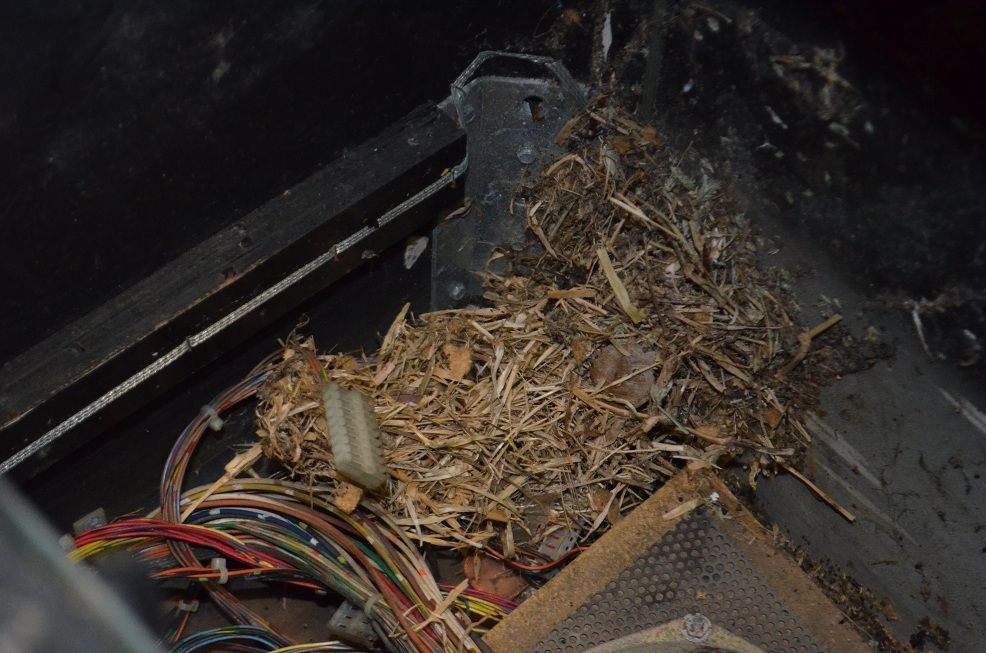
LITTLE BASTARDS

!
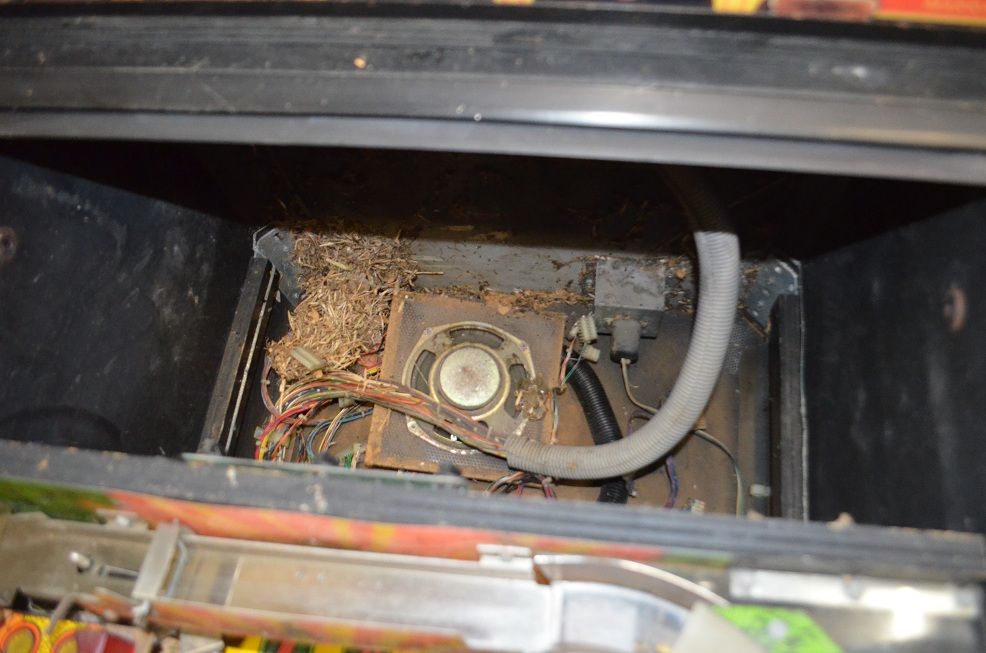
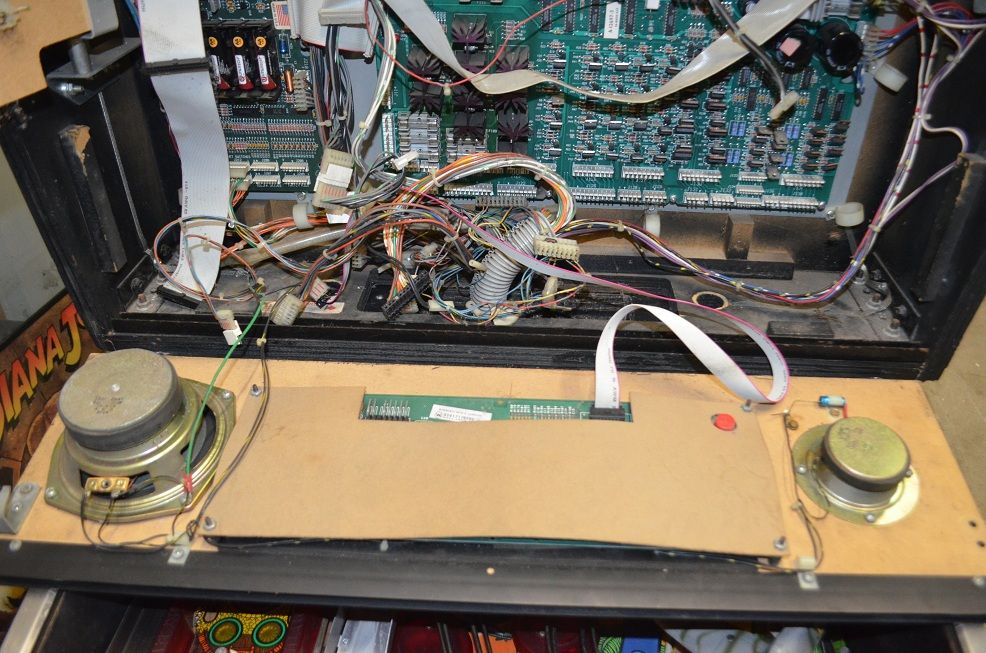
Mice I assume, better then rats I guess, hope they haven’t done too much damage to the harness…
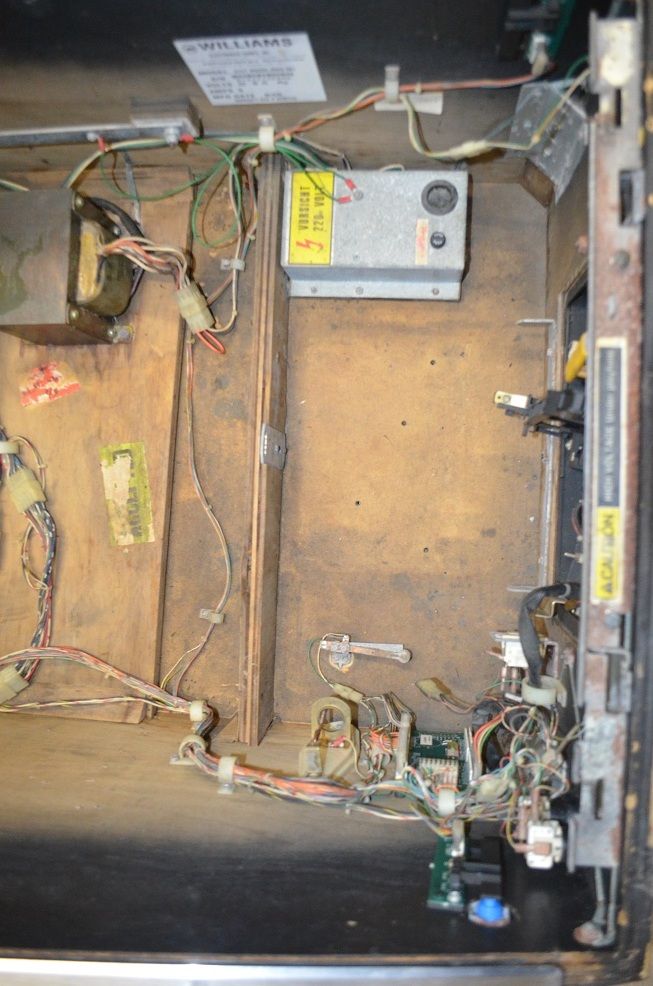
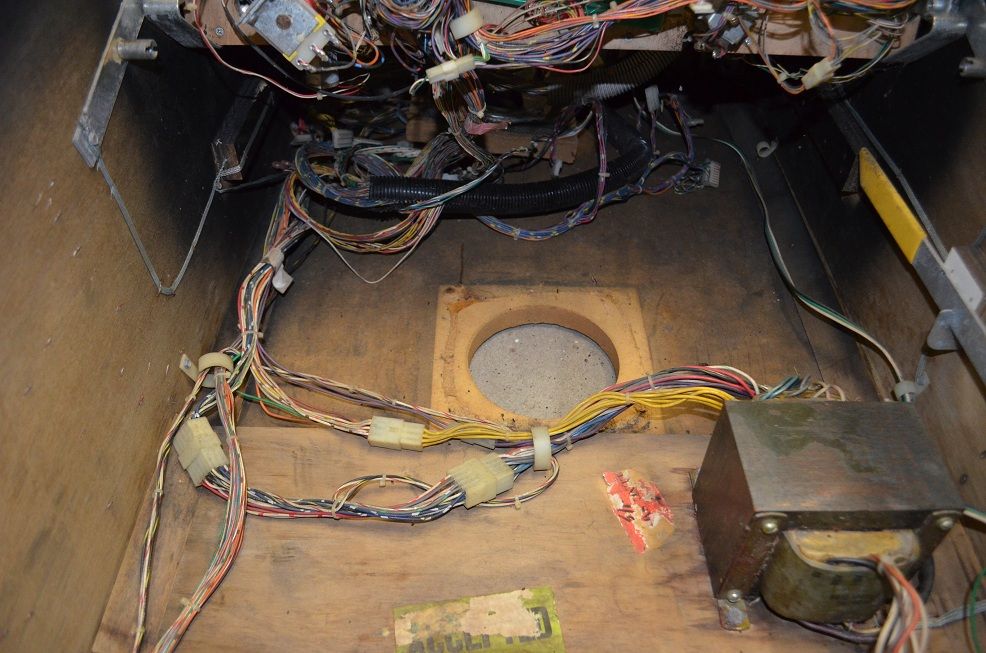
A good example of the water presence..
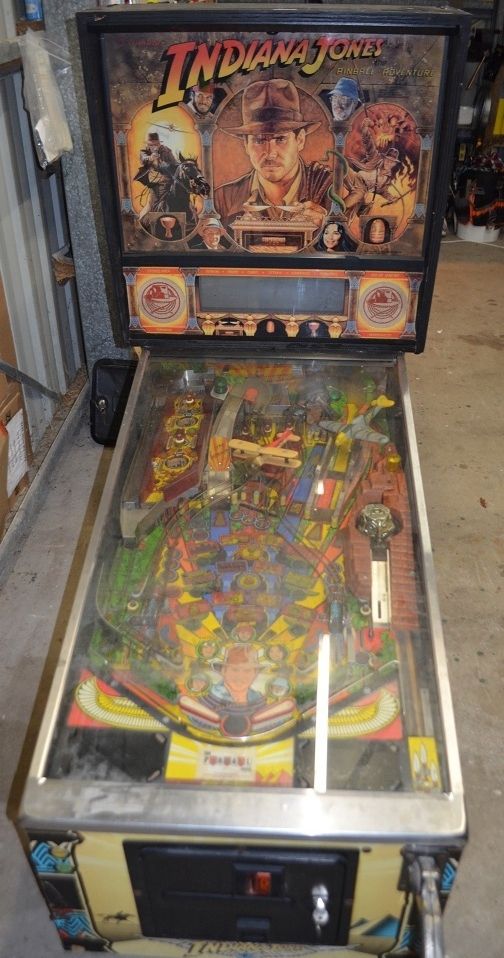
At the moment early evaluation on the cab is bottom replacement to be made, may be able to restore headbox.
As expected, corrosion on all things metal, above and below pf.
New project is exciting and daunting at the same time, will hope to update soon..
24/8/16
Stripping has begun, starting with the removal of the pf out of the cab. Man this pf is ONE HEAVY MOTHER!!
Compared to the other restores I would think the IJ pf weighs in at nearly double the other ones. With this in mind I decided to strip the underside of the pf first to get the weight off it. I didn’t want the thing flexing anymore then it had been in the machine (or especially in the opposite direction) incase it dislodges an insert or something.
Progress pics;

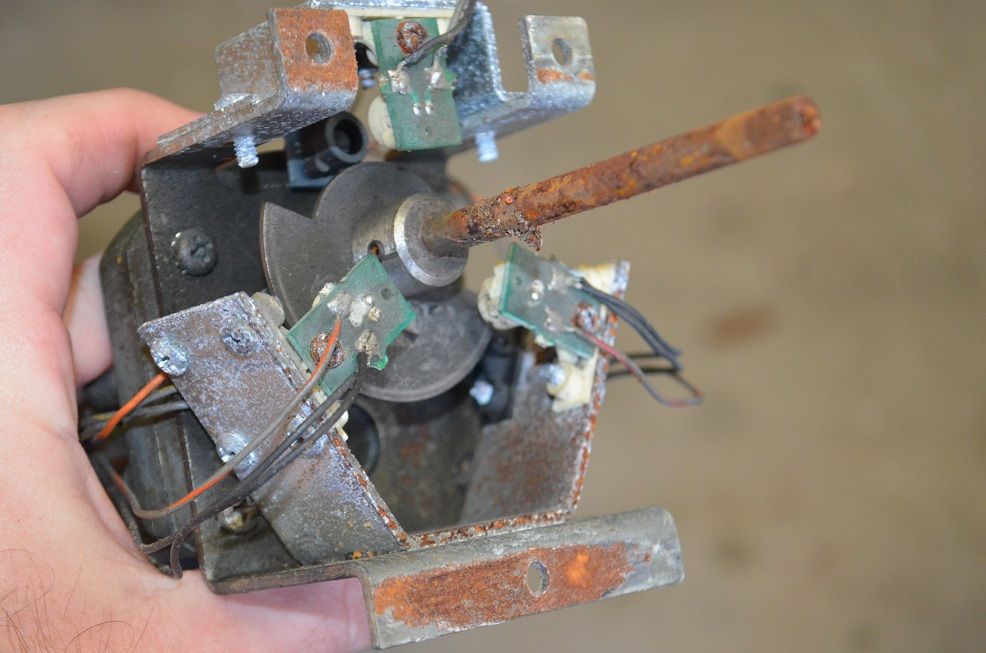
The Idol motor assembly, yuk!..
Wiring harness and hardware removed..
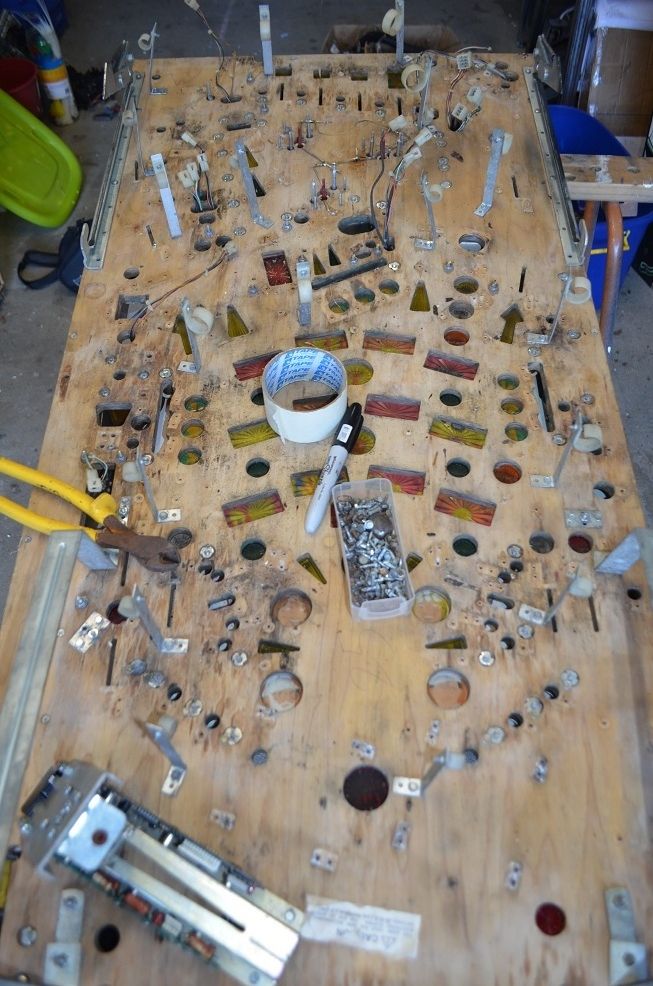
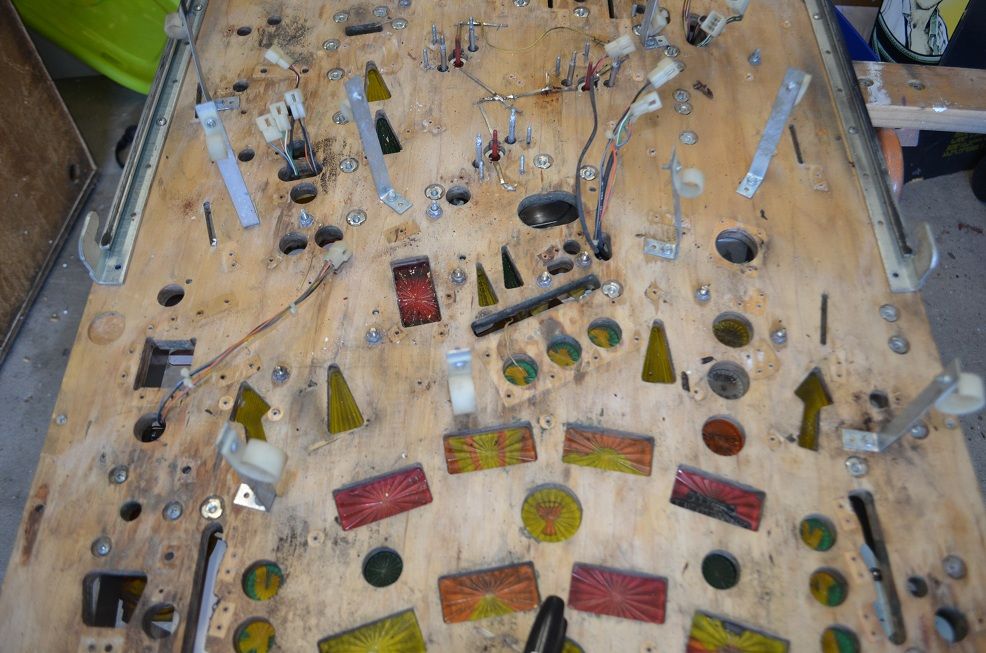
An example of what all the metal parts ontop of the pf look like (see the rust spot where the captive ball was sitting)..

2/1/2017
Got a hold of an IJ parts lot that would help go towards this project (perhaps), which included a real nice playfield set, and a Popeye cab with partly populated playfield!!
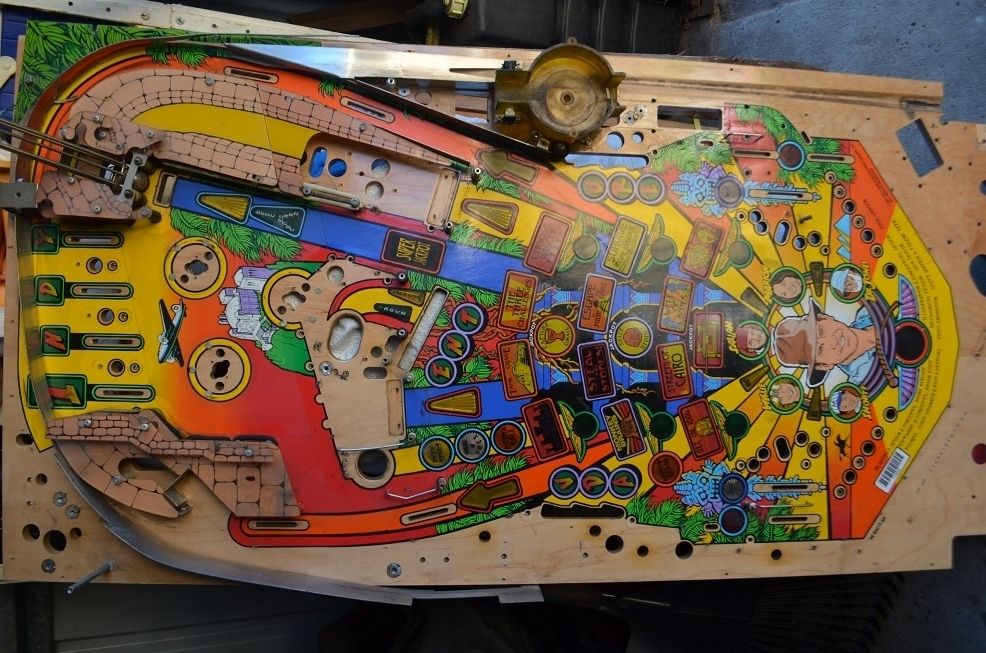
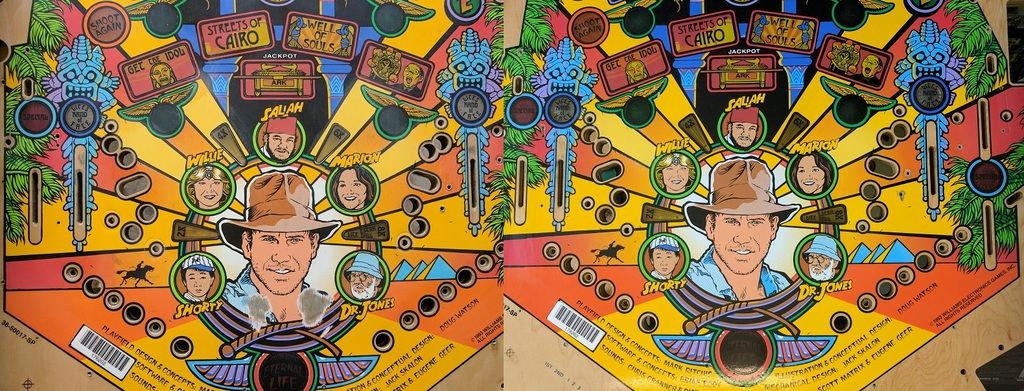
Second pf..
This is the Popeye cab..

Many thoughts about what best to do with all this crossed my mind. I wasn’t to sure about using the Popeye cabinet to begin with, I had restored a cab in my second FT and was a bit disappointed with the finish (looks great, just doesn’t have that nice solid feel of a fresh new cab). I also wasn’t sure how complete the box of parts where. Do I just ditch the Popeye and focus on one IJ, could I actually make two with the parts I have? Its not every day you end up with playfields sets for two IJ's (wouldn’t of dreamt it for myself in this lifetime anyway).
I started to wonder, what if I could make two? Keep one for myself and sell the other. This idea really took hold and I decided to inspect everything I had in more details. I started with the Popeye cab, and after a good look at it it seems in very solid condition, and it had all the cabinet parts needed, unfortunately no boards, but these can be purchased.
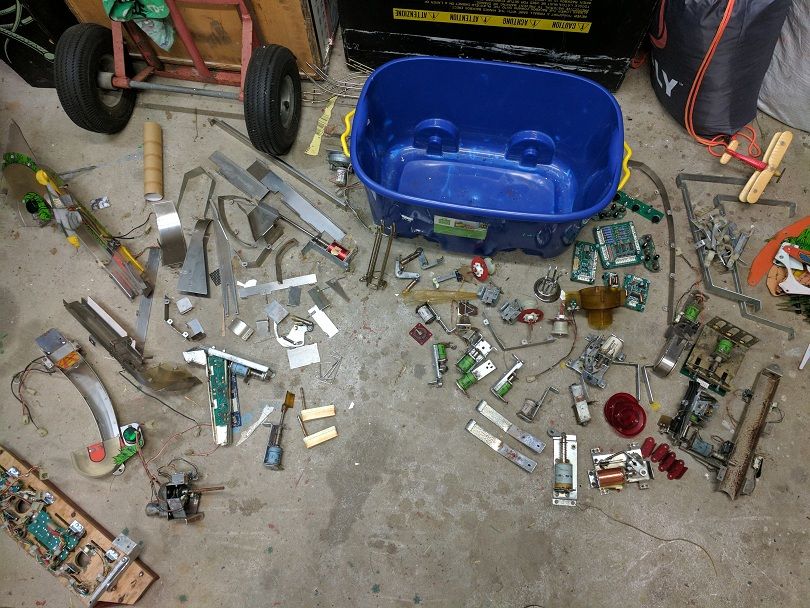
I also needed to know just how much extra parts where needed to make a second IJ pf. I thought the best thing to do was check the parts off in the bin of parts I bought against the parts I had stripped from the complete machine. I spread them out across the floor of the shed and ticked each part off as I went, putting doubles aside in their seperate boxes until I had what I needed left over..
Complete IJ pf parts..
Incomplete pf IJ parts..
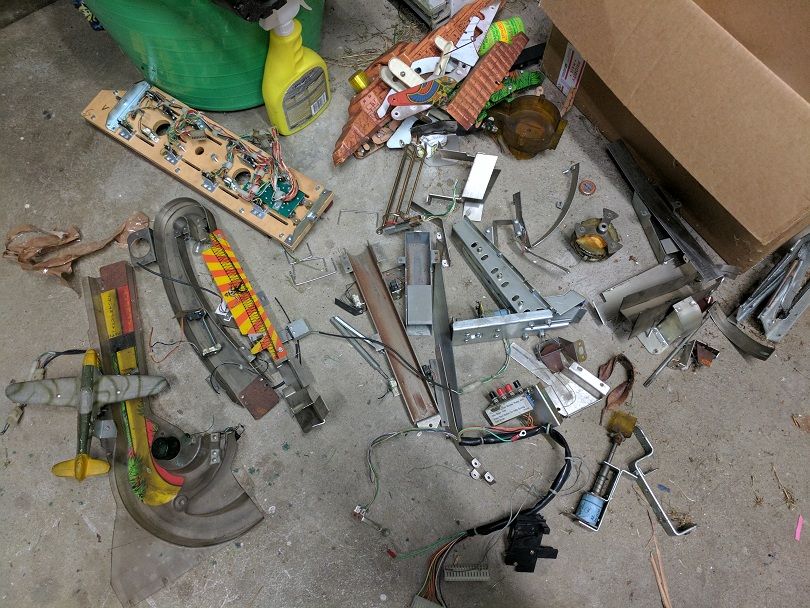
It was at this point when I realised I needed ALOT of main parts.. All the unique mechanisms where not there, the idol VUK and motor assy, the mini pf motor assy, flipper mechs, coils, pf backpanel, brackets, drop targets, wire forms, etc etc.. I had the Popeye parts there, but only the generic ones would help.
Anyway, not to be deterred to early, I decided to jump online and see how hard (and expensive) it was to get these parts, and the harder I looked the more bits I needed.
To my surprise it wasn’t all that difficult. I found most of what I needed, and the stuff I haven’t found should turn up at some point. I found that Marco’s or PSPA may not list a part complete, like the 3 bank drop target, but they will actually have all the parts listed individually to make the whole assy up. It is just a matter of breaking the assy down into individual components using the manual, and searching for all the parts that way.
Very time consuming yes, but better then nothing.
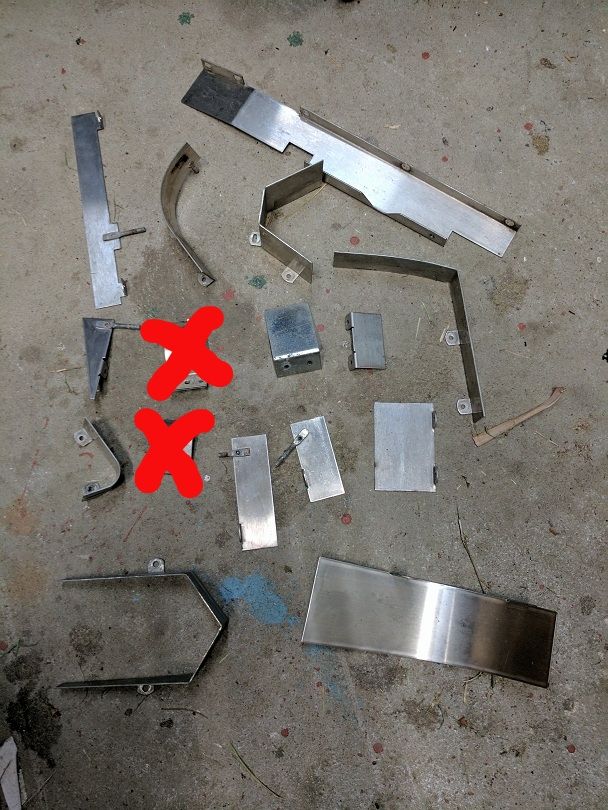
So to sum it up, this IJ restore has now turned into IJ restore x 2. One is going to be epic, I will need to make a pf wiring loom, build mech’s and make brackets from scratch. Here is a pic of the guides I am missing, if anyone can help me with any of these it would be fantastic! I also need a set of wireforms (excluding the captive ball one). I will be getting these made up if I cant source originals..
Found the scoop and saucer hole guides (crossed out), still looking for the rest though..
4/1/17
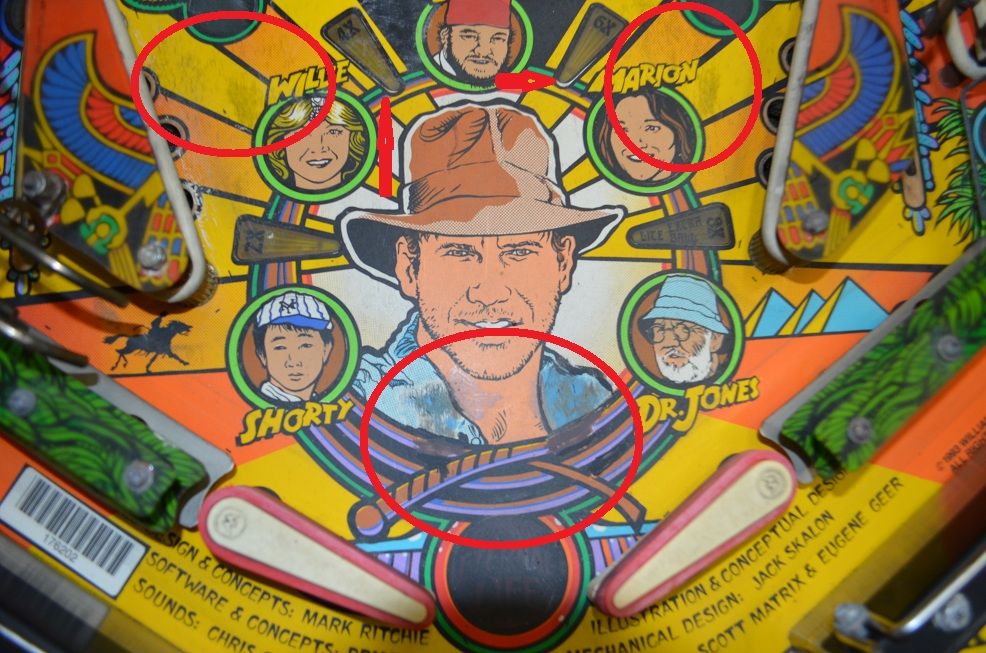
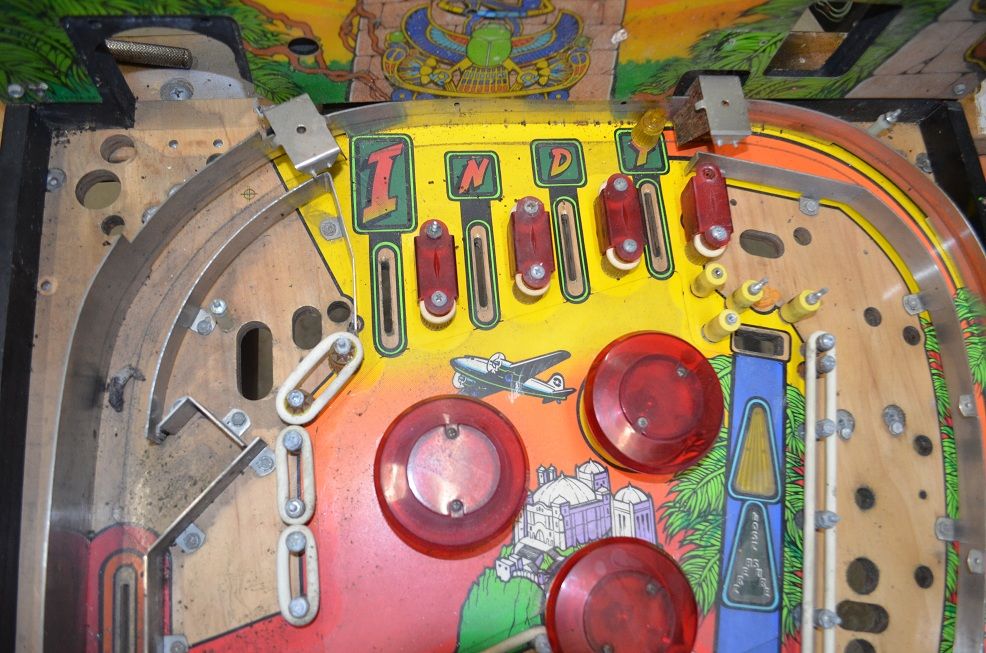
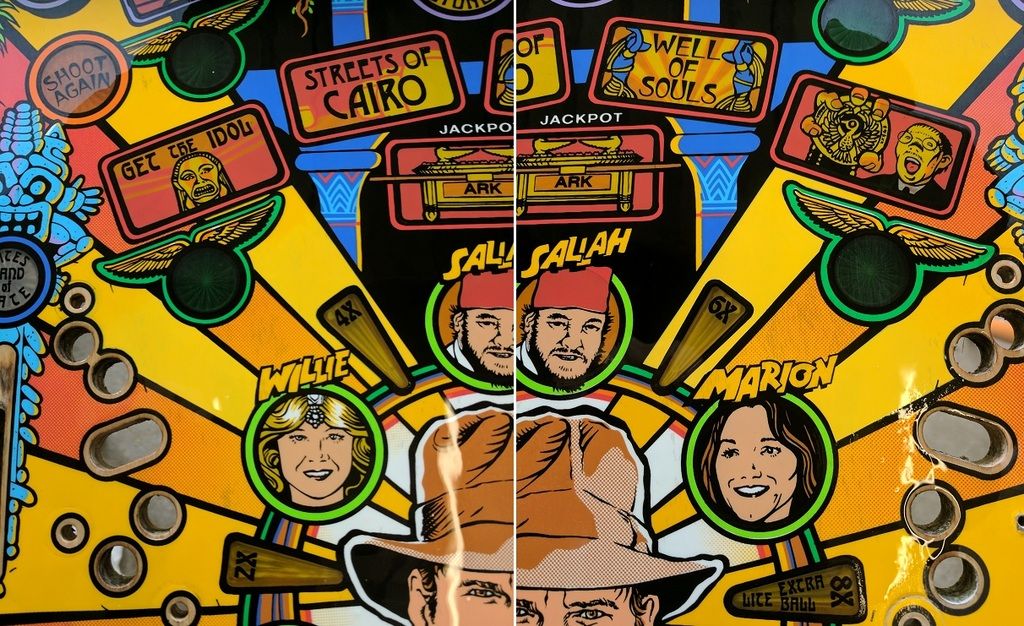
Doing a bit of a tidy up of the worst of the two pf's so I can have a good look at the issue's. Indy himself has been trashed and touched up by someone. I have cleaned it up and am thinking of just getting a decal for this as it will be a bitch to colour match his skin colour, and I would have to make his T-shirt a solid colour.
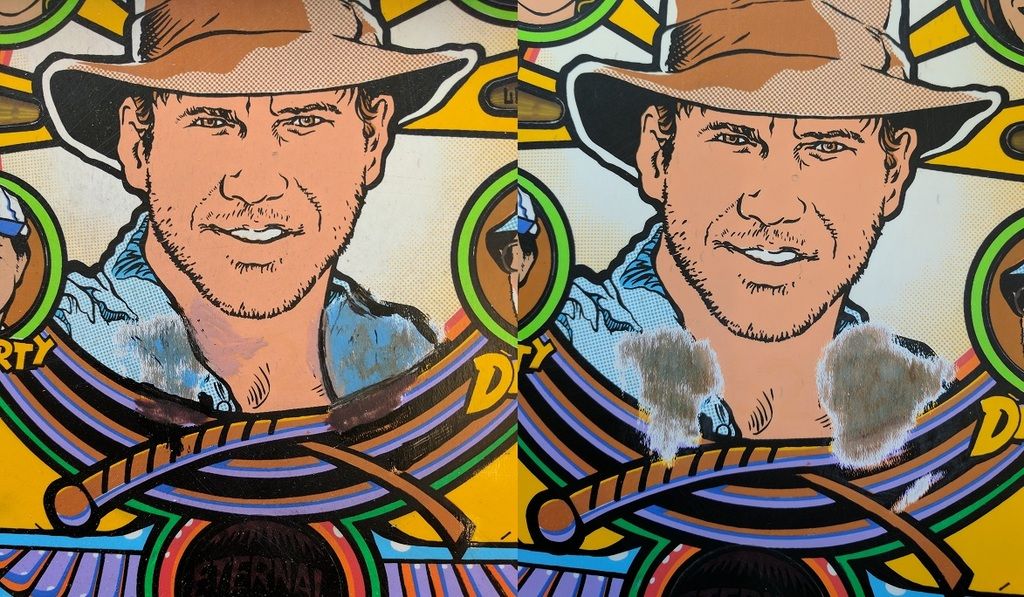
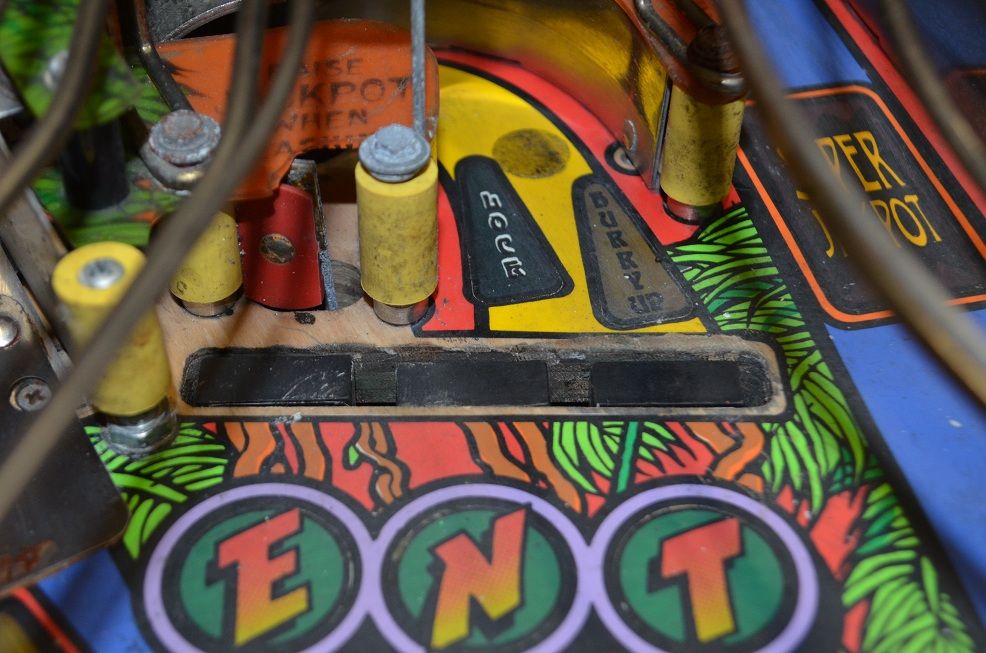
What do guys do about ball swirl? I have tried magic eraser on the area's below but it doesnt seem to be getting right into the groove. I am in two minds about spraying the area's (another colour matching issue), or just leaving them (these always seem worse when you can stare right at them from 30cm's away).
5/1/17
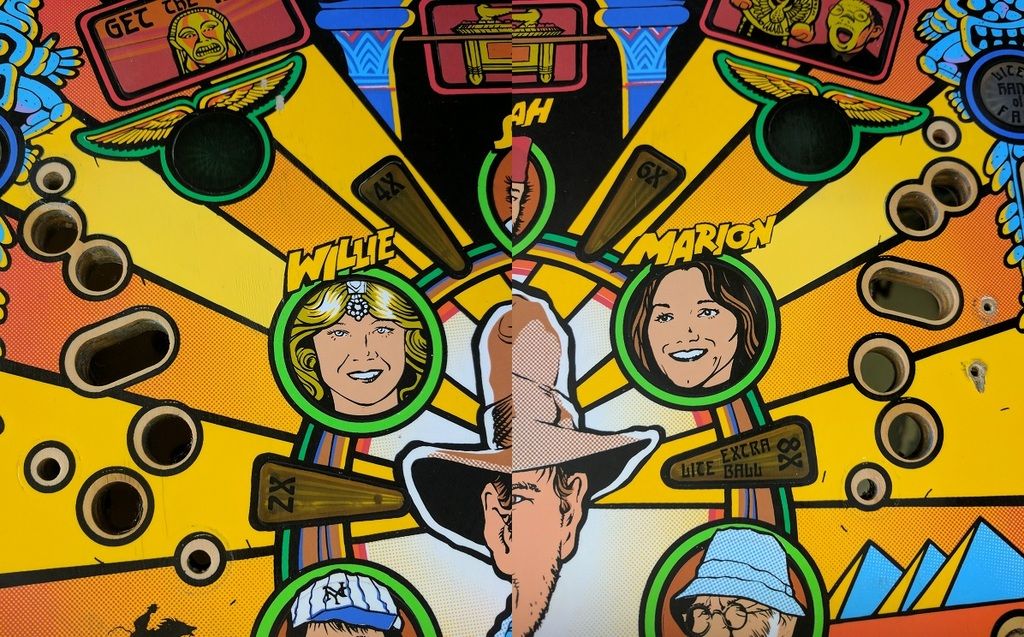
I decided to bite the bullet and try and respray the yellow ball swirl area's, I felt I may be able to use the air brush to blend the colours in together (concentrate the brush in the problem area, but taper it off as it moves away from this area).
At the end of the day if it doesn't look any good you can just wipe it off and try again.
I also though why just do one at a time, if I have the paint mixed and gun out I may as well attempt both, if it works then job done, if not no big deal..
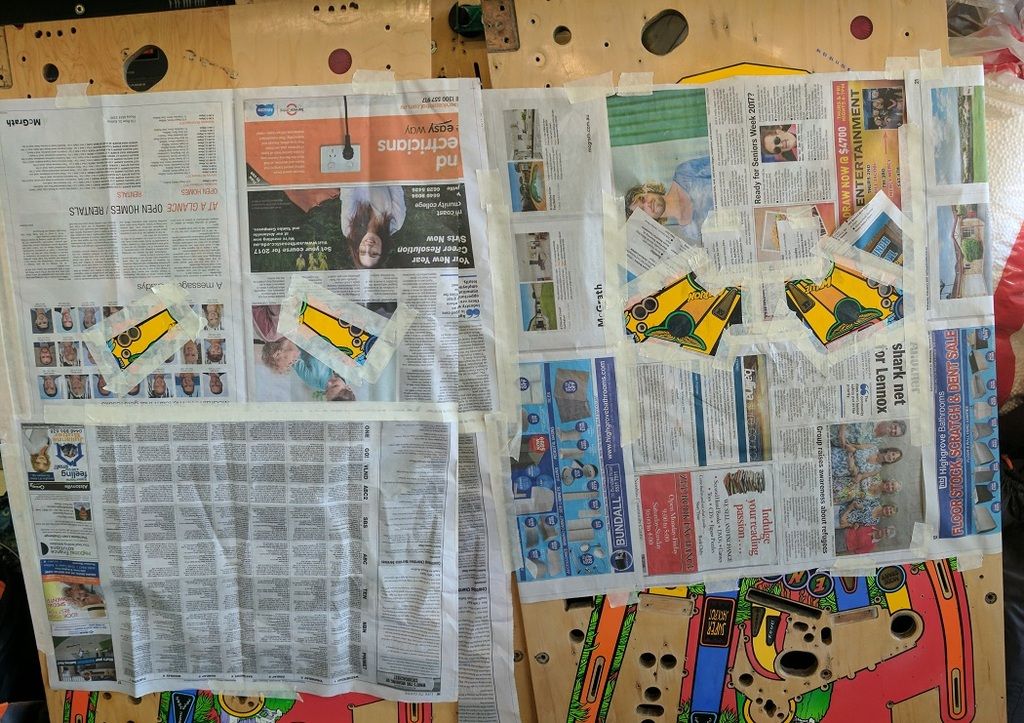
First to put down the frisket and mark out the area's..
mask up the area's so no overspray issues..
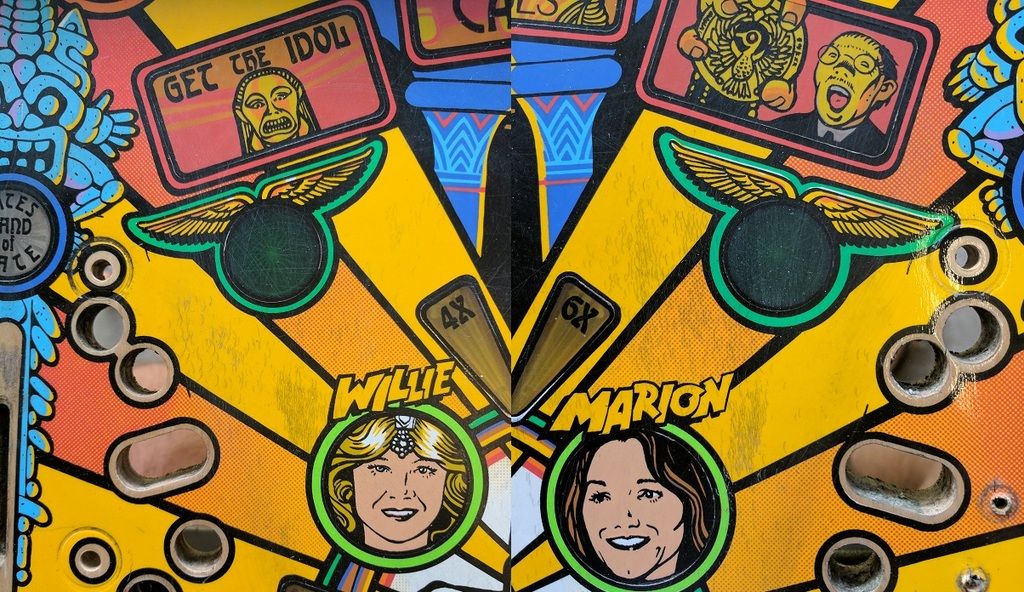
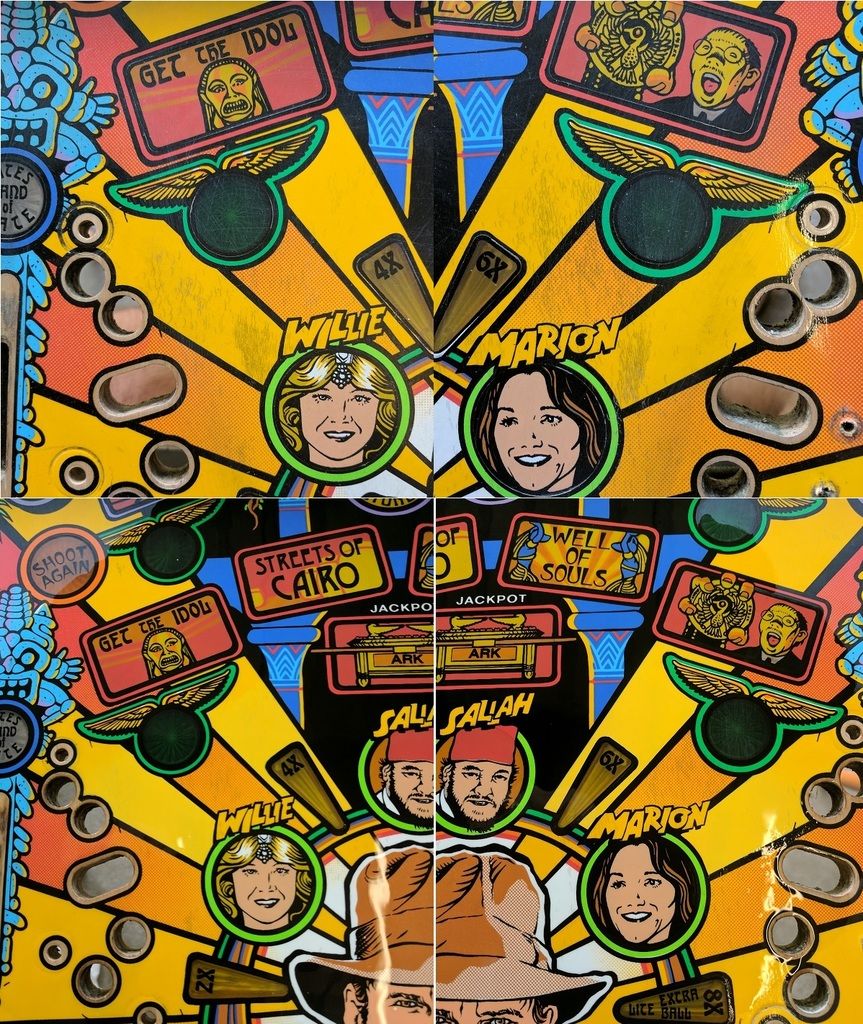
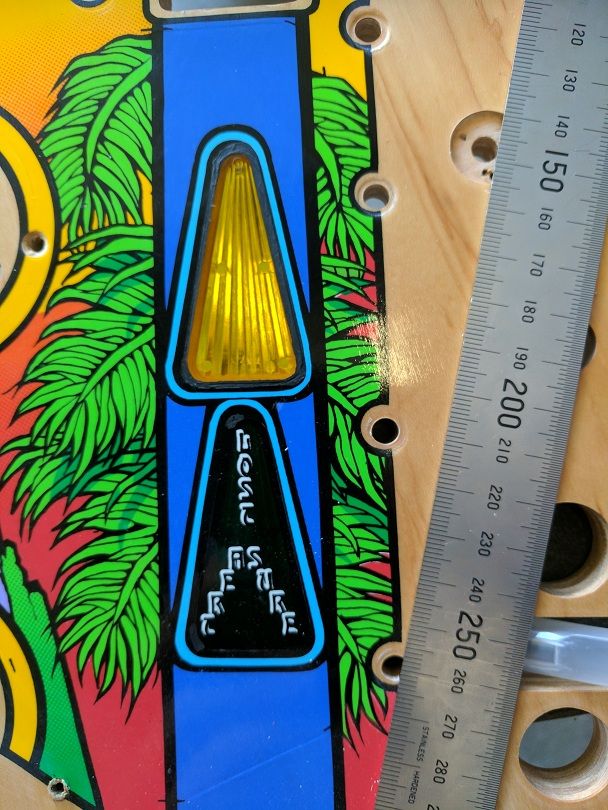
Painting done, the worst of the two pf's is on the left which had four effected yellow area's, the other had two..
and some closeup's..
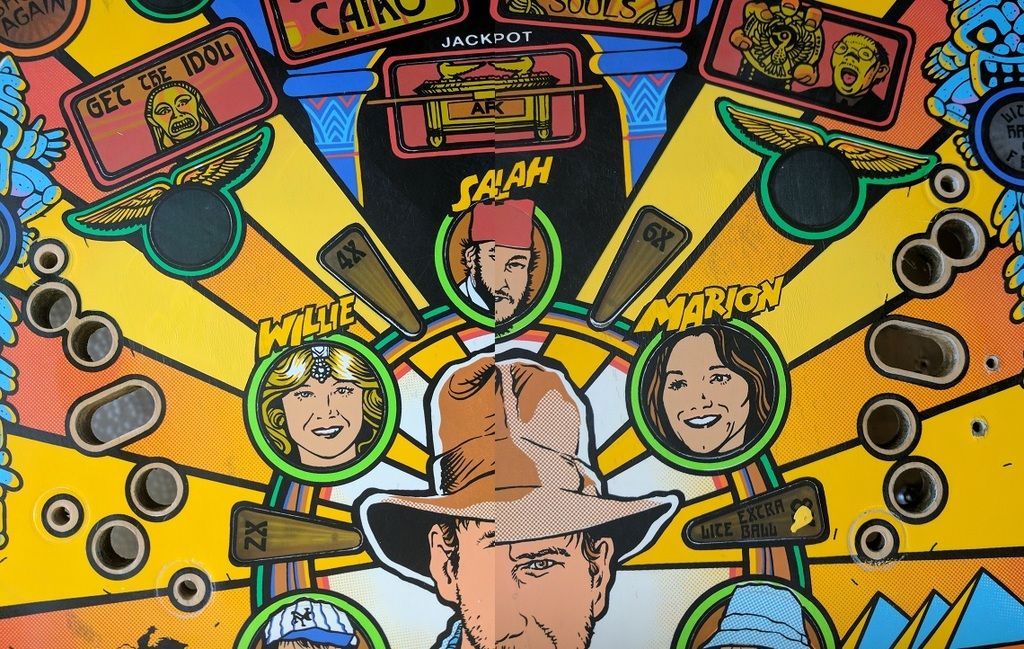
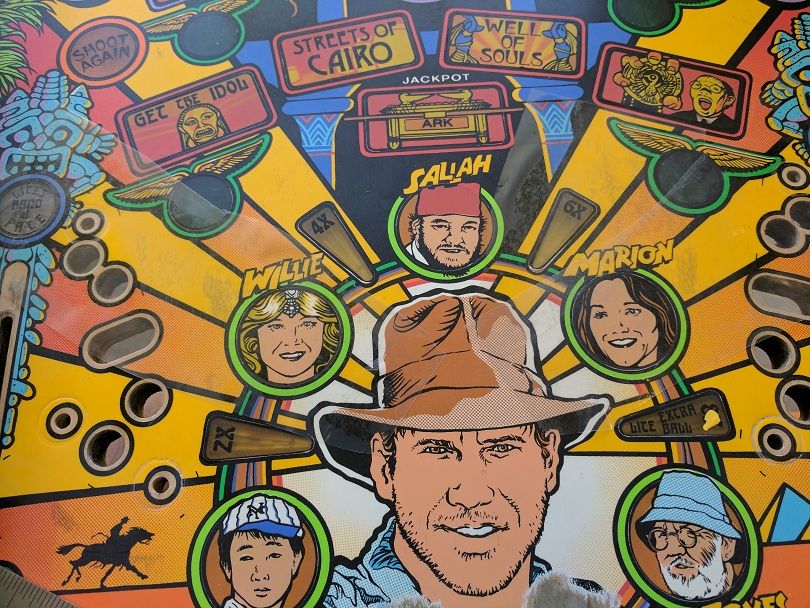
You can notice a slight difference, but dont forget that you want the touch up colour to be ever so slightly lighter then the original so it matches when clearing. The best way I have found to test this is the pour some Shellite onto the area. I use Shellite as it does not react to the paints I use (water based acrylic's, this may be different for others?), but dont touch any painted area's though as it may still soften the paint. I also wouldn't advise doing it repeatedly either.
With Shellite acting as a kind of clear coat (you can see the edges of where the shellite ran to notice the difference). I have also touched up the insert key lines as well, just with a brush..
I only did this on the worst of the two pf's to check the matching, I gotta say, I am pretty happy with it

!
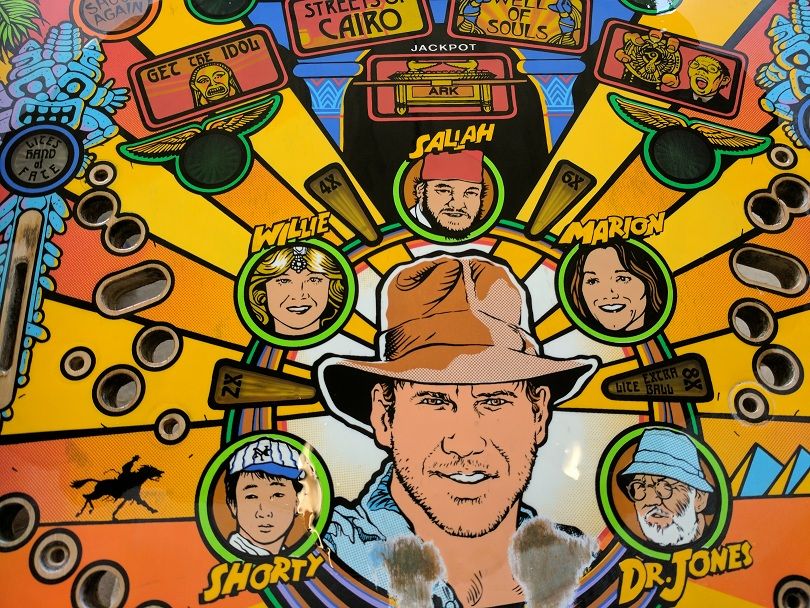
Before and after.
Will put this aside now until the Indy decal arrives.
Need to do key lines on the other one now..
12/1/17
Had some time to do a bit on the pf's, just cleaning out holes, shooter lane, going over keylines, and replacing a stuffed insert.
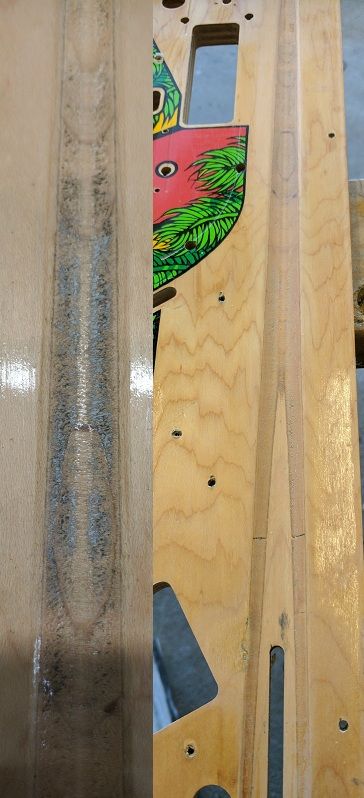
You never know how the shooter lane will come up, this one was surprisingly good after cleaning and a sand..
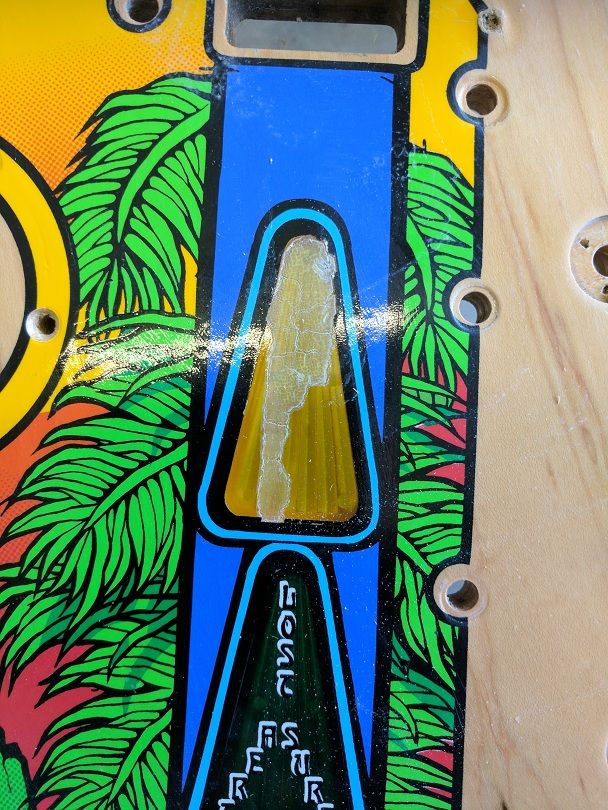
This is what happens when 'Goo off' gets under the original clear trying to get the mylar off, this could only happen because the clear had separated from the insert and formed an air pocket. I guess I was kind of lucky this didn’t need a decal..
Remove insert using a bit of heat from a heat gun, a socket, and a hammer (hitting on the back of it). Make sure to go around the insert first with a hobby knife so artwork doesnt tear (try and keep in the black keyline area so its easier to touch up late). Then clean any old glue out of the socket socket..
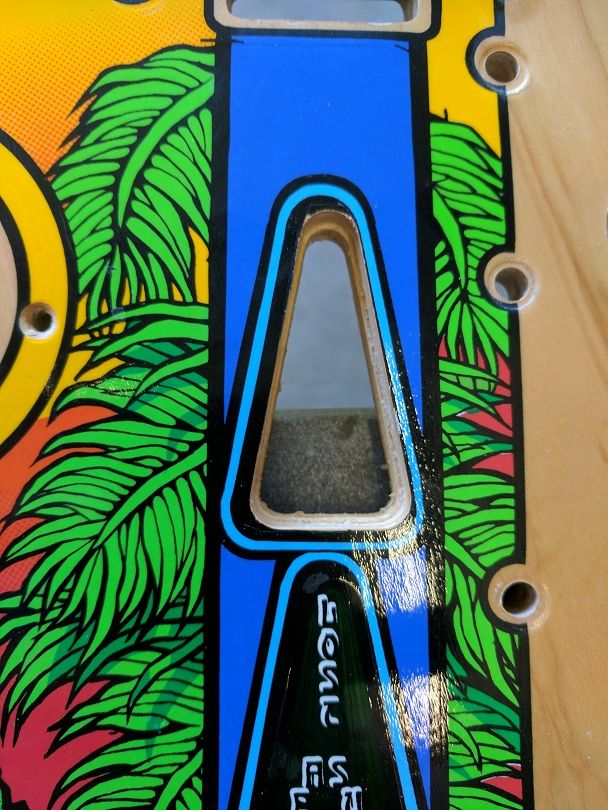
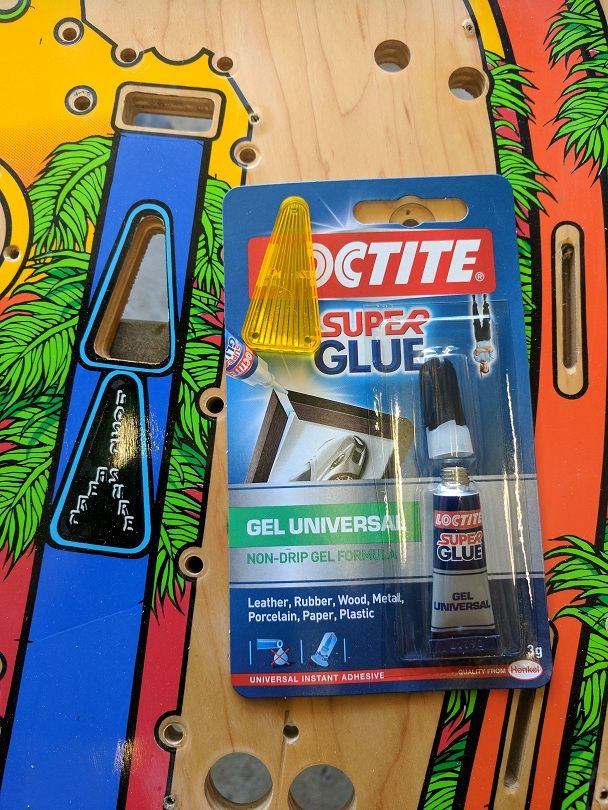
Loctite Gel Super Glue at the ready..
New insert installed..
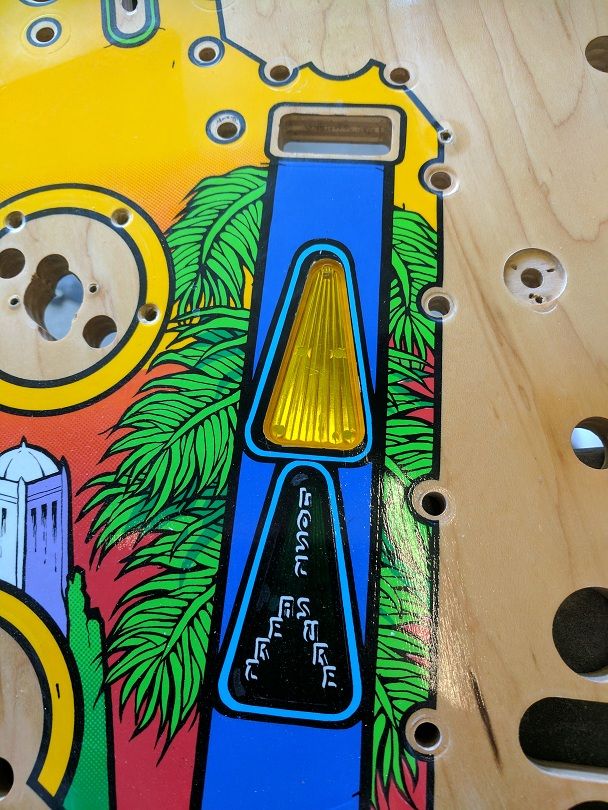
Now to frisket and paint in key lines (with a brush)..
Done..
Using my Dremel I went around any holes, slots, grooves, anything that needed cleaning out before clearing.
Then a very light go over with some 600 grit paper and she is ready for first coat..
Back onto not so good pf.
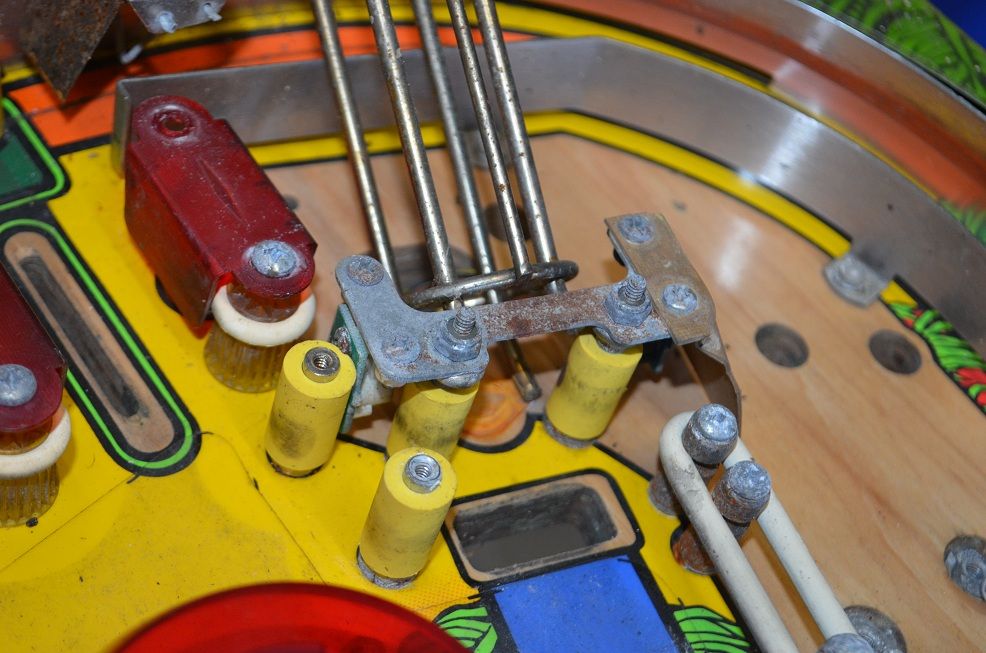
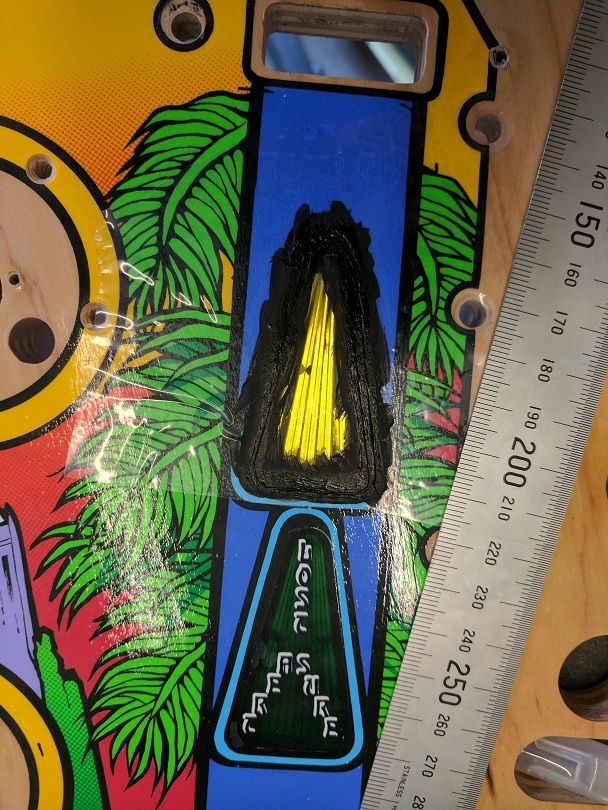
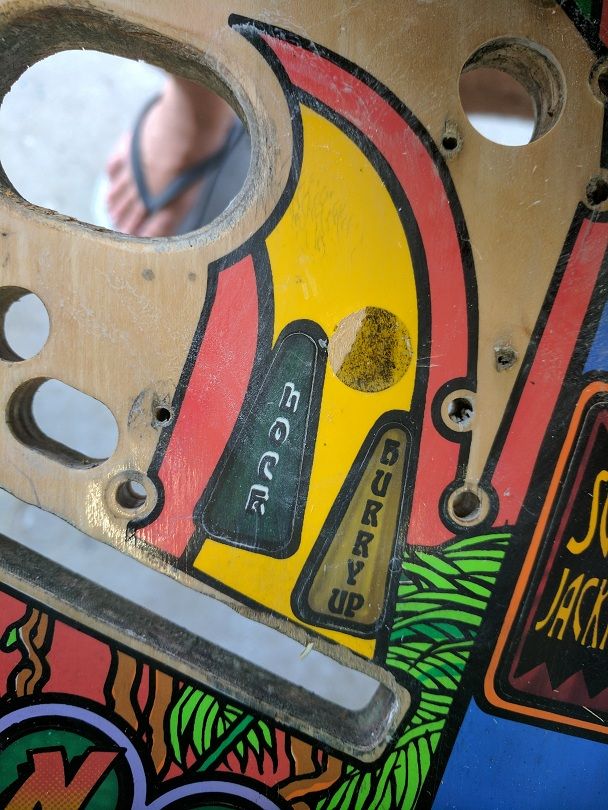
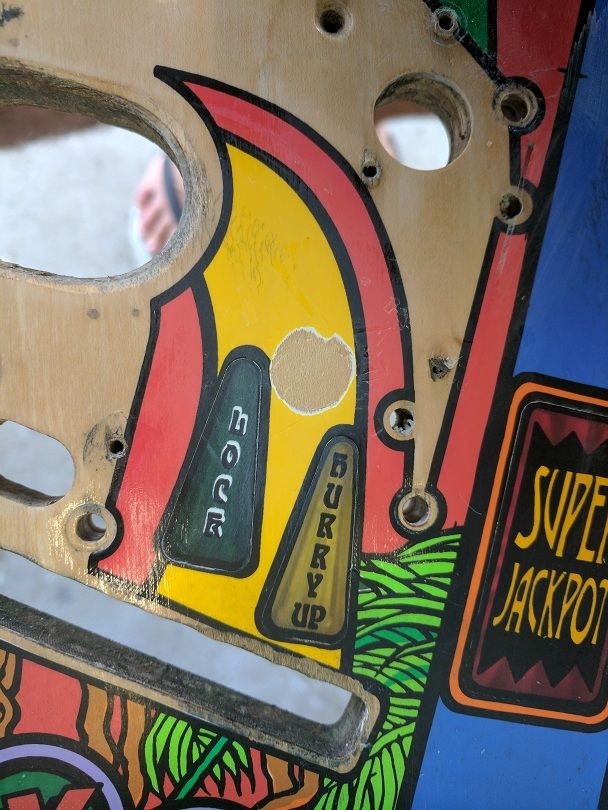
Looks like someone had used glue to try and fix the plane above the idol lock, the only thing was they didn’t remove the plane first so a big drop of glue had dripped onto the pf.
It may not have been so obvious had the pf been clean before it happened, unfortunately it wasn’t, so it trapped a heap of crap under it. At first I didn’t think it would be difficult to clean off, but nothing seemed to make a dint. Other then grind it off there was no other way. It must have been Araldite or something cause it was like glass! In the end I was back to bare timber so had to use the air brush.
I was intending on cleaning up this pf as well but unfortunately my Dremel stopped working (hopefully just needs brushes) so that put a halt to proceedings..


 Topic: IJ - Grail pin restore (Read 2214 times)