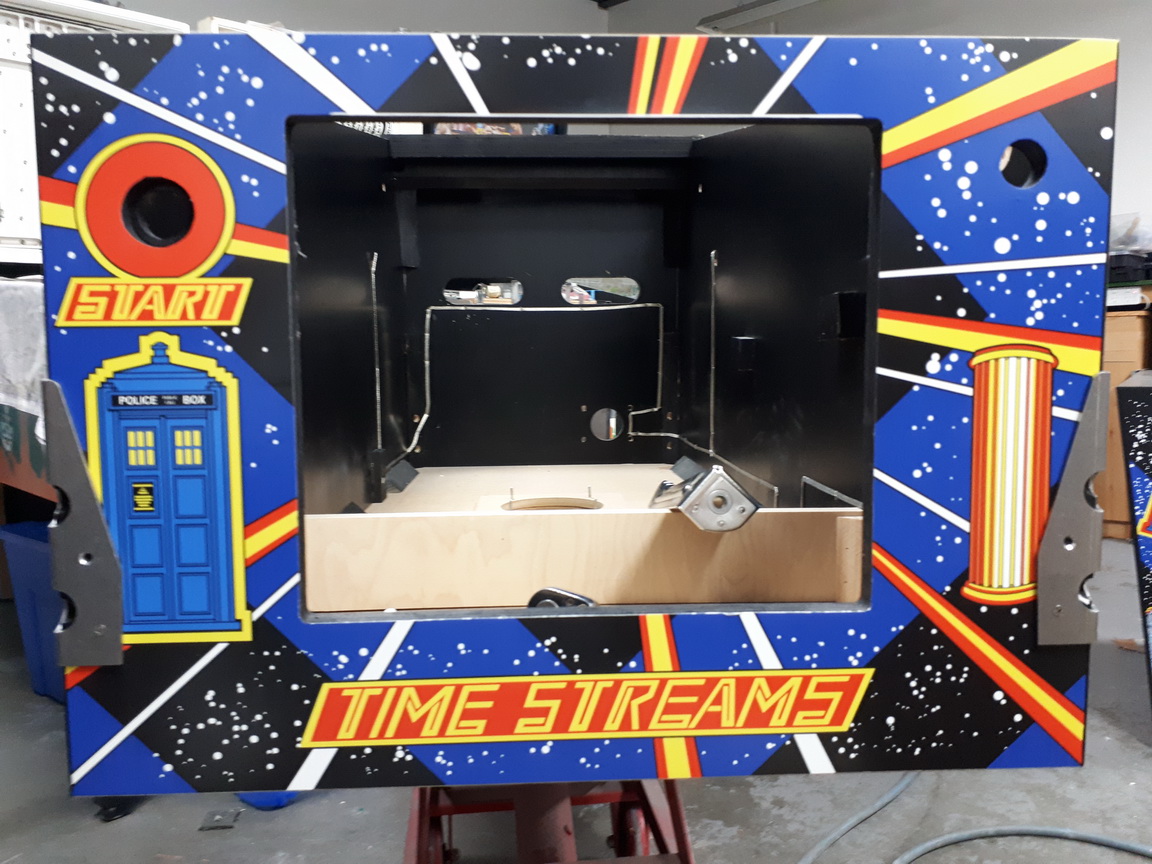
Here are some of the new cabinet parts installed, or are about to be installed. I don't muck around with the original parts on some restorations, opting to use new parts and use my time in other aspects of the restoration.
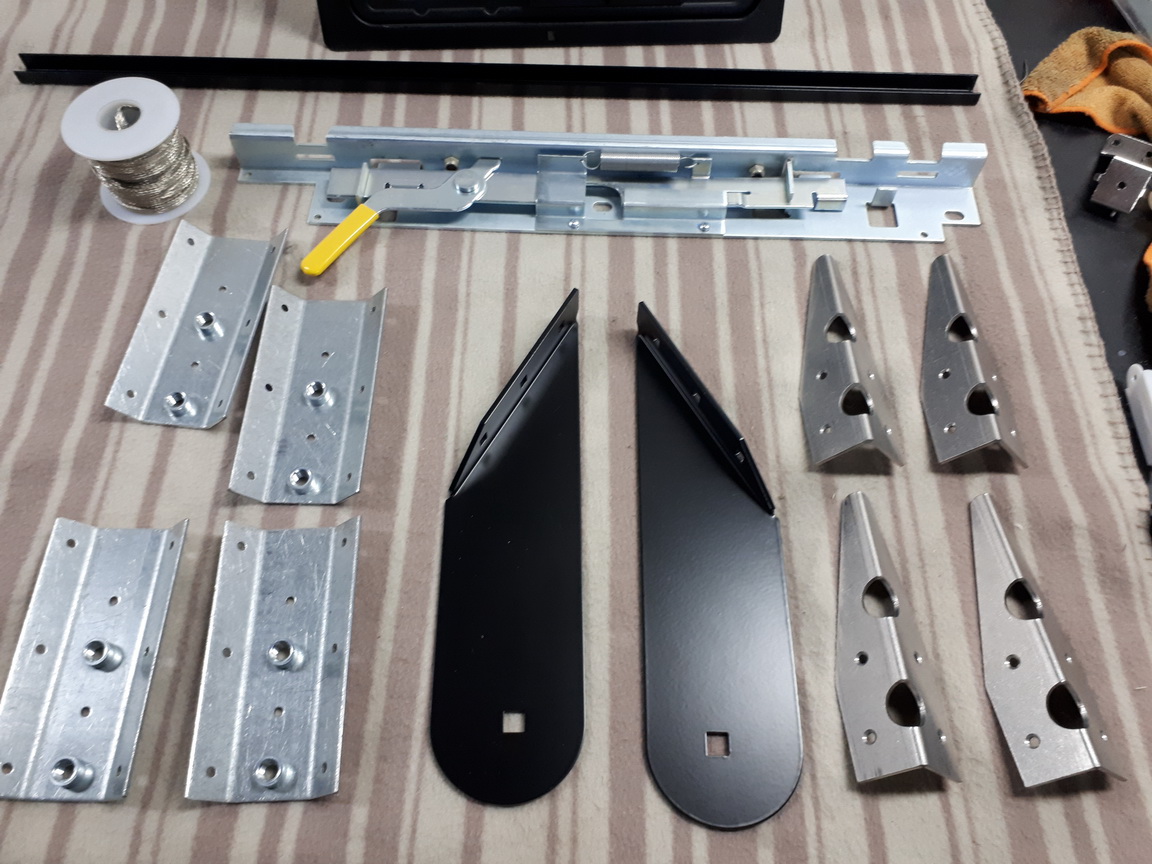
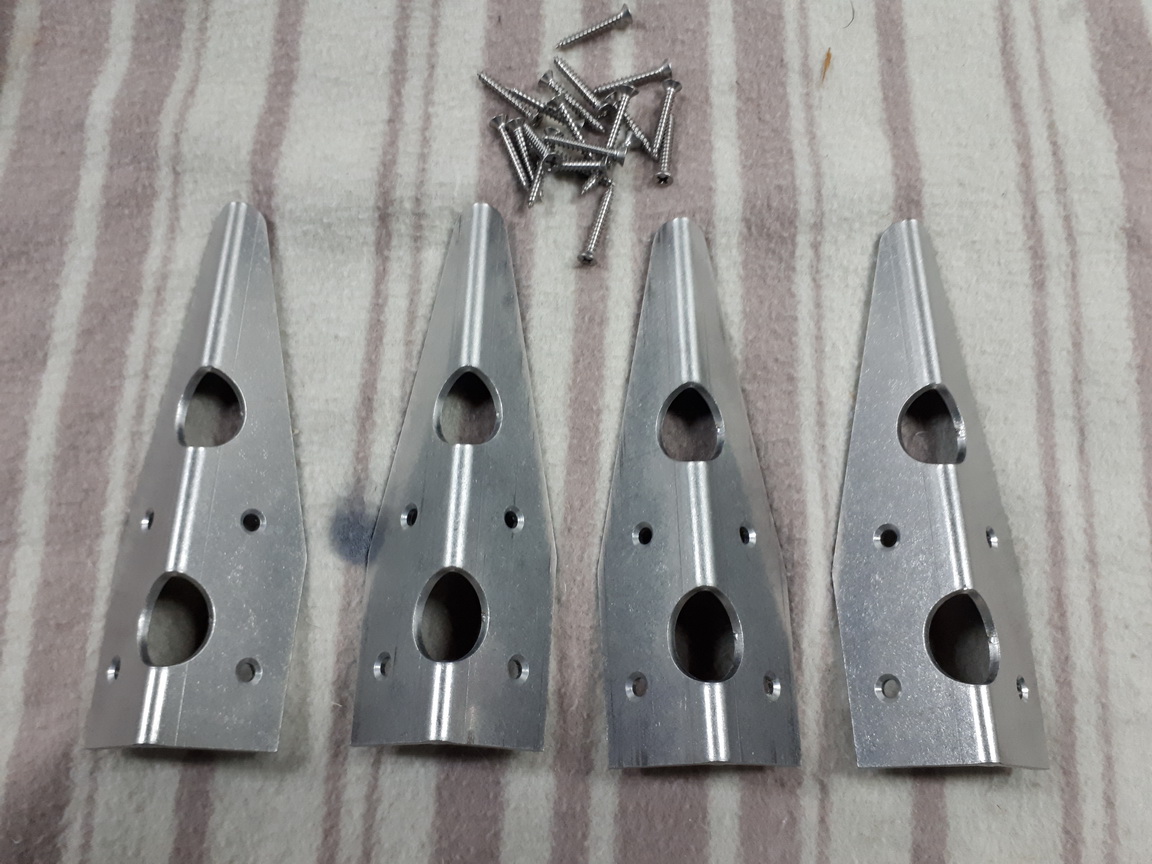
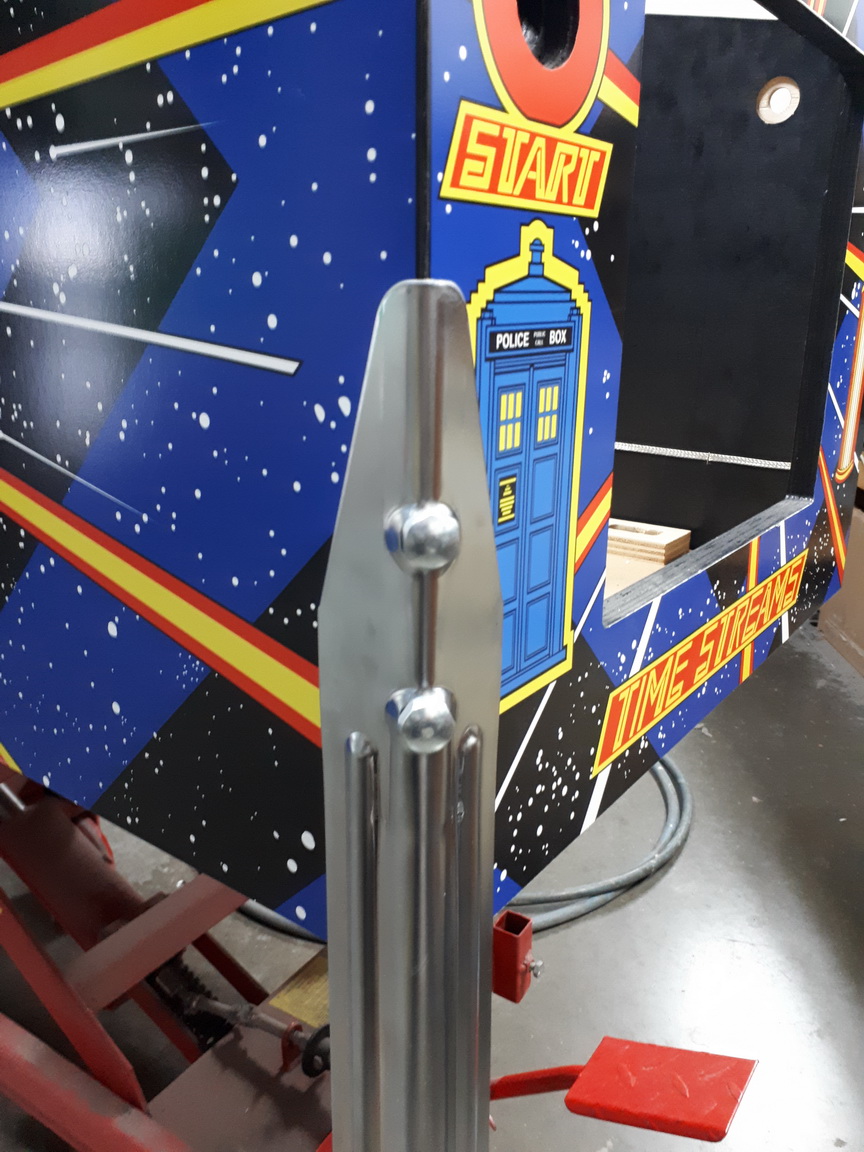
A more recent development is the use of metal cabinet protectors. They effectively can replace Pincabs or felt leg protectors. The idea here is to protect the Cabinet - not the legs. I've used most metal protectors on the market, but I much prefer the Mantis version, as it is thicker and has four mounting holes. The other advantage is that they have a polished edge.
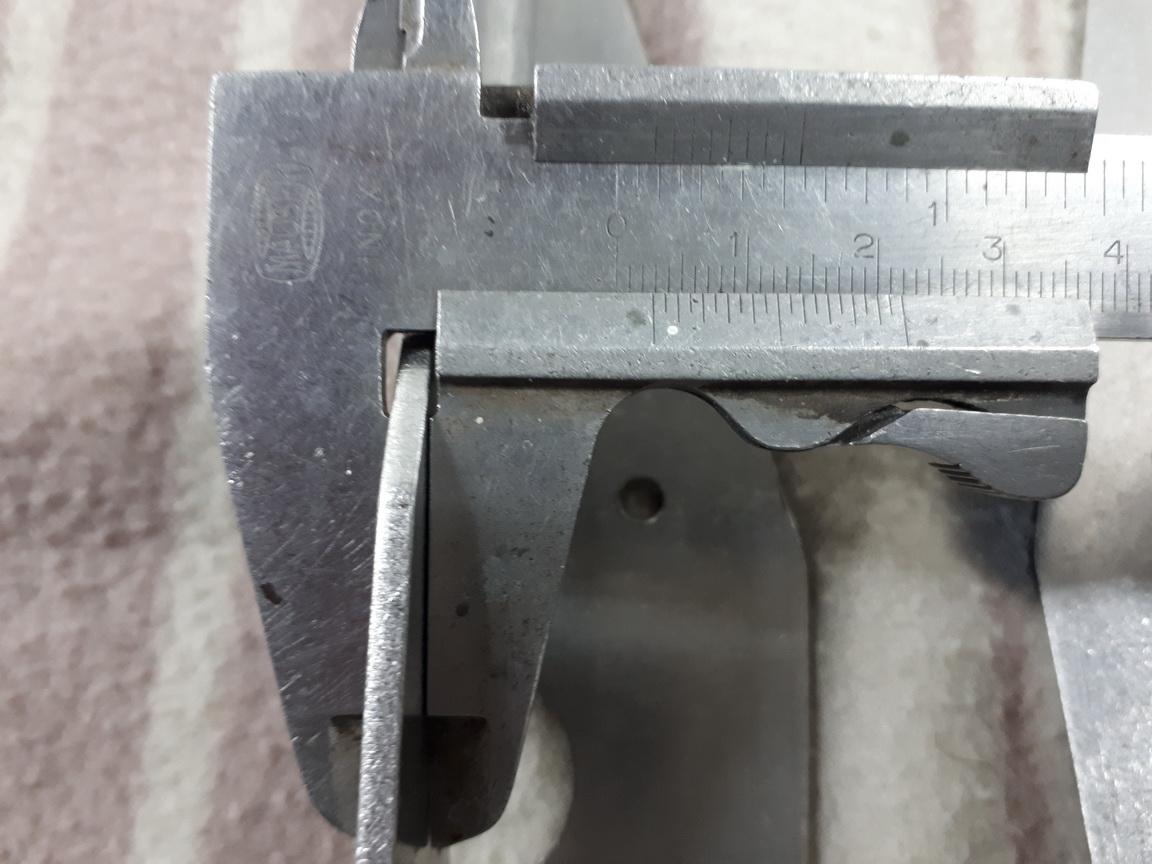
3mm Thick. The thickest protector I've seen.
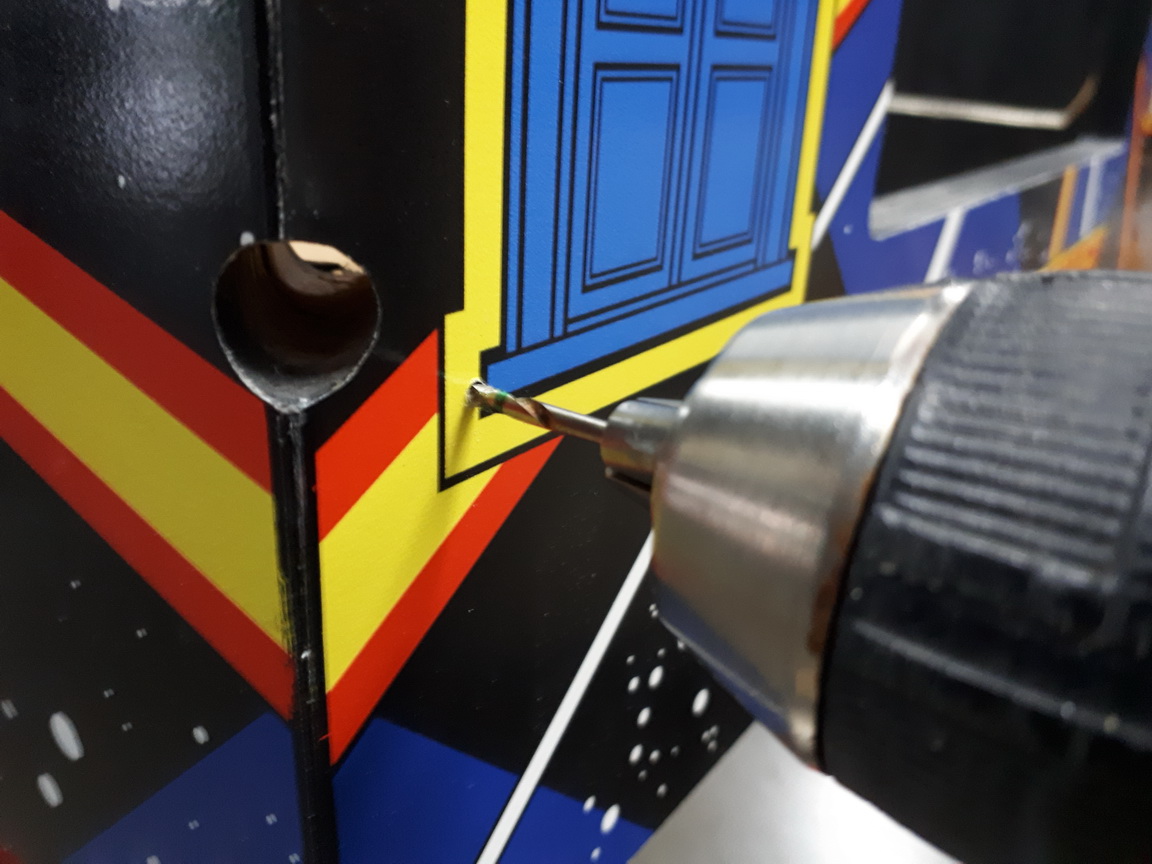
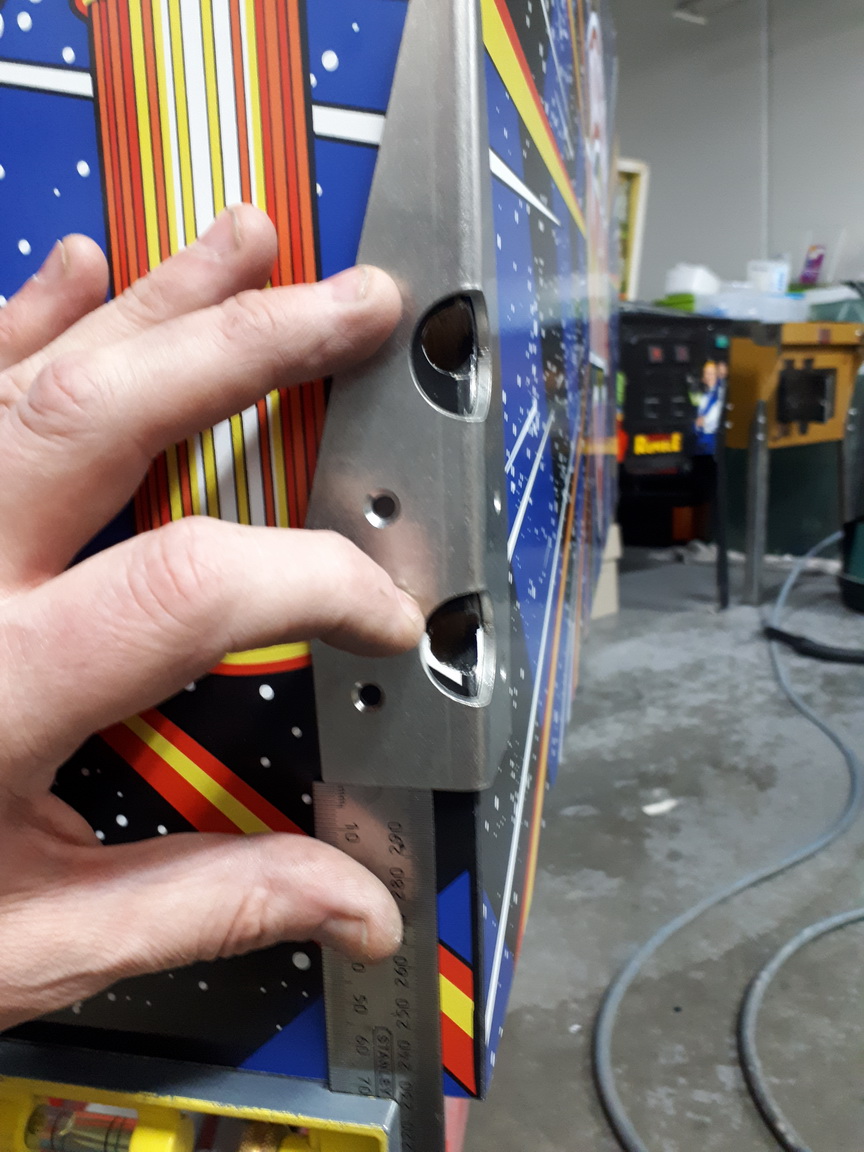
They are EASY to install. First - position them with clearance through the cabinet leg bolt holes.
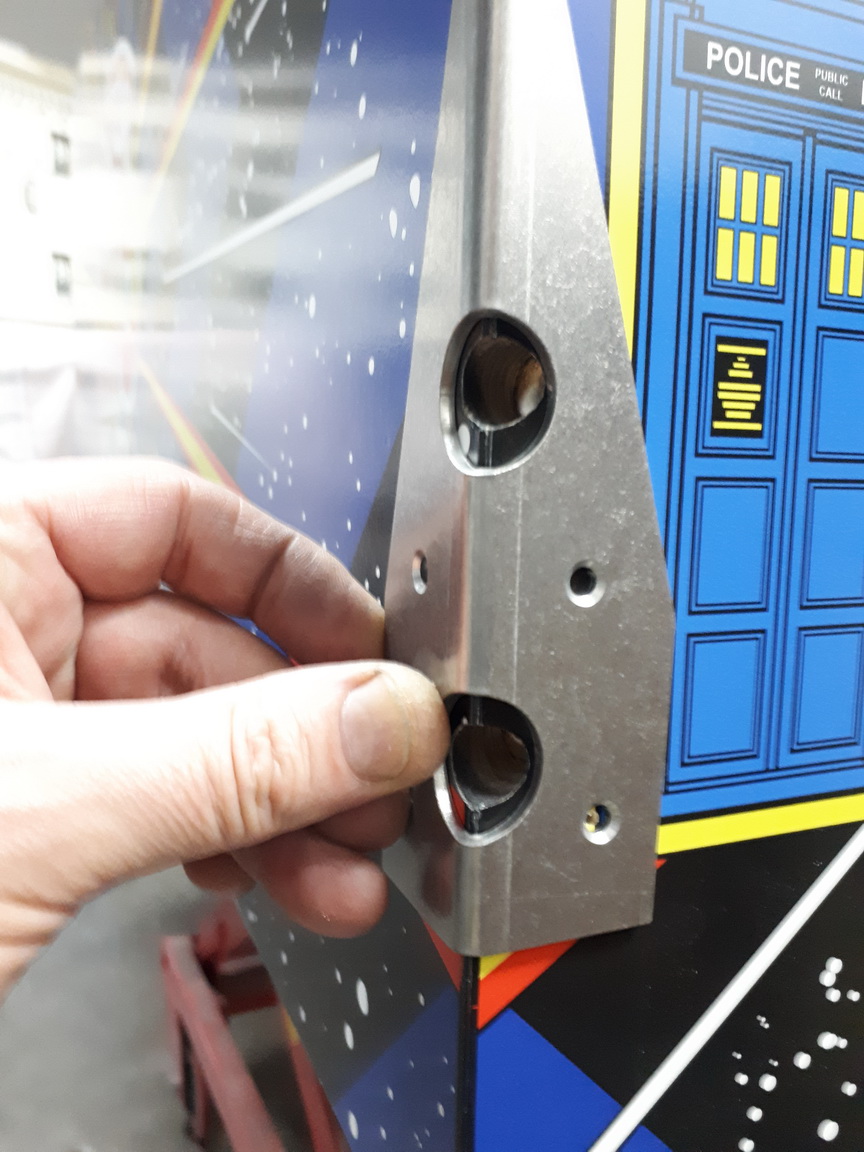
Pre Drill the first hole ;
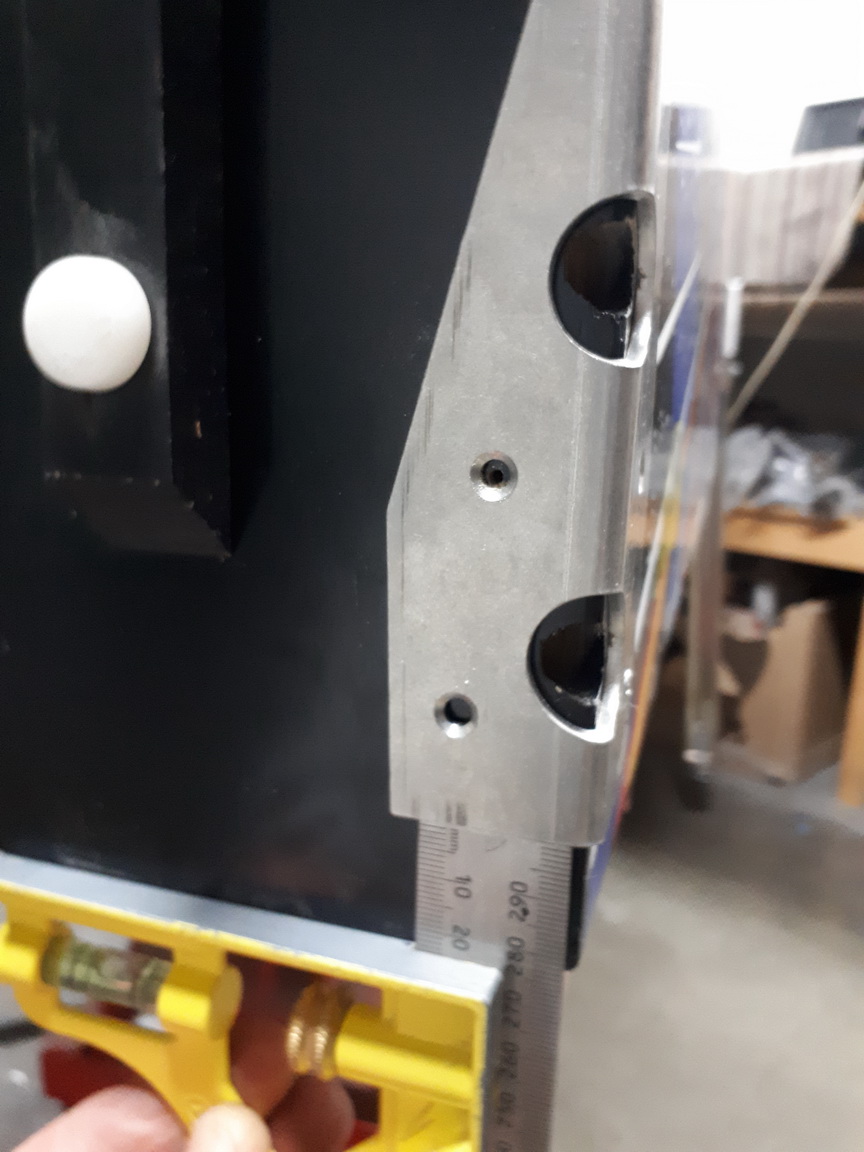
Screw the first wood screw in position, but do not tighten
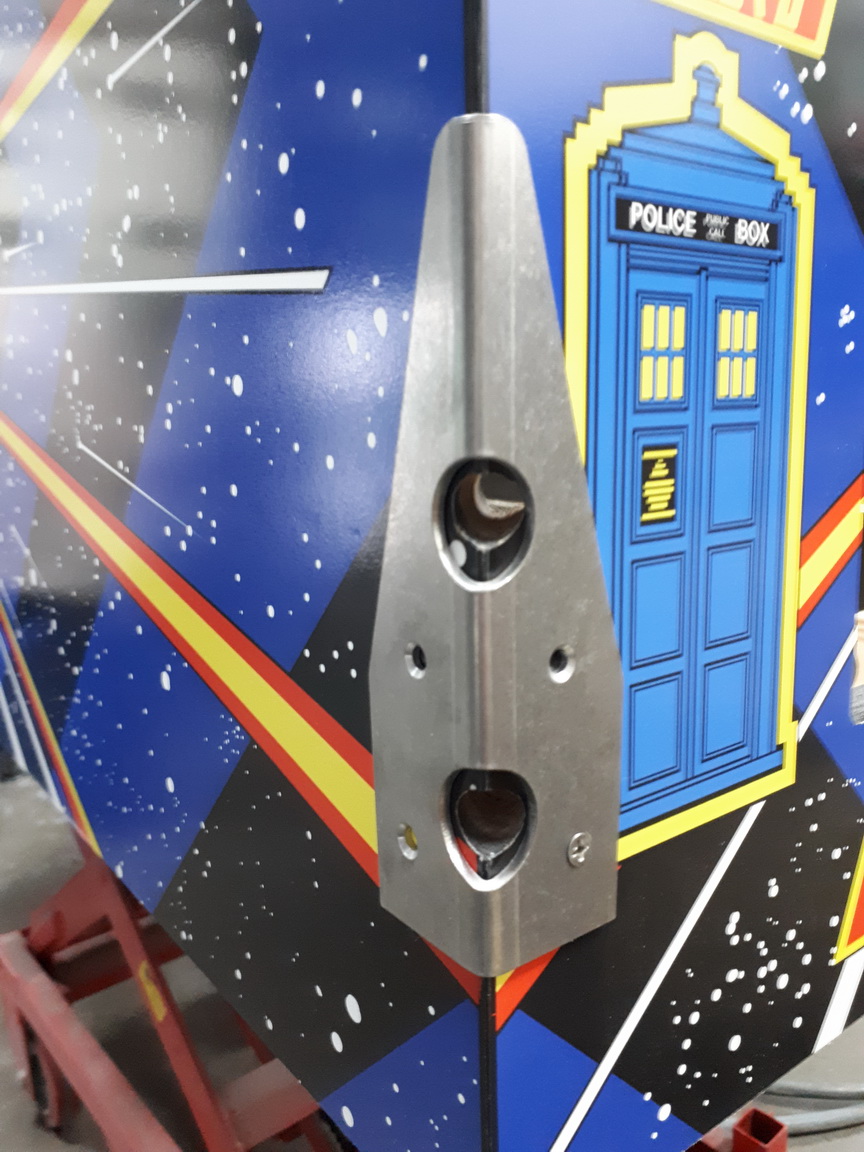
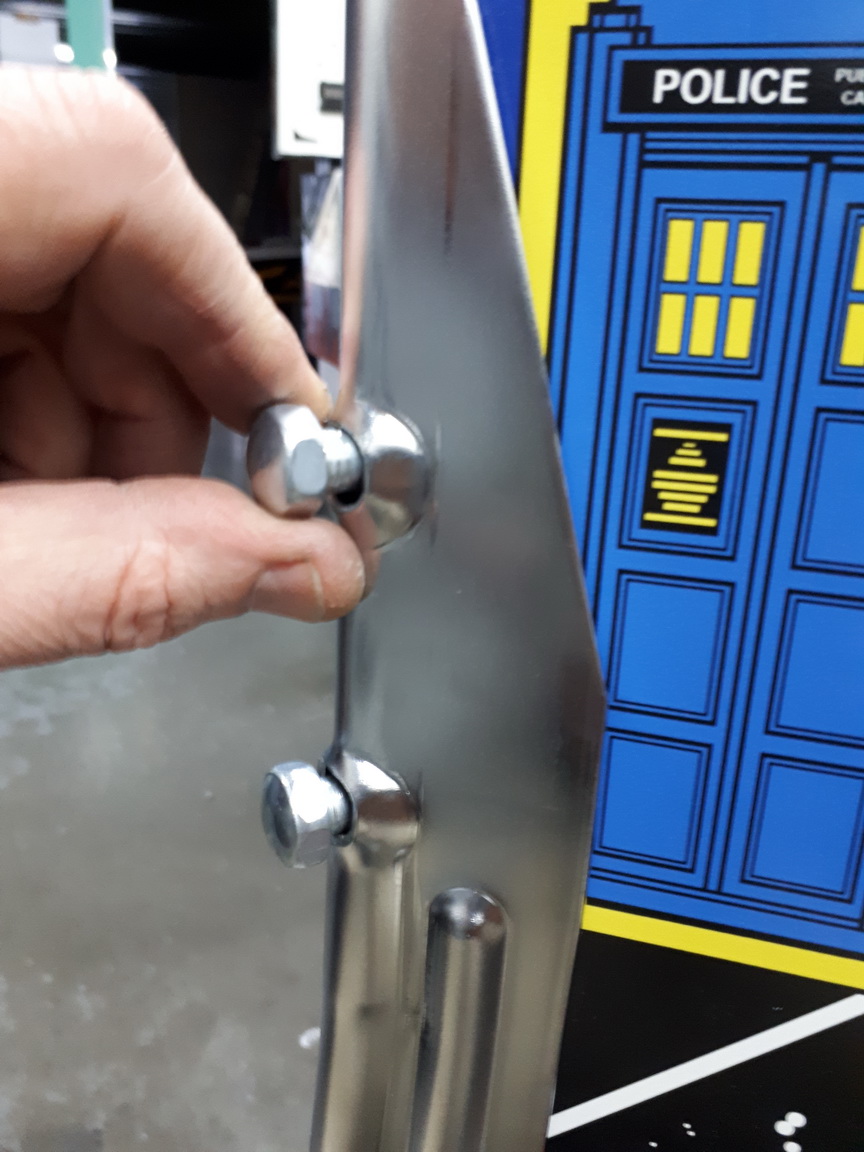
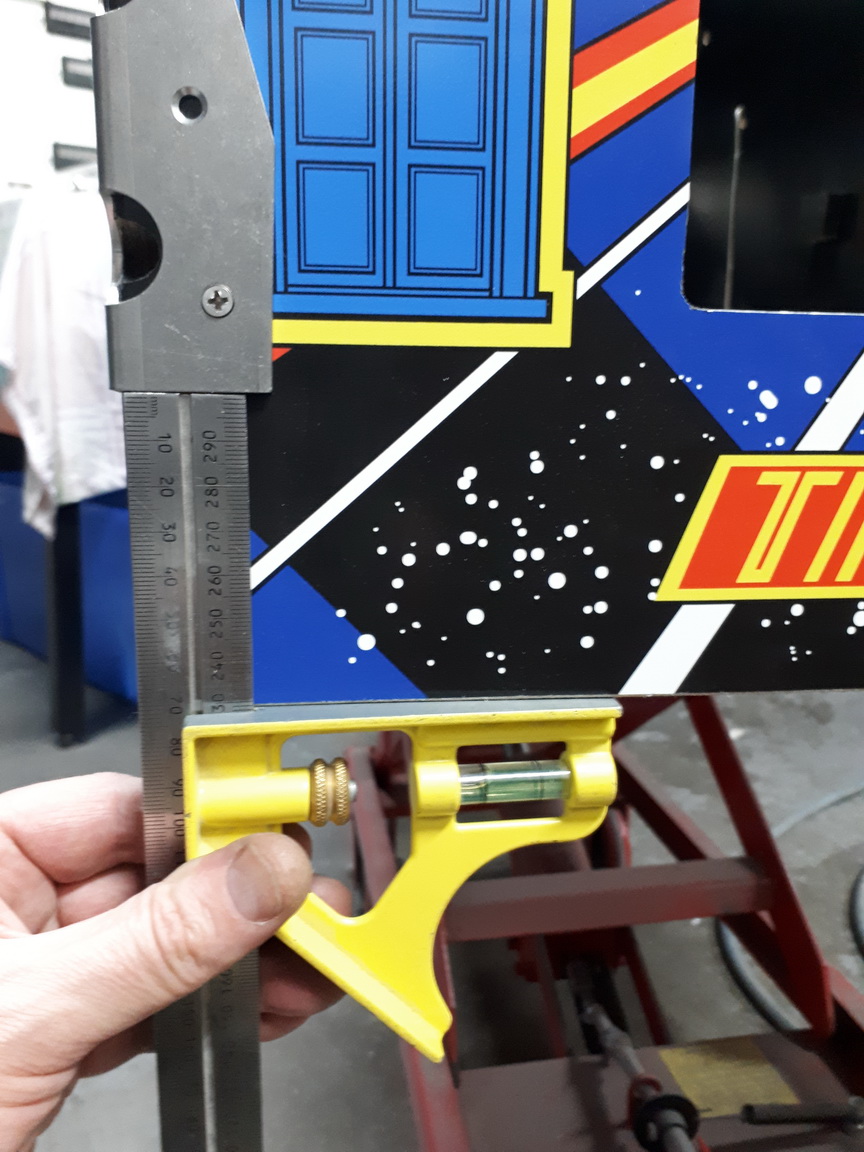
Ensure both bolts are easily installed and removed by hand.
Drill one hole on the opposite side of the protector and tighten both screws into the cabinet. Once everything is set up correctly, measure the distance between the bottom of the cabinet and the metal protector.
Transfer that to the other side..
Follow the same procedure as the first protector..
Then follow the same procedure as the rear - although the distance from the bottom of the cabinet will be different.

Next update - playfield..


